WoodCentral Forums

Est. 1998 — 27 years of woodworking knowledge

Transformations

Posts

Transformations

#1

Transformations

Derek Cohen (in Perth, Australia)

Not quite 4 weeks ago, a good friend, Rita, brought along an entrance hall table she wanted me to fit a drawer into ...
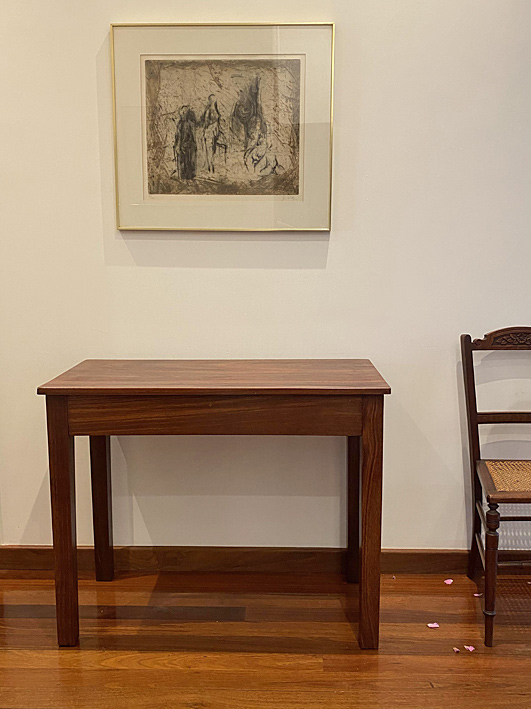
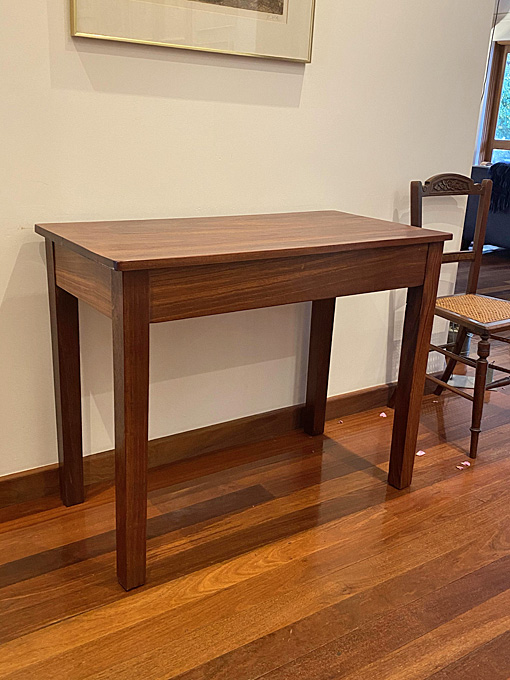

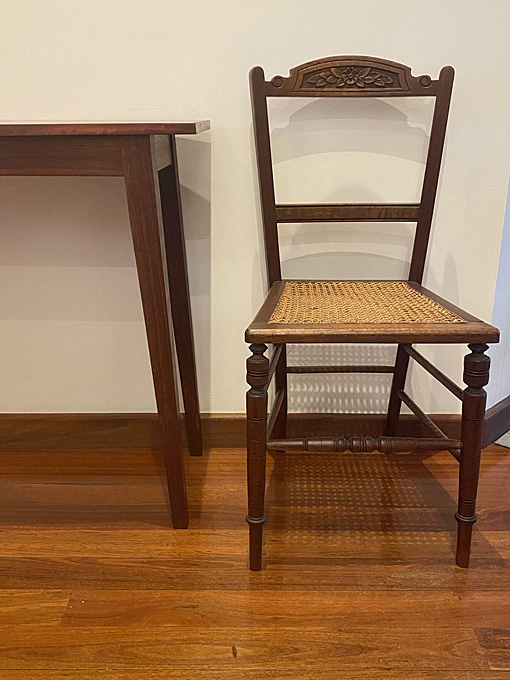
(Note that these photos were taken in my entrance hall, not Rita's).

It was really a boring ... okay, ugly table. I thought that the proportions were completely ugh, and the legs reminded me of detention in a classroom. The table had been a kerbside salvage by her late husband, a close friend of mine, and a very good woodworker in his own right. It had been used as a work table. Rita had just moved into a new home, and the table was used because the width of the top fitted an alcove in the entrance hall.

I said to Rita that I would re-build the table. "But I must have a drawer", Rita emphasised.

The wood was good Jarrah. The first step was to pull it apart. This was not so easy as simply unscrewing the clips for the top ...
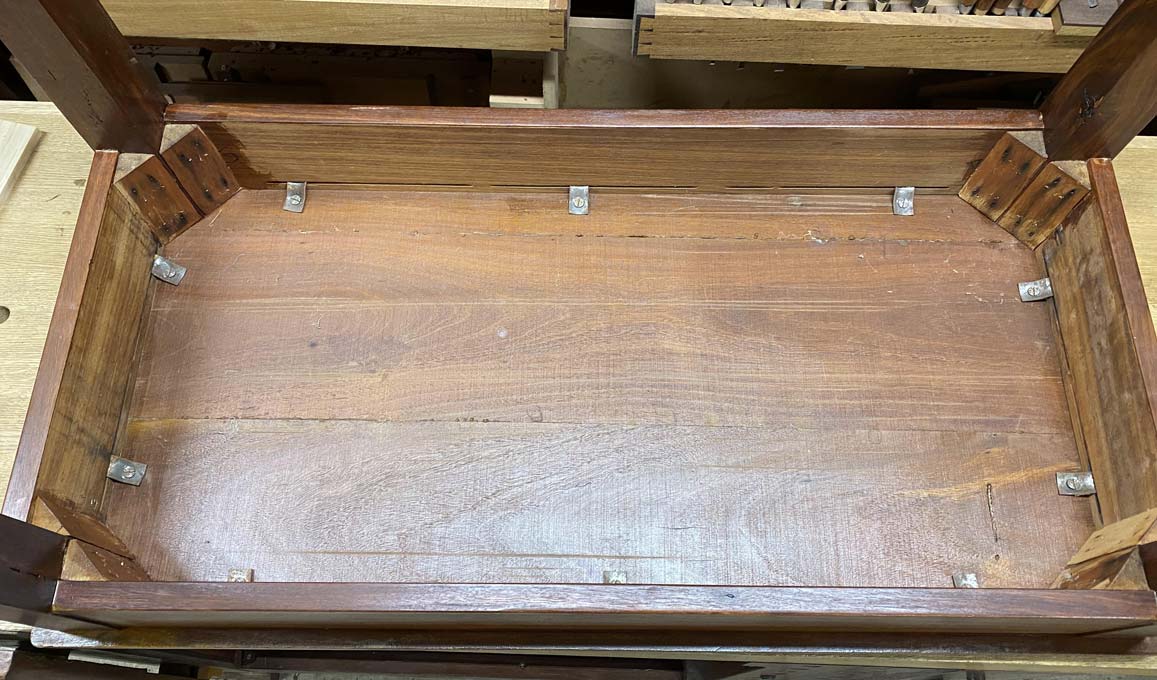

Some evil tablemaker had used a nail gun to attach the corner blocks. Pulling them out left holes in the legs.
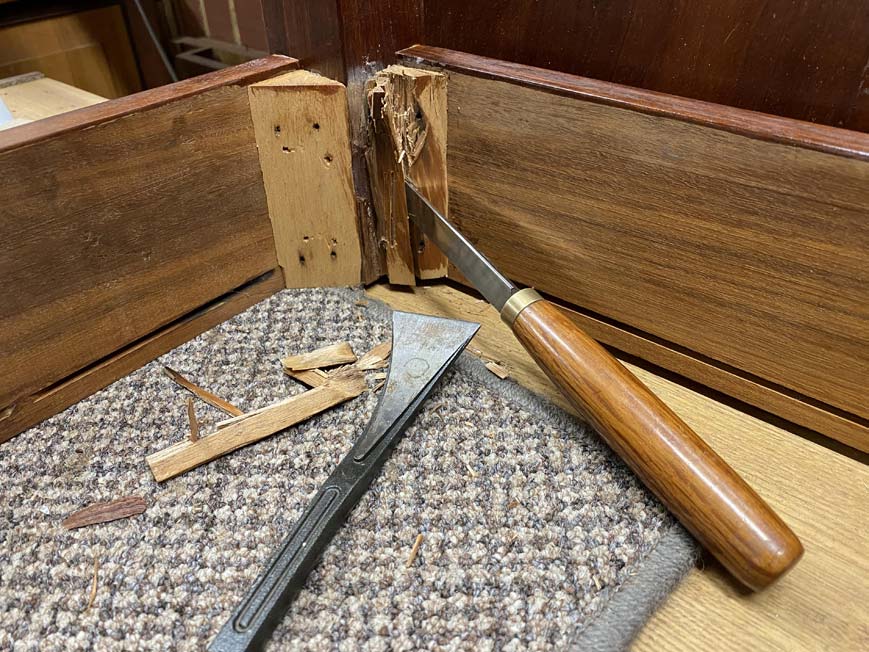

The legs were attached with dowels. I would never have guessed as the construction was very strong. Pulling them away caused some of the wood to tear along with it. No way to remove them other than saw the ends away.


Deconstructed ...
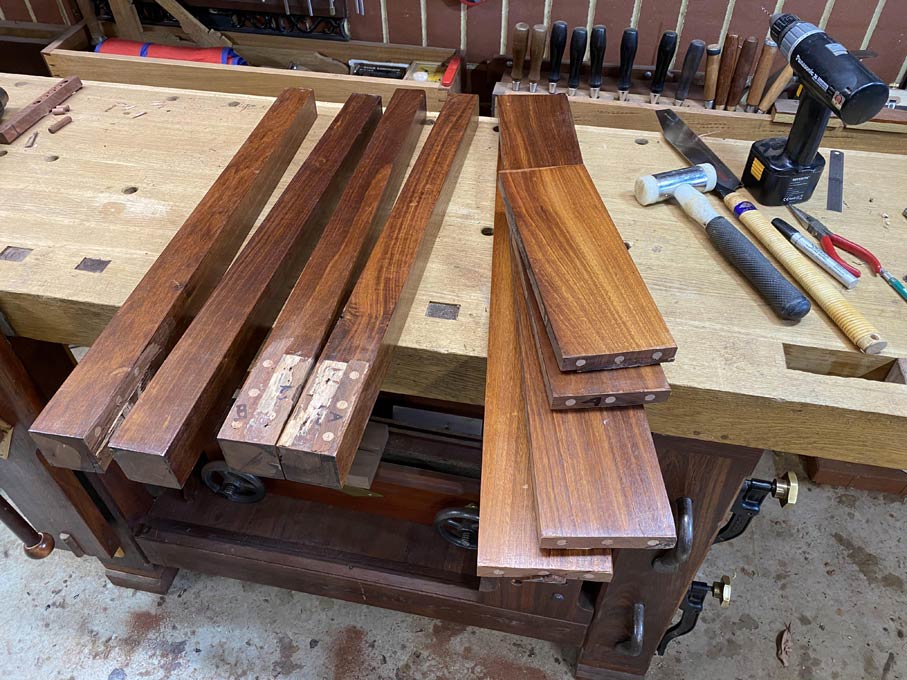

Let's begin again ..

I thought that I would do something different with this write-up. Turn it around and start with the finished piece. That's right ... the table rebuild is complete. This will provide a picture of the end result, and we can then look at how certain parts were built. This way around might create a better understanding of where the build was going, and how it got there.

In particular, the drawer. The drawer is a little beauty. I did scratch my head over the construction. No doubt it has been done before, but I could not find any pictures of another like it. I am sure there will be interest in the design. I am chuffed with the efficiency of it. More on this in the next article.

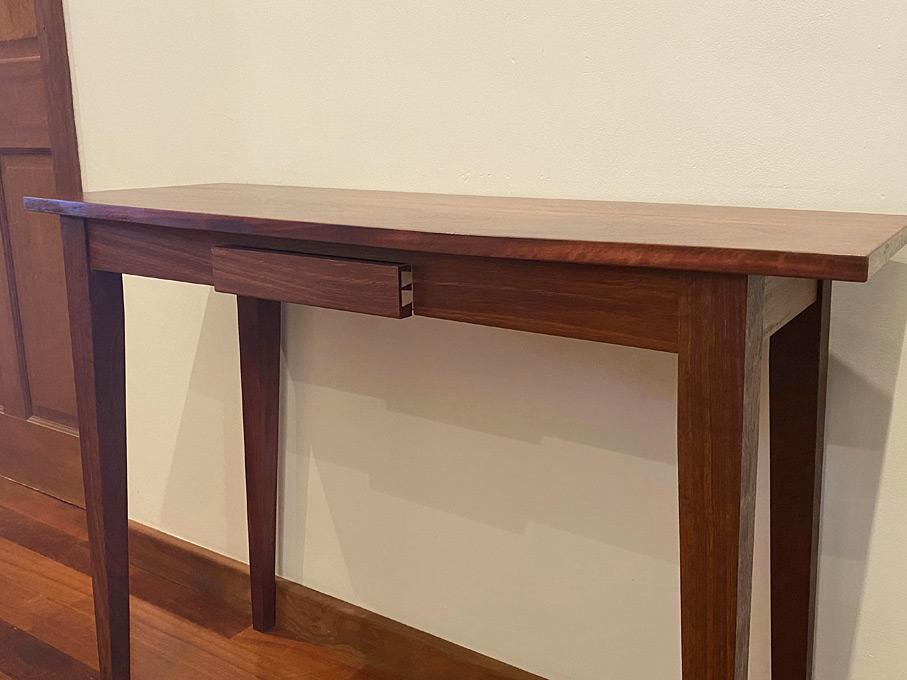
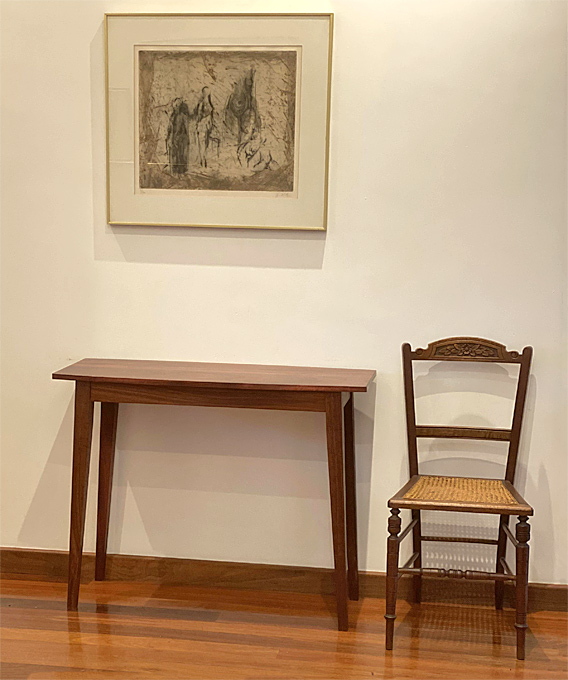
For now, here is the completed table.
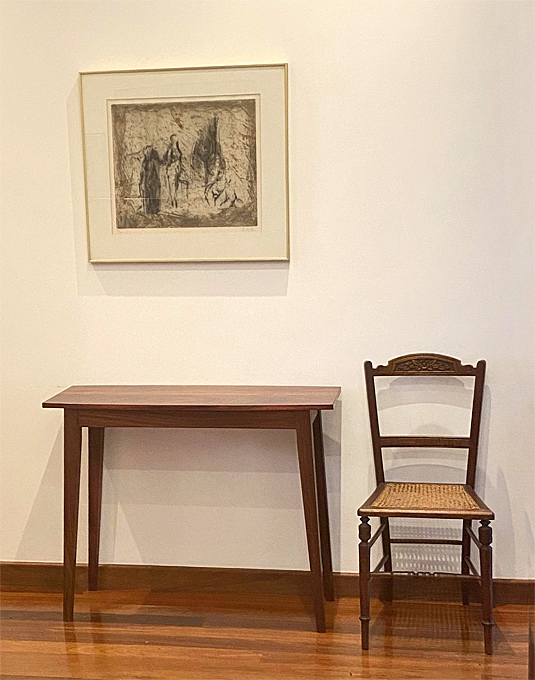

The legs have been brought inward, tapered, and a 3 degree splay added to the sides.
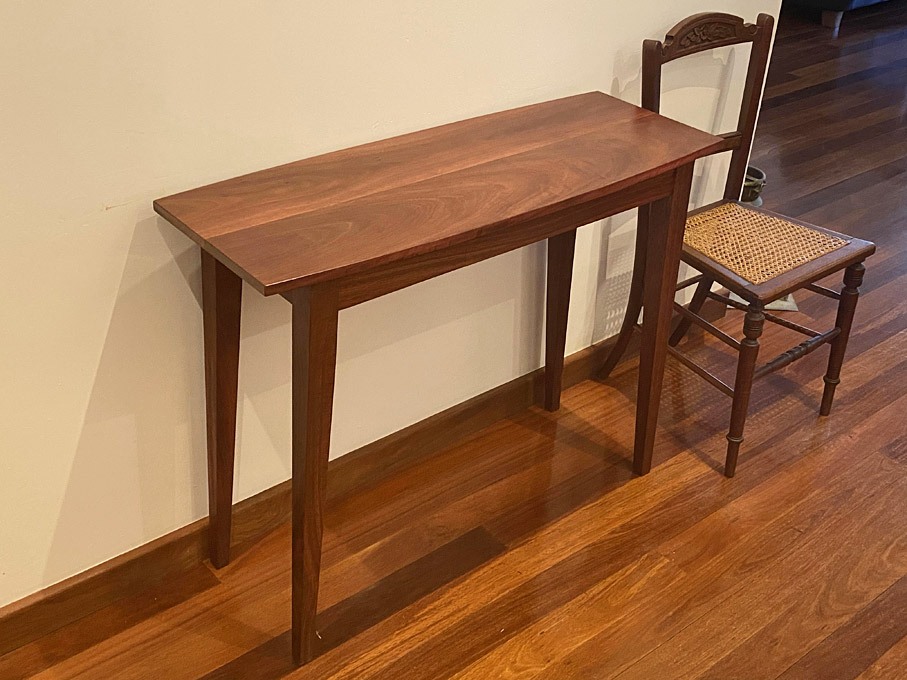


The top retained its width (I was threatened with death, or worse, if it was shortened) but was made shallower. A slight camber was added front-and-back to soften the outline ...
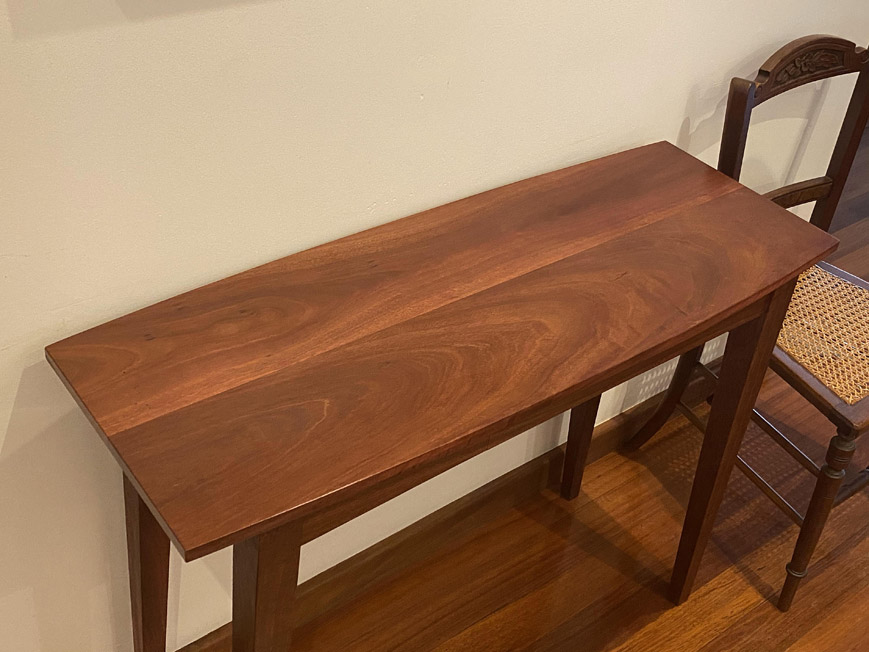

The apron was also made shallower. The original was 100mm (4") high. It is now 65mm (2 1/2") high.
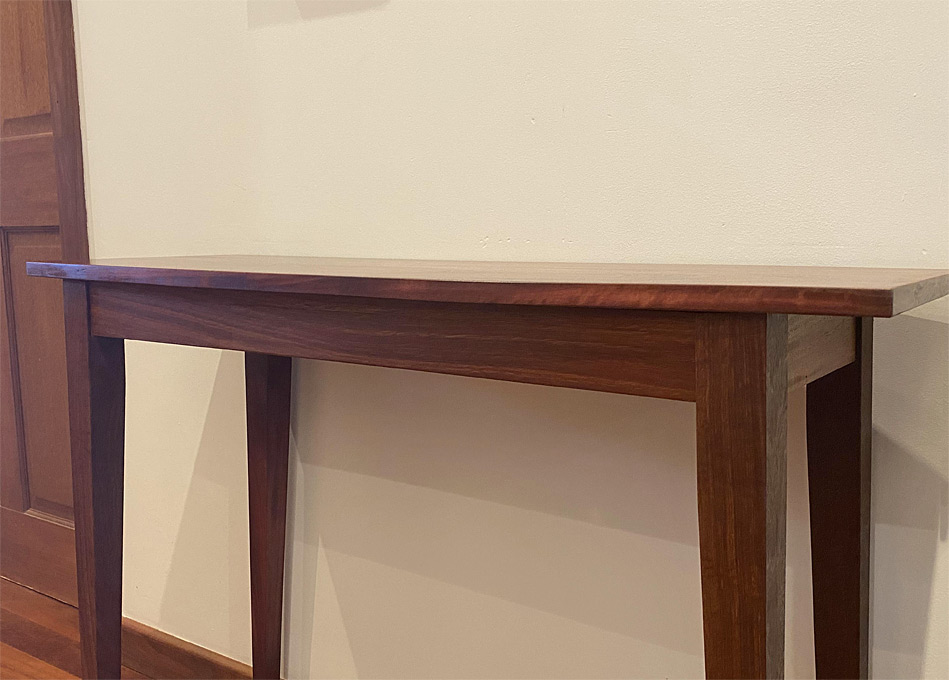

Oy .. where's the drawer gone?! I could have sworn it was there yesterday. Aah ... there it is ... :)


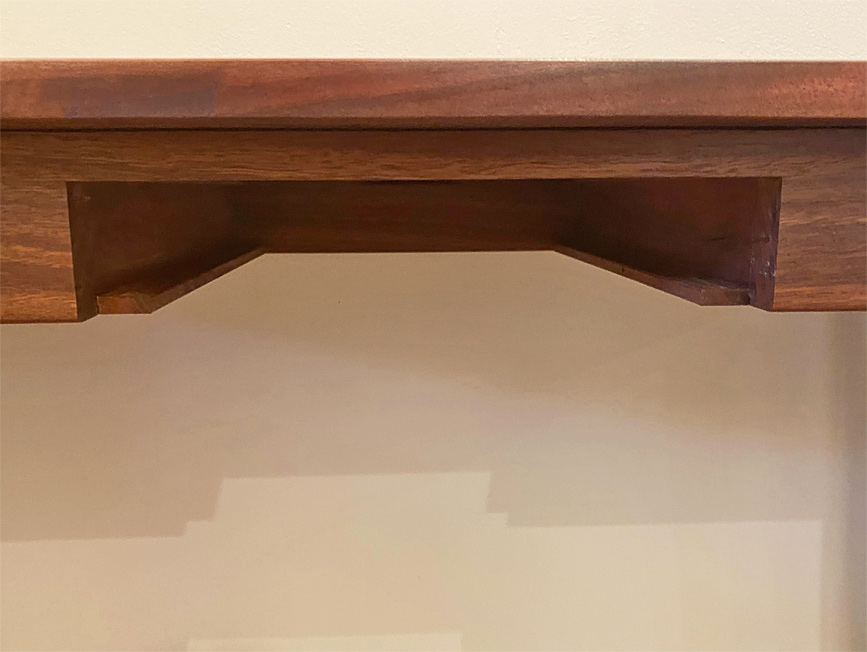
This is the drawer case ...


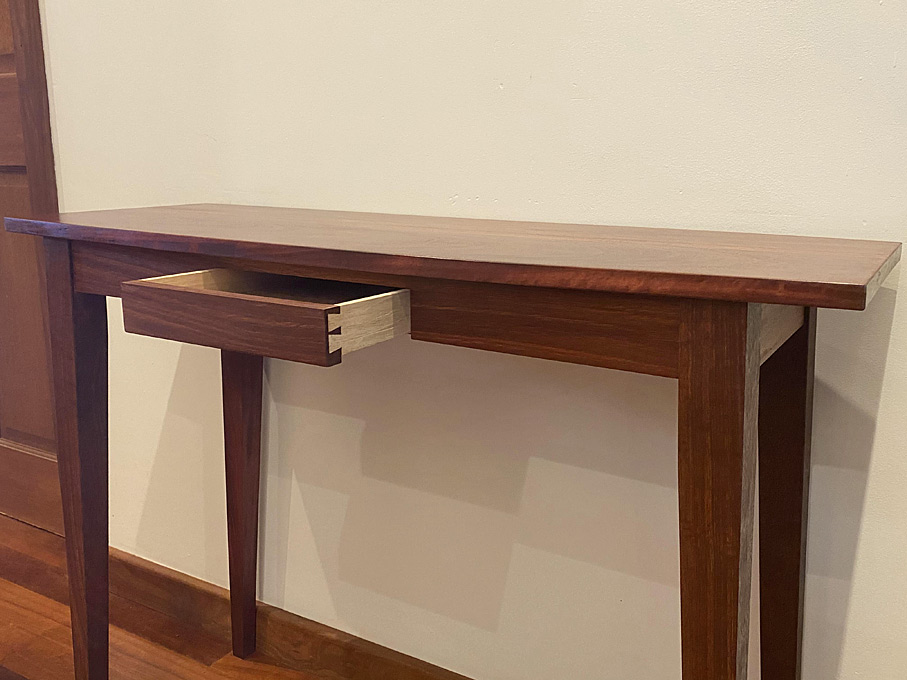
With drawer inserted - you need to get close up to see the joins ..
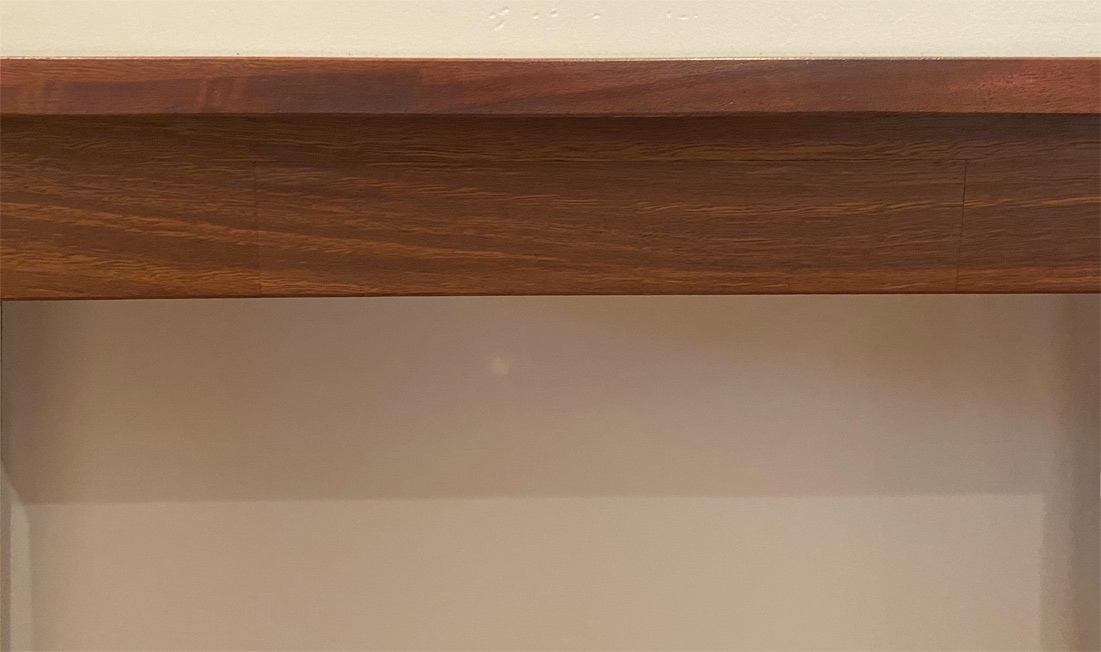

It opens with a pull under the drawer ..
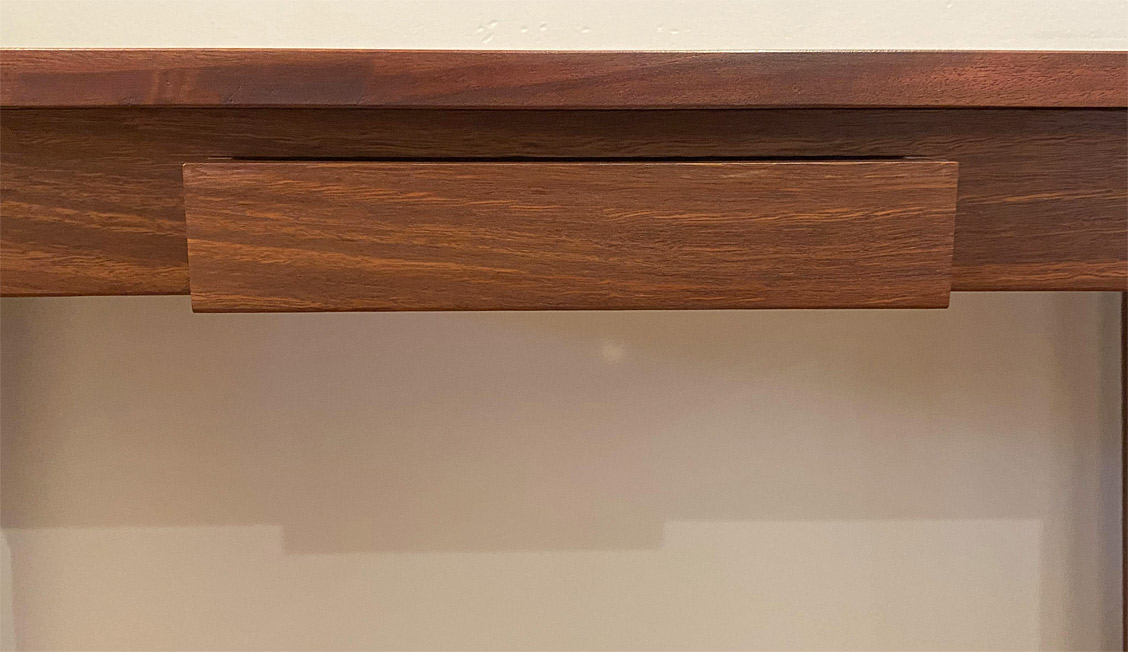

The drawer is shallow, of course, it is just for house keys and the odd remote control. It is just 45mm (1 3/4") high on the outside and 26mm (1") deep inside. The full dimensions are 230mm (9") wide and 280mm (11") deep ...
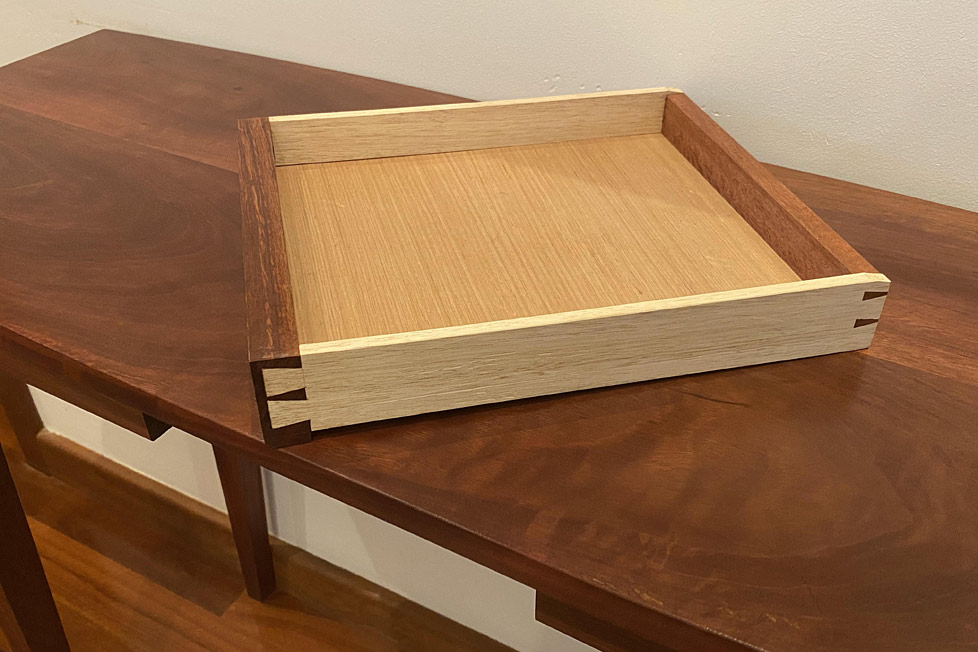

The sides are 7mm thick. The drawer front is 18mm (roughly 3/4").

To maximise the internal height, the drawer bottom was attached with a groove into the drawer sides rather than using slips. Slips would have used a precious extra 3mm (1/8"). So they 6mm (1/4") drawer bottom has a 3mm rebate, fitting a 3mm groove.
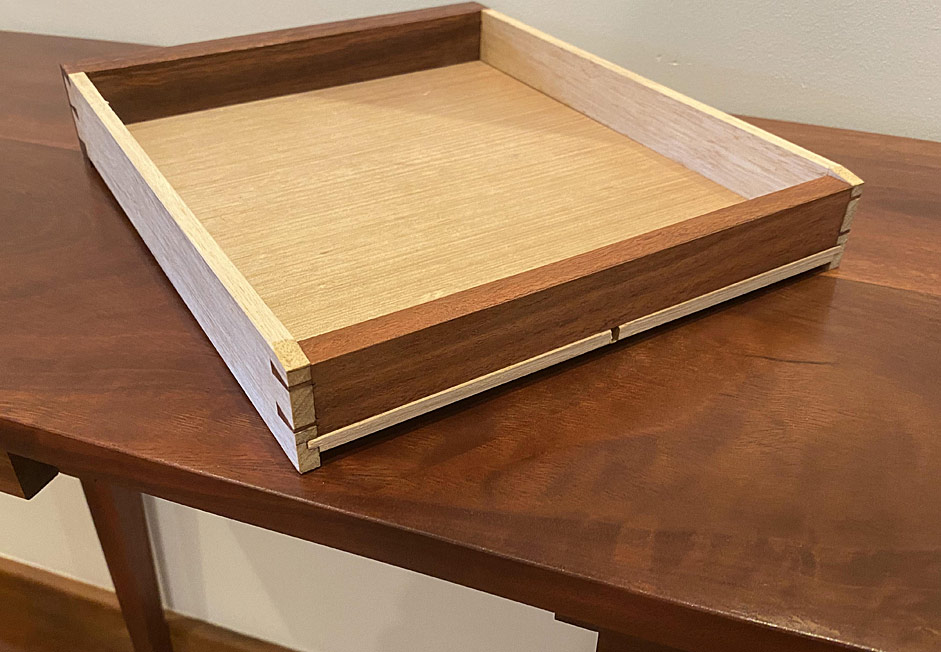

The sides and bottom are quartersawn Tasmanian Oak, which is very stable and tough. One screw at the rear, with an expansion slot, to hold it firmly. A nice, tight drawer ...
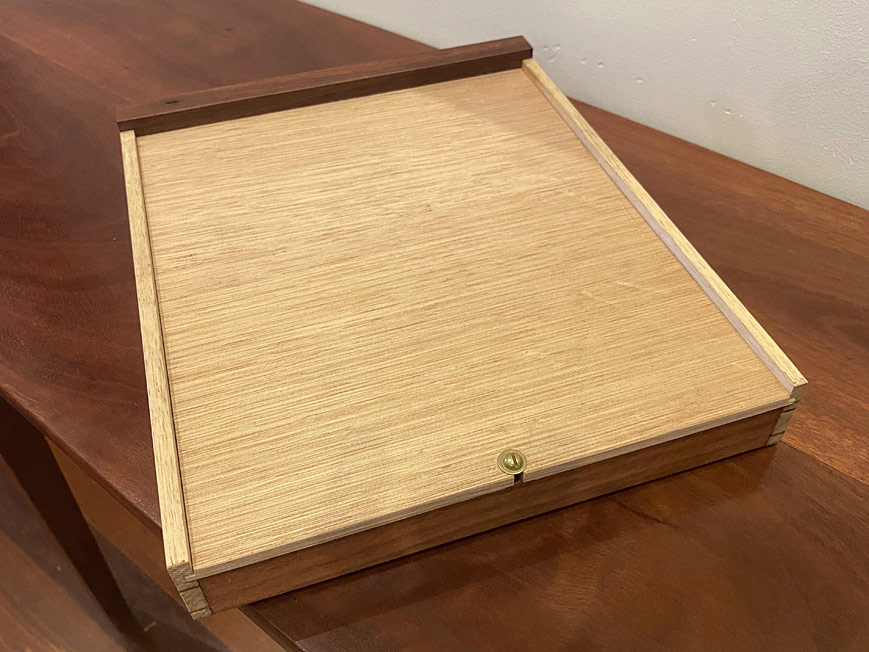

It sides in-and-out smoothly. I love that it disappears and is hidden.

More on the construction next time, but feel free to ask questions.

Regards from Perth

Derek

Re: Transformations

#2

Kneale Brownson

Very well executed and beautiful


Re: Transformations

#3

Re: Transformations

John Jardin

Outstanding in all respects, thank you.

Re: Transformations

#4

Re: Transformations

Bill Tindall, E.Tn.

That's better than one of those TV shows where they turn a failing diner into success, or a run down house or rusty car. I find the result pleasant to admire.

Predictably, I am anxious to find out how ever the cut out for the drawer was accomplished with only a few molecules of wood sacrificed to a kerf. I am speculating laser ;)

I do have a question....are those planer shavings in PIC 1?

Re: Transformations

#5

Re: Transformations

jessecloud

Wow, what an improvement! The drawer is beyond clever.

I must hide this from my wife or she will want half of our furniture redone.

Re: Transformations

#6

Re: Transformations

Derek Cohen (in Perth, Australia)

I do have a question....are those planer shavings in PIC 1?

Bill, I had to go back and look. Then I recalled that the space taken by this table usually has our hall table. On that table was a vase of flowers. I moved the table and flowers, and some of the petals dropped to the floor. Gad, you have eagle eyes! :)

Predictably, I am anxious to find out how ever the cut out for the drawer was accomplished with only a few molecules of wood sacrificed to a kerf. I am speculating laser ;)

My secret is out! Stealth training with Luke Skywalker, Jedi woodworker.

Regards from Perth

Derek

Re: Transformations

#7

Clearly

Mark Mandell - Gone Round In New Jersey

the Force is with you.

Well you have done.

Re: Transformations

#8

not buying it

Bill Tindall, E.Tn.

They look like plane shavings, probably fell out of your hair or out of a cuff. We all know it happens. Just ask my wife :)

Re: Transformations

#9

Ellis Walentine

Over the top

Ellis Walentine

What a welcome change, Derek. I'm guessing that you shortened the back rail by the width of two saw kerfs.

Very nicely done, and documented.

Thanks,

Ellis

Re: Transformations

#10

Beautifully done!!!!


Re: Transformations

#11

Re: Transformations

Hank Knight

Bill asked, "Predictably, I am anxious to find out how ever the cut out for the drawer was accomplished with only a few molecules of wood sacrificed to a kerf. I am speculating laser ;)"

That was my question too. My guess is that Derek has a board stretcher.

Re: Transformations

#12

Beautiful!!!!

Bill Howatt

The drawer fits so nicely that you could use it for a secret compartment for valuables - problem is the table is so beautiful that they'd steal the whole thing!

Great workmanship to say the least.

Bill

Re: Transformations

#13

Re: Transformations

Steve jenkins

Excellent. Just what we expect from you.

Re: Transformations

#14

Re: Transformations

Virgil Johnson

Very nice. I'm speculating that since the front apron board is now narrower the drawer front was cut out with a rip and cross cut. Second the gap closed slightly, re glued and the drawer front fitted to the smaller gap.

Re: Transformations

#15

Jim DeLaney, Austintown, Ohio

Re: Transformations

Jim DeLaney, Austintown, Ohio

Did you make a new top? Pics of underside of original top show three glue joints (four boards), but the revised top appears to be only two.

Re: Transformations

#16

Excellent (and what was the design process?)

Henry (Raleigh NC)

Snicker snicker - because design seems to have started with a WC post asking "What would you do with this?"

I likely would have added a small taper on the undersde of the top, but that is not a critique, but just what I would have done.

Excellent - as expected.

Looking forward to construction details (after we hear about design decisions - as if these are separated!).

Henry

Re: Transformations

#17

Re: Transformations

William Duffield

Why does the apron board need to be shorter or narrower, or for that matter, why would the rear apron need to be shortened to match? My guess is Derek used a Fein MultiMaster to carve out the drawer front.

Re: Transformations

#18

Re: Excellent (and what was the design process?)

Derek Cohen (in Perth, Australia)

I likely would have added a small taper on the undersde of the top, but that is not a critique, but just what I would have done.

Hi Henry

That was a consideration, but the top ended up a little thinner than anticipated, and I decided that a taper would be wrong. The top works without a taper (in my opinion).

But our minds work alike :)

Regards from Perth

Derek

Re: Transformations

#19

Re: Transformations

Derek Cohen (in Perth, Australia)

Did you make a new top? Pics of underside of original top show three glue joints (four boards), but the revised top appears to be only two.

Jim, yes the top was cut down from three to two boards. The third board was a narrower one.

The original top was squat and dumpy. It needed to be made narrower to create the illusion of being longer and slimline.


Regards from Perth

Derek

Re: Transformations

#20

The obvious question......

roger lance

does she like it?? I certainly do.

Re: Transformations

#21

do I see that...

David Weaver

...the stretcher was ripped and then reglued?

Re: Transformations

#24

Finishes

Derek Cohen (in Perth, Australia)

Somehow this area was forgotten, and of course it is important.

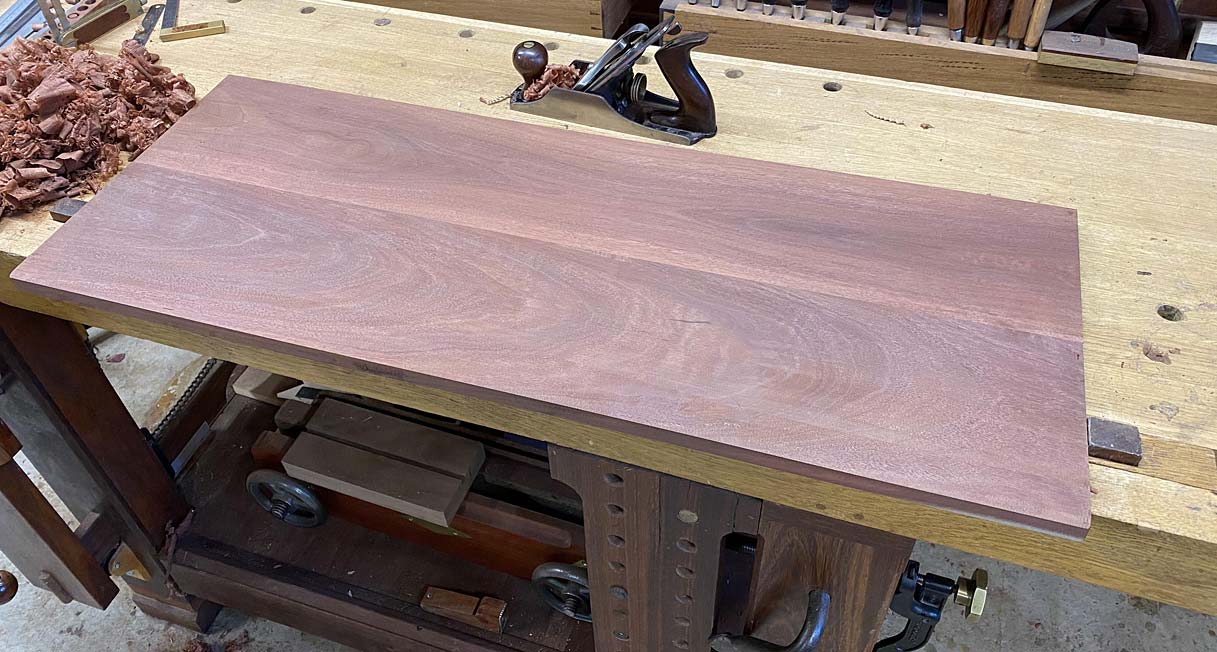
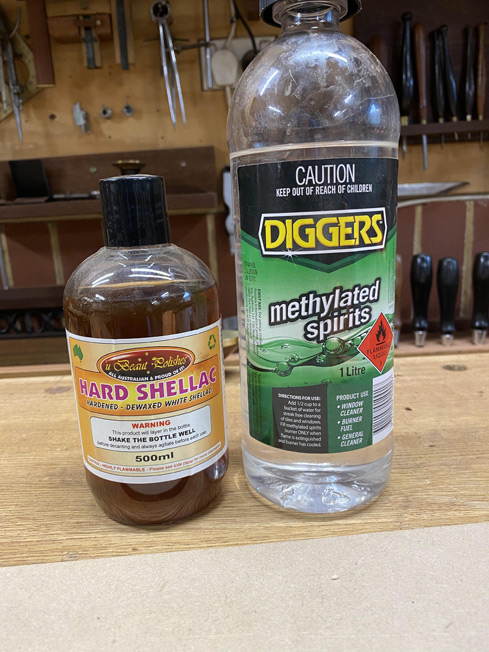
All surfaces were hand planed, and then finished in de-waxed Ubeaut Hard Shellac. This concentrated and thinned with denatured alcohol/methylated spirits.


This finish allows the figure to come through and, unlike an oil, does not darken the already dark Jarrah (which is what I wanted to avoid).

The top was, in addition, sanded with a ROS to 400 grit. Jarrah is an open-grain timber and the sanded Shellac doubled as a grain-filler, leaving a smoothed surface.

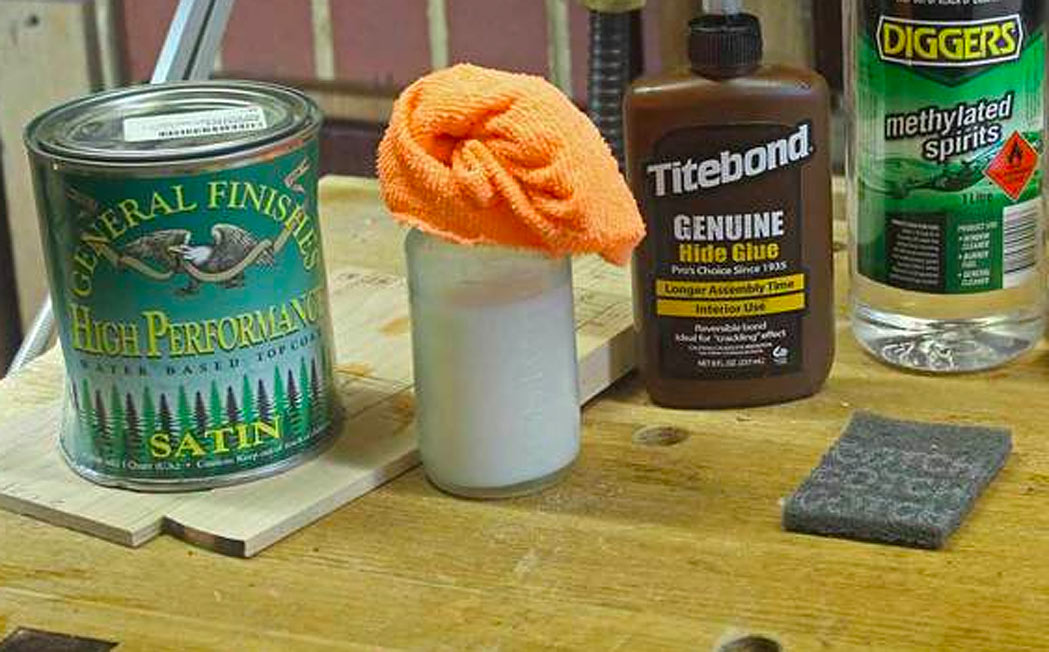
The next step was to rub in (and off) a water-based poly, from General Finishes, which does not darken or yellow with age. I rub thin coats on with microfibre cloths and then denib with 400 grit grey mesh ...


The final step is to wax (the top) with Howards Wax-N-Feed, which is a mix of beeswax and carnauba wax.


This produces a very soft, warm and natural finish.


Regards from Perth

Derek

Re: Transformations

#25

2nd the Howards Wax-N-Feed


👍 This page answered my questions

Your vote helps other woodworkers quickly find the answers and techniques that actually work in the shop.