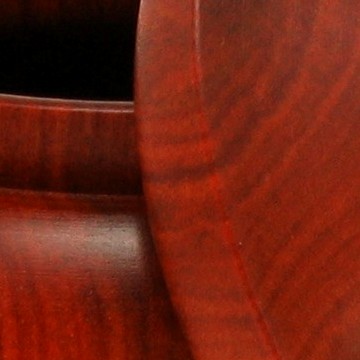
Here is the lamp finally finished. The second shot is open with 2 pellet rifles inside. I shot it in the College campus studio and "real" guns aren't allowed on campus even if they are unloaded and you notify the campus police that your just using them for a photo.
Wow, that thing is an incredible piece of workmanship. Nice job !
I have loosely followed your progress in this lamp but have forgotten what the original "want" was that caused you to go through all the trials and tribulations of crafting the project. Why did you want to make this lamp ? To hide guns ? A challenge, or what ?
A tedious project with a great conclusion. I have been gone for several days and I thought that I had missed the final viewing. I am glad that I was patient. When are you going shopping for another lamp shade ?
To hide guns. My son is living in an apartment and having a gun safe isn't an option. If he ever gets robbed that would be the first things they would go after. So the obvious thing is to simply hide the guns somewhere they would never look. this is what I came up with.
It really is a unique and very creative piece of turning. It has been fun and interesting to see your progress and the problem solving required along the way. I hope your son appreciates this piece of work as it is pretty amazing.
Jesper I think so also. However I could not find one locally. I don't think it needs to be larger around but would like it taller and still tapered like this one. That may be a tough thing to find. I thought about turning one but I don't know how long they actually hold up and I don't have any of the woods that really transmit light.
Love his shades. I believe they are made from Aspen if I remember correctly. Not sure what other woods will transmit light. I was lucky enough to run a a video camera for him at my first AAW symposium. I was blown away they you could take a log of that size and reduce it to a few ounces in the 1/1/2 hours you get for those demos. Good turner.
This lamp came out wonderfully John-but I figured it would with you making it. I hope you are hapy with the results. I'm sure your son will be. Well done!
Have you figured out what the cubic volume of the inside is yet? That is the kind of thing that I like to chew on in my mind while I'm doing automatic pilot jobs like sanding.
My only concern now, is that I wish there was some kind of joint to accommodate for shrinkage between the ends and sides. Oh well, If it turns out to be a problem, you'll know how to do it next time. he he
Keith Thanks for all your help. It really paid off. I'm still worried about wood movement due to the fact that it's going to Texas which is quite a bit different than Tennessee. I slotted the holes for the screws in the bottom so hopefully that will help. May not help the door however. Of course since it's only pinned at the bottom and the top is kind of a loose fit and the rings that go around it float it shouldn't be much of a problem. I hope.
Glad I had some prior experience I could share, and as a side benefit, your project got me to thinking about a project that I have been chewing on for a really long time, but was missing a few steps and details, which now have been worked out.



 (Jealous gunowner)





 Slim chance they'd know your son's address anyway.


