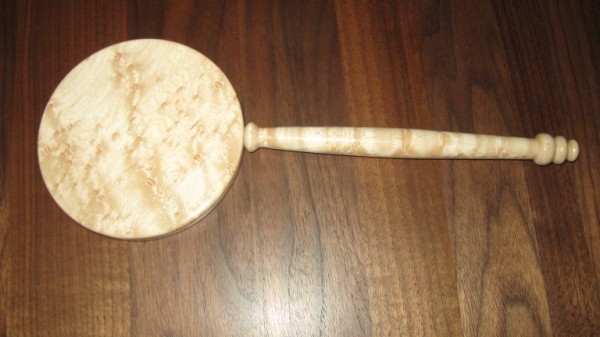
Have you ever felt like you forgot something important but just couldn't put your finger on it? Was all set to see what a simple paste wax finish would look like on this little guy and realized I'd forgotten to tighten the chuck jaws... right after I turned the lathe on. So here it is with a couple of beauty marks.
At least I do always remember to stand off side when I flip the switch
I don't even want to tell you what happens to a totally finished 12" bowl when you lose track of what you are doing and you switch-off the vacuum pump for the vacuum chuck before you turn off the lathe after final polishing the foot of the piece....you can speculate on your own what the consequences are...
Leo - I know it looks bad but you can get it back to almost perfect.
Use water and an iron to steam the dings out. Can't tell you how many times I've done this. The first time it seemed like a miracle! I get a small cup of water and keep dabbing water on a ding until it starts to soak into the wood around the mark.
I then use an iron - not sure what they call them, I've seen them sold as a veneering iron. I bought mine to use covering model airplanes. You then hit the ding with the iron, the iron should be hot enough that there is a little hissing as the water steams out of the wood. Don't leave it on to long, remove when the water stops steaming out.
Repeat this - it can take a lot of times as many as 10 or more - but eventually you can coax the wood back to it's original shape. If the ding is only a dent with no torn wood you won't be able to tell, otherwise there may be a small line where the fibers broke.
Give it a try if you haven't before. As I said, steaming a ding out as saved my butt more than once!
Add to that tip, I've used a soldering iron, either electric or even the solid copper type heated with a torch or gas stove. Place a wet paper towel over the ding and apply the hot tip. When the paper show signs of drying, move the paper and repeat. It works!
A wet cloth really well...creates more steam. I use a piece of dish towel and a small cheap craft type wood-burner with the round (about the size of a dime) transfer tip on it. This only really works well if it's a true dent and the wood fibers are not torn It looks like in the lower photo that you may have some tearing. Can't really tell. Even if you do the steaming will make it less noticeable.
I'll give the steam trick a try later. I've used it for repairing flat work before, with a steam iron. If the vessel were a little larger I could wear it(its starting to get rainy around here again) as a dunce cap for the next couple of weeks as a reminder to double check things like that. A ding or 3 in a piece of work is a very small price to pay.
On the plus side, it was a very fun piece to make. It helped me learn a lot, and I have much prettier wood to make them out of once I learn how to do it. Was just out trying to make a free form one, but I don't think any amount of polish is gonna help this one!
Hi Ellis, actually the day before Terry Scott posted his latest wild turning contraption, I had watched an excellent Robert Sorby how-to on Youtube about eccentric turning. I decided to give it a try. That little bowl was my second try at it. I got the first one done and cut through the bottom trying to put some feet on it. I haven't been able to achieve the grind quality on my gouges that I would like, but all of the edges were done on the lathe. I tried to do a random one last night but the curves don't flow on that small scale... I see large face plates and questions about my own sanity in the future
this is just a little fun I'm having exploring some of the possibilities with a random point selection. It brings out some interesting features, but I still think it would look more graceful on a larger scale. Thanks for putting up with me
How I turned the reverse curve...a pipe flange and a small block of red oak for the counterweight
I'm still working out details to make this a safe and easy jig to use. But I was thinking the flange will be mounted to a block side ways on the back, to keep it out of the way of the cutter. With a cap on the end of that pipe, one could fill it with lead or steel shot to adjust the weight a little more accurately. A couple of set screws tapped into the sides at the threaded portions should keep it from coming apart at speed. Once I get it all figured out I'll be happy to share it with anyone who is interested in giving it a spin.