WoodCentral Forums

Est. 1998 — 27 years of woodworking knowledge

Three-sided stools

Posts

Three-sided stools

#1

Three-sided stools

Derek Cohen (in Perth, Australia)

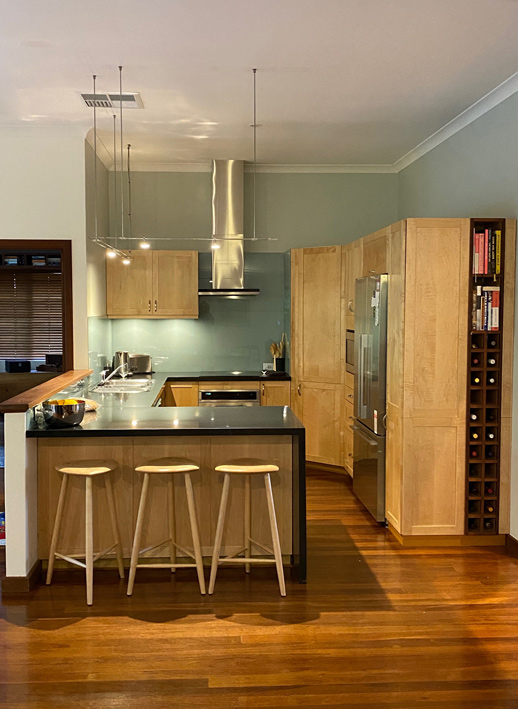
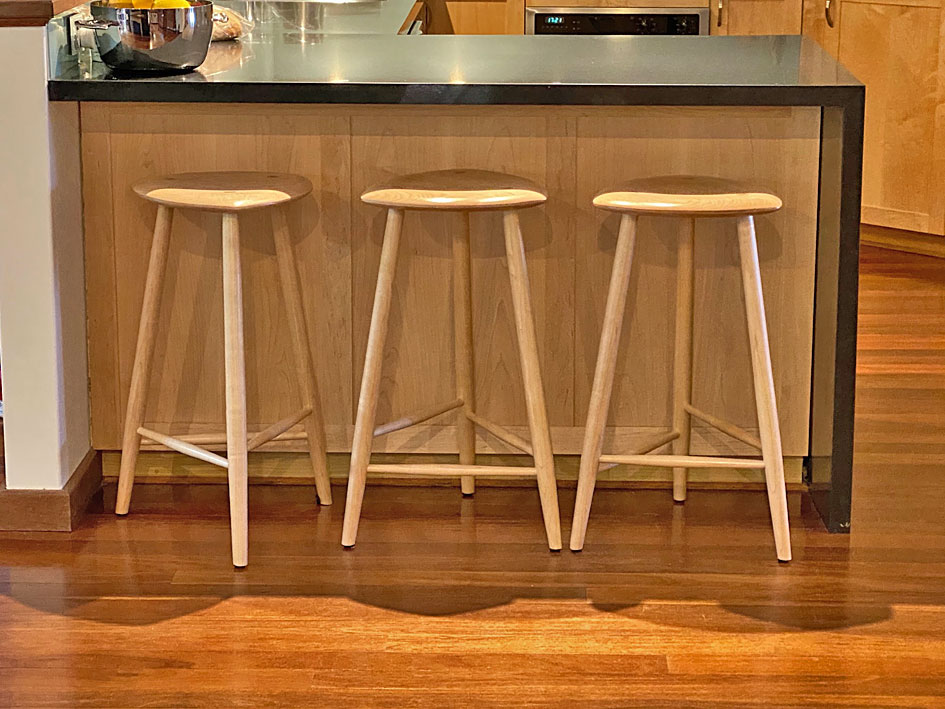
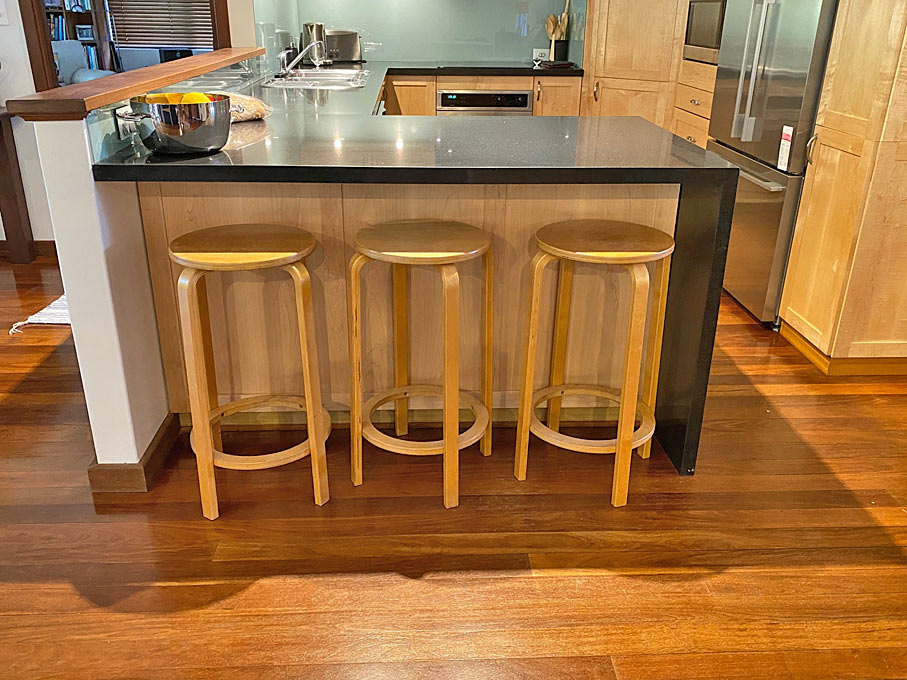
For the past 25 years, we have lived with these Ikea bench stools in our kitchen ...


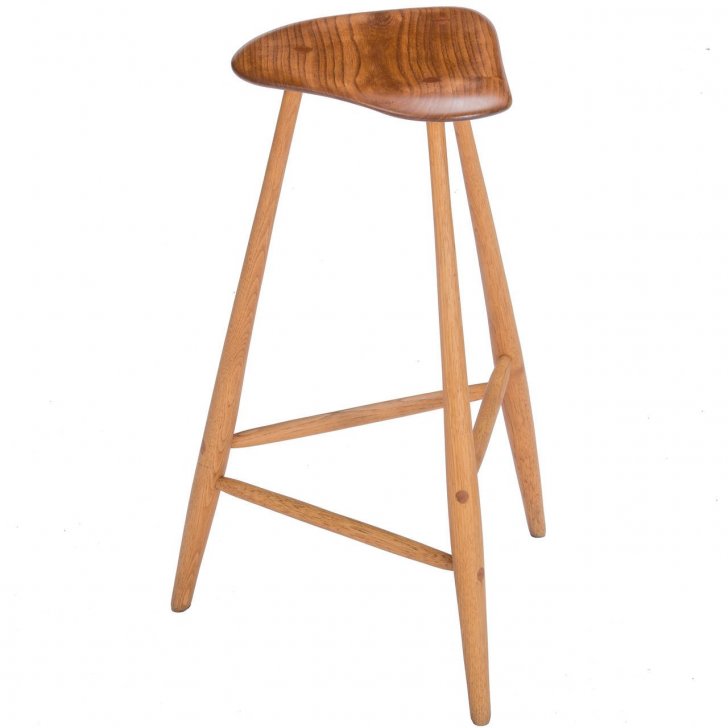
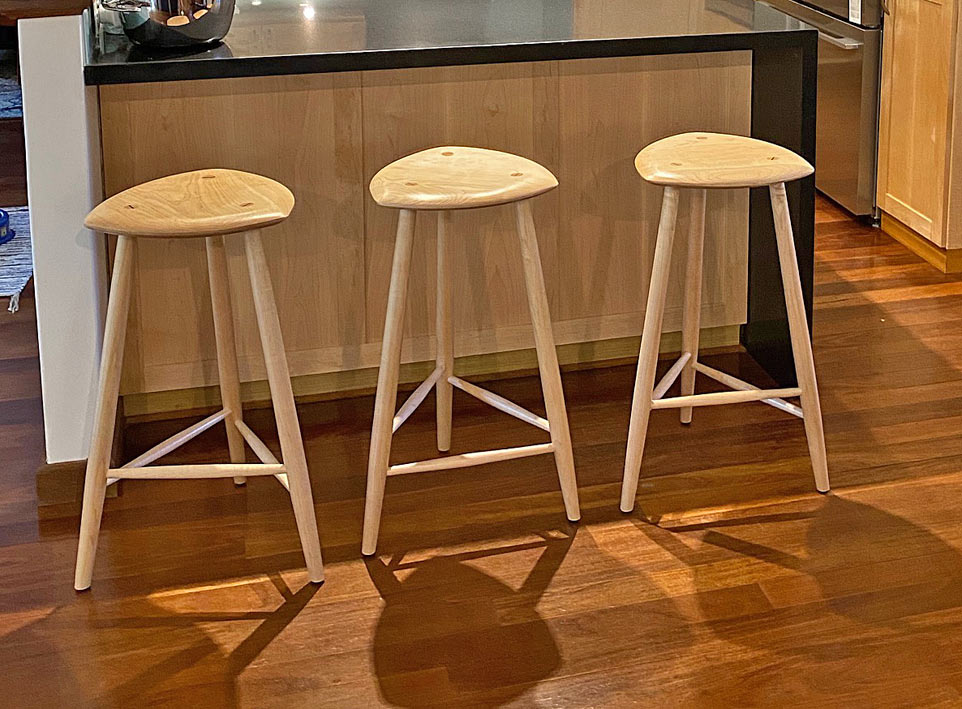
We do not eat much at the bench, but they get used. More recently Lynndy suggested that we replace them, and I thought that this would be a good excuse to build something inspired by Wharton Escherick, whose stools are just so organic and profound in their simplicity.


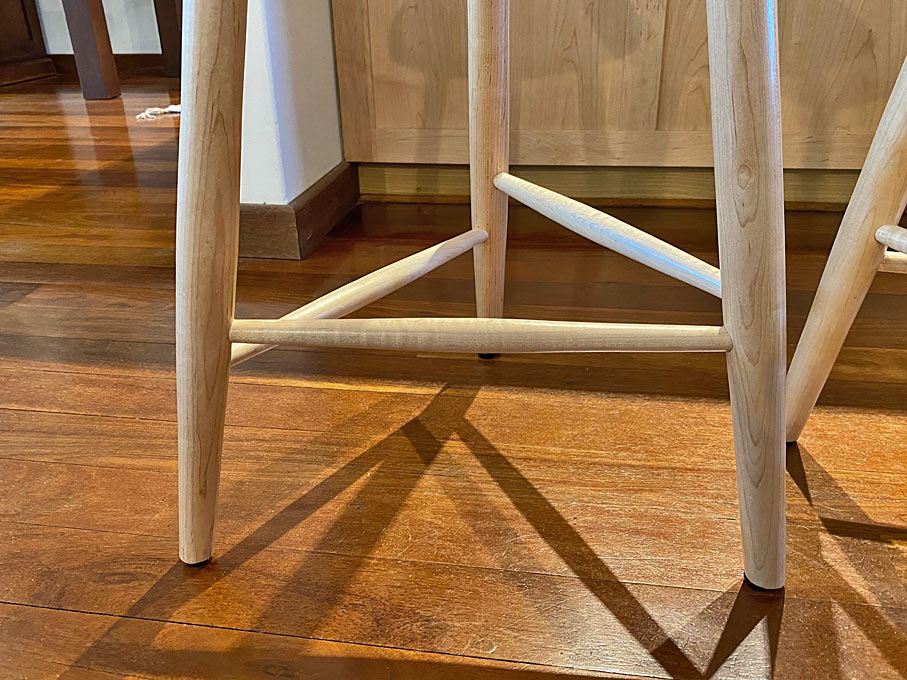
The design was also influenced by a point made by Lynndy that a fixed-height footrest does not fit everyone. I thought about this and it occurred to me that the stretchers on the Escherick stools could form the basis of a slightly different design - make the seat three-sided, and one could choose the stretcher height to suit.

The last requirement was that the wood must be Hard Maple, to match the kitchen I built a few years ago. I would have preferred a contrasting top, say in Walnut, but She Who Must Be Obeyed vetoed this. So ...


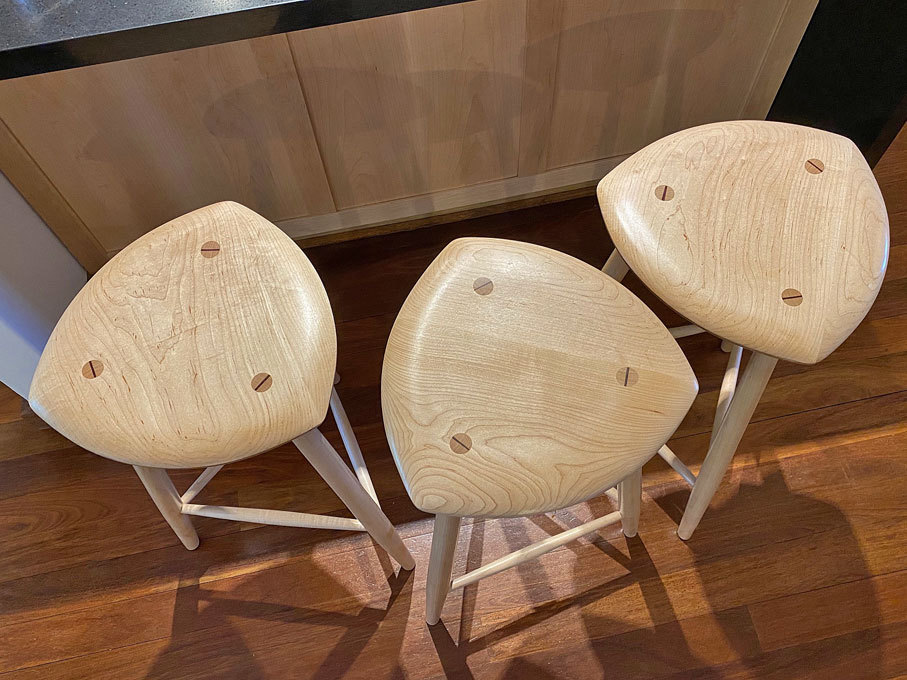
I did manage to get contrasting wedges for the tenons passed her :)


The stretchers ....


One last one ...


I'll am happy to post build photos if there is interest.

Regards from Perth

Derek

Re: Three-sided stools

#2

Re: Three-sided stools

ken ca

The triple deck height stretchers look odd at first, but it is a great idea.

Now, if you could think of a way to stop people racking their feet back and forth over those stretchers thus ruining the finish?

Beautiful work as usual.

Re: Three-sided stools

#3

Re: Three-sided stools

Derek Cohen (in Perth, Australia)

Thanks Ken. The stretchers are pure Wharton Escherick. Not my invention.

The finish is one coat of Ubeat Hard Shellac (adds a little amber) and three coats of water-based General Finishes poly (clear and does not yellow the maple). Should be durable (for a while).

Regards from Perth

Derek

Re: Three-sided stools

#4

Re: Three-sided stools

Philip F Duffy

BZ Derek P.

Re: Three-sided stools

#5

Re: Three-sided stools

Steve Voigt

Those are lovely Derek, good job. I'd certainly be glad to see some process pics…

Re: Three-sided stools

#6

Jack Guzman from Maine

Re: Three-sided stools

Jack Guzman from Maine

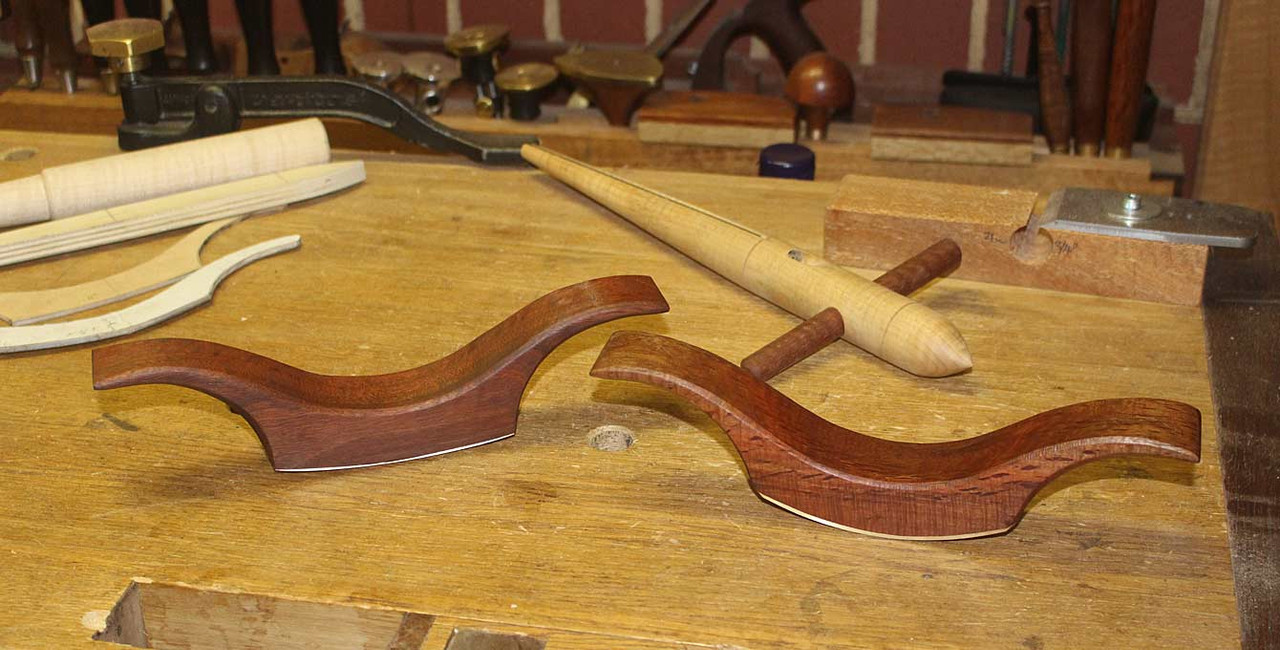
Beautiful stools. Derek,did you document the building of your travisher?

Re: Three-sided stools

#7

Re: Three-sided stools

Curt Putnam

Beautiful stools. Love the thin edges. Multiple height stretchers is a very useful idea although the variation catches the little remaining military in me.

Re: Three-sided stools

#8

Dress right, Dress!

;)

Re: Three-sided stools

#9

Building a travisher

Derek Cohen (in Perth, Australia)

Hi Jack

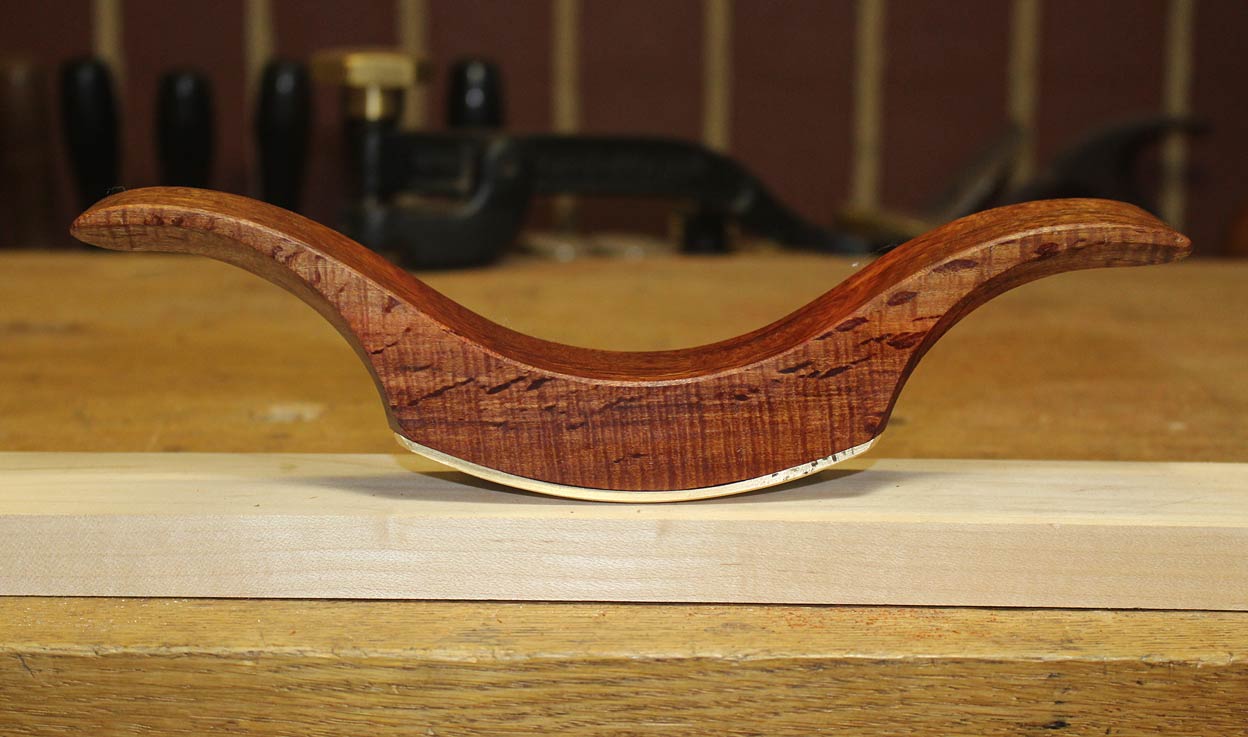
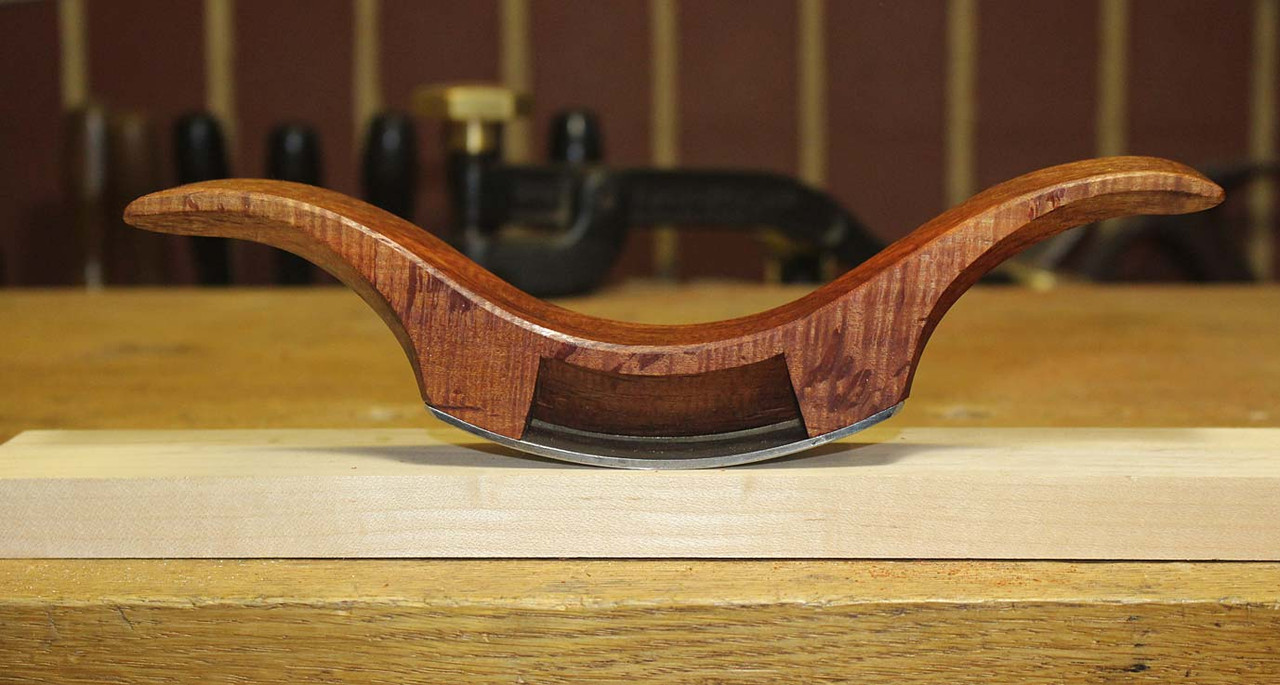
I have two travishers, with different curves.


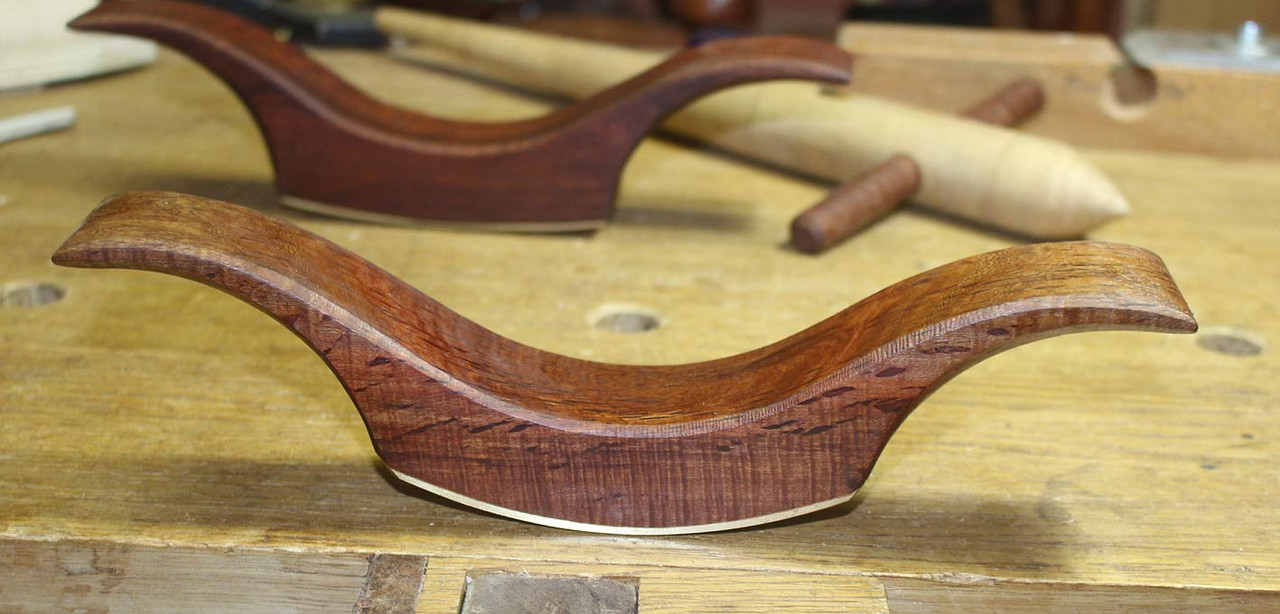
The one used here was the shallower curve ...


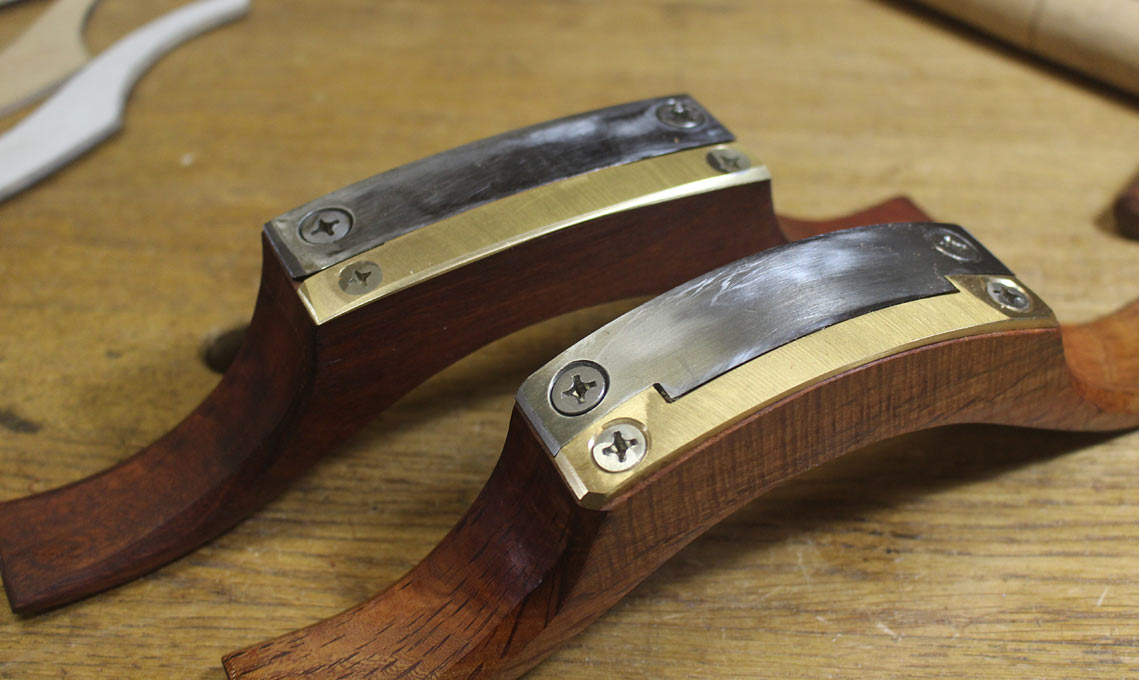
The basic design came from Peter Galbert and, then Claire Minihan's video several years ago. Claire's video is (was) a little dated in that the (straight) mouth/blade has since been replaced with a fitted design (I gleaned this from photos). The shallow travisher has the straight blade, and the more curved one has the newer design ...


They both work well.

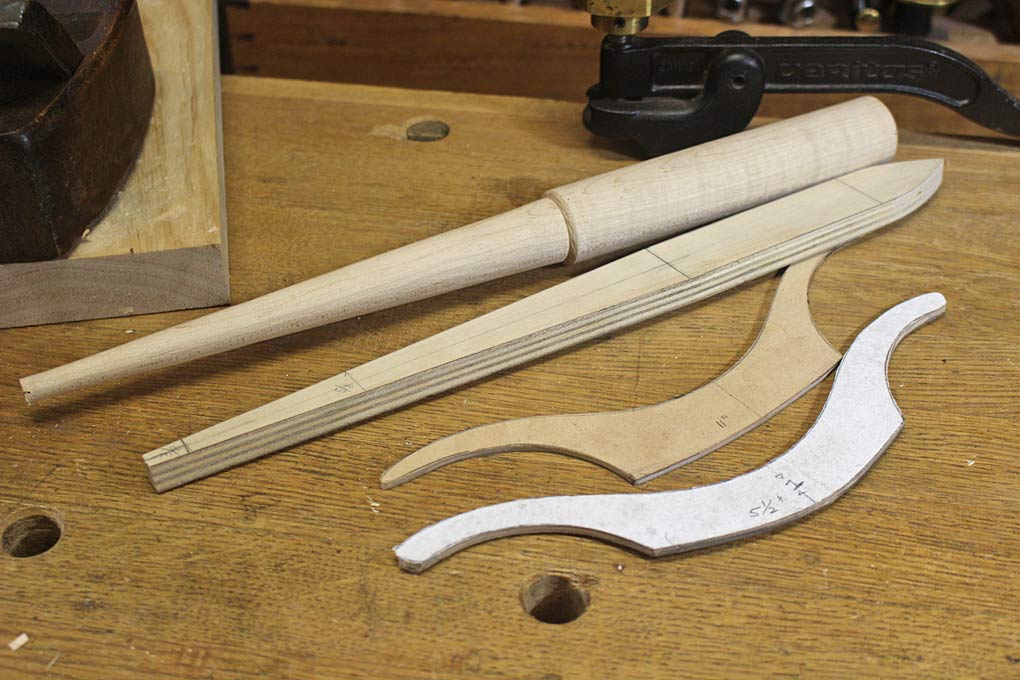
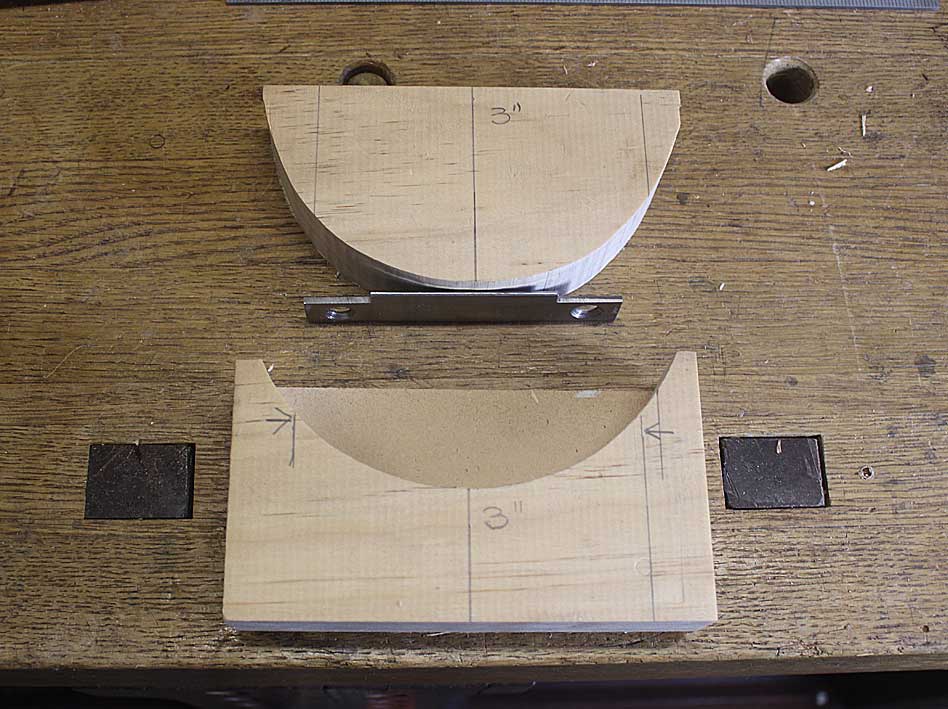
Here is the plan I made at the time. This would be easy-enough to gauge by eye. The one has an 11" radius and the other a 5 1/2" radius. The latter is probably the "jack" and the flatter one "the smoother". :)


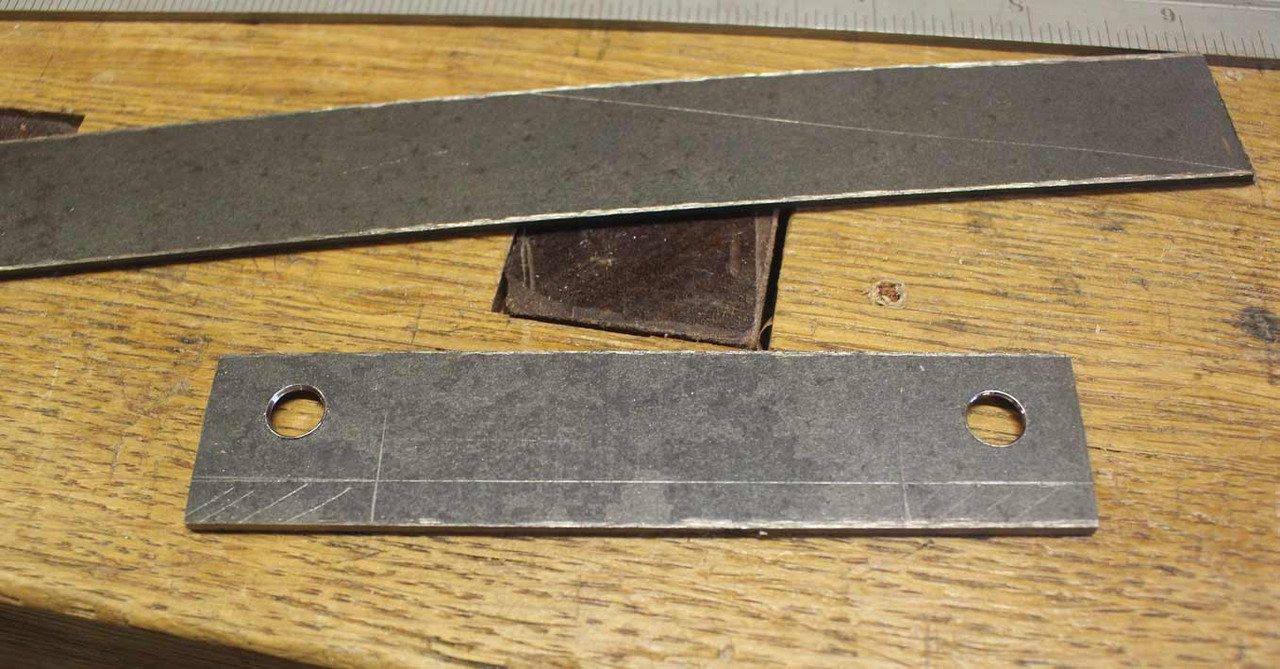
I made the blades from 2.5mm O1 stock ...


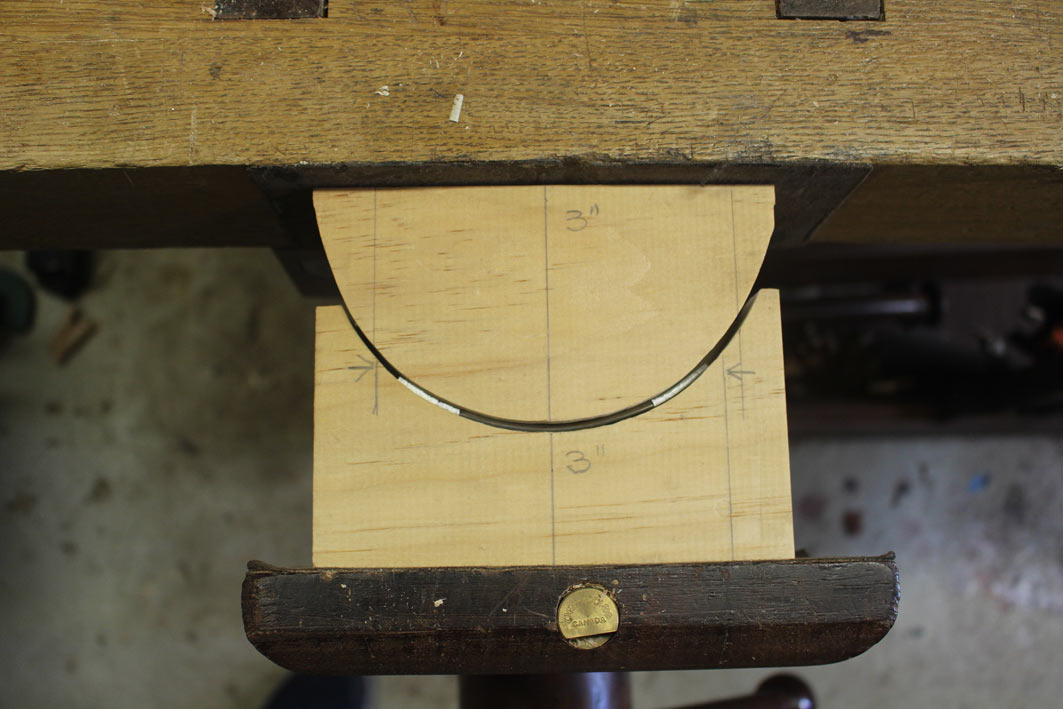
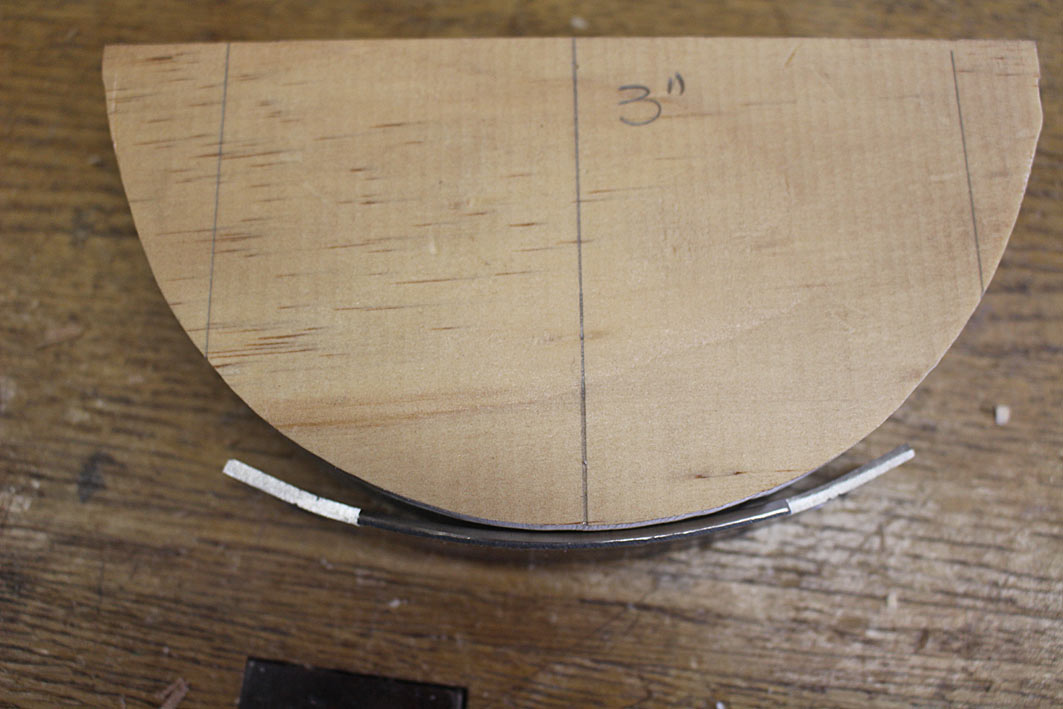
Bend the annealed steel in a form in the vise ...


A little spring back ...


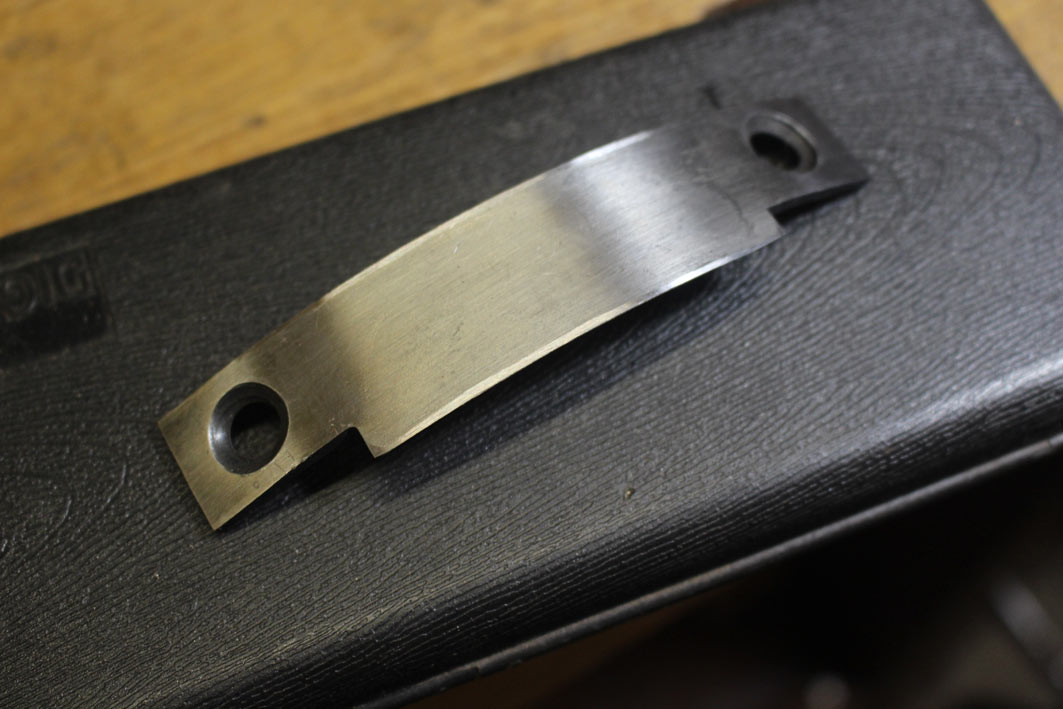
I heated the blade in a gas oven I built, cooled it in peanut oil, and then tempered in the kitchen oven. The blades turned out as well as I could have hoped. Of could, now you can simply purchase them for Elia Bizzarri.

Cleaned up ..


Interestingly, the back hollows a little, which mades it easier to create a coplanar surface.

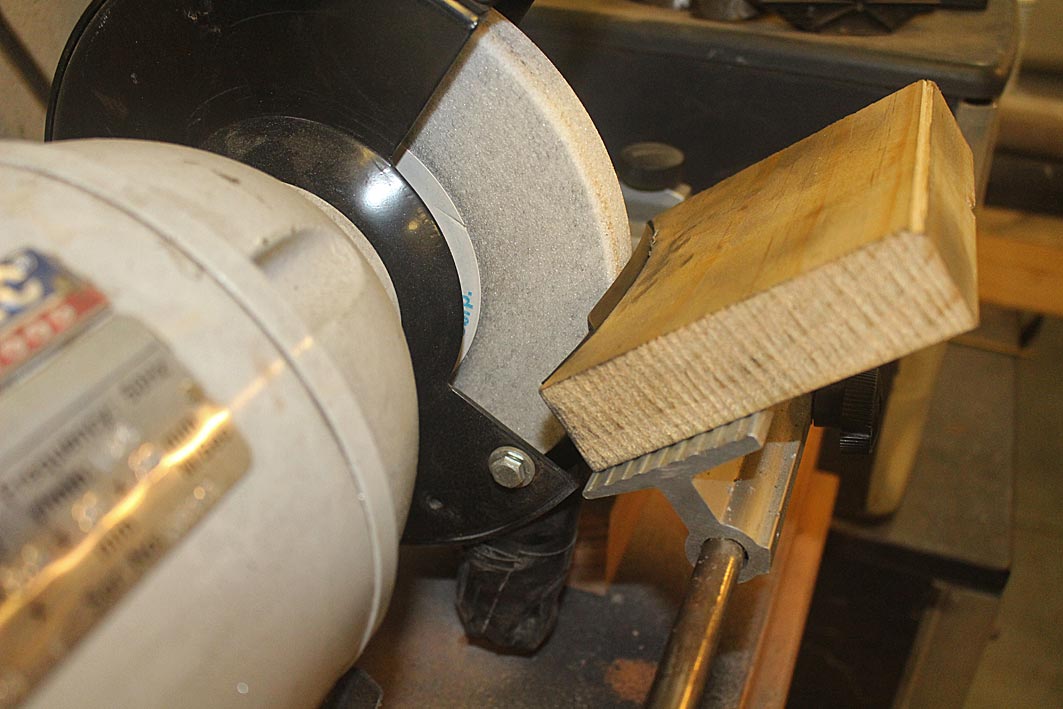
Grinding the blade on a former ...


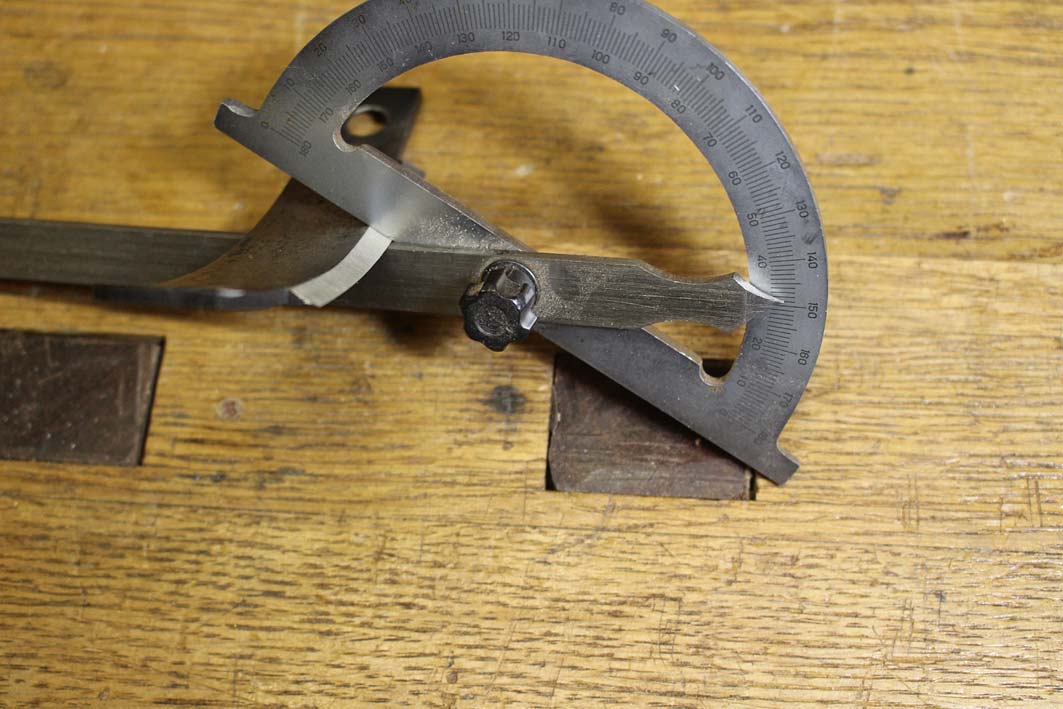
Managed to get close to 30 degrees for the bevel ...


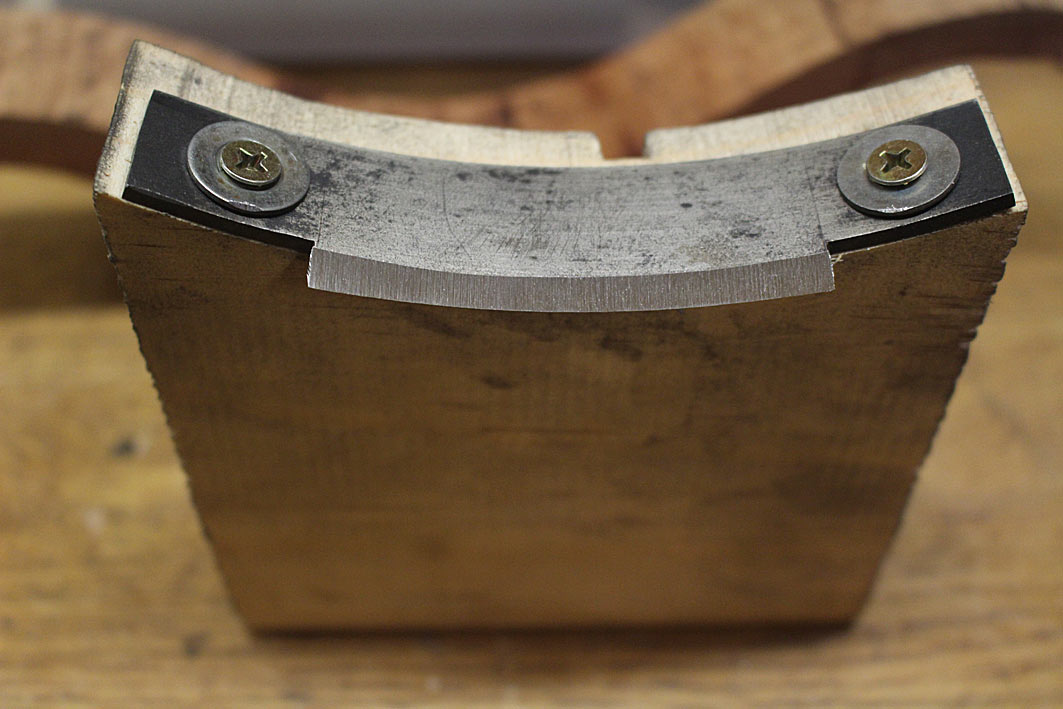
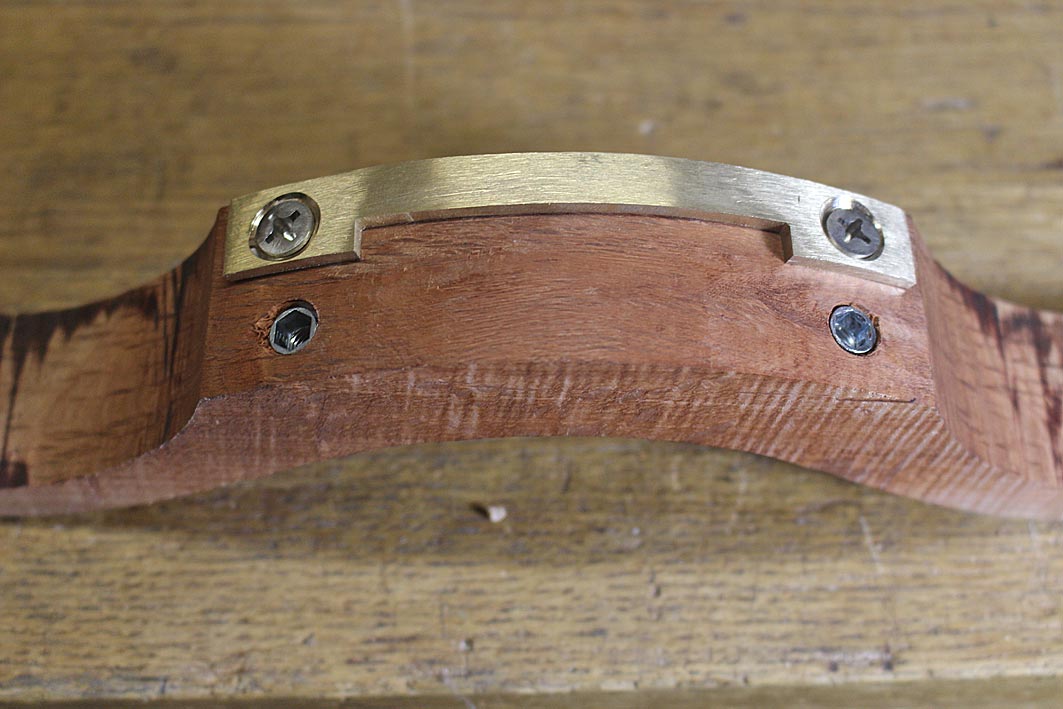
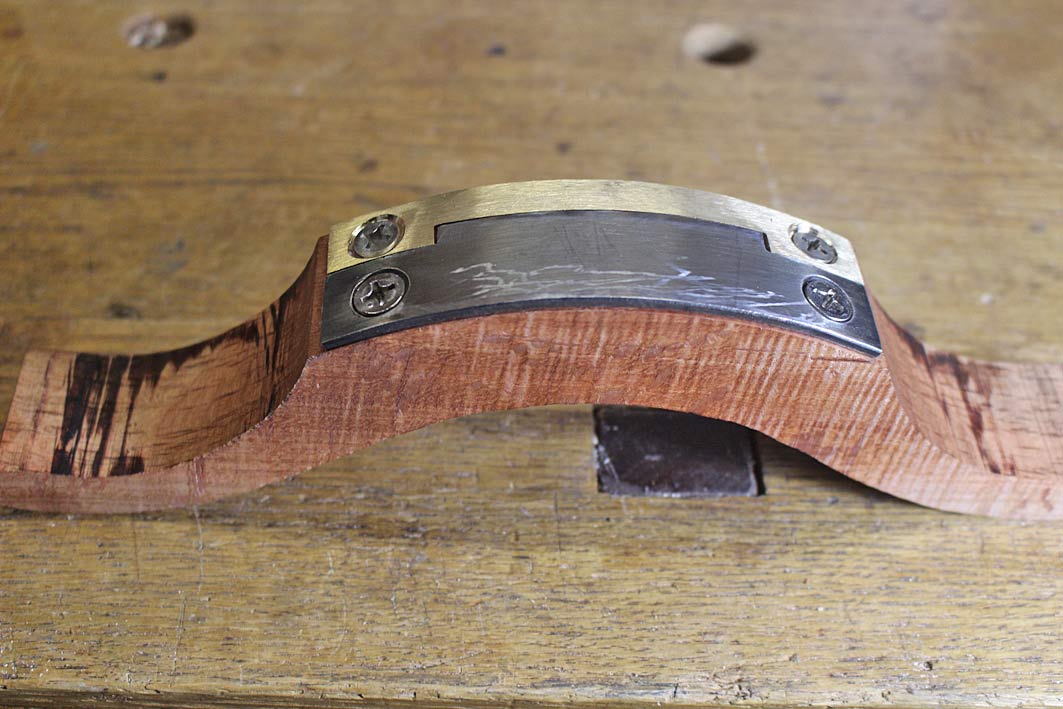
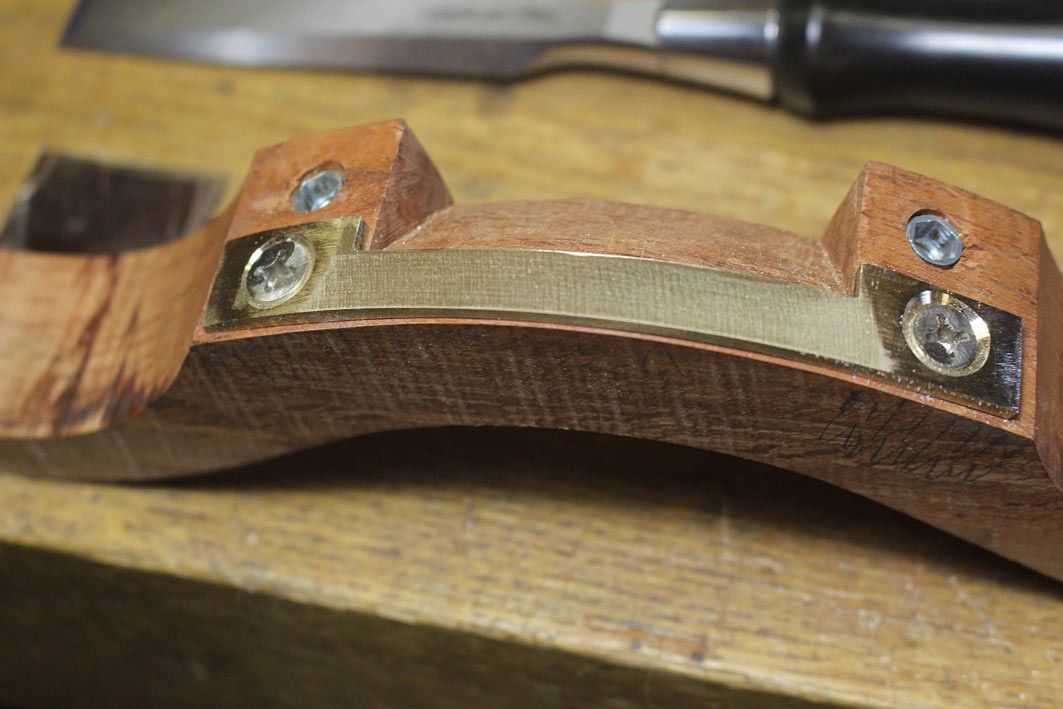
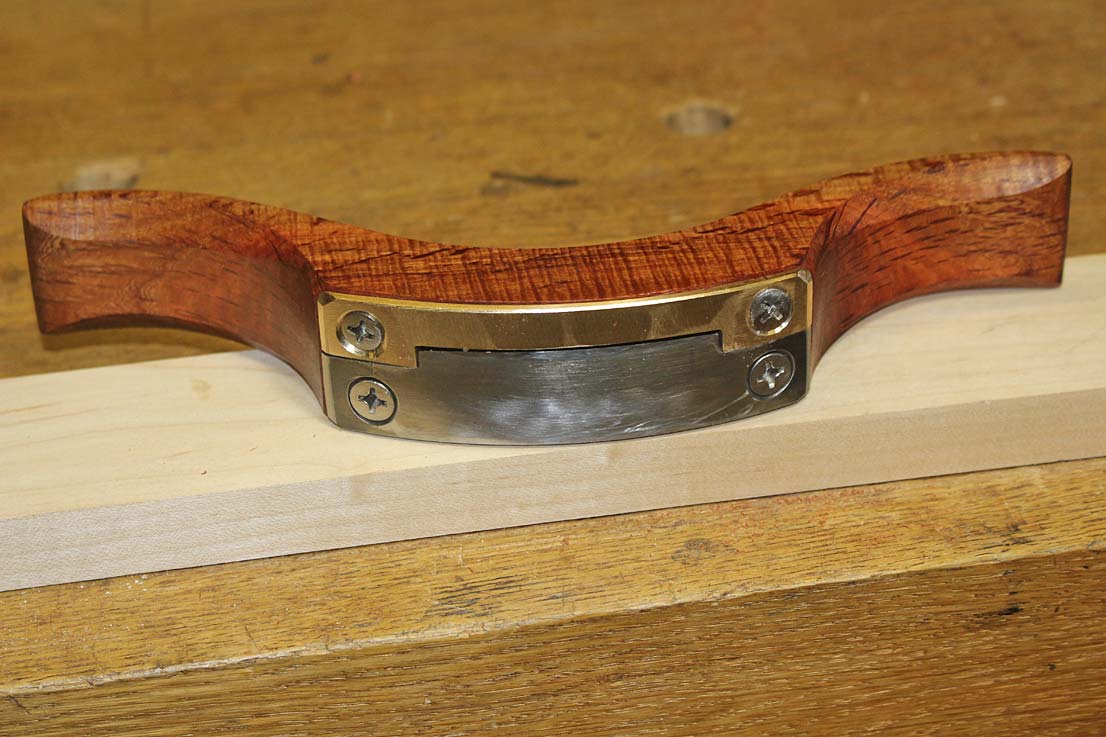
Fit the blade and a brass mouth (easy to bend cold) ...


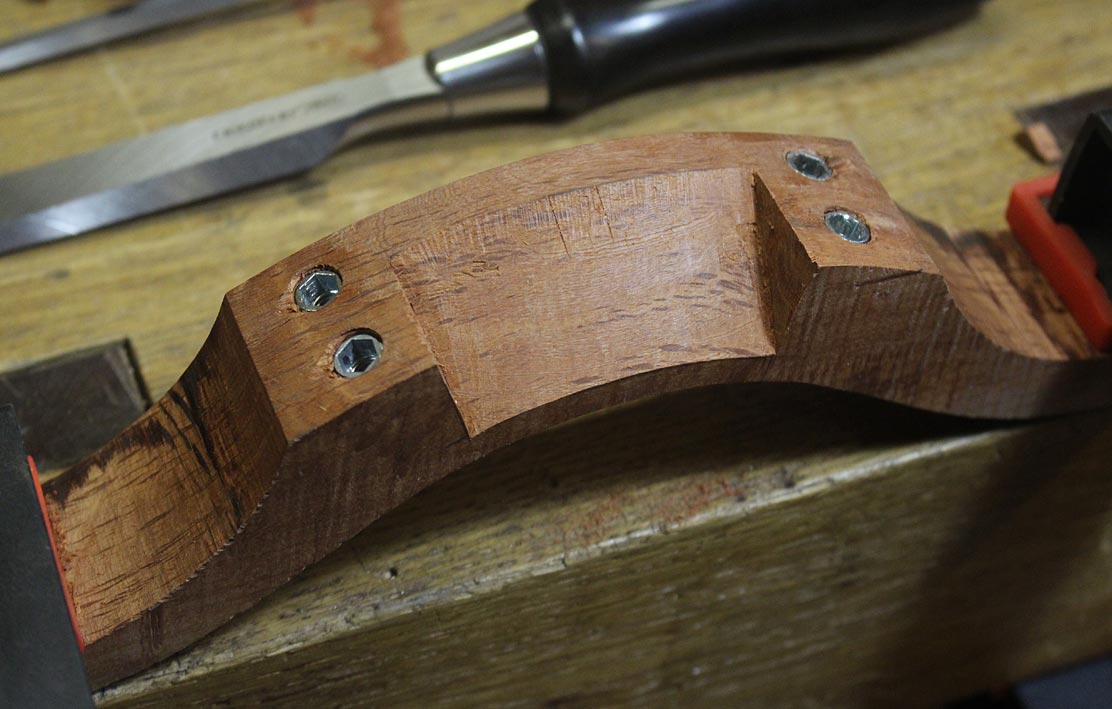
Attach them with metal inserts ...


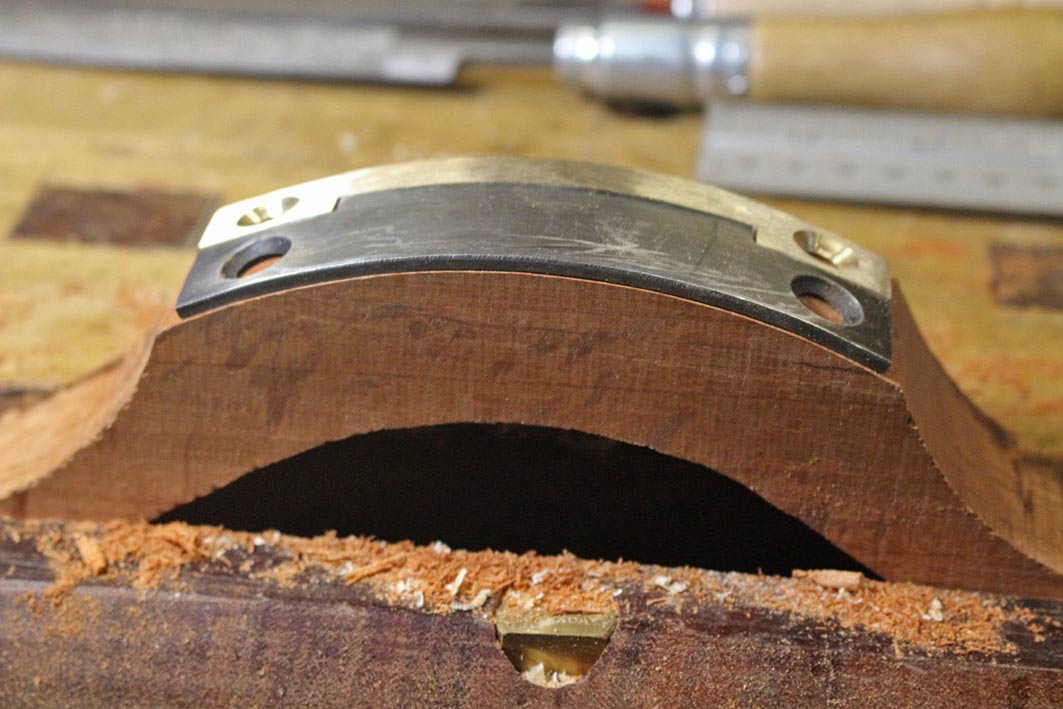
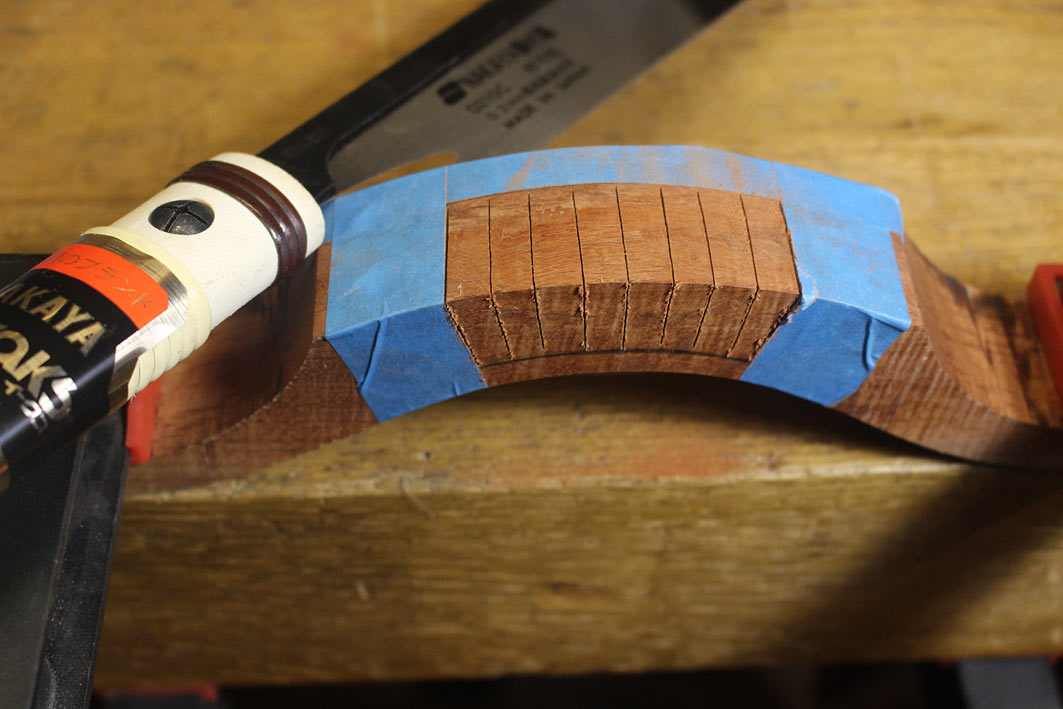
Shape the escapement ...


Grind the brass toe so that it lies a smidgeon of a mm lower than the blade, and curves about 3 degrees towards the toe ...


This shaping is critical how the travisher is used ... with pressure on/off the toe - more on the toe increases the depth of cut, more on the heel decreases the depth of cut ... or vice versa :)

You can go ahead now and finish the shaping of the body ...


Regards from Perth

Derek

Re: Three-sided stools

#10

Re: Building a travisher

Oskar

great summary of the build Derek. Thanks for sharing.

Re: Three-sided stools

#11

Some build highlights

Derek Cohen (in Perth, Australia)

I've not made a large number of these stools, more like a half dozen, and so I hardly count as an expert here. There are others on the forums with so much more relevant experience.

Past stools have used a scorp, pull shave and travishers to shape seats, and the legs were drilled with a brace and auger bit. Tenons and mortices were tapered with shop made reamers and tenon makers ...

For this build I decided to go a different route, and combine power and hand tools. One reason was that the wood chosen was Hard Maple, which is a little more work to excavate than, say, a softwood such as Radiata Pine.

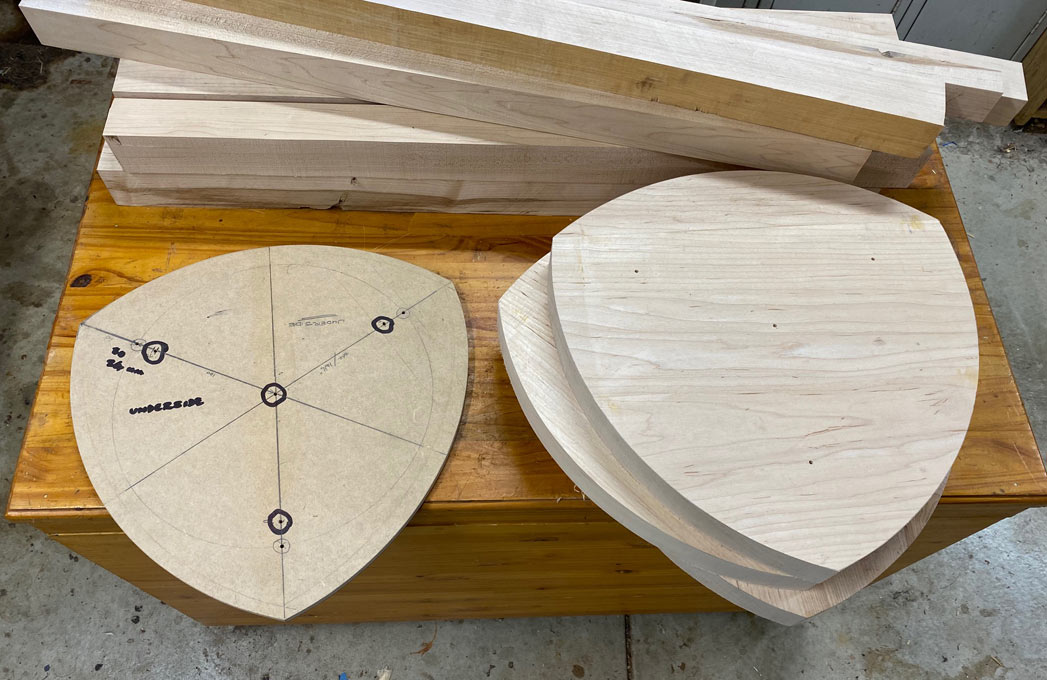
The boards for the seats needed to be glued from two sections as the seats were 14" across, and the maximum I had was 12". I was reasonably successful in disguising this with two of the seats. The thickness of 1 1/2" could have been 1 1/4" and saved some shaving.

The stools ended up 27 1/2" high, and the legs were shaped from 1 1/2" square x 31" long sections.

Below are seats cut and the template used for both the outline and marking the position of the legs ...

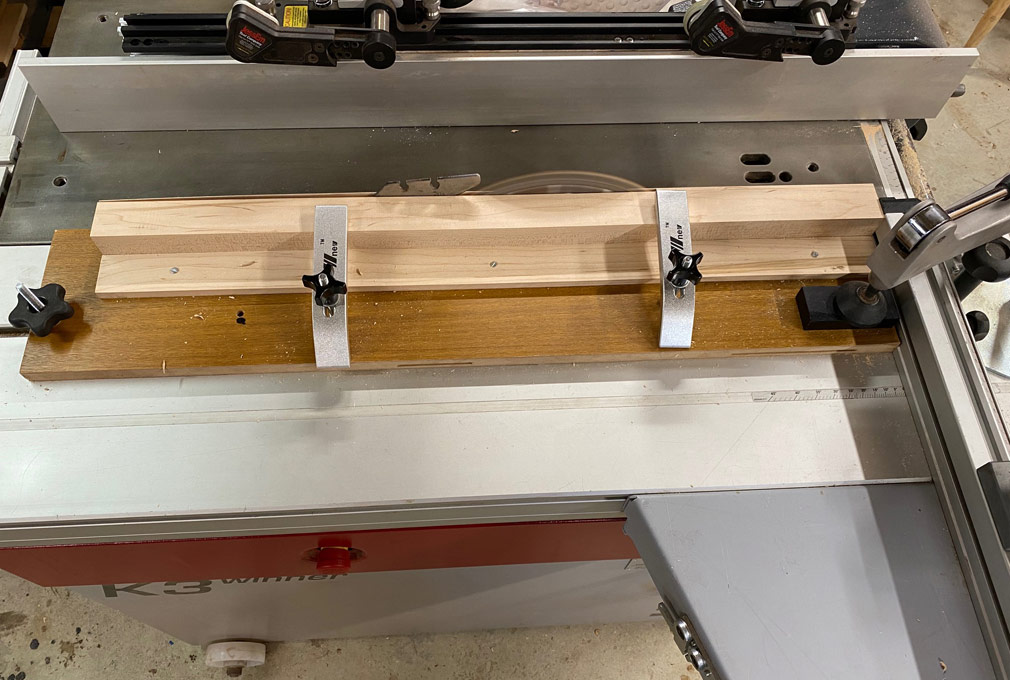
I made a simple fixture for production ripping the legs on the slider ...

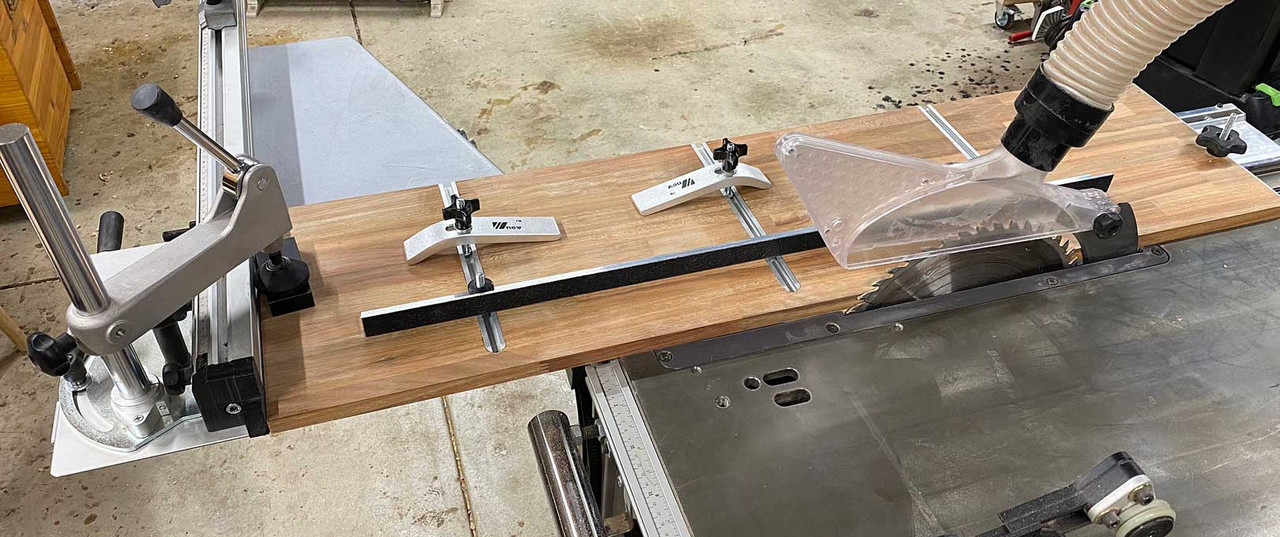
Later, I built a version of this with an adjustable parallel guide fence. This will rip any width and also taper legs.

The plan was to drill the mortices on the drill press using a 24mm WoodOwl auger for this purpose (no leading screw). These are to be parallel-, not tapered mortices ...
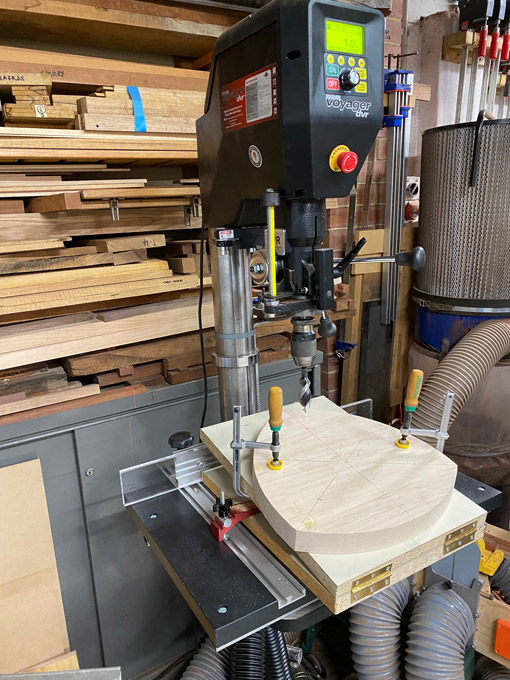

The legs are a 10 degree rake and, being three legs and arranged around essentially a circle, the resultant angle is simply a line to the centre.
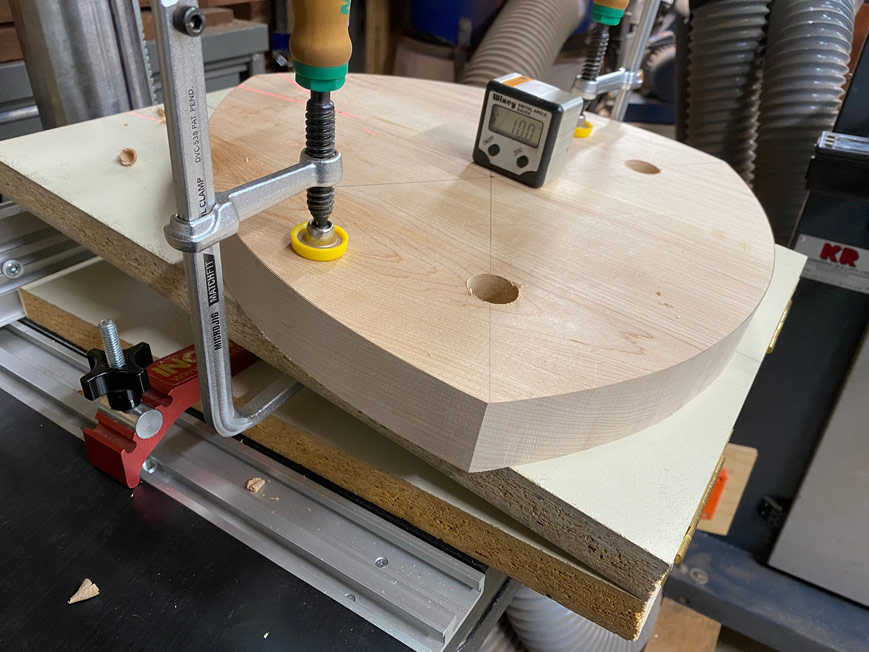


Not a lot of skill required here.

More machine work, but some hand working coming in ...

The seats were turned on the lathe. Just a shallow hollow required. The reason for doing it this way was to create an even hollow in what is a three-corned, but round seat ...
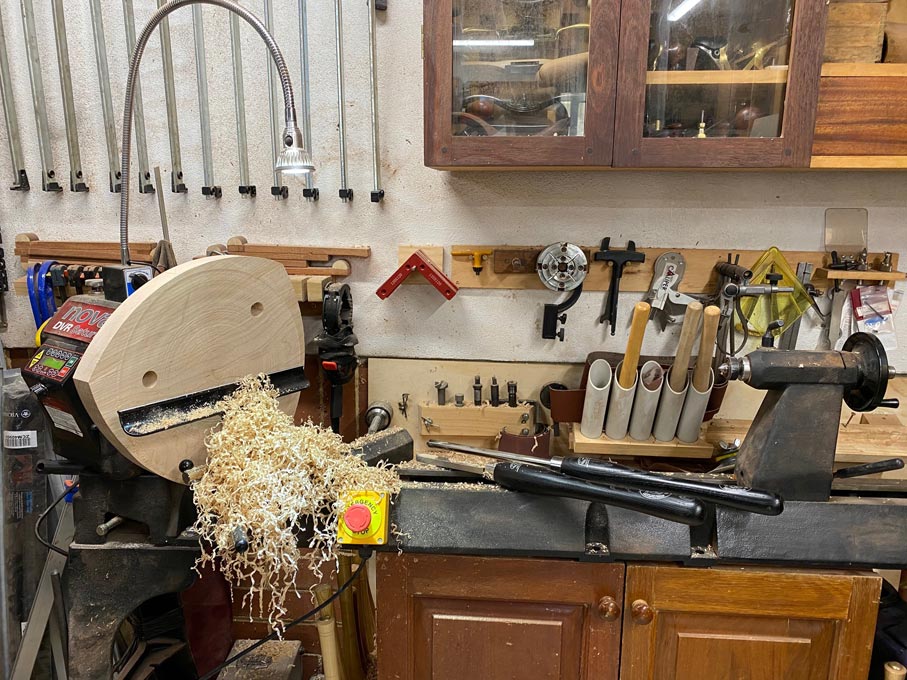

While at it, rough turned the legs ..
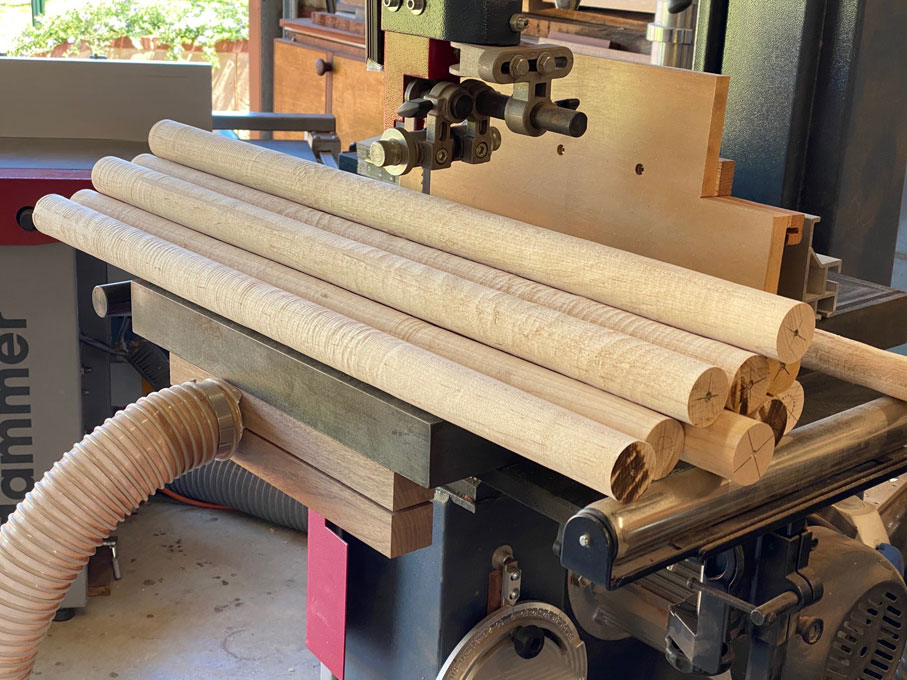

Finally, the hand tools take over. First it is the drawknife to rough out the tapers on the outside edges ...
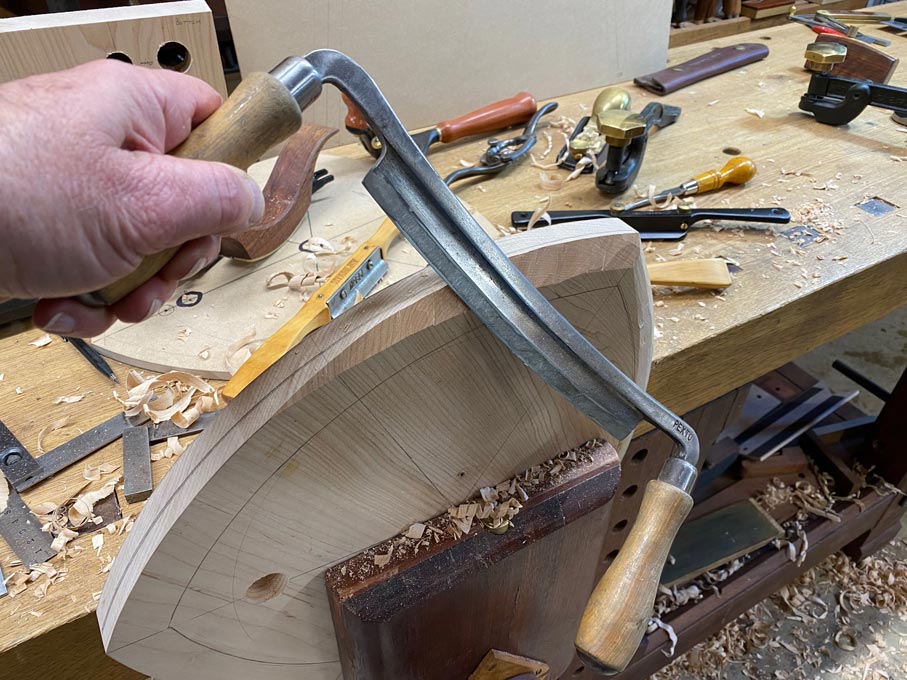

Then I had a fun time using different spokeshaves (I had not had a chance to use any in some months, so this was making up for lost time) ..
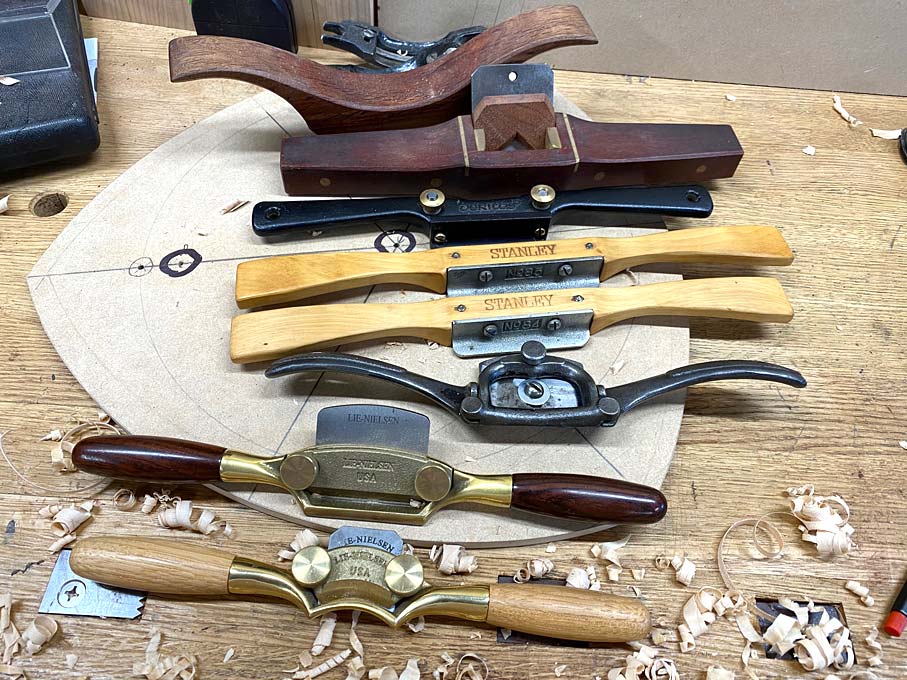

The Stanley #84 and #85 is an amazing shave (Jim, I believe that you gave me these). These work on the same principle as a travisher: the toe has a slight (2-3 degree) taper, which enables the depth of cut to be altered with the angle it is held to the work piece. The shaving done here is largely end grain, and the other shave to shine was the Veritas LA.

The hollowed seats were further shaped and smoothed with a travisher ...
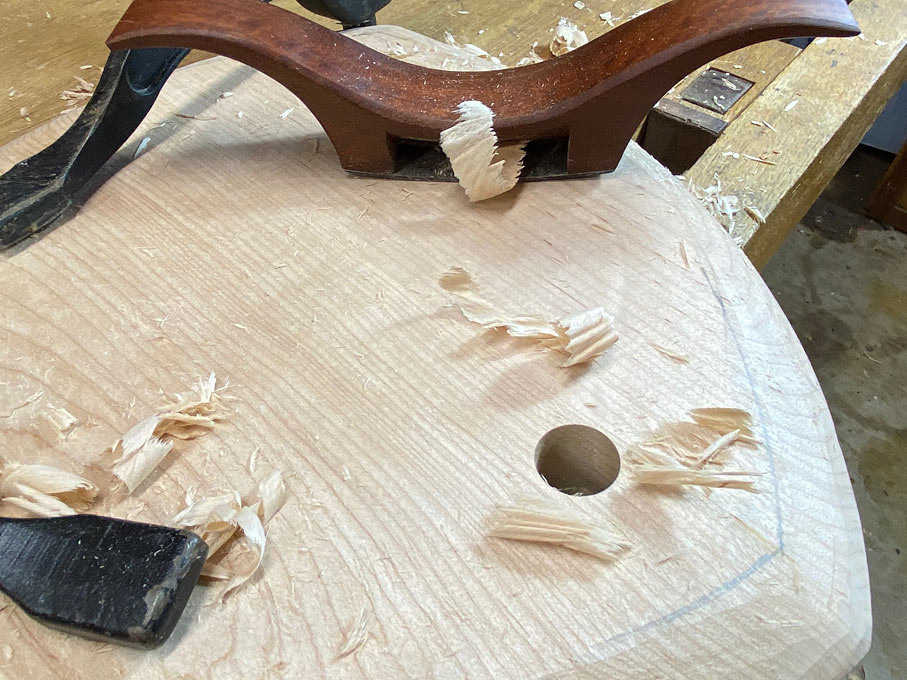

Then back to shaves for shaping the sides. The HNT Gordon can shave into the grain, while the lower angle of the LN leaves a finer finish ...
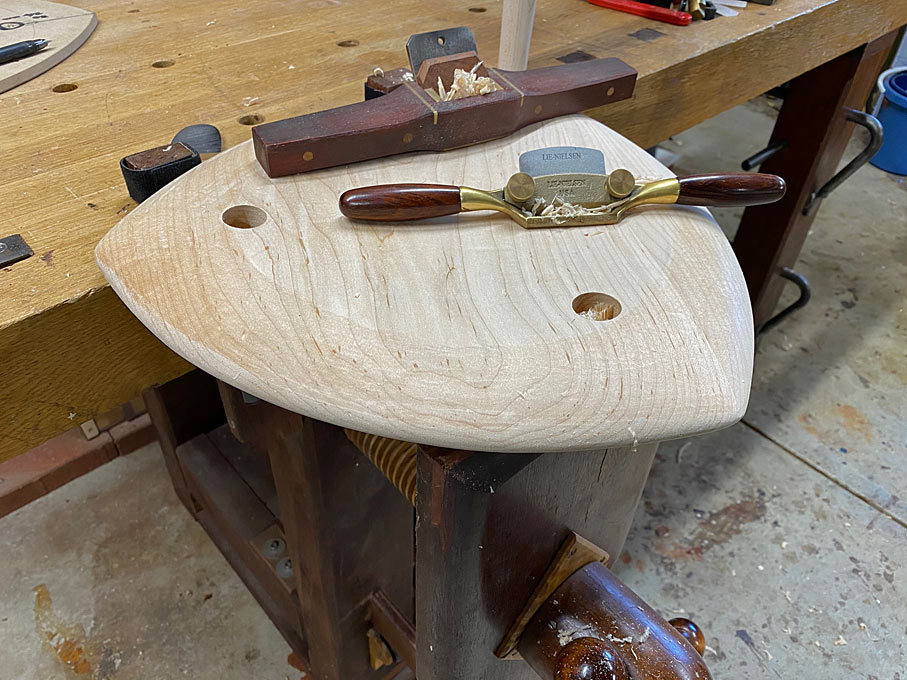

I smoothed the surfaces with a scraper ...
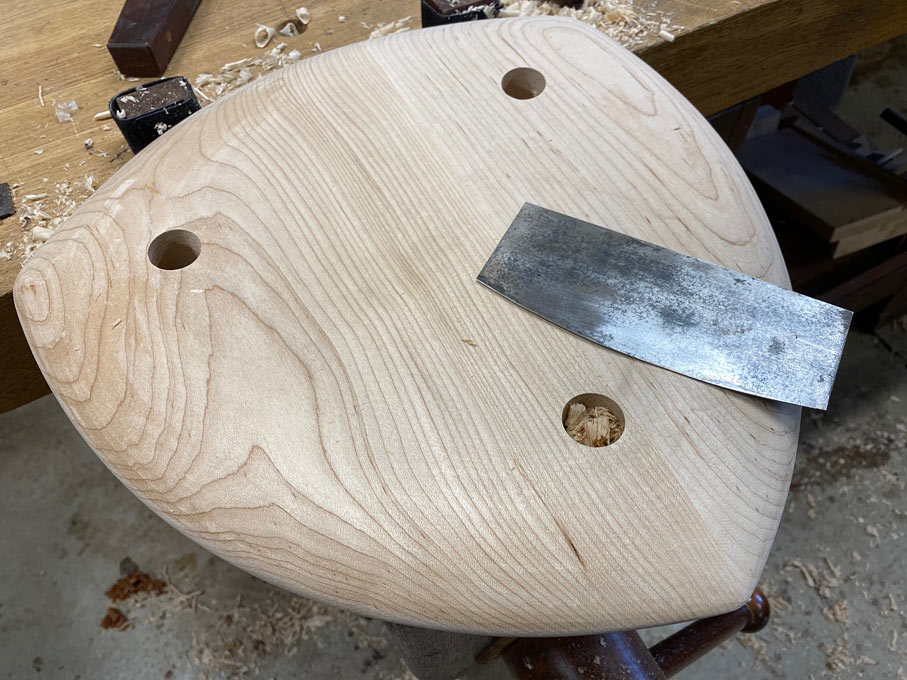

... however Lynndy disapproved and wanted a sanded finish, which is how it ended.

There are a few gaps in the photos collected, such as the shaping of the legs. Not a lot here other than they taper from 25mm at the base, to 38mm at the swell, and then down to 30mm at the start of the tenon. The tenon is 24mm.

Here is a shot of the three stools with legs inserted ...
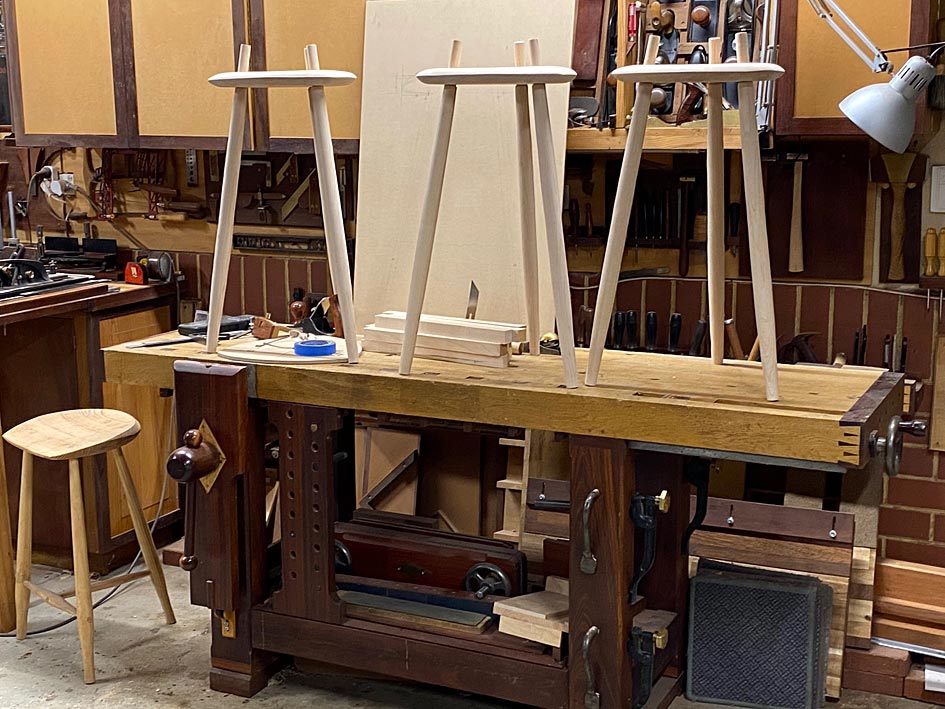

... and another with one set of stretchers in place ...
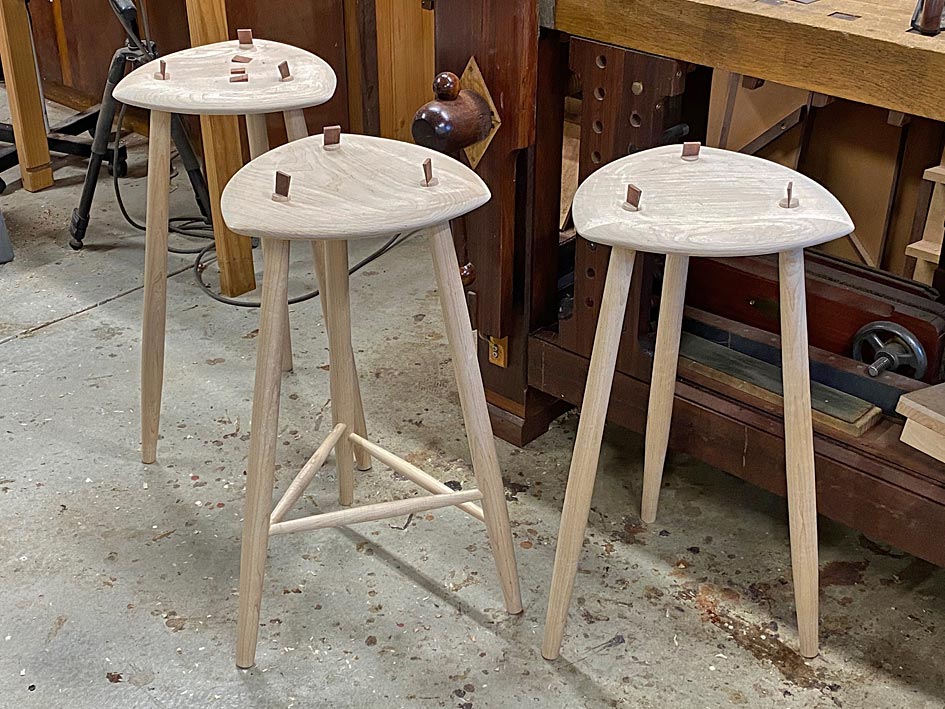

If anything, it is the fitting of the stretchers that was one of the more exacting parts of this build.

Over-length stretchers. These are 25mm at the centre and will have 5/8" tenons ..
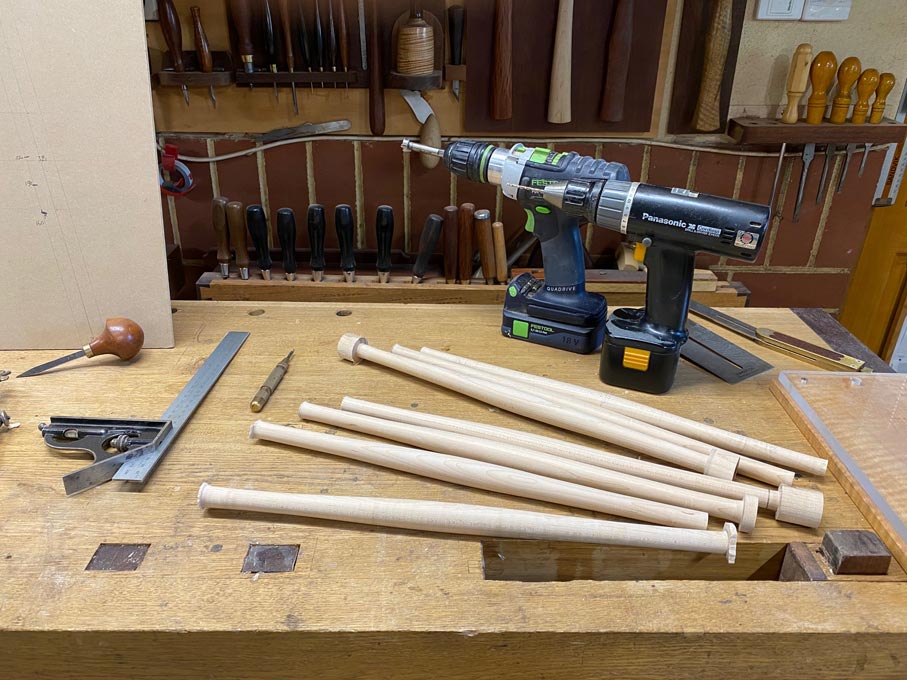

The steps in fitting the stretchers were ..

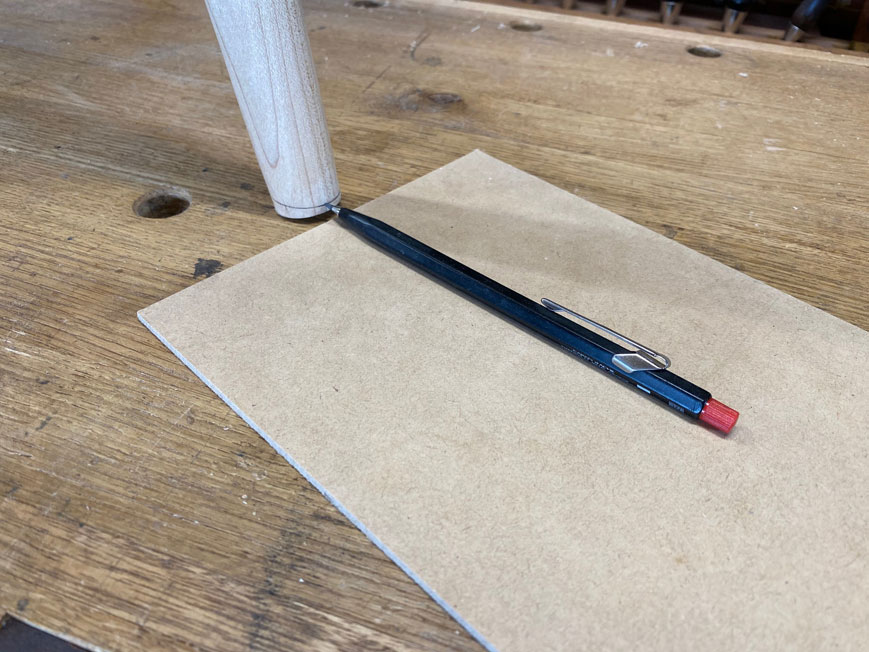
Firstly, I created a template for the positions of the legs, drawing these onto a sheet of MDF ...
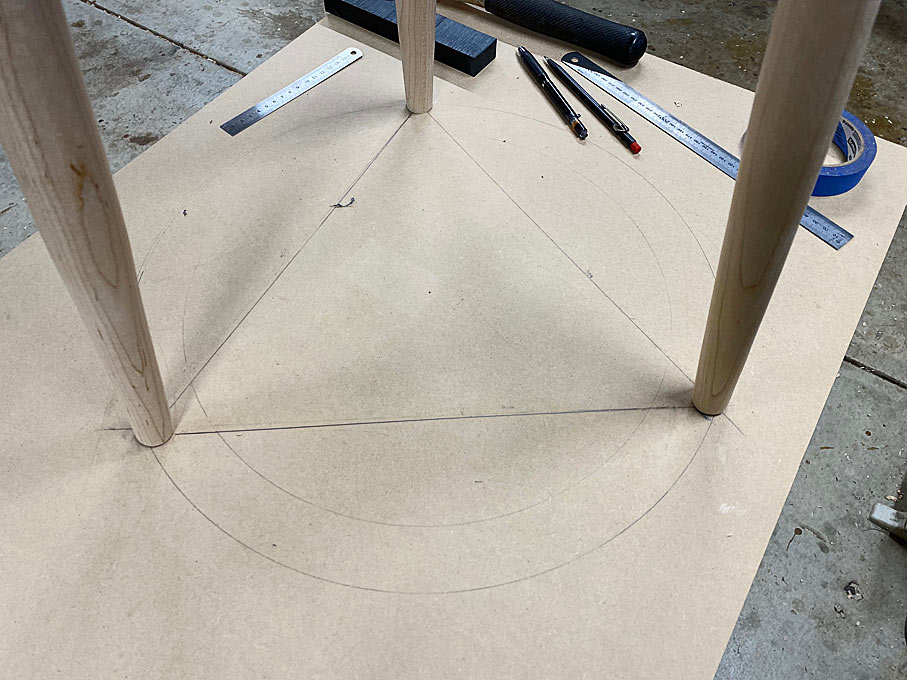

The lines joining the legs provided a guide for drilling.

The height of the legs were marked. These were at 160mm, 190mm and 220mm. It is advisable to do these one set at a time, that is, drill the mortices, and insert the stretcher for one set of legs, then move to the next height. The reason: it is a little like fitting mitres - three corners are easy, but the last might require a little massaging. Insert the stretchers for two sets of legs, and then the last set can be marked accurately.
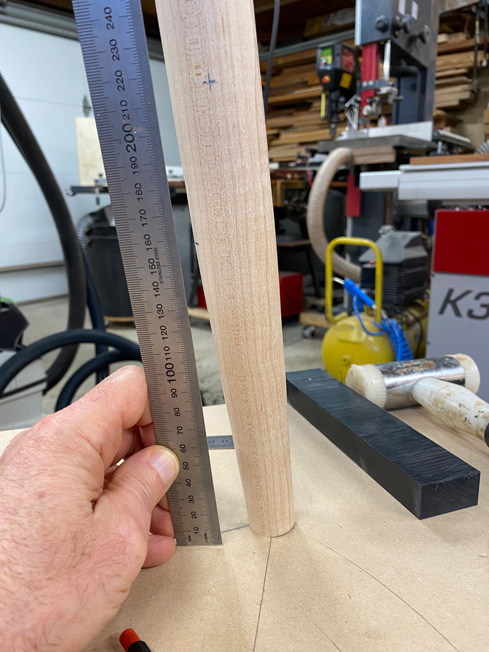
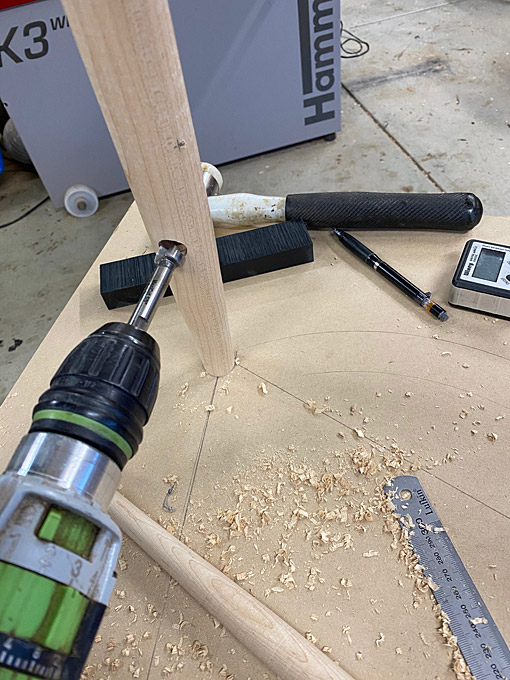

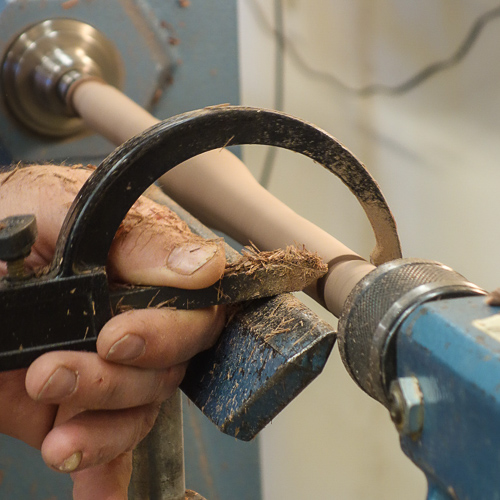
Once the mortices are drilled (halfway), then the stretchers are measured for length. The ends of the stretchers can be turned exactly to 5/8". A great tool for this is the Sorby Sizing Tool Set (photo from Elia Bizzarri) ...

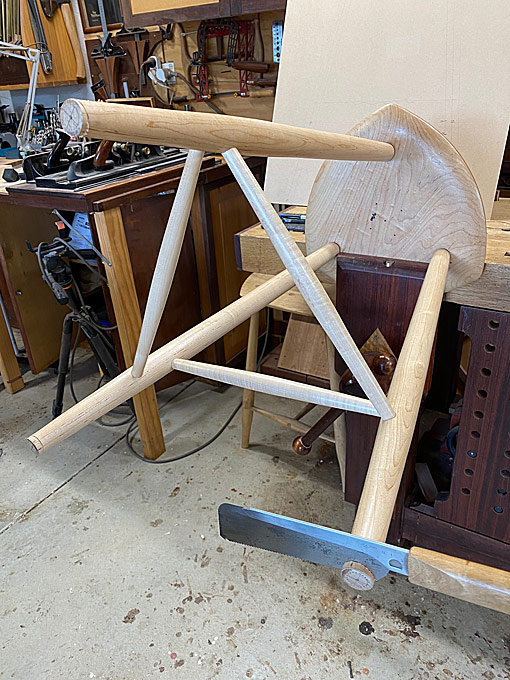
When glueing up, the stretchers-into-legs must be inserted first. Only then is it possible to do the leg tenons-into-seat mortices. Once the seat goes on, the structure is triangulated, and it becomes incredibly rigid. The stretchers would be impossibly be come out unless the seat is removed.

The last task is to level the legs ...

.. and saw them off ...

The stools were finished in one coat of Ubeaut Hard Shellac (for a little amber), and then three coats of General Finishes water-based poly were rubbed on. This finish is hard-wearing and does not yellow.

Regards from Perth

Derek
Re: Three-sided stools

#12

Jack Guzman from Maine

perfect

Jack Guzman from Maine

Thanks Derek. That is just what I need. I bought one from Claire Minihan and built another with a 12.5" blade from Elia but I want to build one of my own from scratch.

Re: Three-sided stools

#13

Joe Fleming

Re: Three-sided stools

Joe Fleming

Derek,

These stools are great. I make stools too and I have been doing three legged stools with three-tier stretchers for years. They are very functional.

I do have one recommendation on the wedges in the legs. I always align the grain of the wood in the legs with the grain of the wood in the seat. And, the wedges are perpendicular to that. In each of your seats, there is one wedge that works to split the seat along the grain of the wood when driven into the trough tenon. On my stools, all of the wedges are aligned parallel to each other and perpendicular to the grain in the seat.

Re: Three-sided stools

#14

Re: Three-sided stools

Derek Cohen (in Perth, Australia)

Joe, I shall do that in future. I cannot change what there is. Fortunately, the tenons are not tapered, and seat instead on a shoulder. The wedge is thin and just enough to prevent the seat lifting.

Regards from Perth

Derek
Re: Three-sided stools

#15

Jack Guzman from Maine

wedges

Jack Guzman from Maine

I noticed that too Derek but it shouldn't be a problem in maple. If you tried that in a pine seat it would tend to split the seat along the grain.

I always line up my wedges opposite seat grain direction but I always use pine for my seats.

Re: Three-sided stools

#17

BZ

Clifton C

Bravo Zulu Admiral, you stumped a few folks... :D

Myron turned 100 Sunday and sends his regards...

👍 This page answered my questions

Your vote helps other woodworkers quickly find the answers and techniques that actually work in the shop.