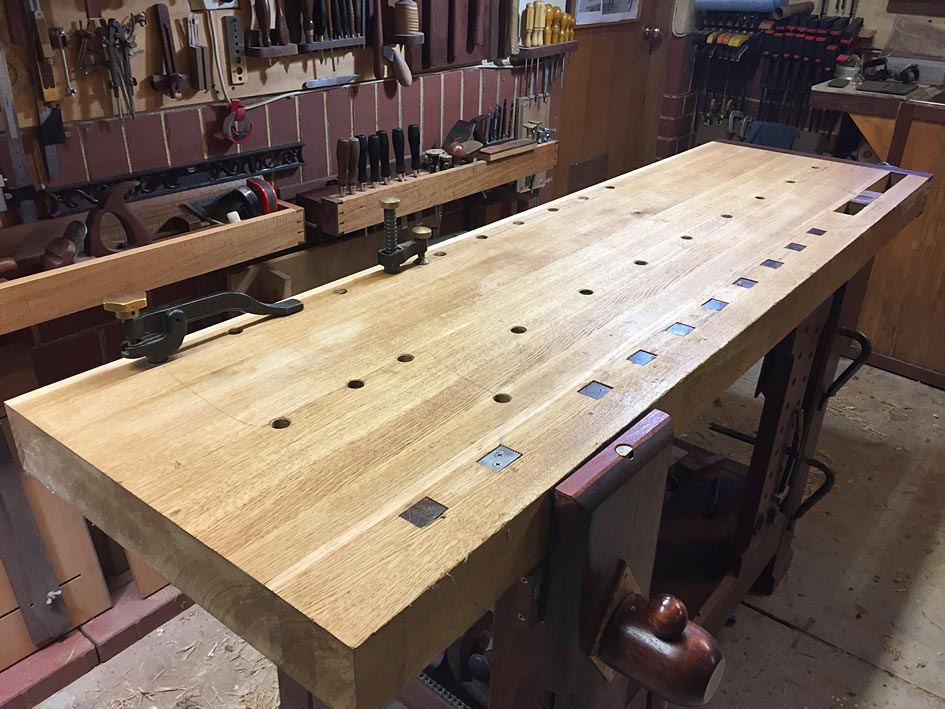
Talk about procrastination. About 18 years ago I built this bench. I glued it up in sections so I could run it through my 13" power planer. As a result I never got it perfectly flat. Been meaning to level it off but wasn't confident enough in my planing skills to attempt it with hand planes until now.
The plane in the foreground is a #6 with very little camber set for a fairly light shaving. The other is a #5 with a toothed iron. I started with a cambered iron in the 5 but it created some tearout when I had it deep enough to be effective. The toothed iron was a big improvement. I still have a ways to go but I'm making progress. Feels good but I had to take a break. This is a real workout and I'm a little old.
I'm open to suggestions on better methods but for now I'll keep going this way.
Jack.....I've had to make the same undertaking......it might be worthwhile for me to buy a toothed blade.....that keeps coming up as a good way to approach this.
What are you using for a straight edge?? Take lots of brakes and monitor your progress with that straight edge......that kept me from getting into trouble.
"Set the cap iron on a jointer" I have my #7 which I am using to finish the flattening. Could you elaborate a bit on that phrase? Do you mean I should set the cap iron close to the edge to cut down on tearout?
Yes, set the cap iron so that the shaving straightens out at whatever thickness you're planing so that grain direction wont have as much of an effect. If you're taking something like a half of a hundredth thickness, there will be a tiny bit of readout that you can remove with a couple of smoother passes. Or, you can just leave it.
You’re doing great with the toothed iron. I’ve done this a couple of times. What worked for me best was to think of the job in two parts.
The first part was the brutal—repeat brutal—business of attacking the high spots wherever i found them with a fairly narrow cambered blade. Finding them was done with a milled-edge 4-foot level which just stayed on the bench top for constant checking. Constant checking to avoid ever cutting into a low place. I used a wooden fore plane, no capiron at all. But a toothed iron would have been great. Not a lot of tearout, because it doesn’t take long to find out which way the grain lies, plus you can always cut the high spots down across the grain. 90% of the time and work was done in part 1.
Part 2 was the actual flattening. A try plane or any long lightly cambered plane (like your no. 7) would do fine, because the real work has already been done.
I found this process to be the more effective, the less elegant it was. It seems to me you are following the same basic idea.
That is a nice long bench! Where did you get the cambered blade?
Jack, toothing deliberately leaves a slightly roughened surface at the end of the preparation. The finished toothed surface does not feel rough, however it is a great non-slip, especially so when compared to a planed or sanded surface.
I add one coat (only) of a danish oil to the top. This is to offer some protection against glue and stains, but not enough to make it slick.
I've been getting bugged by lots of little hardened glue droplets but mostly I need a flat surface to level windsor chair legs. I've resorting to using the tablesaw top for this but I prefer using my bench.