Apothecary Chest - shaping the drawer fronts (1)
Derek Cohen (in Perth, Australia)
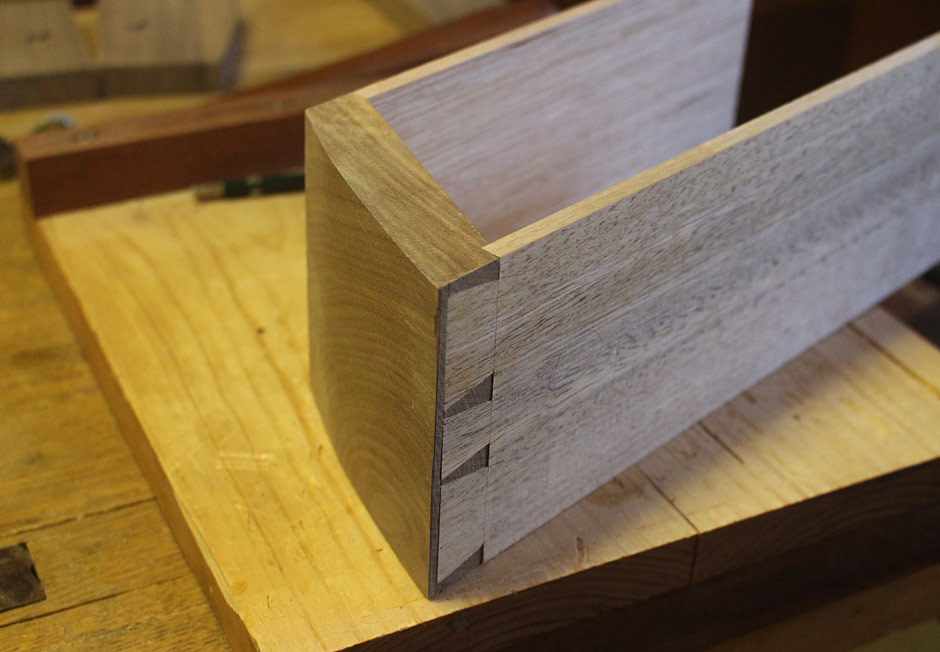
Having completed the dovetailing of the drawer sides into the drawer fronts, the next step is to shape the outside bow to match the chest.
This is the drawer to be demonstrated ...
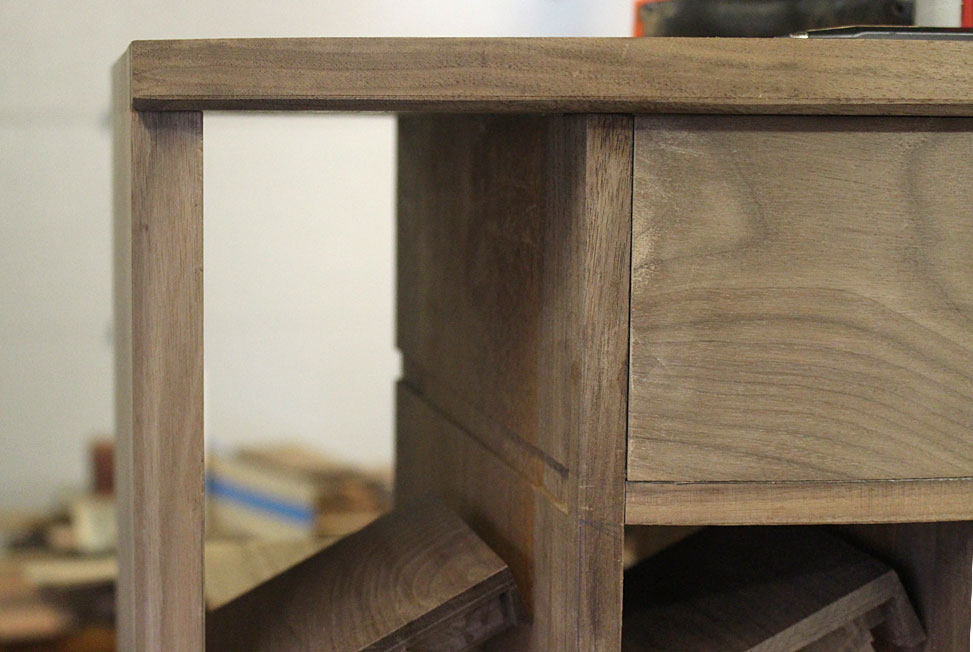
The drawer blade has been removed, and receives a final tweaking to match a template. Every drawer blade receives the same treatment, and there is a template for each vertical row ...
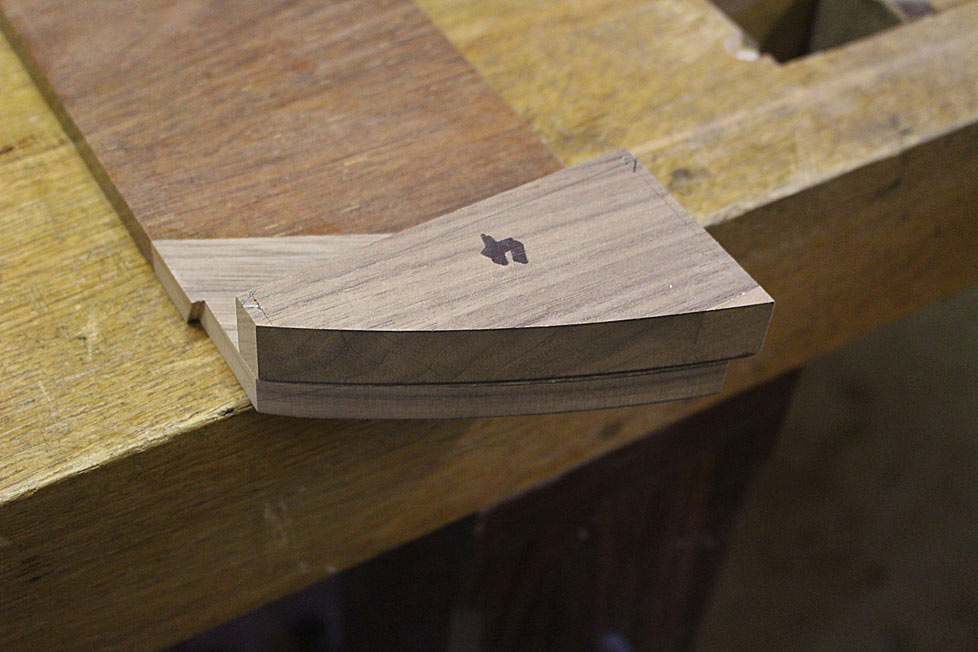
The drawer blade is returned to the chest, the drawer is fitted, and the profile of the drawer front is traced ...
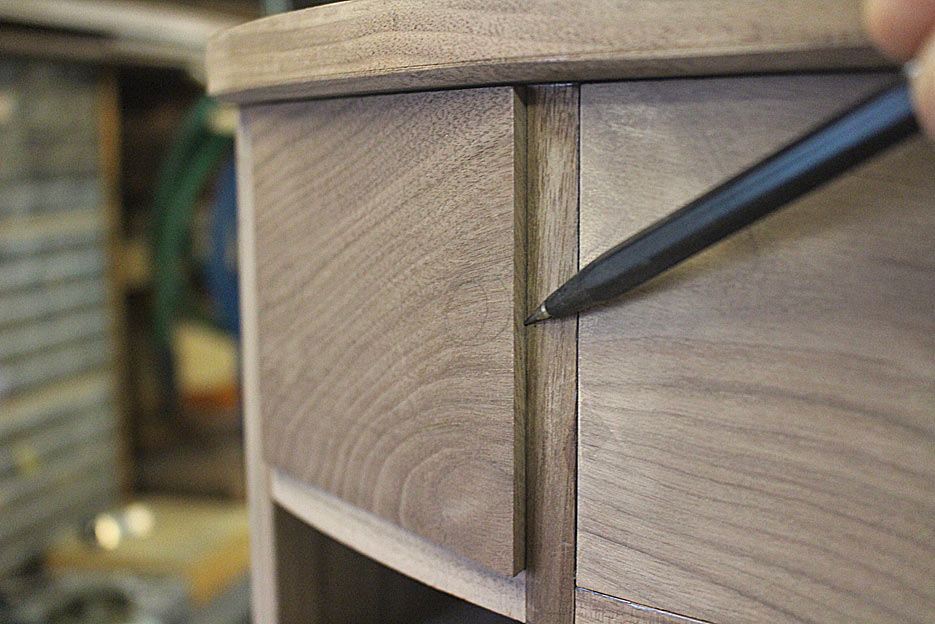
Below, the markings may be seen on the drawer front ...
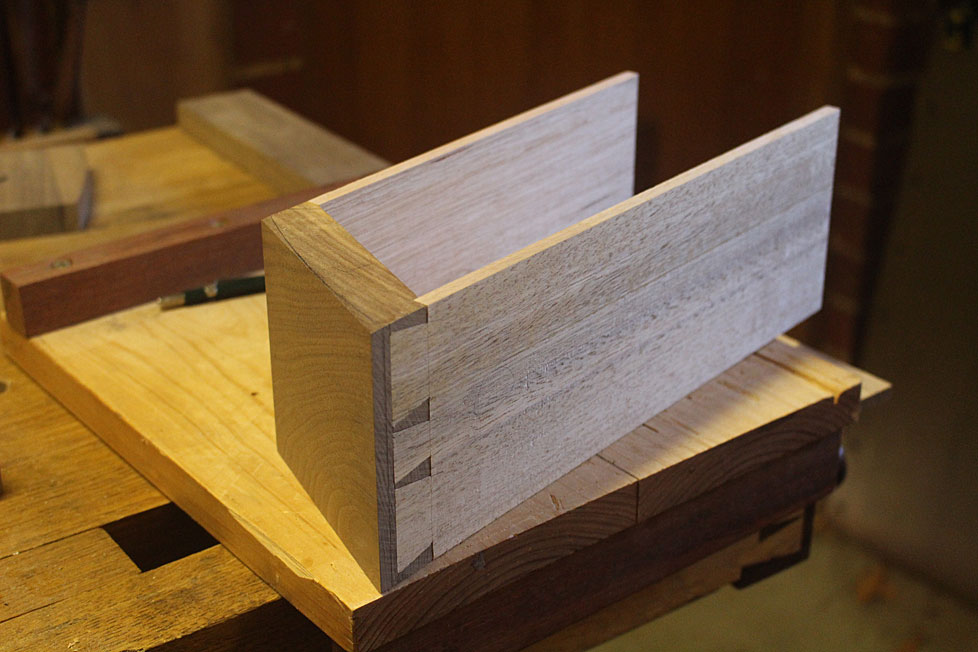
The drawer is pulled apart. The grooves for the drawer bottom have been completed. The drawer sides received a 3mm deep groove, while the groove for the drawer front is about 8-9mm deep. The extra depth here is to allow for the inner curve to be later shaped, and that this will remove approximately 3-4mm at the centre.
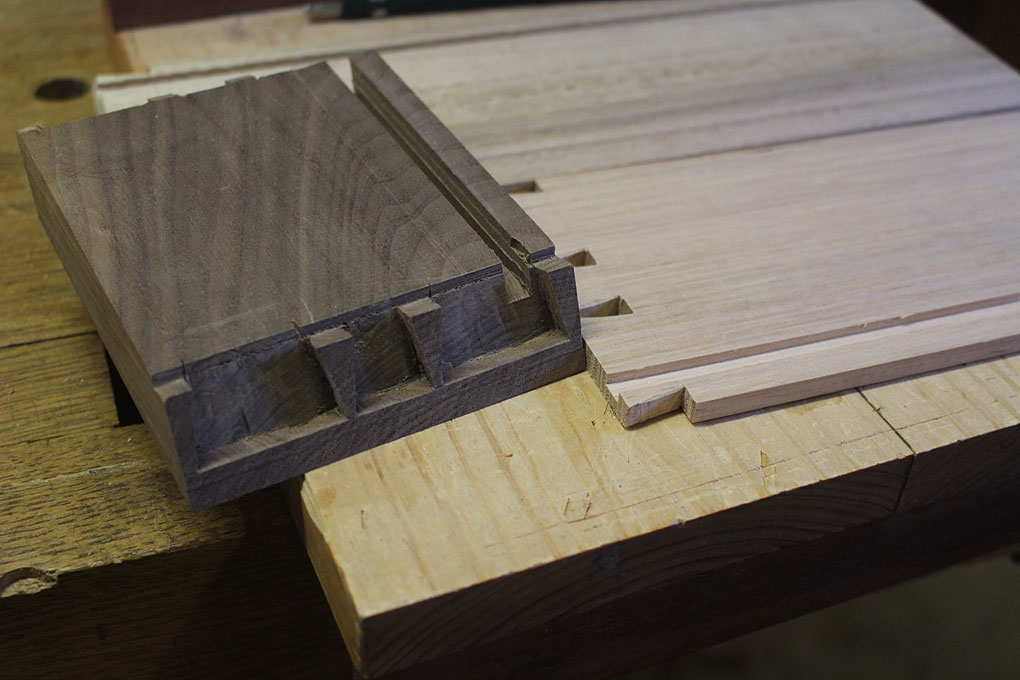
Now the end of the drawer front is marked ...
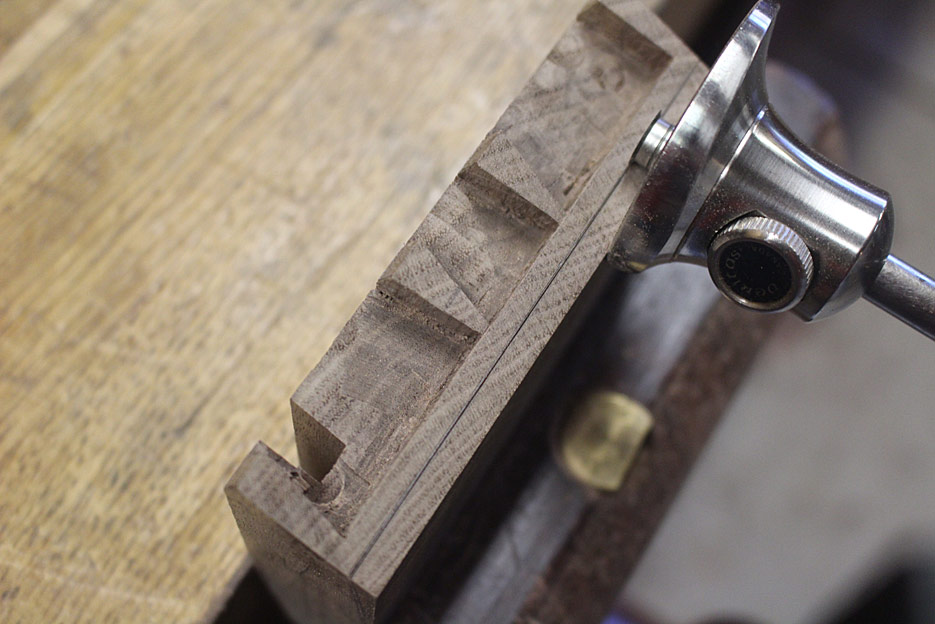
Blue tape is added, and the excess removed ...
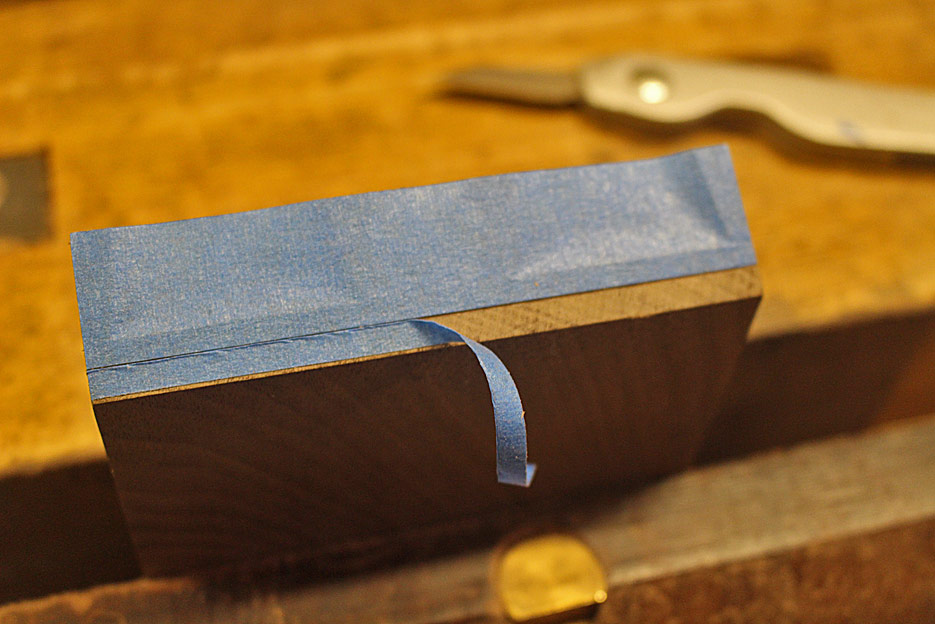
The tape is added to the upper and lower faces, and the template (from the drawer blade) is now used to mark the curve ...
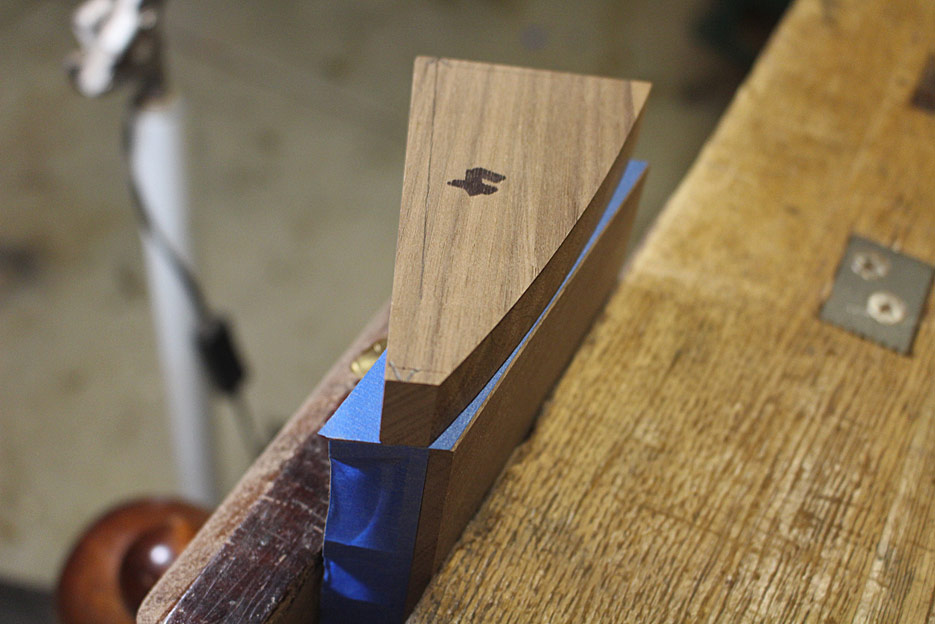
Once removed, the cut lines stand out clearly ...
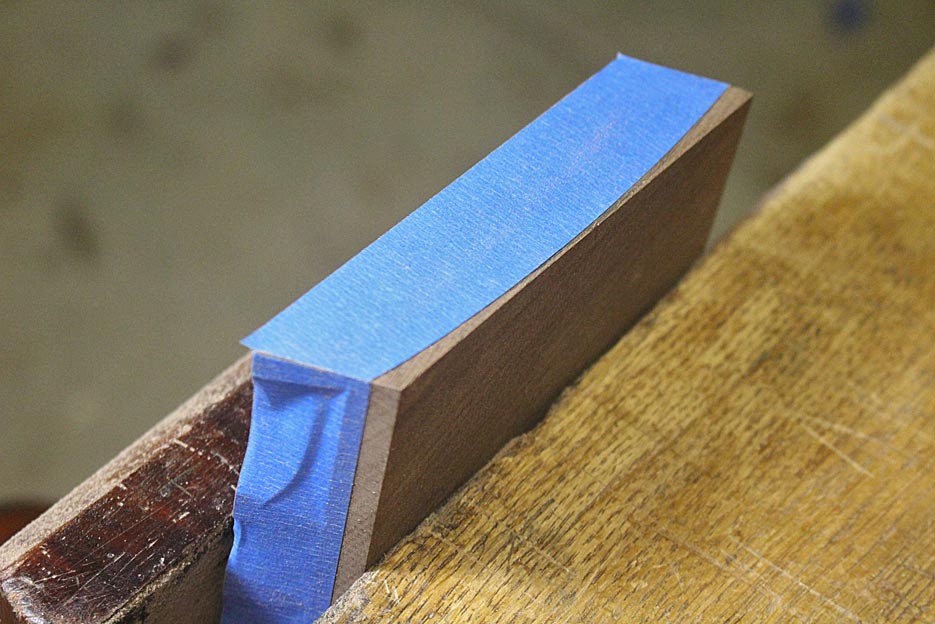
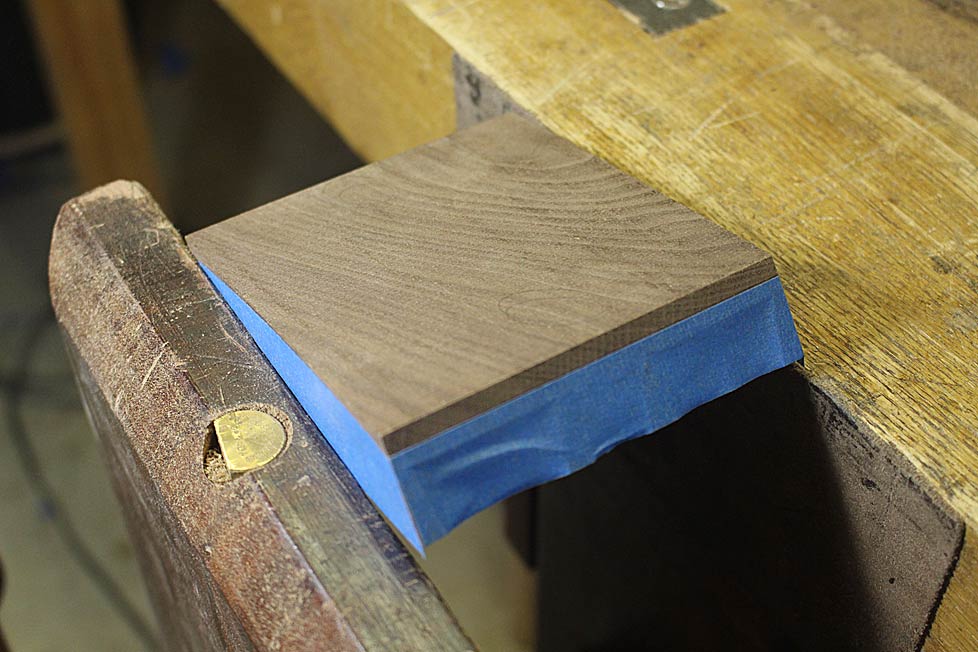
The rasping may begin. A start is made with a Shinto, which has roughly 10 grain on the coarse side (this is a Japanese rasp made from hacksaw blades. The other side is about 14 grain).
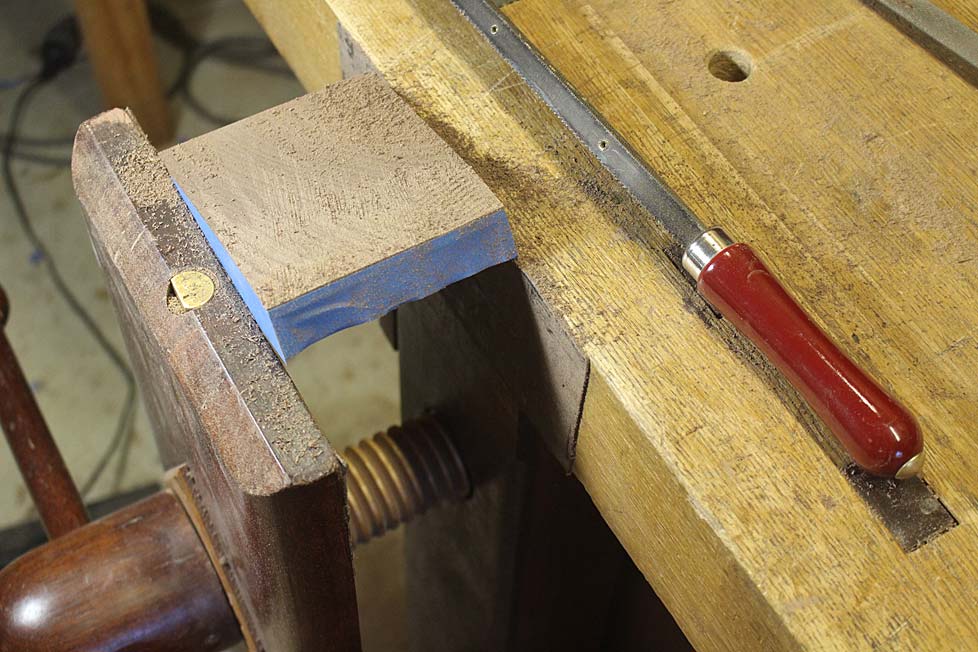
In turn, after the 10 grain comes the fine side of the Shinto, and then a 13 grain Auriou followed by a second cut file.
The surface is refined with a scraper ...
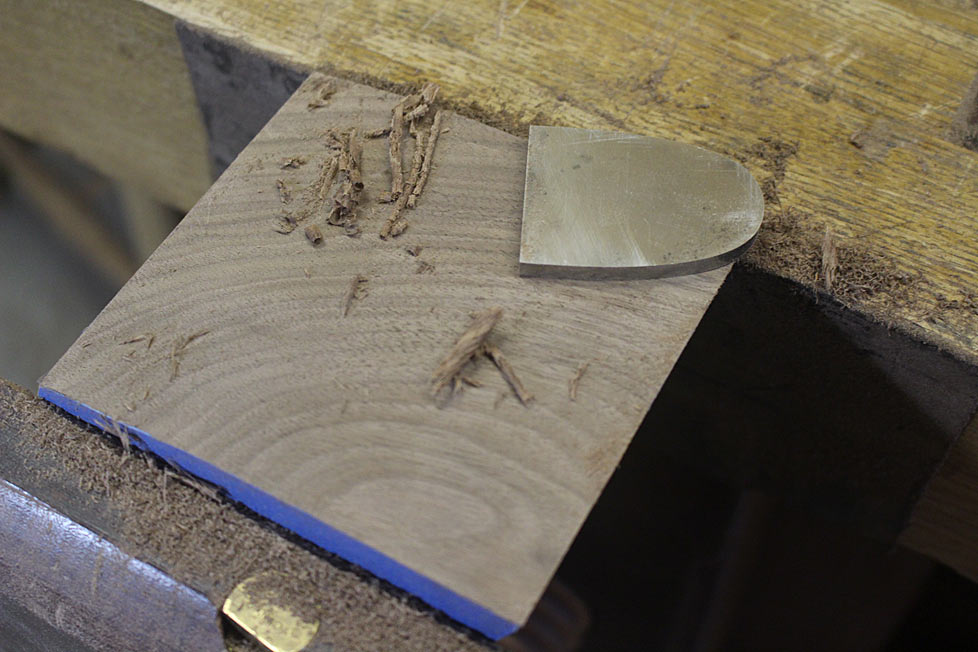
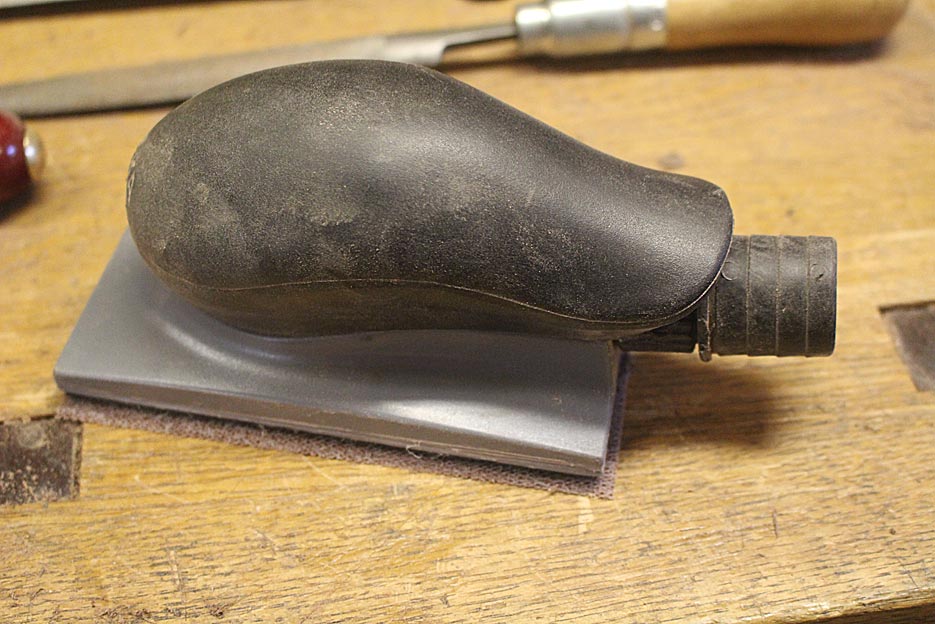
... and 120/22/320 Abranet mesh. You will ask why sand after scraping? The reason is that the sanding removes any scratches left by the rasps and scraper, creating a uniform surface. The final result is fairly polished. It is possible that I may go over this with a cabinet scraper prior to finish ...
This completes the drawer at this stage. The rear of the drawer front will next receive a complimentary curve. I hope to get to this during the week ...
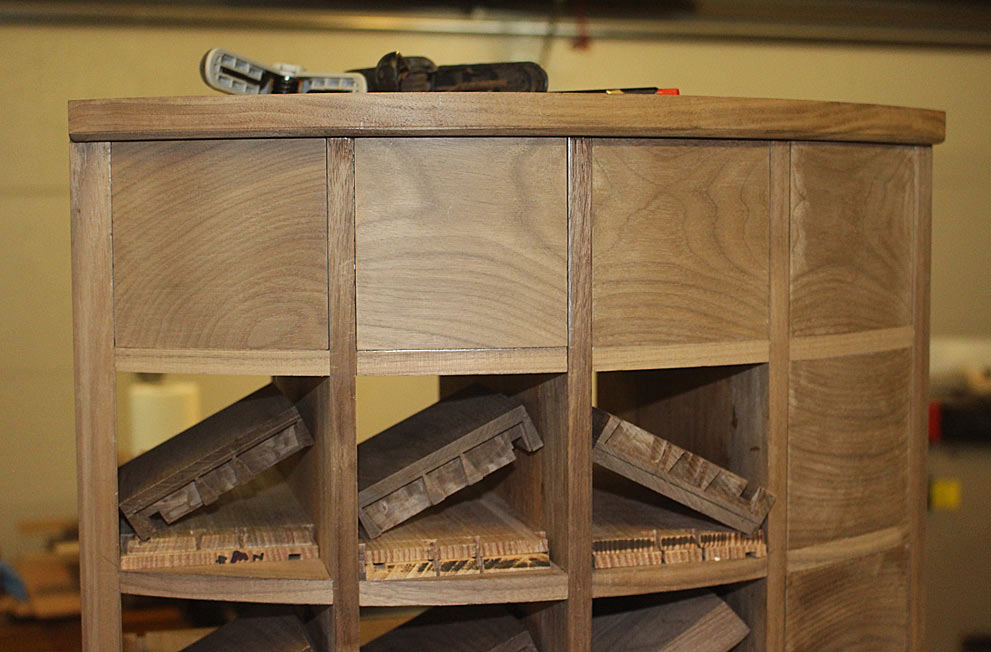
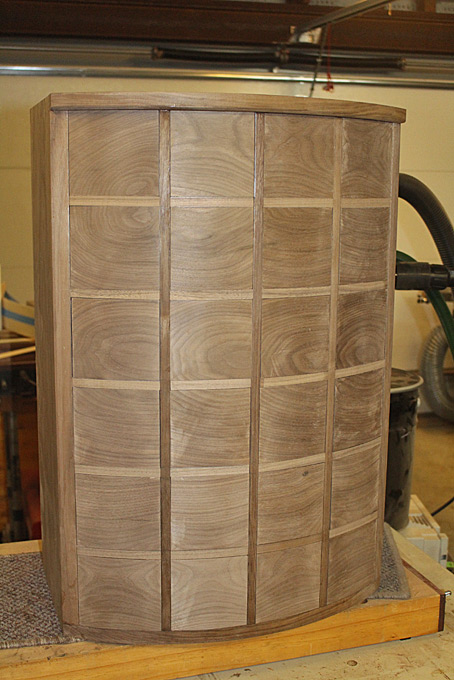
The run out from cutting away the ends of the boards is noticeable (to me at any rate) ...
Regards from Perth
Derek


