Home Articles Forums Gallery Marketplace Videos

WoodCentral Forums

Knowledge You Can Build On — Est. 1998

Apothecary chest - part two

Posts

Apothecary chest - part two

#1

Apothecary chest - part two

Derek Cohen (in Perth, Australia)

Wednesday was Anzac Day, a public holiday in Australia and New Zealand, and I had a few hours in the workshop to move along with the vertical partitions or dividers.
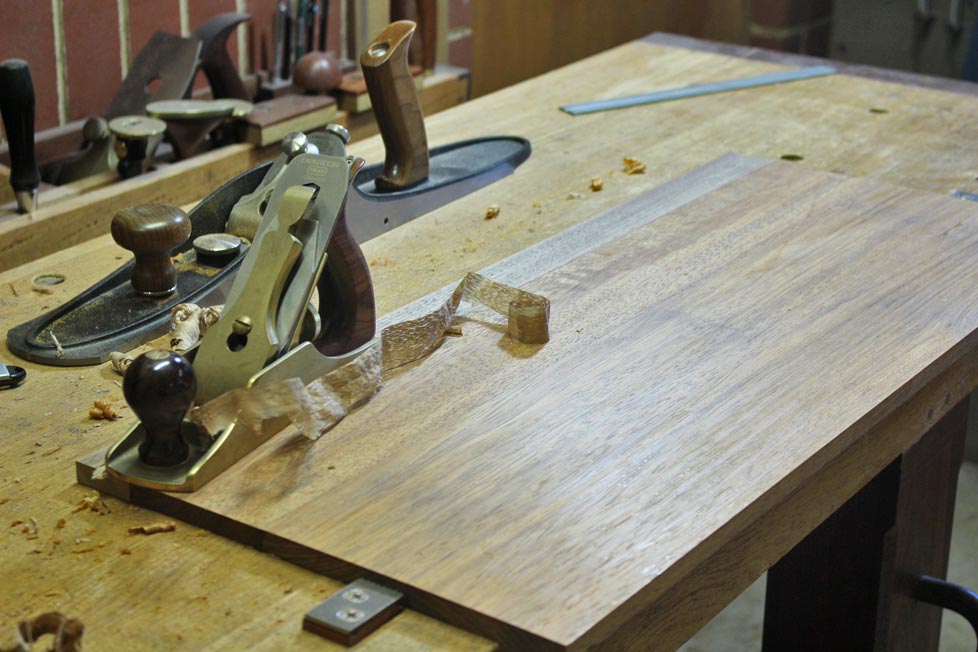

The panels had been thicknessed a little oversize. They need to be brought down to their final thickness of 12mm.

The panels need to be flat. The high spots are marked ...
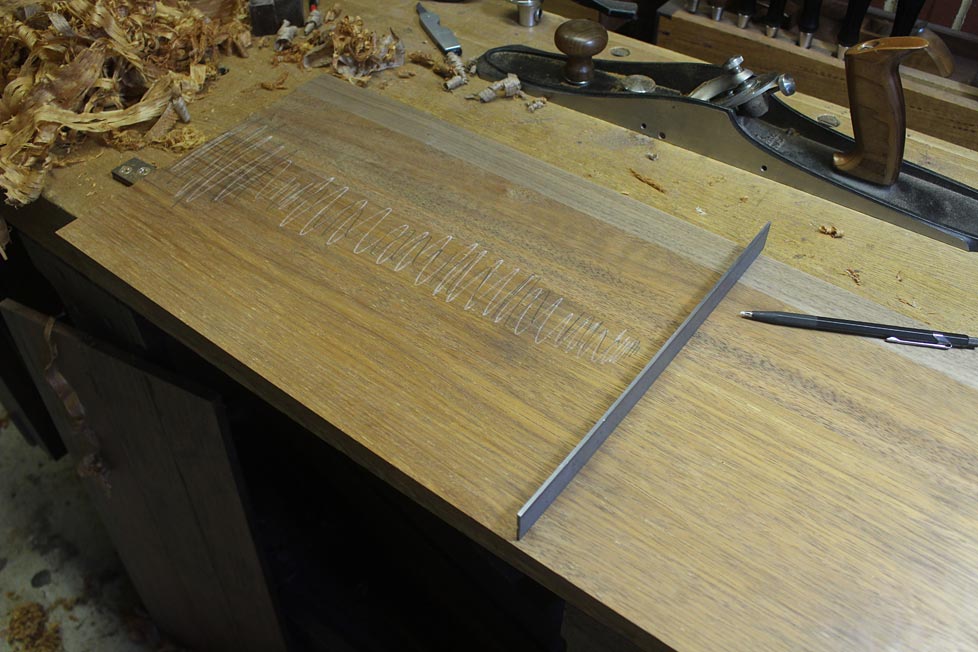

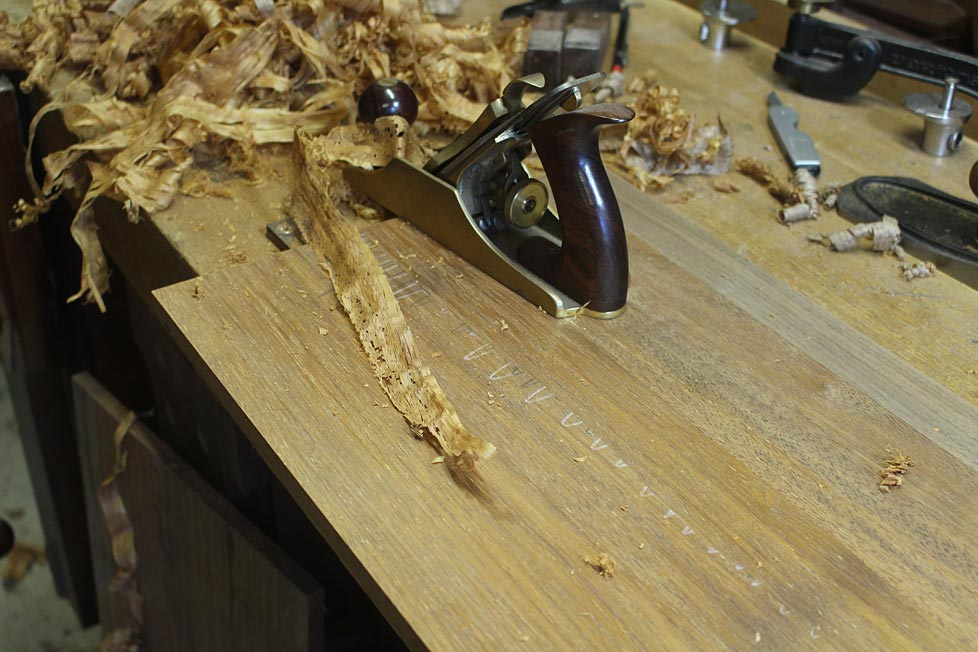
... and planed away ....

The base and the top of the cabinet is marked out for the stopped dados.
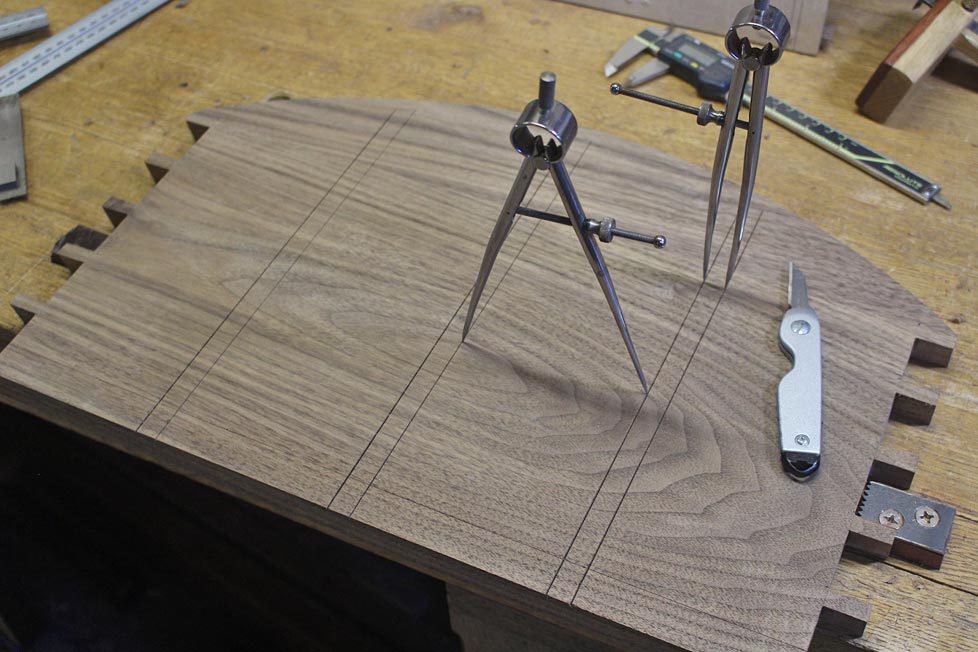

The dados end 10mm from the lower edge. The upper section has a 12mm overhang to take into account. The ends are marked ..
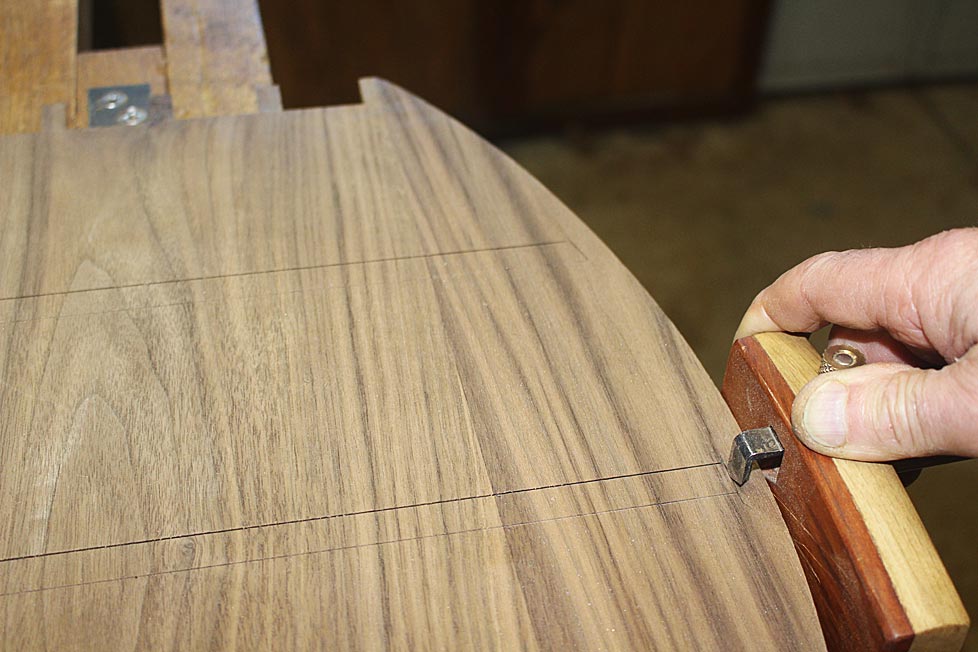

... and then drilled to a depth of 6mm, which is the depth of each dado.

The sides of the dado are scored deeply with a knife, and a chisel wall is made along the length. This is to guide a saw cut.

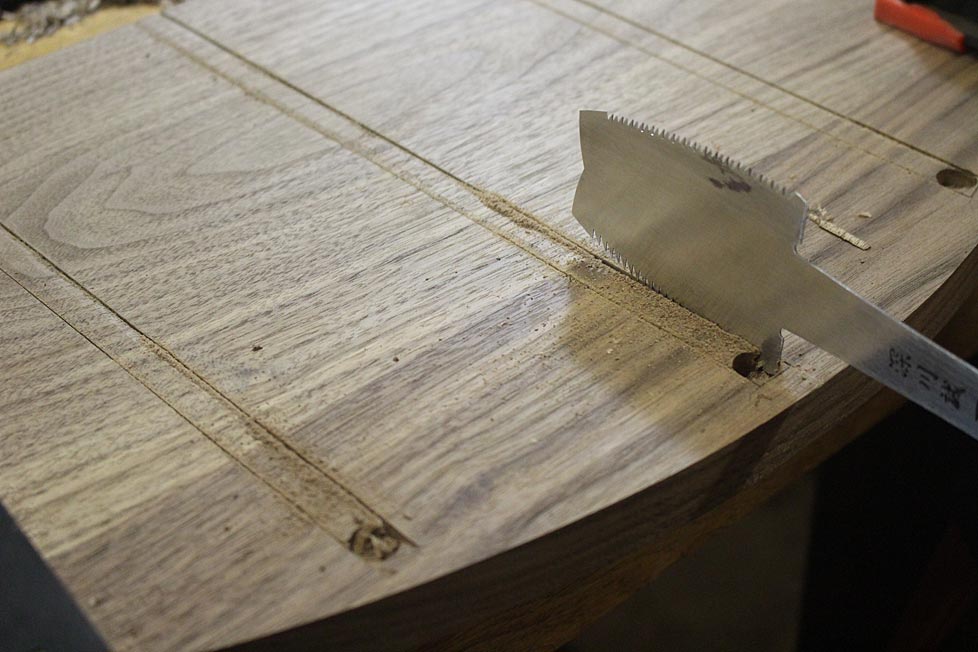
The kerf is created with an azebiki saw. This is the traditional Japanese saw for cutting sliding dovetail joints, trenches and slots for sliding Shoji screens.
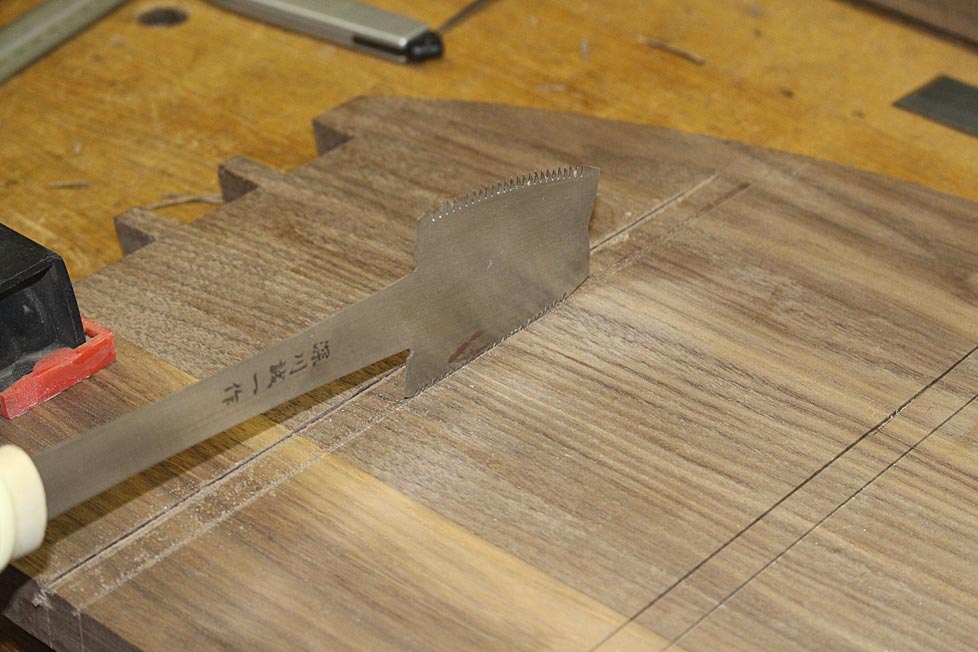

The panel is flipped around, and the kerf is deepened so that it runs the full length ...

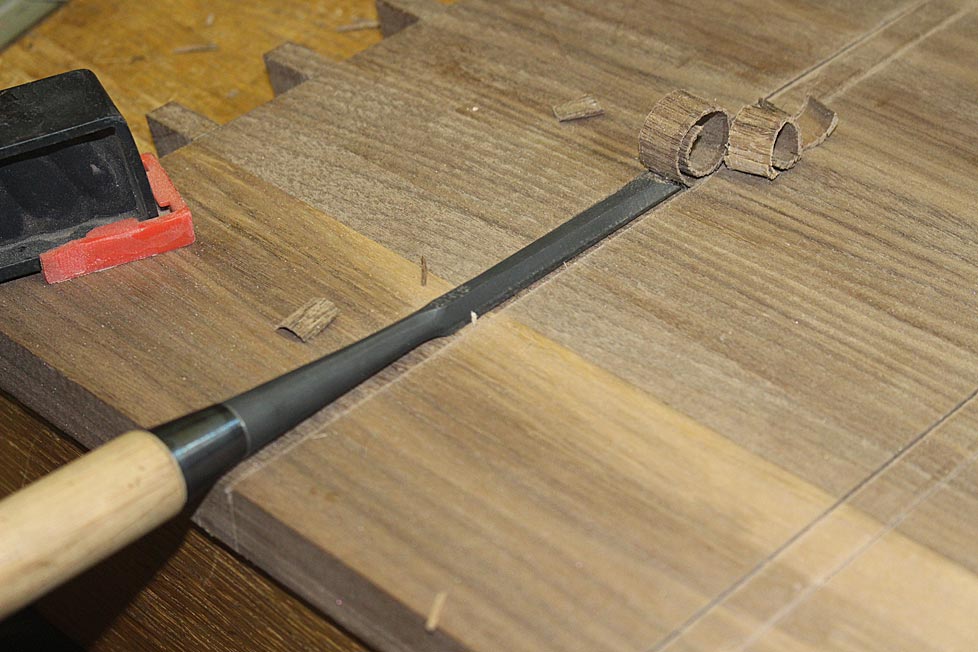
Now zip out the upper layers of waste with a slick or paring chisel ...

Remove the remainder to depth with a router plane ...
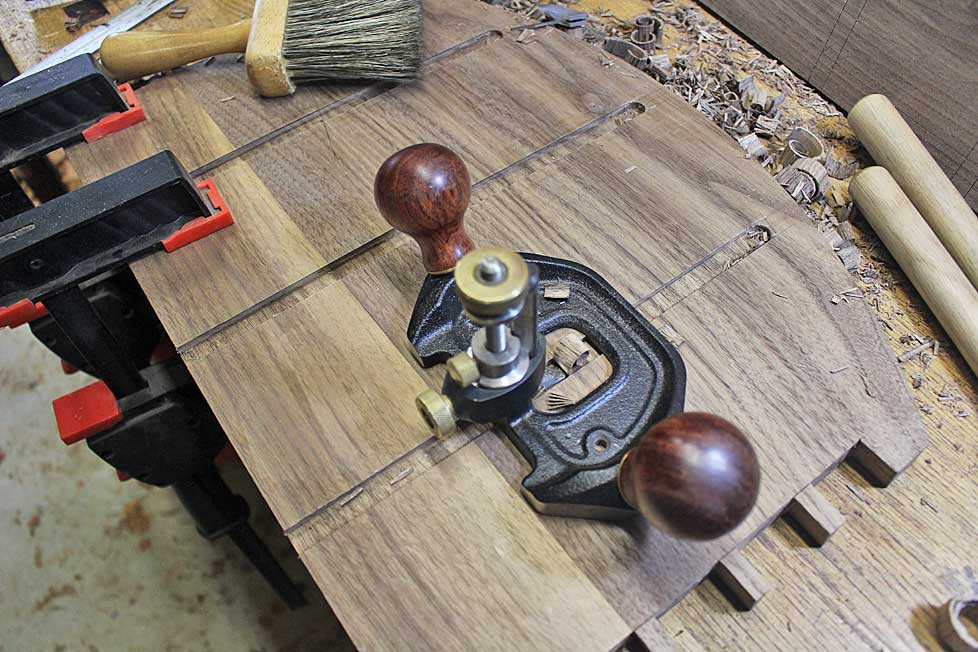

And we are done ...
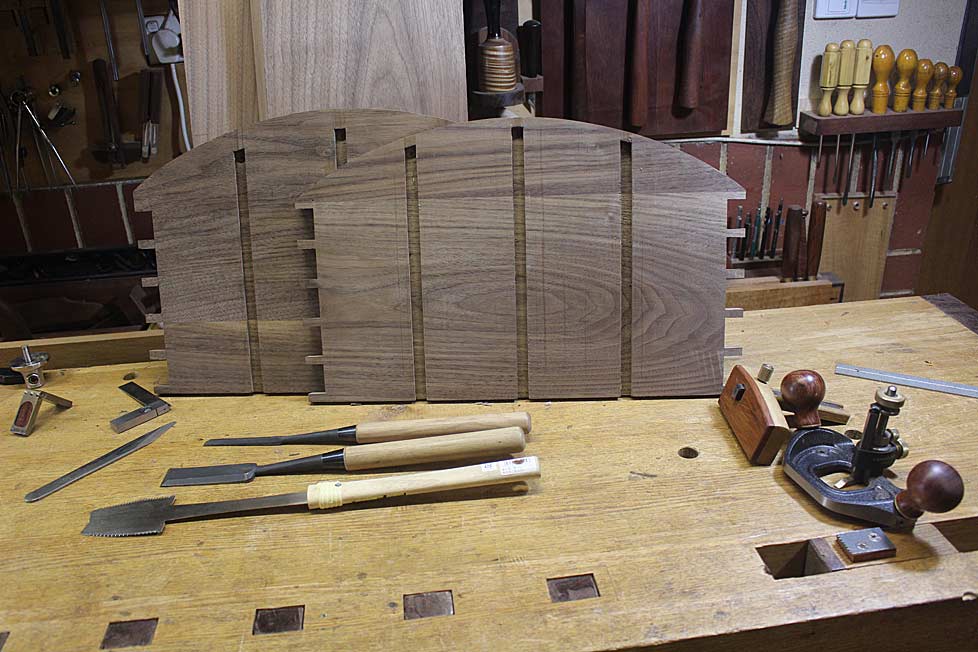

More after the weekend.

Regards from Perth

Derek

Re: Apothecary chest - part two

#2

Re: Apothecary chest - part two

Don Orr

Beautiful-you make it look so easy.

Re: Apothecary chest - part two

#3

Re: Apothecary chest - part two

roger lance

Derek.....I hope you know how highly I regard you. You have been.....and will continue to be.....my mentor on the subject of hand tools.

But, like most woodworkers (including you), I have a blended woodshop.....hand and power tools. The subject of the best way to make dados was raised before.....and I felt that this subject could be opened up to some alternatives to the pure hand tool approach.

I'm showing a jig that operates with a power router and straight cutting router bit and guide bushing. I learned of this jig from "the wood whisperer" ( a person upon whom I spend little time).....its a great jig.....fully adjustable from 3/8" dados to dados of a couple inches in width (even finer/greater range of adjustment is possible depending on how you build the jig).....and gives nice snug dados to your work piece......


I highly recommend this jig to anyone who remains plugged in.....if you're unplugged just disregard and have a fine day.

Re: Apothecary chest - part two

#4

Clint Searl

Re: Apothecary chest - part two

Clint Searl

Did you really cut the kerfs with the rip side of the saw?

Re: Apothecary chest - part two

#5

Re: Apothecary chest - part two

Derek Cohen (in Perth, Australia)

Hi Clint

I start the cut with the fine teeth/crosscut side of the saw. Once the kerf is begun I can switch to the rip side as the threat of tearout is past. This is now a fast cut.

Regards from Perth

Derek

Re: Apothecary chest - part two

#6

Re: Apothecary chest - part two

Derek Cohen (in Perth, Australia)

... like most woodworkers (including you), I have a blended woodshop.....hand and power tools. The subject of the best way to make dados was raised before.....and I felt that this subject could be opened up to some alternatives to the pure hand tool approach.

Roger, I do use power tools, and I would use a router for dados. For myself, it is all about the best tool for the job.

As it happens, I have been tossing up whether to use the power router on the remaining drawer blades/dividers, especially since the secondary wood is merbau, which is very hard and will not be pleasant to chisel into. The dados to date have been in walnut, which is a delight to work. And there are 40 more dados to go! I do have in mind a guide for the power router similar the one you have made.

First I need to make 20 drawer blades with curved ends.

Regards from Perth

Derek

Re: Apothecary chest - part two

#7

Re: Apothecary chest - part two

roger lance

Derek.....I have found this jig to be extremely accurate and beneficial to use in the making of snug fitting dados (or I would not have risked the potential cries of heresey by posting such a devise here).

A simple search on YouTube for the "wood whisperer's dado jig" will produce a good video on how to make and use the jig (there are now additional videos by others on how to improve the jig).

Successful dado alignment depends on careful layout. A challenge can be found in finding the best way to clamp the jig to the work and then clamp the work to the bench.....but, you are more than able to resolve that minor bump.