Re: sawing next to a line
Derek Cohen (in Perth, Australia)
i just can;t do it! lol. my eye track right to that line and then so does the saw. so what i do when i transfer the line to the pin board i offset it by the thickness of my saw kerf and knife in the line. now i saw right down the line but now my pins, if anything are a little too snug. but that is easy to fix.
i picked that tip up from one of the youtube videos, like maybe rob crossman? i also make a small shoulder on the tails that help square up joint. somehitng i saw in FWW recently.
Hi Joe
I am going to be blunt - that method that Rob uses to offset is a load of unnecessary bollocks, and it is probably making the process harder for you.
Sawing to a line is the fundamental skill in woodworking, whether you use a hand- or power saw. There is no difference between these. One might argue that hand saws require more hand skills, which is true, but dovetails require so little wood to saw. A go-for-it-attitude is more important. And in this regard, the less complex the task, the easier it is to get on with it all.
The one area where I appear to complicate matters more is in transfering the tails to the pin board. To do this, I use blue tape, and this is simply because it makes everything easy to see. My aging eyes (I'll be 68 next month) need all the help they can get, especially with dark woods.
The blue tape makes the lines jump out at you once they are marked. You can peel away the waste areas, and there is no confusion where to cut.
The process of transfering the marks requires a sharp knife. It needs to be a single bevel type, as it will be pressed against the socket wall and cut alongside the wall. The finer the knife bevel, the closer the line is cut to the socket wall. I like the double- bevel Stanley knife that Sellers advocates, but for general use - never for slim dovetails! It simply cannot be angled to cut against the socket wall. The best knives to use are the type sold by Lee Valley (cheap as chips), Blue Spruce, and Chris Vesper. Or make your own.
Do not offset the marks. Just transfer board to board. The boards must not move. With the blue tape method you only need a light cut, and one slice along the tape (unlike marking directly onto bare wood).
Saw against the side of the tape. That's all there is to it.
I would never dream of deliberately leaving waste to pare away with a chisel. The more actions you include in the dovetailing process, the more chances there will be of screwing things up.
Finally, ensure that the baseline is flat and vertical. This process actually starts before you cut any lines. It starts with preparation of the boards themselves. The sides must be parallel, and the ends must be square. If they are not, you cannot mark square, and then you cannot pare square. Check the sockets at the baseline with a small square. You can even deliberately chisel a slight hollow in the socket wall at that spot. A hump here will prevent the two parts mating tightly.
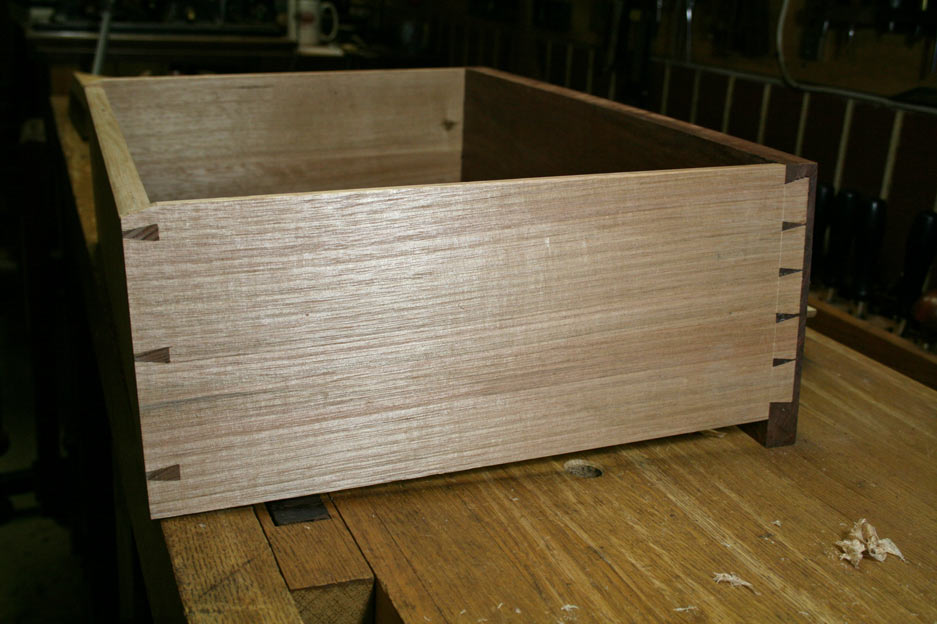
Here are links to articles I have written on through- and half blind dovetails:
http://www.inthewoodshop.com/Furniture/HalfBlindDovetailswithBlueTape.html
http://www.inthewoodshop.com/Furniture/ThroughDovetails3.html
Regards from Perth
Derek

 Learning the technique properly will do you well wether you cut one dovetail or 100. It's important because it is a staple technique of woodworking.