Preparing Japanese Chisels
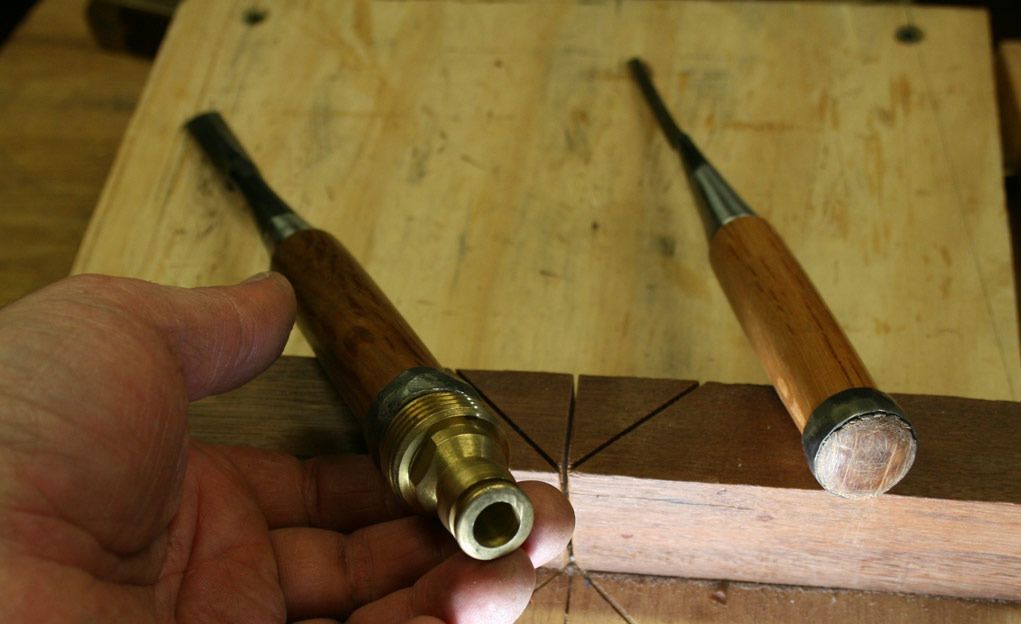
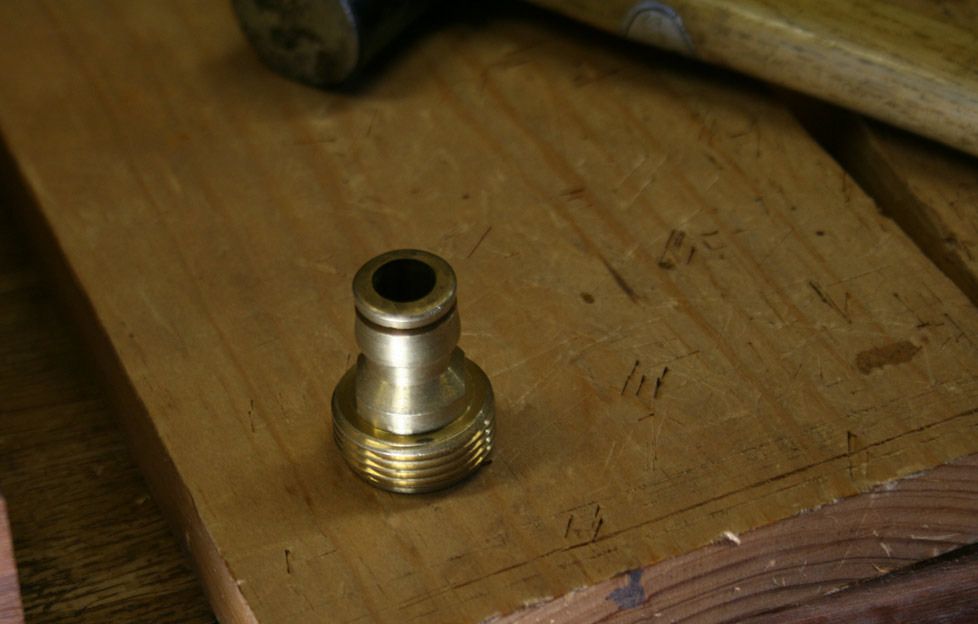
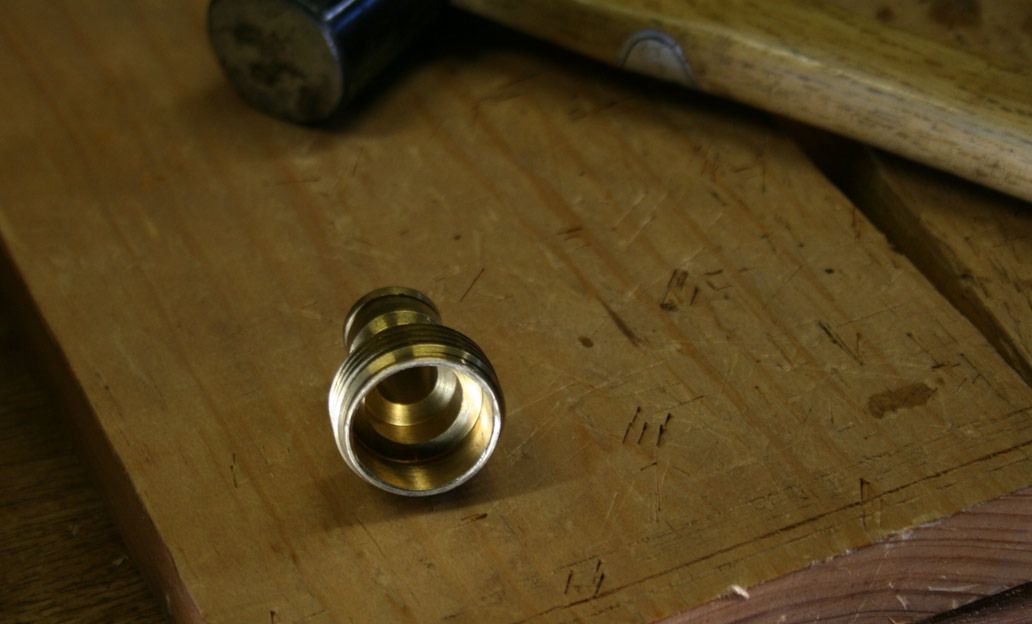
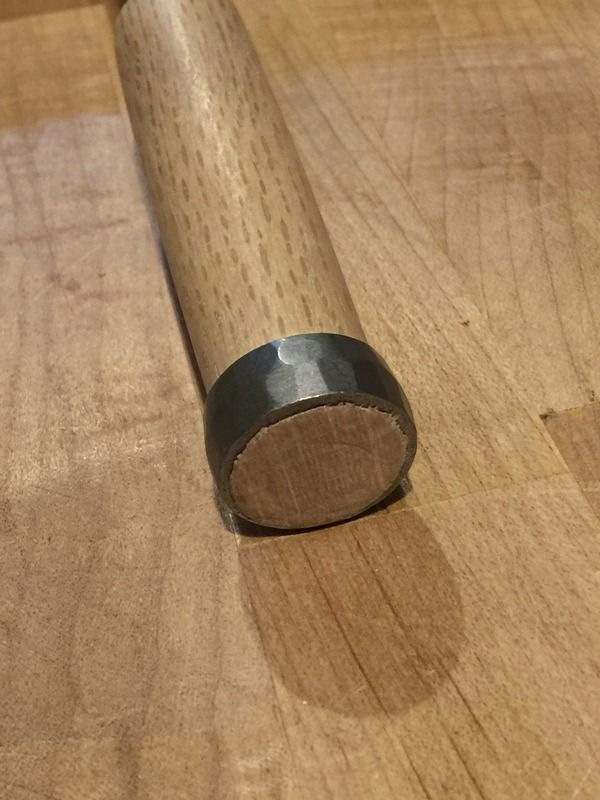
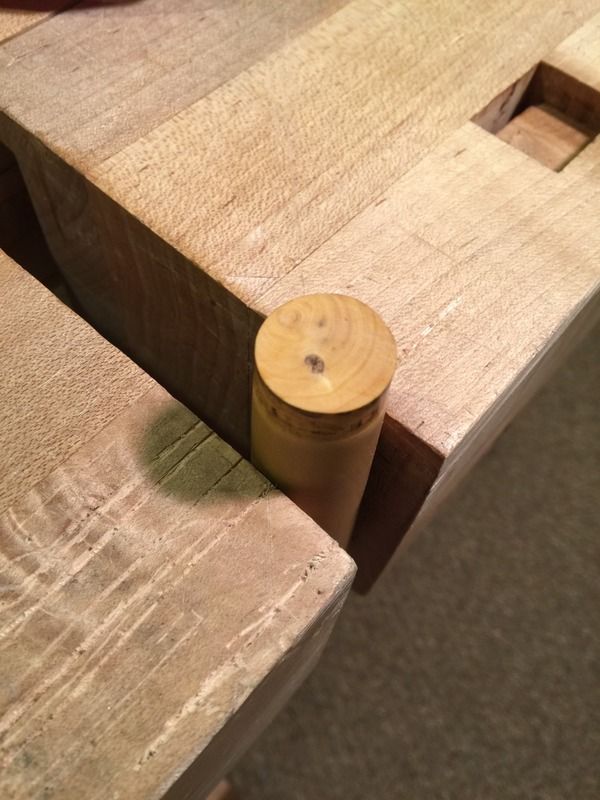
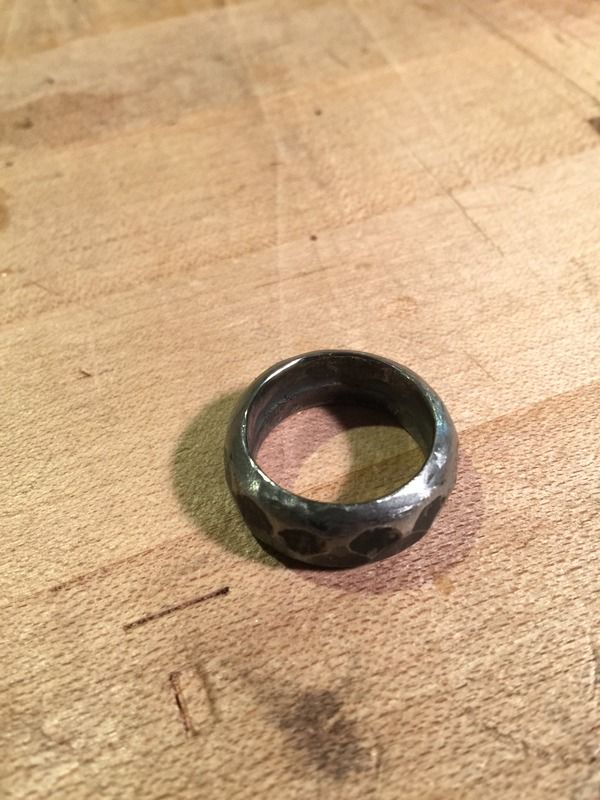
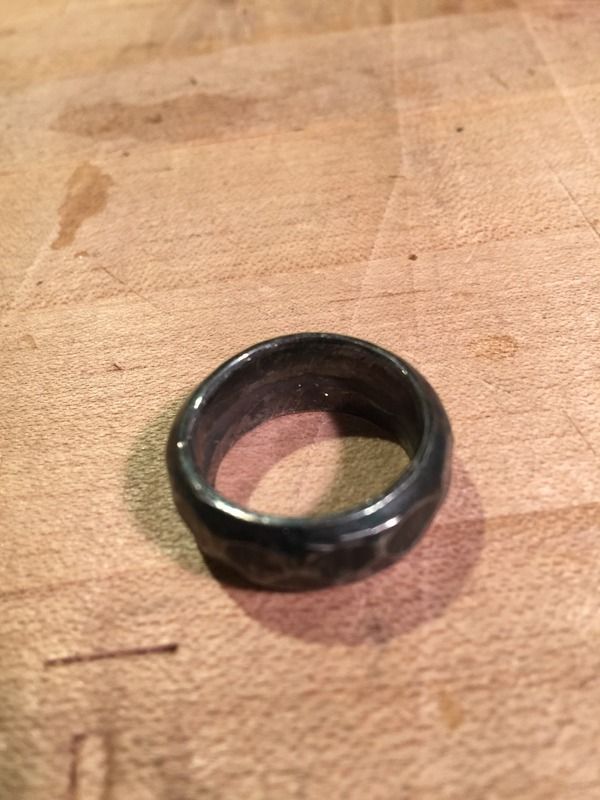
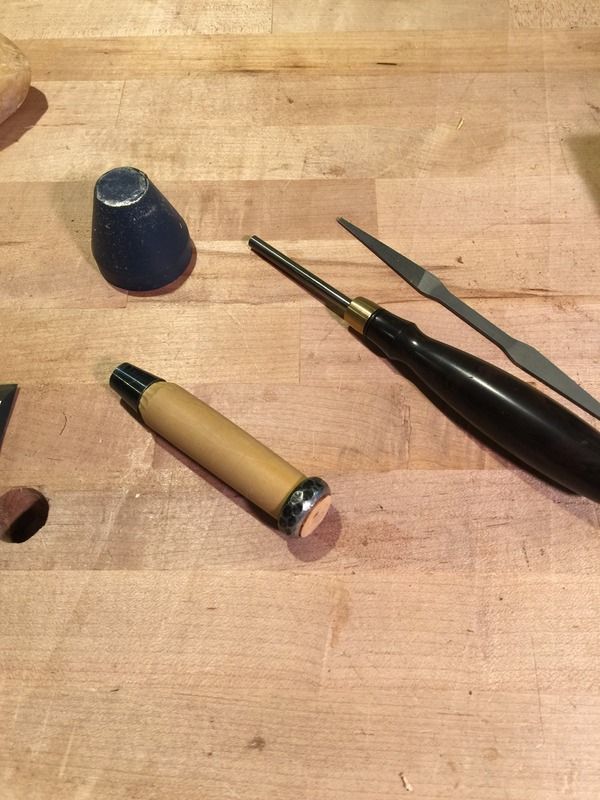
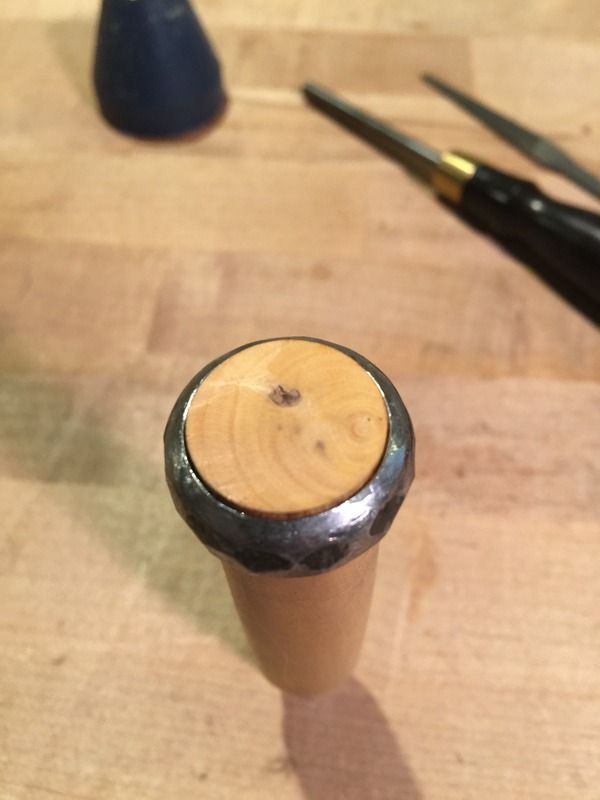
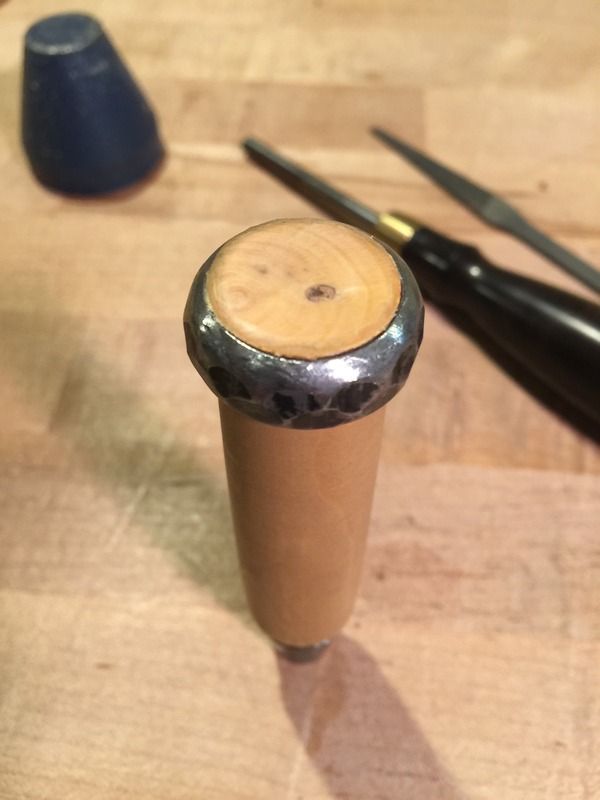
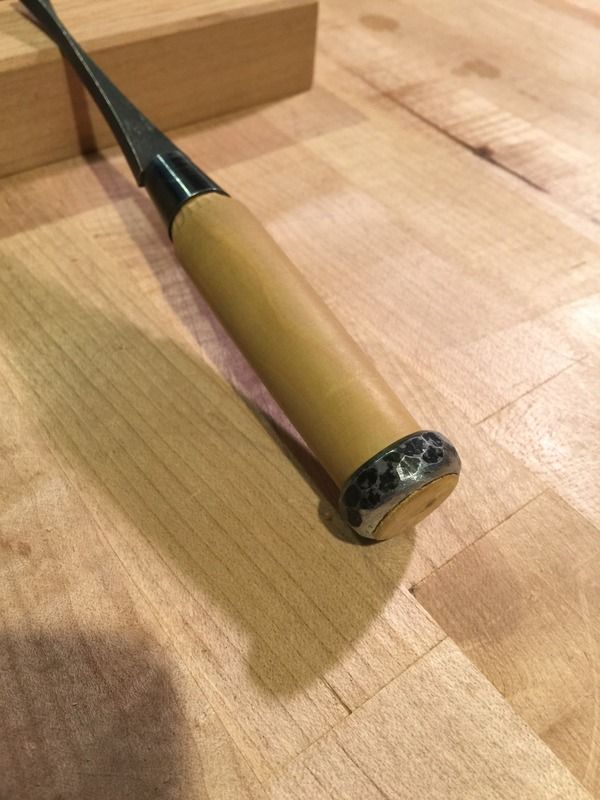
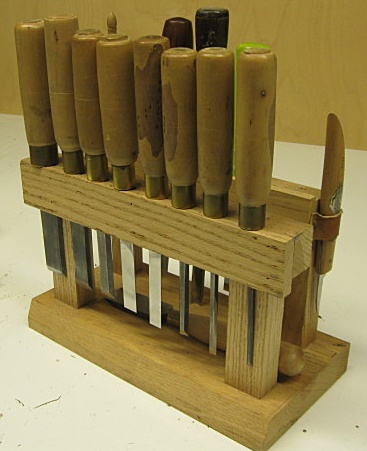
Chuck Bjorgen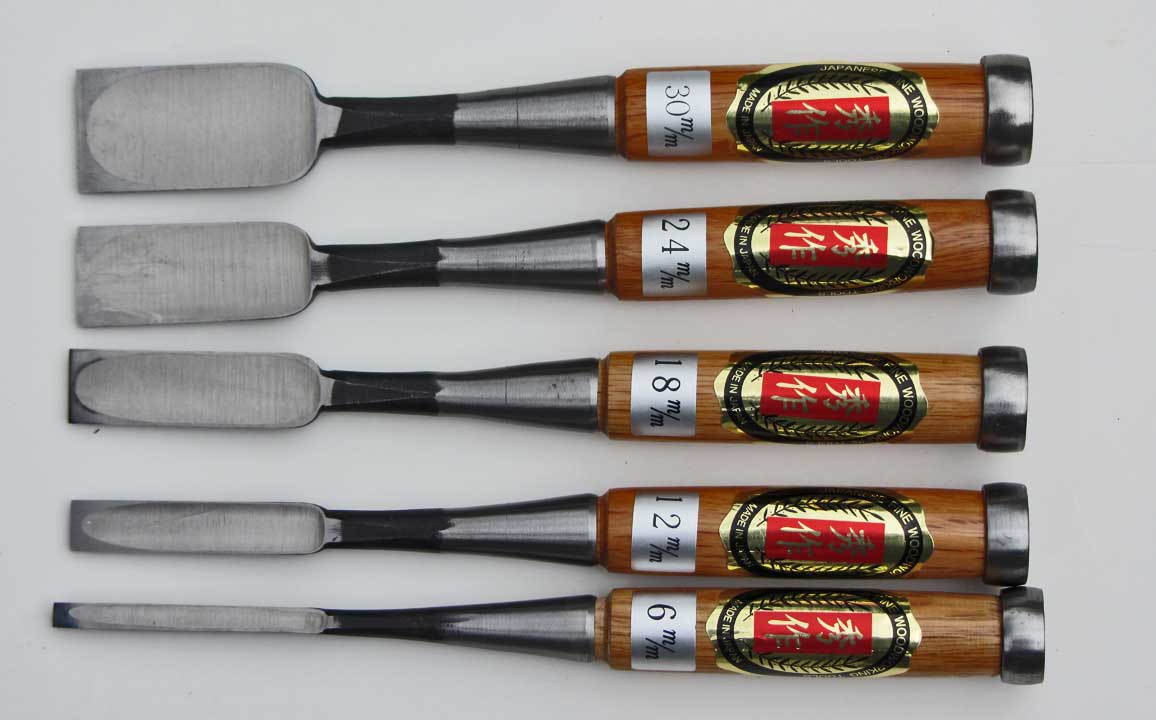 I recently found a batch of Japanese chisels I thought I had sold. They were purchased from my local Woodcraft store 18 to 20 years ago and had been stashed during a basement cleanup a few years ago. No idea about the maker of these chisels so I can't say much about them other than the retail source. I thought I might properly prepare the hoops and ends of the chisels but am immediately running into a problem. I managed to finally remove the hoop on one by using a battery terminal puller. I've been trying to smoosh the bare end of the handle with a ball pein hammer with little success.
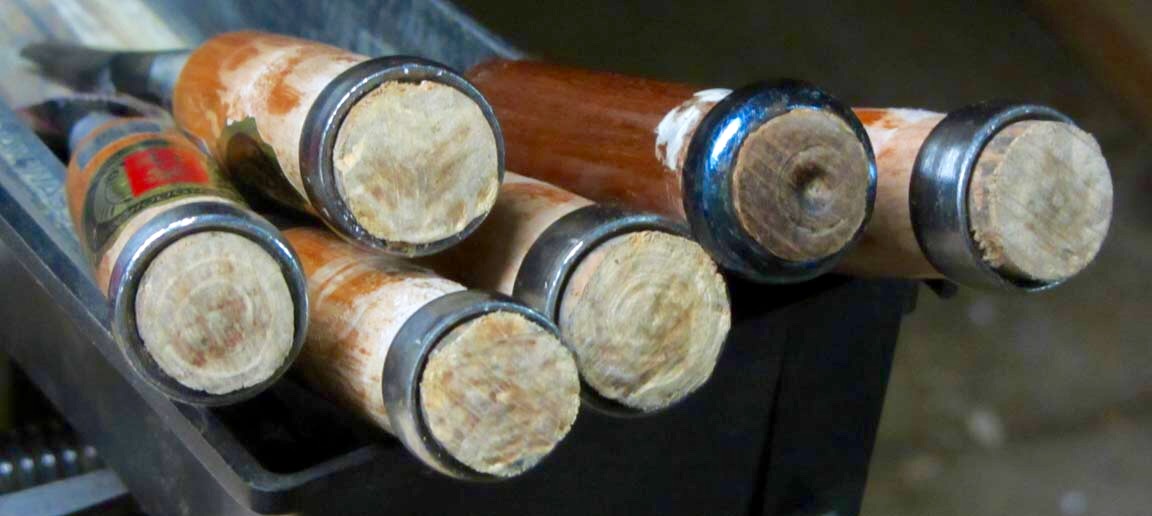
Question: would it make sense to soak that handle end in hot water in order to compress the fibers in order to slide the hoop on and then mushroom the end? I thought about some judicious filing but that seemed wrong.
I looked at a few YouTube videos and other internet instructions and saw lots of variations on the process. I also checked the archives here. Just thought I'd ask this collective group.