New WoodChat!
Home Articles Forums Gallery Marketplace Videos

WoodCentral Forums

Knowledge You Can Build On — Est. 1998

ADVERTISE HERE - FREE TRIAL

Good Eyes, Warren!

Posts

Good Eyes, Warren!

#1

Good Eyes, Warren!

david weaver

Warren - I have to commend you for having good enough eyes to tell that my already-oiled and waxed plane was hand planed. I suppose some of that (planed surface) is given up by the fact that you can see a transition line on the back of the plane where I chiseled and then filed the rear curves, one that would've disappeared with sandpaper.

And thanks for bringing up that old stuff where I was fascinated with an old single iron plane. :\ I do have a plane that met that description (unused, 50 degree bedded, tight mouth - unused at nearly 200 years old), and still have it. Once I finally got a sense of what I wanted to get the double iron to do, that plane was quickly left in the dust. A nicely (and precisely made and fitted) plane, but an inferior design. If I only knew then what I know now. Lucky to have learned it before making a whole bunch more single iron planes, I guess.

Re: Good Eyes, Warren!

#2

Nice one David!

Derek Cohen (in Perth, Australia)

The plane (posted on Sawmill Creek) is beautifully made. In particular, I think the handle is sublime.

It is worth a few pictures here along with a few words about the important features in the design and construction (knowing what you have done enables me to appreciate that others would be interested).

Regards from Perth

Derek

Re: Good Eyes, Warren!

#3

Re: Nice one David!

david weaver

Thanks, Derek (you won't be surprised about my handle comment given your appreciation of it). I didn't take many pictures of the plane, I guess I didn't think about it. I took one to send to Brian as the handle was drying, and it turned out that putting it in the sun for even a short time (to keep it warm so the liquid hide glue would dry hard) was a mistake, it developed slight cosmetic surface checks on the endgrain in escapement and at the back that it took some effort to reclose. not a hot day here, either. It was in the low 70s (~24 celsius) and the checking was quick to happen since beech passes moisture out of its ends so fast - faster than I'd have guessed. Would've been no issue had I oiled and waxed the ends.

Anyway, picture here (before finish, of course - it's not a photo perfect plane, but I hope it qualifies for handsome - a term I'm borrowing from warren):

http://s1.postimg.org/wzu3jqia7/IMG_20150823_124200_682.jpg

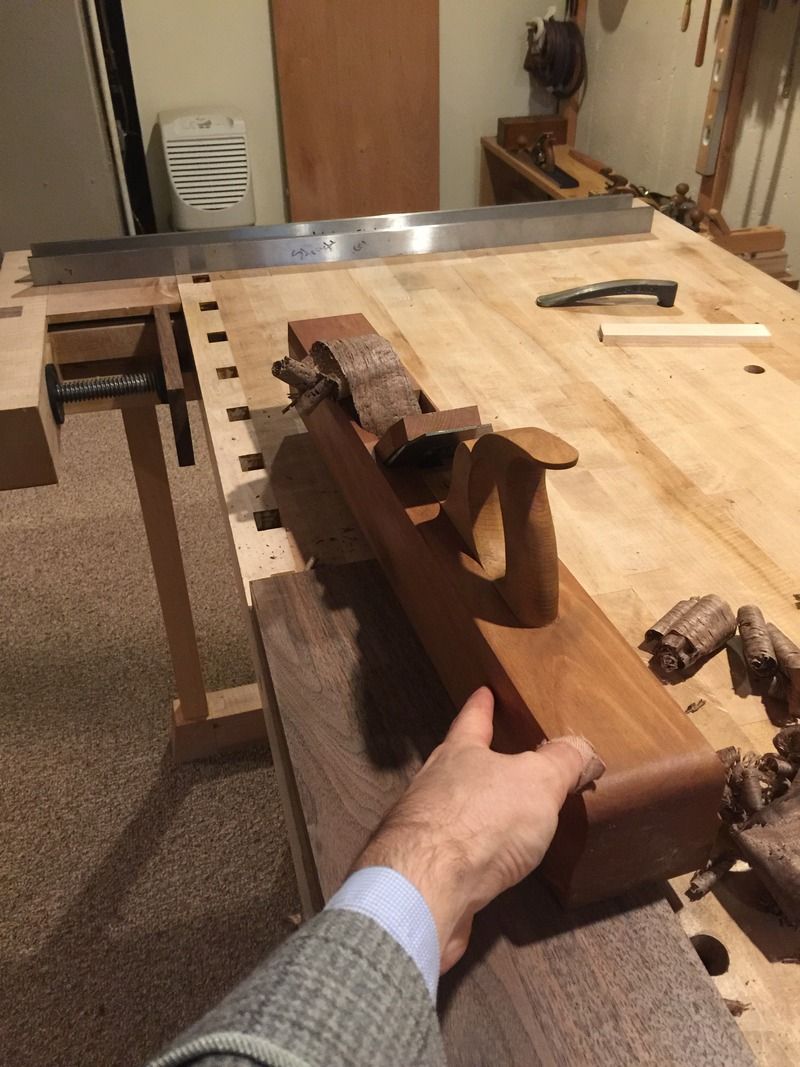
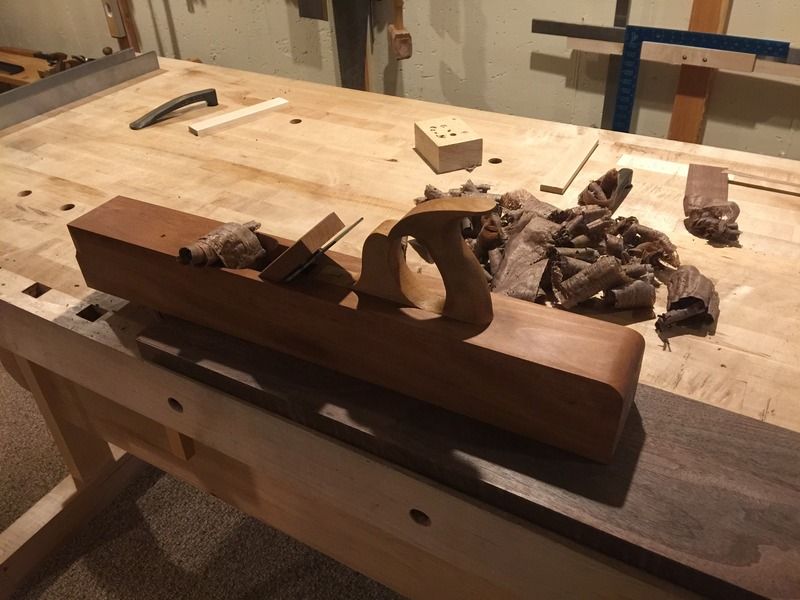
It is (not totally, but proportionally) a copy of a griffiths try plane that I have with the handle sized up a little. 2 1/2 inch wide iron, 24 inches long, and as this was a dense piece of wood, 8 pounds (which is a nice weight). Common pitch (45 degree) bed, and a tall wear somewhere in the high 70s degrees, I think (never know exactly where it lines up because I don't have a pattern and things move a little from marked lines when you're finishing the plane and opening it up a little until it feeds reliably).

I think in pictures the handles a bit more upright than most I make, but it gives Brian the opportunity to tuck the top curve in a little and change the angle later if it should ever be uncomfortable. It's just what the griffiths handle pattern I used looks like, and it has a bit less of a hump in the palm than some more angled types.

The iron is something from sheffield (can't remember the mark), a little more modern but in the classic style (it's solid steel instead of laminated, but tapered). steel cap iron of the classic style, both NOS. Most of the old sheffield stuff is fairly soft, and it's no exception, but soft is no problem on a middle plane and they wear reliably.

The whole thing came up because I mentioned something about wanting a plane with a wood sole to brian when he was talking about cutting rebates, and I can't remember why, but the try plane came up and tossing my LN 7 due to friction came up. Inevitably that leads to trying to tell someone what to look for in a used plane and I couldn't spot anything good listed online, so I offered to make Brian a plane if he didn't mind covering materials since it's about the same amount of money as finding a good plane from a fair seller.

I know Brian dimensions by hand, and he's one of maybe a few people who would benefit from having a middle plane like this, thus the offer. I hope nobody gets the idea that I'm making planes professionally, because I'm sort of making what I want to make to satisfy my urge to make, and hoping for a home for it. When the urge goes away, I'll stop.

I do wish it was easier to find vintage planes of the type to point people do. They are so fine to use when everything is tight on them, but it's hard to find 150-200 year old planes where not much has been modified, most of the iron is left and the plane has been kept in a place that doesn't allow it to check up significantly.

Re: Good Eyes, Warren!

#4

question

Bill Tindall, E.Tn.

I see planes of this size occasionally and they look like they have been rode hard and put up wet. Is it practical for a plane maker to rescue the wood from these commonly available misused planes and use it to make a new plane as an alternative to staring with a stick of beech?

BTW, in an exceptionally good piece of work a student at VA Tech measured the rate of water transport along a tree's two axis. Transport longitudinally was about 10X that radially. It is no wonder we need to worry about end checking.

Re: Good Eyes, Warren!

#5

Re: Nice one David!

Brian Holcombe

Many thanks again David! This is a wonderful plane to use.

This has been a great, eye opening experience for me, and a huge improvement in my workflow. My major complaint with the jointer that I had been using for flattening panels was that as the panel became very flat the plane would become a bear to push, waxing the sole did not alleviate the problem for any real length of time.

That is not the case here, this plane is easy to push even when pushing very heavy shavings the full width of the blade, in the center of a flat board.

The sharpening of this iron is quick and easy because the steel is not an alloy. I sharpened it in about 1/2 the time or less than my A2 jointer blade, and can touch up the blade on a finish stone.


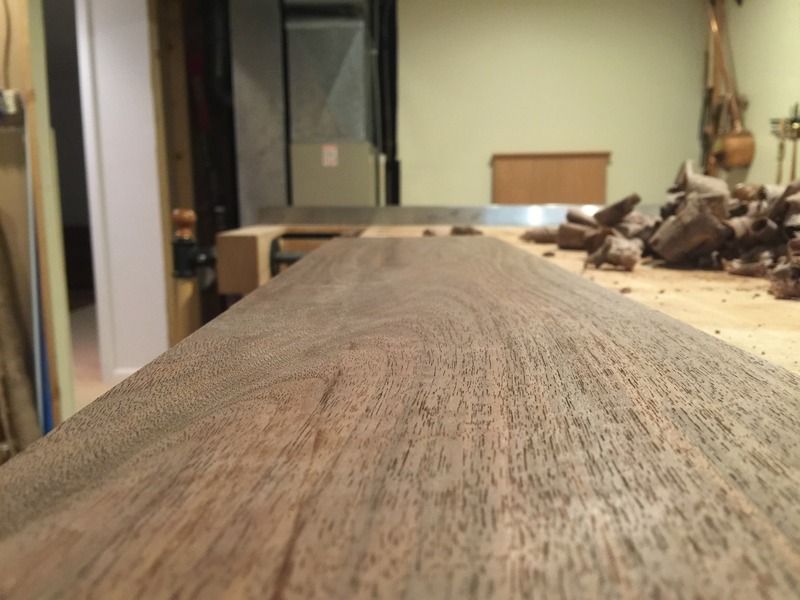
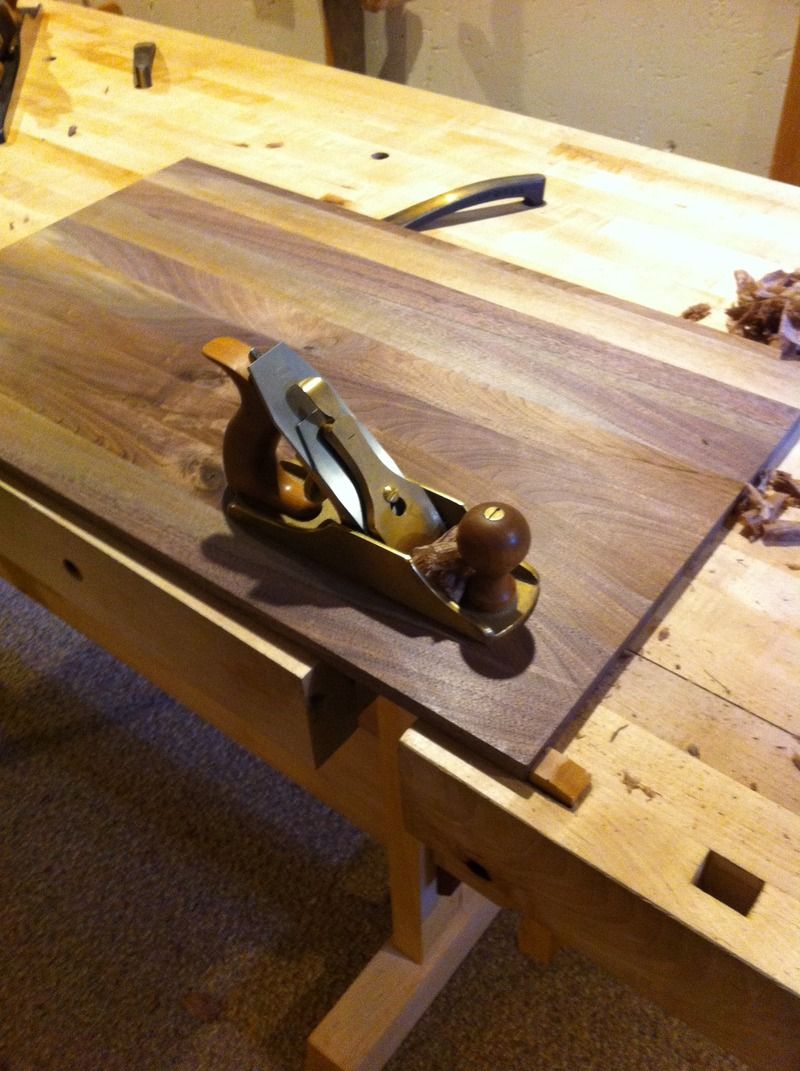
This is what the board is looking like right after the Try plane. This is walnut, but this board was nasty with a ton of grain reversals.


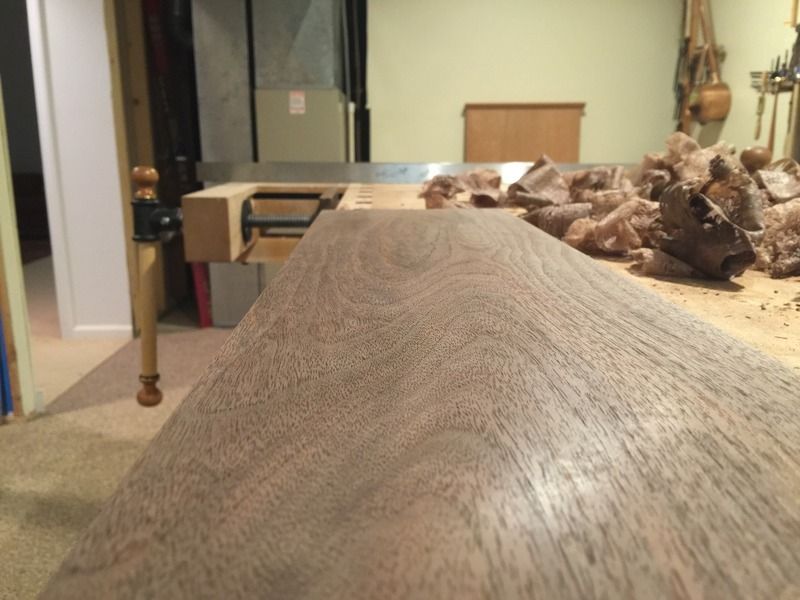
Then a handful of passes with the finish plane


Re: Good Eyes, Warren!

#6

Re: question

TomD

"I see planes of this size occasionally and they look like they have been rode hard and put up wet. Is it practical for a plane maker to rescue the wood from these commonly available misused planes and use it to make a new plane as an alternative to staring with a stick of beech?"

Depends what aspect of practicality you have in mind. For myself I almost always find the handles are too small, the cheeks are split; the wedge is a mismatch, and the blades are often used up. One can find a reasonable blade on ebay these days, if one doesn't make them. Normally the mouths have become enormous.

All that said, it can be a very simple job to fix the block, since that sounds like the real question you are asking. The first or second plane I made back around 1980 has been resoled twice. It didn't have a handle, So I just passed it through the planer, and laminated a sole of the same wood on it, then recut the mouth. only a few minutes of work. I have a lot of beech for planes that I cut about 5 years back, but the wood used in the import planes is actually British, and so beech from here may not be the substitute, though it works nicely. But how can one improve on wood that has been seasoned for hundreds of years?

Back before we were so confident, ebay, and inundated with with new tools. There were quite a few books on how to restore the older tools. I have two version of the Dunbar books, though I don't personally have much interest in that stuff having stated building my own planes first from the Krenov books, and then Japanese style from the 70s onward. But the book are out there if one wants to get more info on repairing mouths and so forth.

"BTW, in an exceptionally good piece of work a student at VA Tech measured the rate of water transport along a tree's two axis. Transport longitudinally was about 10X that radially. It is no wonder we need to worry about end checking."

I don't know the truth of the mater, but Beech is supposed to be unusual in this kind of drying, there is/was a paper on this on theh C&W site. Certainly I used to have a beech bench blank about 5 inches thick standing like a soldier on guard in my shop. I expected years of drying, it was substantially dry in less than a year, if I recall, my report on the matter is somewhere here. That said I have made great planes out of oak and maple also.

Re: Good Eyes, Warren!

#7

Re: Nice one David!

david weaver

Brian, thanks for illustrating precisely what I have mentioned before, this middle step, which I think is the missing link for most people who have trouble dimensioning quickly. A good try plane can take a board that's rough planed and run right to the mark with heavy shavings leaving the wood ready basically for a couple of smoother shavings and done.

Personally, I think the premium planes would be better for an experienced user if they were just out of flat with the mouth lower than the ends. The friction from them is incredible when they're dead flat, and until you get a tight new wood plane that's otherwise a similar weight, but with no rattles....well, once you do that it's like someone has lifted a weight off of your shoulders.

Those boards look excellent, the finish left on them is a pleasure for the eyes.

Re: Good Eyes, Warren!

#8

Re: question

david weaver

As tom's alluding to, you can pretty much fix anything. You can even repair abutments but it's laborious, and not worth the trouble, I think.

My trip to all of this, like everything, involved a lot of buying and trying, and it was difficult to figure out what made a good plane until I had a good plane.

Mouths can be patched (once they are, a plane is worth nothing, though, it scares anyone away if you decide to get rid of it), wedges remade, wears adjusted to avoid clogs.

A seller has to show you everything on the plane to have a good subject to start with - meaning you need to be able to see the iron and cap to know it's good, you want to see the abutments to know they're good. If the iron and cap have been abused, then especially if the cap's got burrs on it, everything needs to be filed to get rid of burrs that will contact any wooden parts.

In short, I think making one first helps find good ones. The only thing then remaining is what Tom mentions, the handles are often made to fit hands that are about 3 1/2 inches across the knuckles or maybe slightly larger. People with knuckle spans of 4" may get lucky and find a big handle here and there but some are even snug for my hands (which are only 3 1/2").

Re: Good Eyes, Warren!

#10

Re: question

TomD

I don't think my hands are any bigger than yours except possibly an 1/8. I find them all cramped, even when laying my pinky off the handle. I upsized my handles and found they were about 1/2 too big, which is certainly a lot less of a problem but a literal case of back to the drawing board.

Re: Good Eyes, Warren!

#11

Handle Size

david weaver

I made mine (handles) on my closed handle jointer, try plane and jack in three different sizes, and I think if someone has a choice and the top of the horn is about 1/4" higher than the last point the hand touches, then a total height of 1/2 inch higher than hand width is very comfortable and never rubbing anywhere. To make one dead on, then the side of your hand rubs the top of the plane and can get red.

That is, I suppose, the total extra hand room is about 1/4th inch. Then your hand is always on the hump where it's supposed to be and never rubbing the top of the plane.

When I made the plane for my ape handed friend, I think it was about 5 inches tall, it looked ridiculous. When I was testing the plane out, it was very odd feeling and difficult to keep my hand on the hump. Fits his hand perfectly.

Re: Good Eyes, Warren!

#12

Clean and crisp

Warren in Lancaster, PA

Very clean work, Brian. I am not having any trouble seeing that it is not scraped and sanded. It is probably pretty lively as well, something we need two eyes to see. I also had a big jump in productivity and quality when I started with the double iron trying plane. About the flattening, a big consideration in adjusting the sole is how the plane performs, not so much absolute flatness.

I usually do my joinery with the board from the trying plane and only use the smoother to clean the surface at the last minute, just prior to finishing or gluing up. Maybe you do the same.

Re: Good Eyes, Warren!

#13

Re: Clean and crisp

Brian Holcombe

Thanks Warren!

I've been finish planing finished assemblies, but leaving the outside case rough worked right up until I'm set to apply finish to it. That way any sort of handling marks will be able to be worked out.

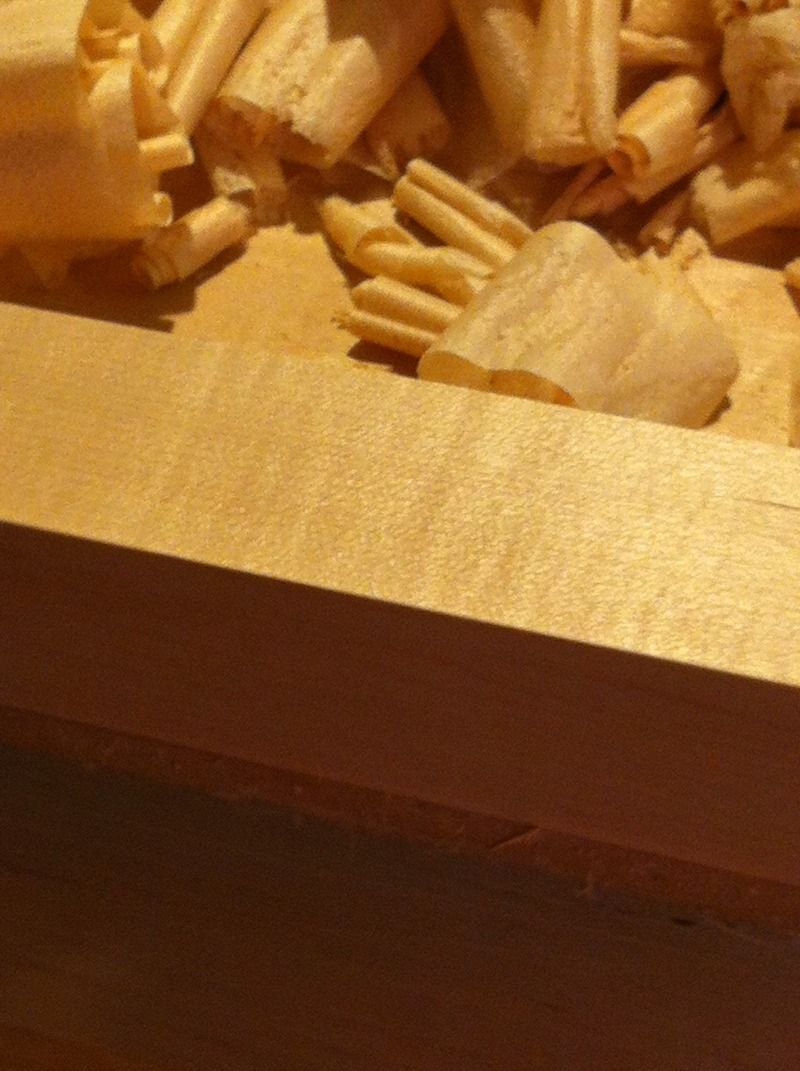
I couldn't resist the temptation to finish plane these drawer fronts, but they will need a few extra passes after assembly.

Cheers!

Re: Good Eyes, Warren!

#14

Re: question

RK near Boston

You can find good ones on eBay if you are lucky, but they are not cheap because of the shipping from UK.

I recently got super nice Mathieson try plane, same size as David's for about $150. Handle is smaller and is a tight fit because I have 4" hand, but I am willing to put up with it because the thing sailed through Ash much better than new ECE jointer and also cheaper.

Re: Good Eyes, Warren!

#15

What are you making?

Bill Tindall, E.Tn.

Since nobody else asked, what are these parts to be assembled into?

Re: Good Eyes, Warren!

#16

Re: What are you making?

Brian Holcombe

Hi Bill,

Thanks for asking, I'm building a cabinet. I have a thread on Sawmillcreek that details the build.

Cheers,

Re: Good Eyes, Warren!

#17

Some pictures here?

Bill Tindall, E.Tn.

This part of Wood Central suffers from lack of discussions of stuff being made. The casual observer could conclude that furniture doesn't get built with hand tools only. Will you post an occasional picture of the progress? It could be inspirational to others.

BTW, if that is a drawer front it will be an attractive one. I like the way the grain flows across it.

Re: Good Eyes, Warren!

#18

Re: Some pictures here?

Brian Holcombe

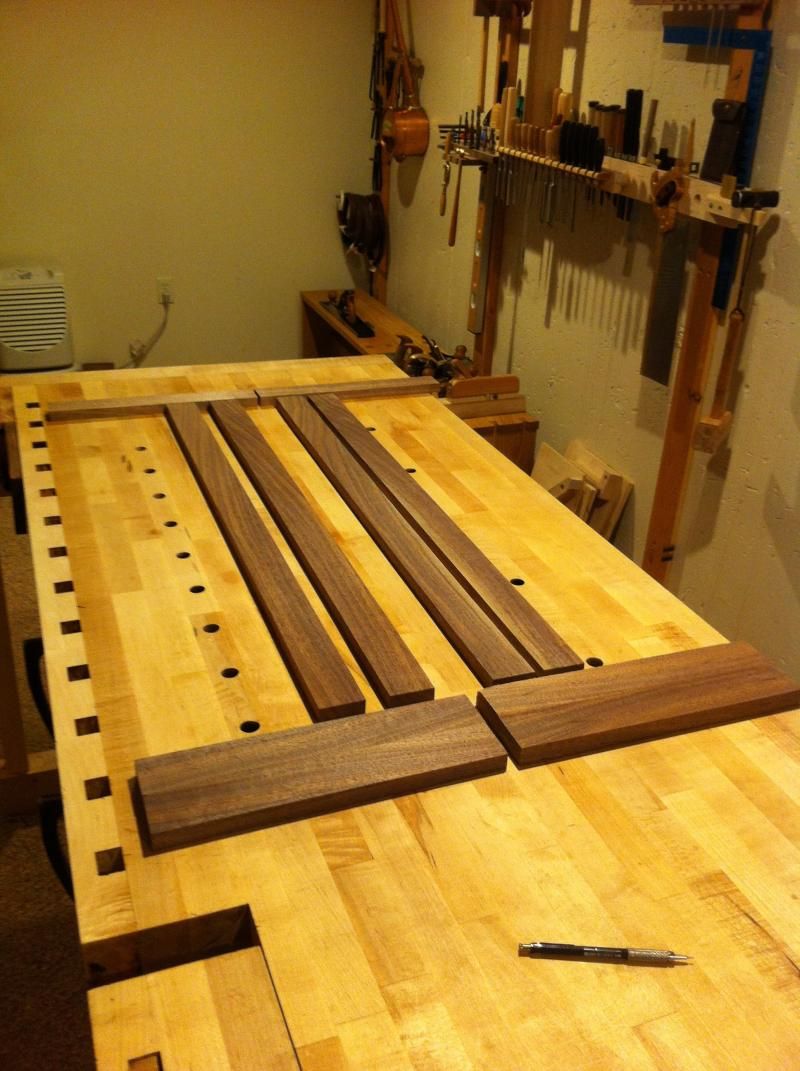
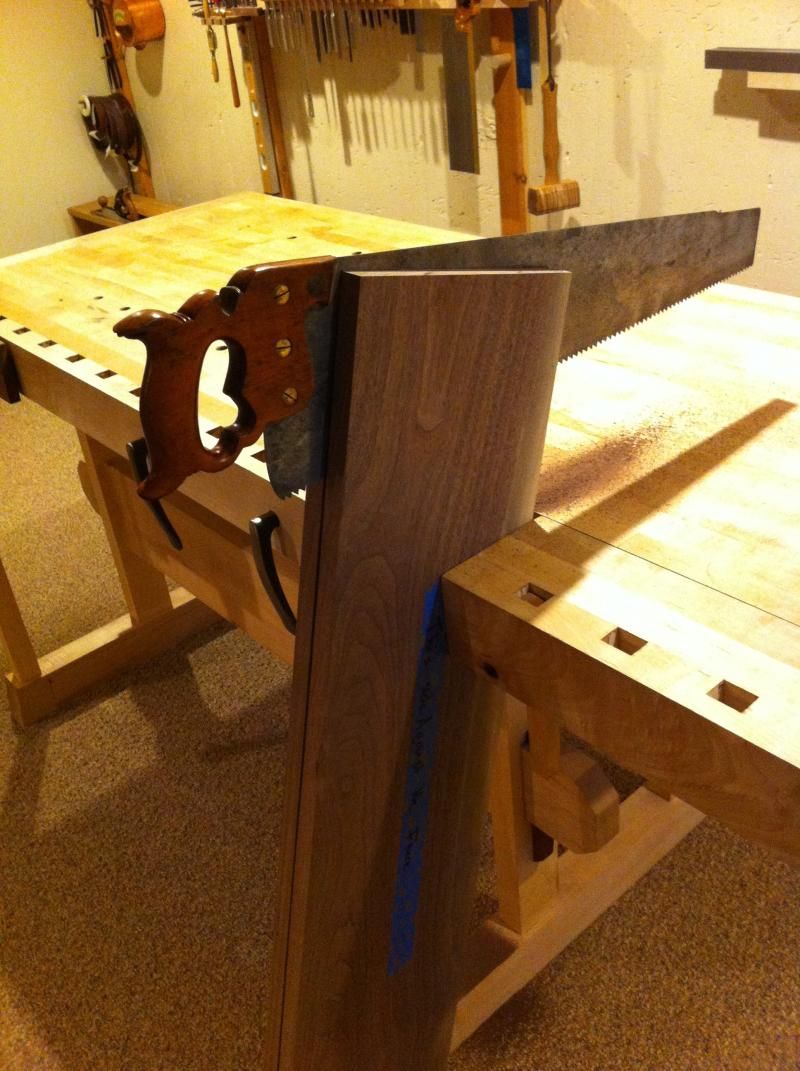
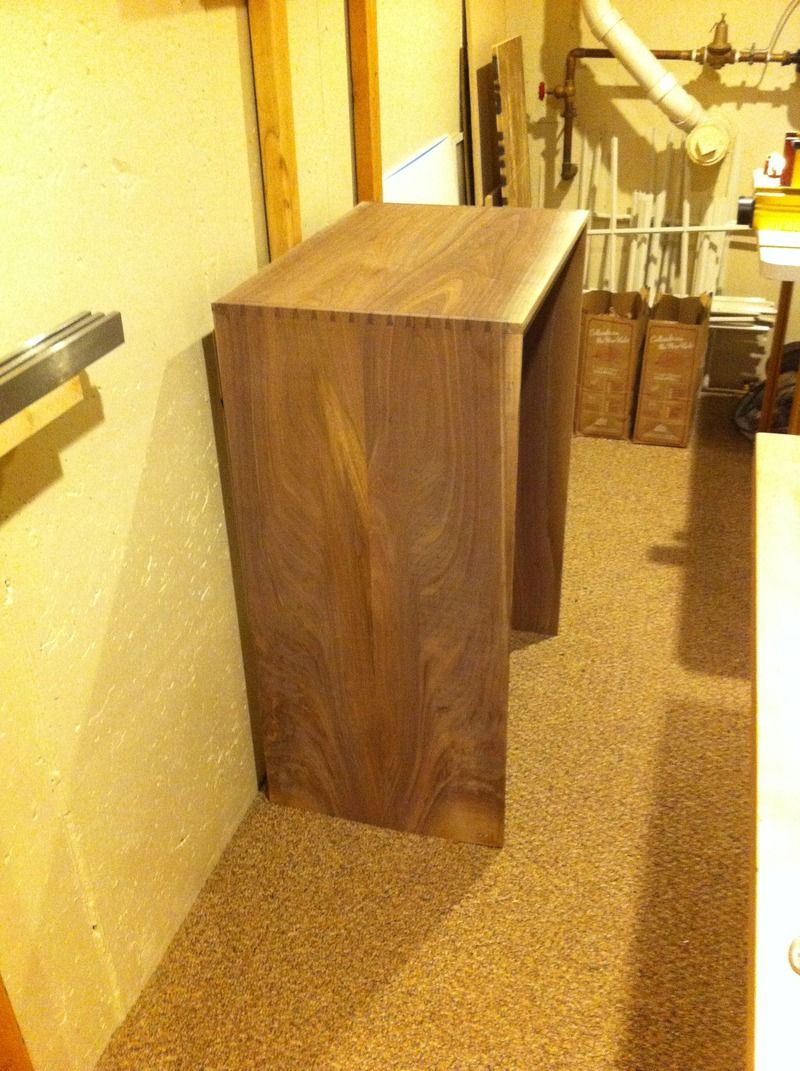
Thanks Bill! Those are drawer fronts, I have 7 matching from the same board. I've linked some highlights;

This is the start, rough breaking down of the lumber was done by festool since I had to break it down before bringing it into the shop;


Nearly everything was cut from that same board for the case and for the drawer frames, since I wanted all of the wood to match and be in sequence;


Resawing for the case


The rough outside of the case


Web frames starting to go in;


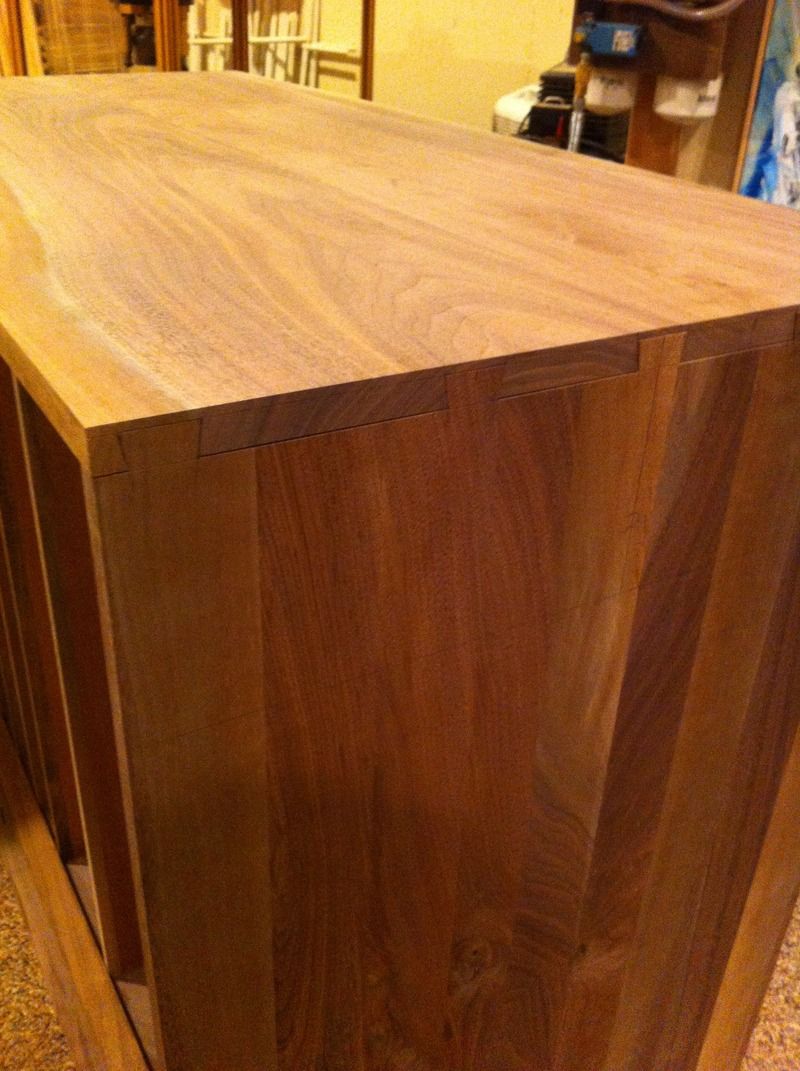
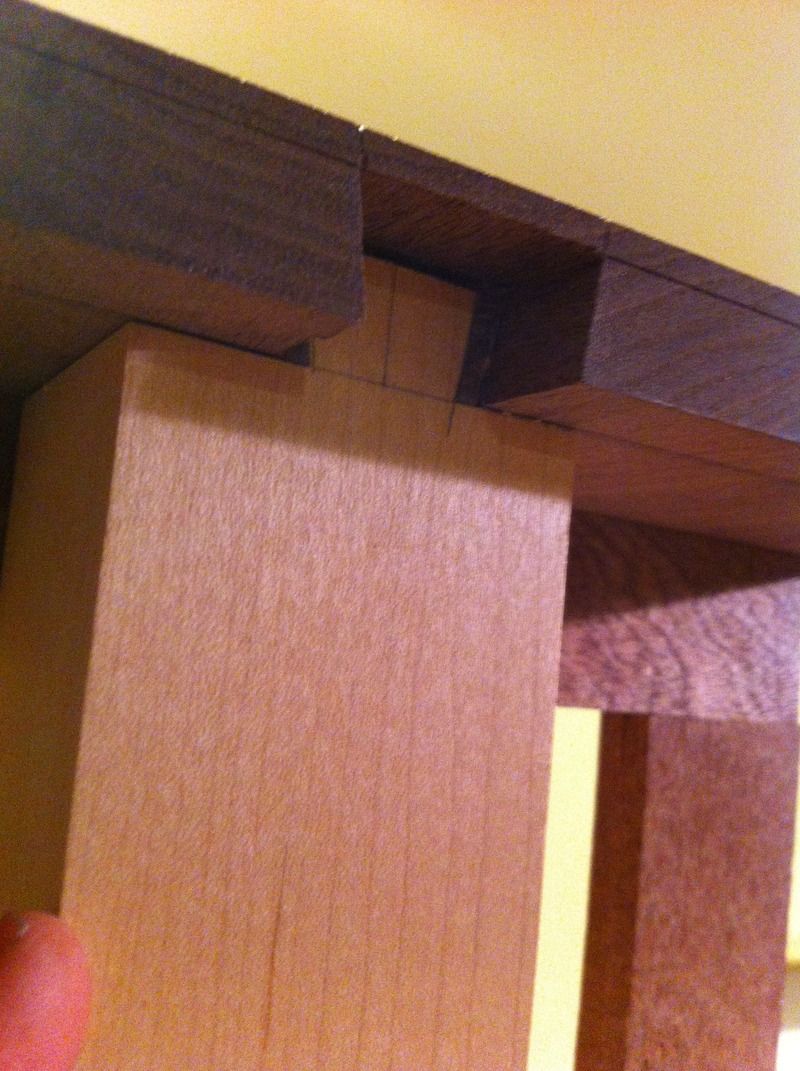
Since the case is solid and thin I dovetailed the web frames into the case sides and added a dovetailed batten to the top. Months later everything is still flat.

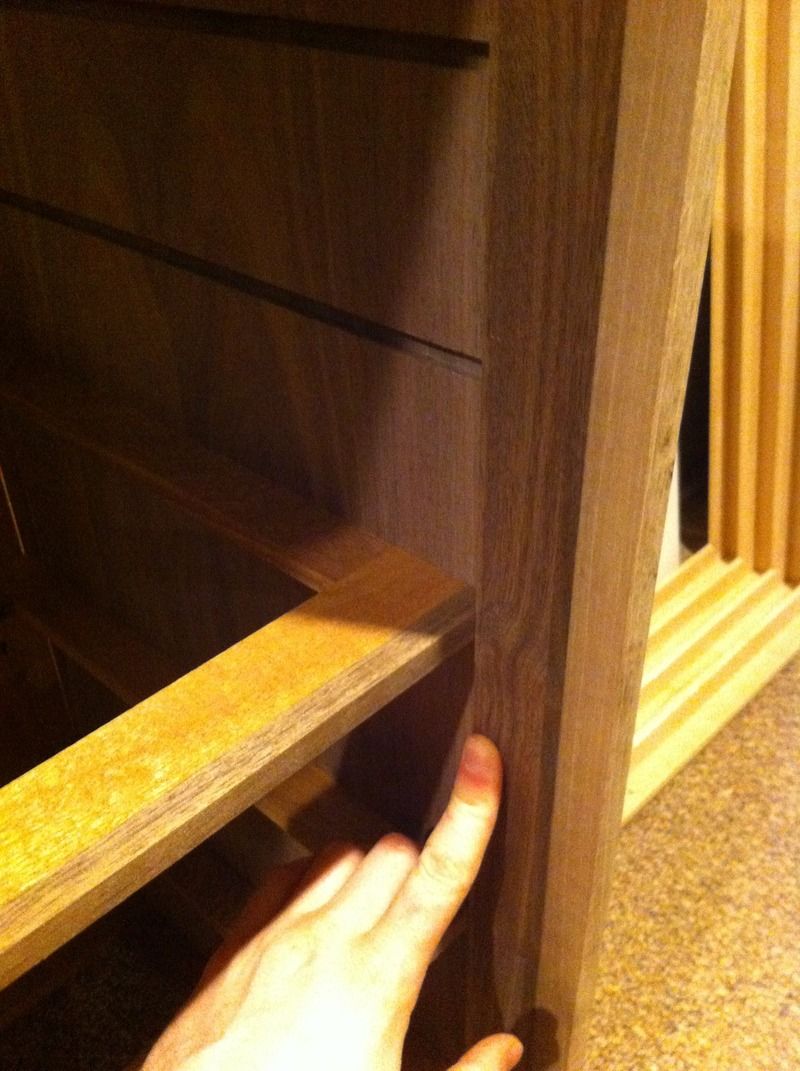
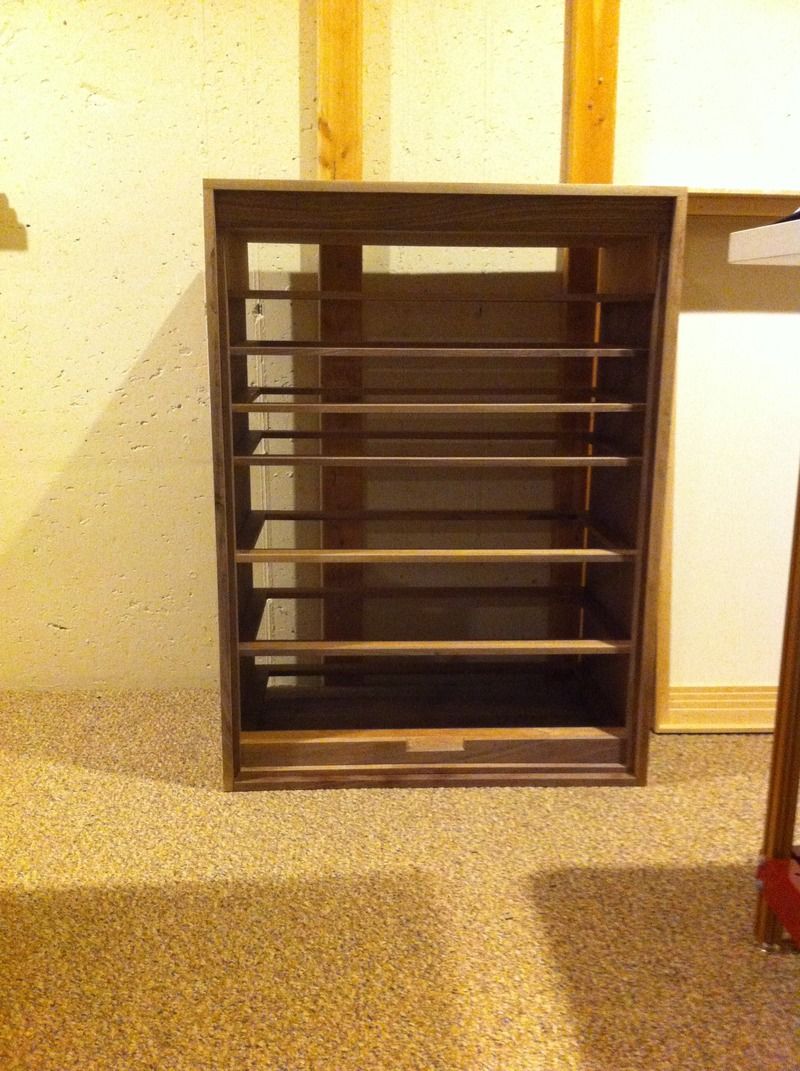
Inside liners going in, I had to bump the drawers in a bit and so I made liners and moldings.


Partial case assembly


Bottom panel, this was cut from the leftovers of the 8/4. That was a ton of resawing, lol, probably would find an easier way if I was not trying to use every bit of material on this project.


The base, cutting through tenons


Re: Good Eyes, Warren!

#19

Re: Some pictures here?

Brian Holcombe

Dovetailing the base panel, these are half blinds.

prepping the base


Rough install of the base panel


Case, further along, inside moldings finished


Resawing internal supports


Dimensioned internal supports


Tapered dovetails which will terminate in the case


Bases cut and ready


Through tenons installed, can't see in the photos, but I made a housing for the base to seat into about 1/8" deep


Re: Good Eyes, Warren!

#20

Re: Some pictures here?

Brian Holcombe

With base and stretcher;


End grain carving detail on the stretcher


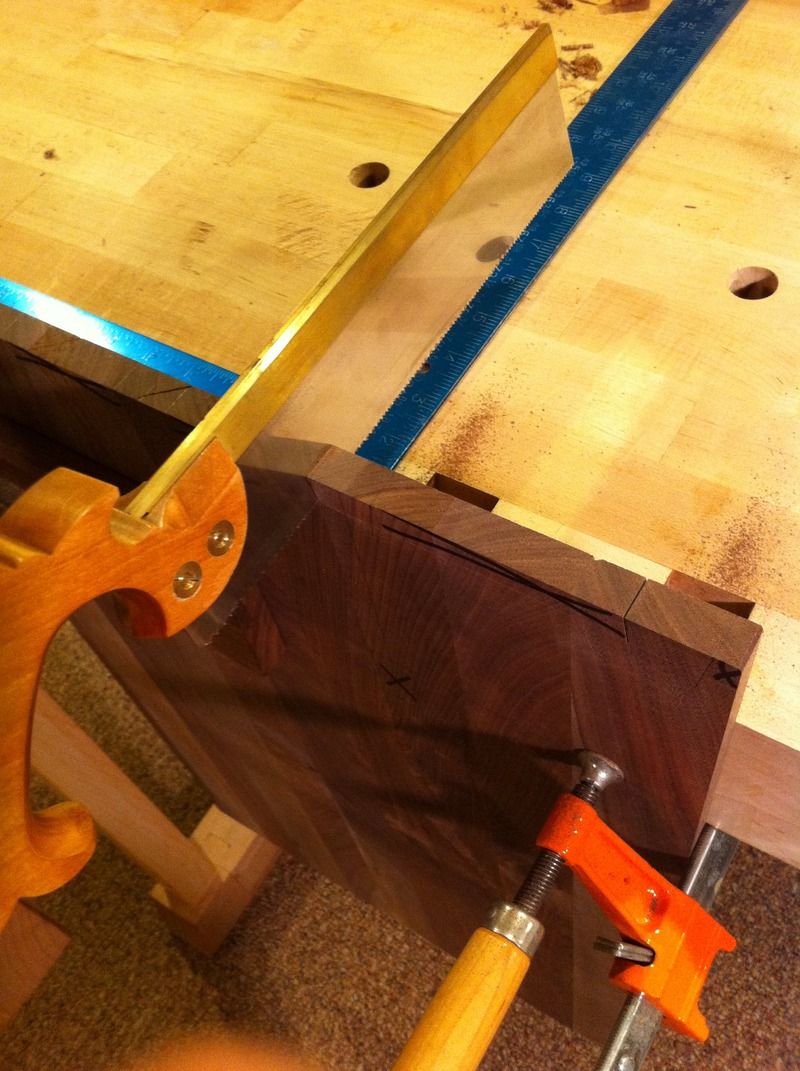
More sawing


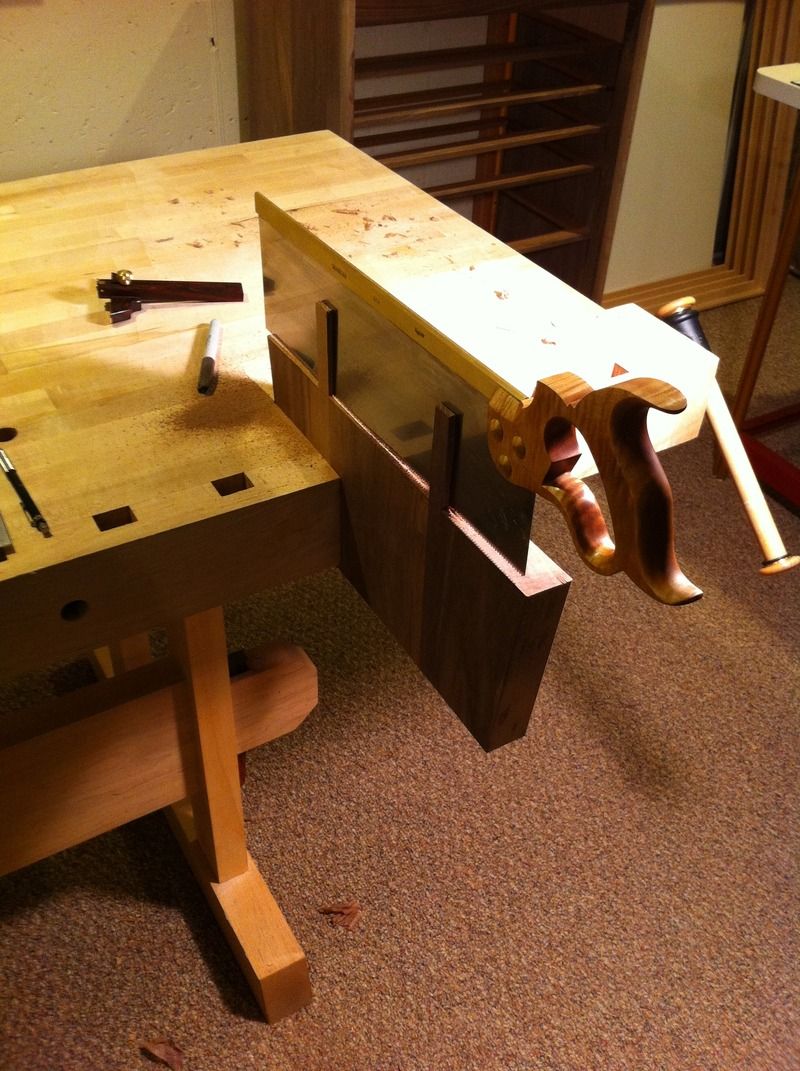
Grooving for the back rails/stiles without a plow plane


Haunched tenons for the back


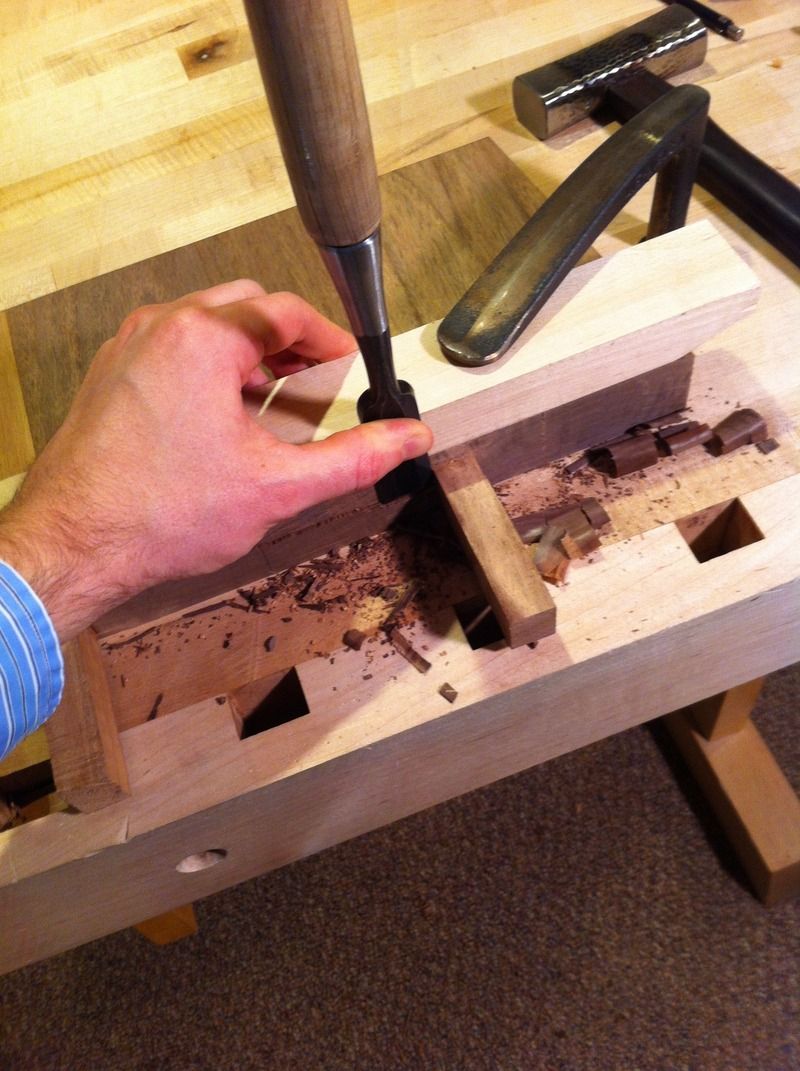
Mortising


Back Panel complete (the panel is veneer over baltic birch ply)


Doors, same structure they are haunched through tenons fitted with wedges and the panels are veneer over ply

[URL=http://s27.photobucket.com/user/SpeedyGoomba/media/2F2E77F4-BA8E-4F58-92BE-9D9AEA800E0D_zpsazl9ixo3.jpg.html][/URL]

There are 7 drawers, the top 4 will be lined for use with jewelry. They are going to be line plan-file drawers, big open space for mom to layout her jewelry. The inside of the doors will have necklace hangers built into the battening.

Re: Good Eyes, Warren!

#21

Wowser!

Bill Houghton, Sebastopol, CA

Thanks for all the nice pictures of your build in progress. It's a lovely cabinet, and you're doing nice work.

I've sent you an e-mail about picture posting on Wood Central.

Re: Good Eyes, Warren!

#22

You said it Bill!

John in NM

Looking great!

Re: Good Eyes, Warren!

#23

That was an enjoyable tour

Bill Tindall, E.Tn.

The problem with posting pictures is that they then generate loads of questions and comments.....to whit

You need a neighbor with a band saw :)

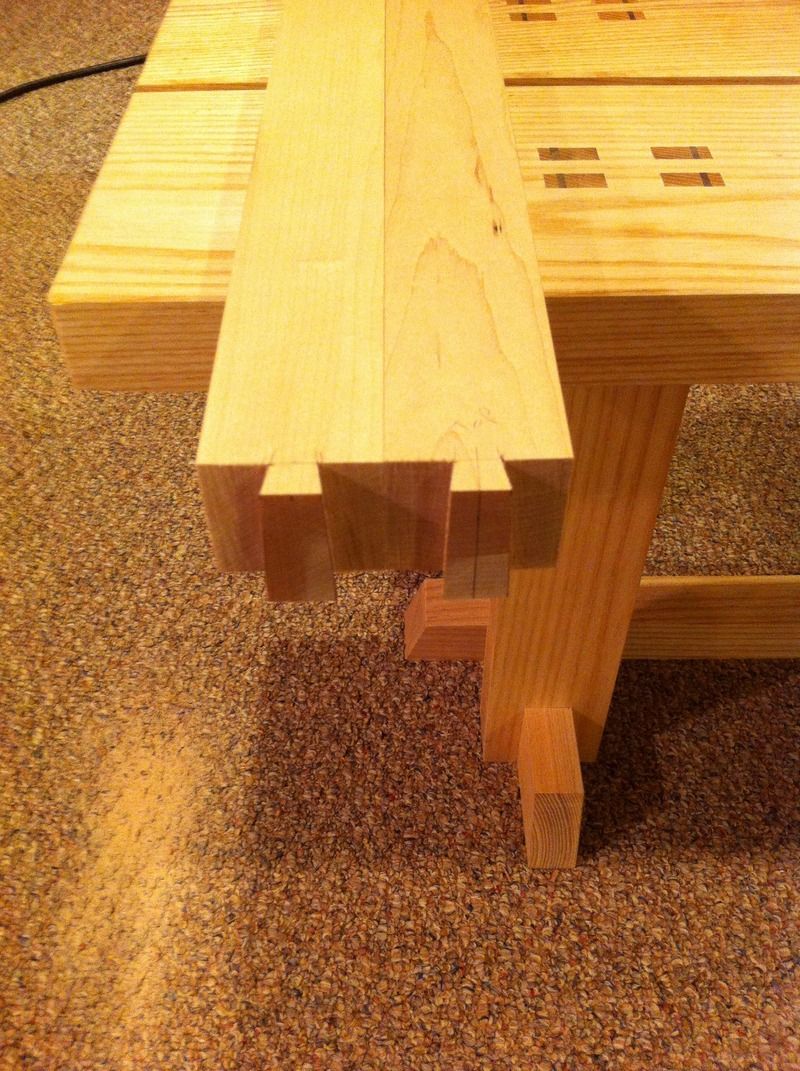
You don't work on a carpet floor?

Book matched case sides add so much to a case piece. It is too bad that 10/4 lumber is not readily available for larger pieces.

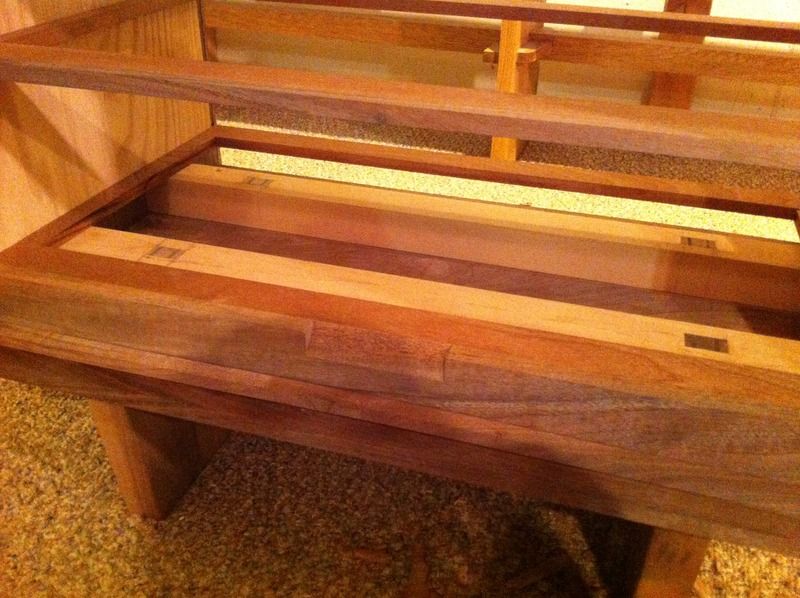
In the first series of pictures (picture 6) some light colored wood seems to have been added to the inside, but it was unclear to me why? Will you discuss the interior framing strategy for this piece?

What is the door panel made from? I don't recognize the grain pattern. Whatever, the front and back panels are elegant.

There is frugal and then your base. I thought I set the bar for frugal but my frugalness has been surpassed and left behind. Are there really 9 pieces in that panel? I applaud you frugalness and ability to glue panels.

Re: Good Eyes, Warren!

#24

Thank you all!

Brian Holcombe

I appreciate the kind words, thank you.

Hah, I do work on carpet…it's not advisable but does have one nice benefit that I can lay the work down on the floor without fear of scratches. I don't do that with finished pieces, but it's nice sometimes to do for WIP without laying down cardboard or blankets.

If I ever add a machine tool to my shop it will be a bandsaw, lol. Unfortunately getting a 600lbs minimax into my basement is not likely to ever happen, and my wife has banished me from the garage. (I'm limited to a one-shop maximum…for now).

Thanks about the book matched case, that was a ton of effort, so I appreciate that it is noticed. Not sure if I would do it again from one slab, but it's impossible to find sequenced lumber in my area unless you want slabs. A yard which keeps sequenced lumber would save me a ton of effort. It has become clear to me why so many shops harvest their own lumber.

The inner panels would be a bit redundant if the case were able to be made thicker, but I decided I wanted clearance between the drawers and cabinet sides so that the drawers can pass by the doors without them being open at 90 degrees.

The panels will be completely hidden from view in use, but offer me about 1/4" of clearance on each side. They also allowed me to make inner moldings which add a nice clean look to the inner case.

On the next one I build I will likely make the case thick enough that I can cut rabbets in the front and back of the case allowing me to do tapered sliding dovetails through and through (rather than blind on the front) on the case sides and simply hide them with plain moldings. The effect will look identical once the drawers are installed but will be much more practical to build. 'Live and and learn' as they say.

The door panels are walnut burl.

Re: Good Eyes, Warren!

#25

Carpet

John in NM

Friend of mine has to work in his apartment, says getting the dust out of the carpet is a pain - but as you say, it won't mar the parts!

I just moved out of a house at work that had no garage into another that has one. I was getting tired of my bench sliding across the linoleum floor in that spare bedroom!