New WoodChat!
Home Articles Forums Gallery Marketplace Videos

WoodCentral Forums

Knowledge You Can Build On — Est. 1998

Personalized Wooden Watches, Engraved Free

Steampunk Mitrebox

Posts

Steampunk Mitrebox

#1

Steampunk Mitrebox

Derek Cohen (in Perth, Australia)

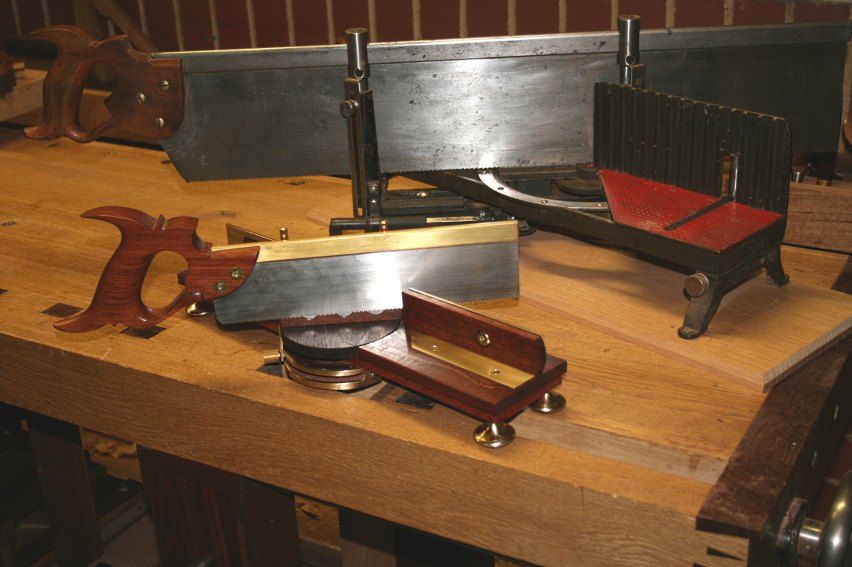
During my recent build of the kist I was sawing mouldings on a Millers Falls Acme 74A, and realised that it was similar to cracking nuts with a sledgehammer. I would kill for a small version of this mitrebox, but they are rare as rocking horse droppings and twice as expensive.

I usually build a tool between furniture projects and, consequently, decided this one would be my own version of a small MF .... well, sort of ...

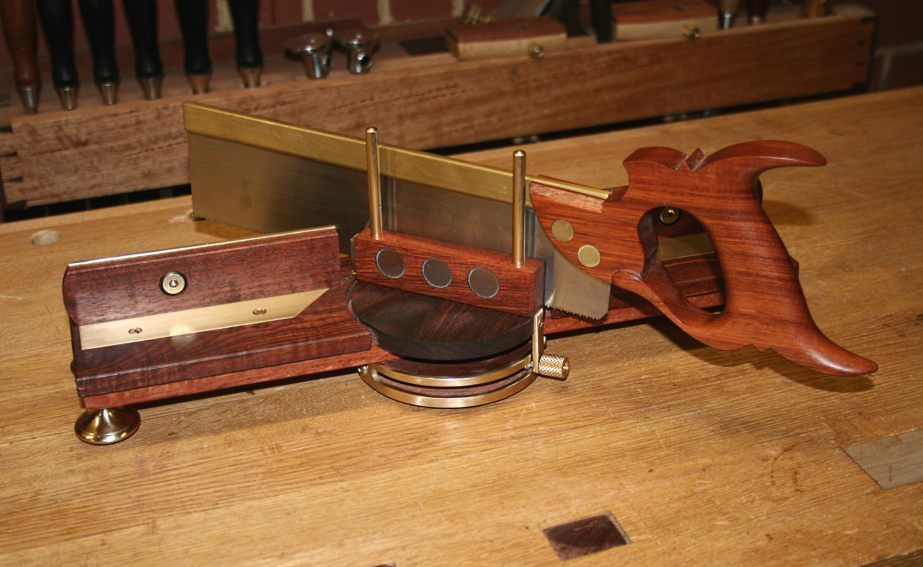
The mitrebox is Jarrah and brass, just under 17" in length, 4" deep, and 3 1/4" to the top of the fences. It is used with an 11" carcase saw I made 2 years ago. This has a 2 1/4" plate and is filed 14 ppi crosscut.
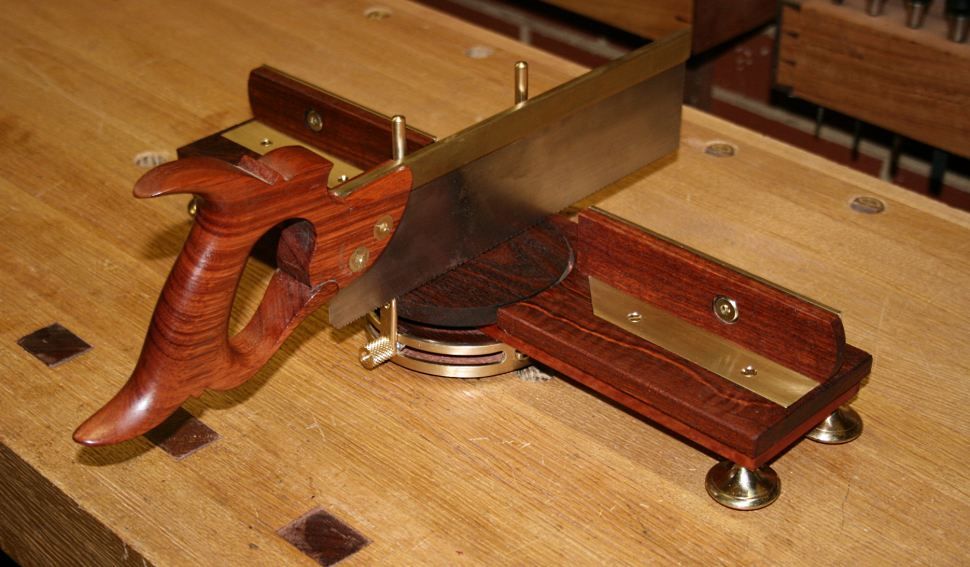

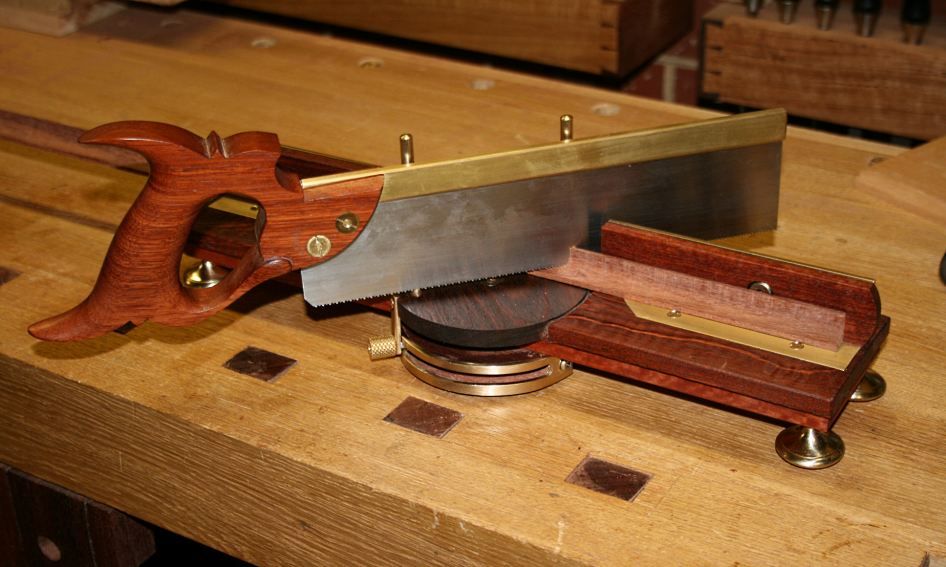
In order to make the depth as shallow as possible, the turntable (for the saw) needed to be small, and this led to placing it pivot point in the centre of the bed. To close up the gap in the fence that results from this, the fence contains a subfence that slides back-and-forth ...
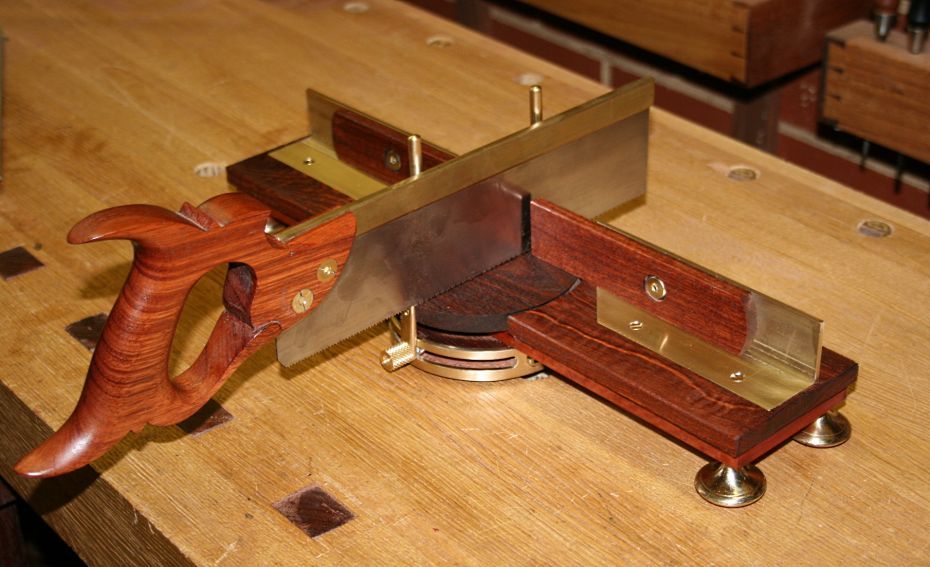

With the fences back, the mitrebox is optimised for mitres ...
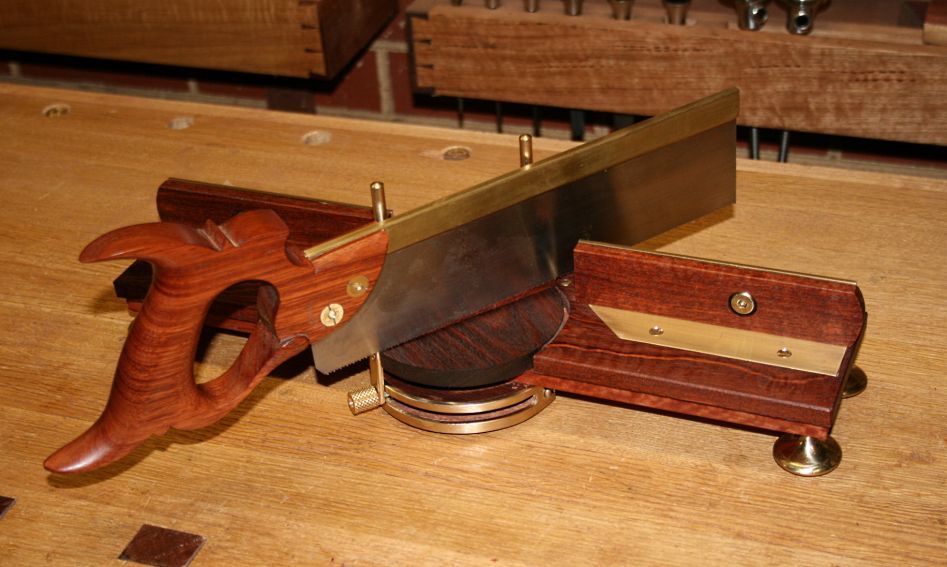

Here is the same moulding from the kist ....

A comparison with a MF Acme 74A ...

The heart of the saw-holding mechanism is a plate with rare earth magnets ...
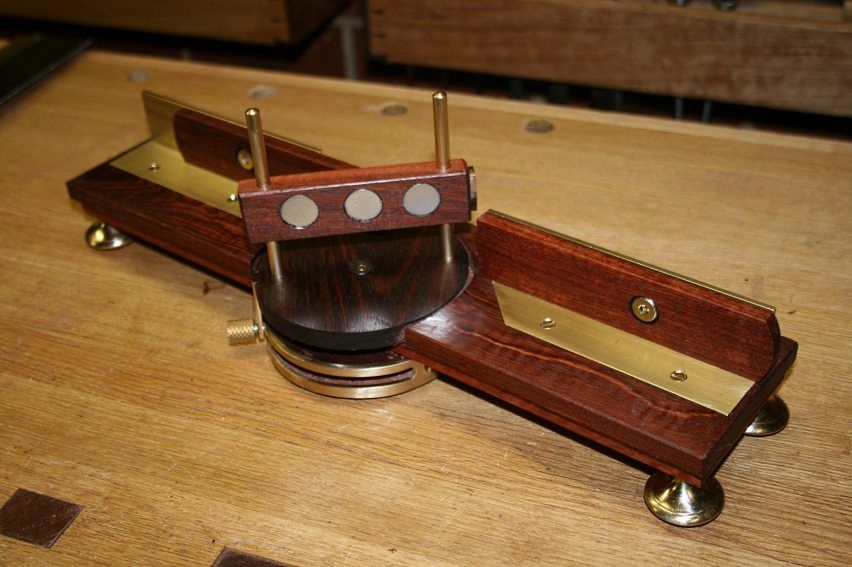

Another shot, as well as the angle locking mechanism ...
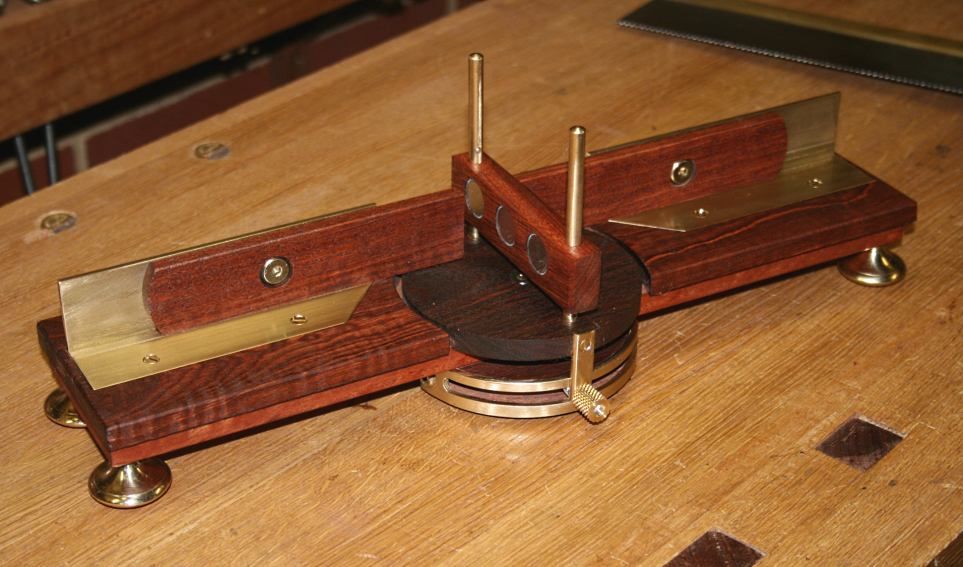

The locking mechanism is built on a morticed Jarrah disk ...
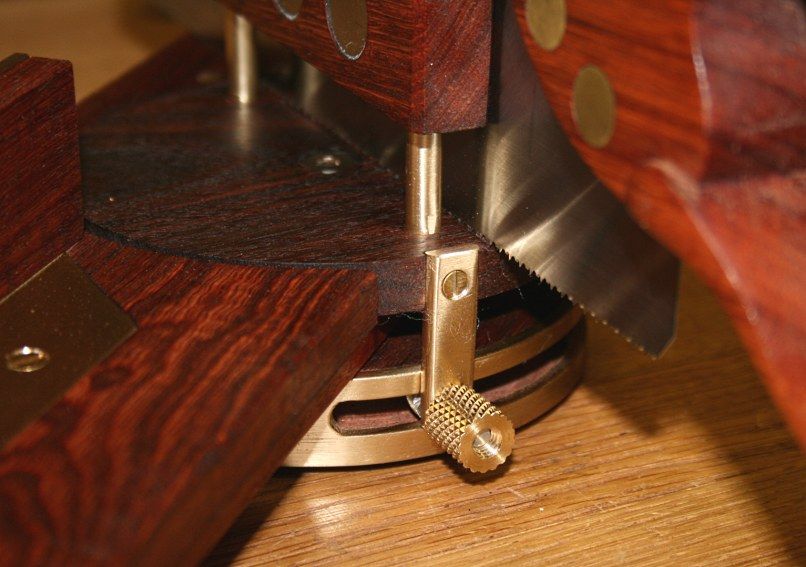

The fence is a 1 1/4" x 1 1/4" brass angle section, with Jarrah subfences. At the rear is a slide adjuster ...
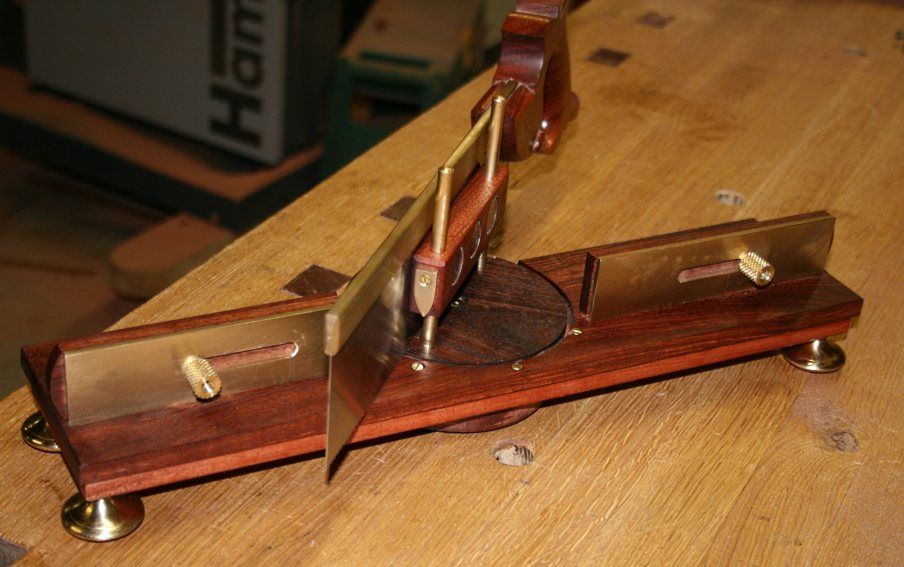

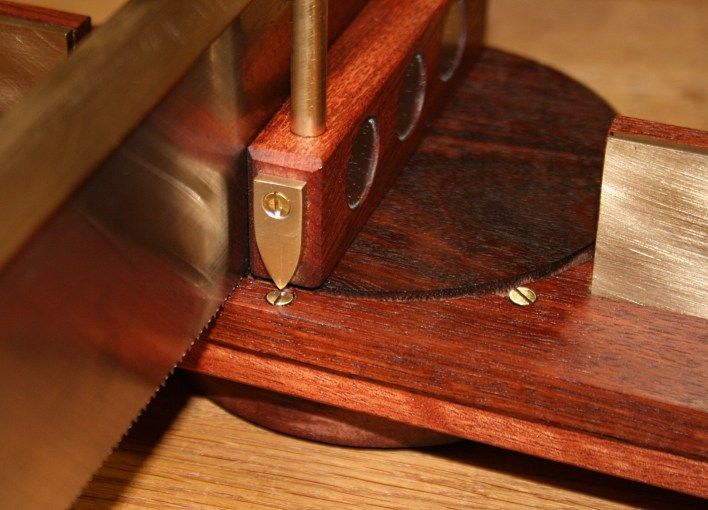
You can make out the angle settings. The fence is set up for quick adjustment to 45 degrees either way and 90 degrees. It has a variable range from about 40 degrees. The saw can be used on either side of the fence.

Here is a close up of the settings ...


Regards from Perth

Derek

Re: Steampunk Mitrebox

#2

Re: Steampunk Mitrebox

roger lance

Derek.....I'm lost for words.....I don't know what to say here.....you designed and built this after the kist??!!.....which was very recent.....I'm so very impressed.....you are on a different level.....WOW.

Re: Steampunk Mitrebox

#3

Re: Steampunk Mitrebox

Tom

Very nice, though I was a little disappointed that it did no have some connection to live steam. Here is something you can wear while using it, and to protect you from the dust.


or maybe this


Re: Steampunk Mitrebox

#4

Very Nice Derek

Tony Wilkins

Just reinforcing that it might just be worth it to come to Australia and 'borrow' some tools ;)

Re: Steampunk Mitrebox

#6

Re: Steampunk Mitrebox

Charles Stanford

Nice, but so is the Hammer tablesaw in the background.... ;)

Re: Steampunk Mitrebox

#7

Re: Steampunk Mitrebox

GolfSteve in Calgary

Pretty cool, Derek. Nice design.

Re: Steampunk Mitrebox

#8

Re: Steampunk Mitrebox

Wiley Horne--So. Calif.

Wow, I like everything about this little mitre box!! Beautiful piece of work, and the saw too! This raises the bar.

Wiley

Re: Steampunk Mitrebox

#9

P. S.--Those feet

Wiley Horne--So. Calif.

are killer! Where did they come from?

Wiley

Re: Steampunk Mitrebox

#10

Re: P. S.--Those feet

Paul M.

They look somewhat like piston valves from an automobile engine to me.

Re: Steampunk Mitrebox

#12

Re: P. S.--Those feet

Derek Cohen (in Perth, Australia)

They are slightly modified drawer handles.

I still need to attach the feet to a board to enable it to be secured to the bench. The choice has been between Jarrah and Curly Marri scraps. Having taken photos with the mitrebox on the Oak benchtop and a Jarrah sideboard, it is going to be the Curly Marri. That will allow the feet and the Jarrah to stand out better.

It was fun to build.

Regards from Perth

Derek

Re: Steampunk Mitrebox

#13

Re: Steampunk Mitrebox

Patrick Gibbons

Very impressive Mr. Cohen. How many hours did you put into this miter box?

Re: Steampunk Mitrebox

#15

Re: Steampunk Mitrebox

Patrick Gibbons

A wonderful looking project. I'd love to give it a test drive.

Re: Steampunk Mitrebox

#16

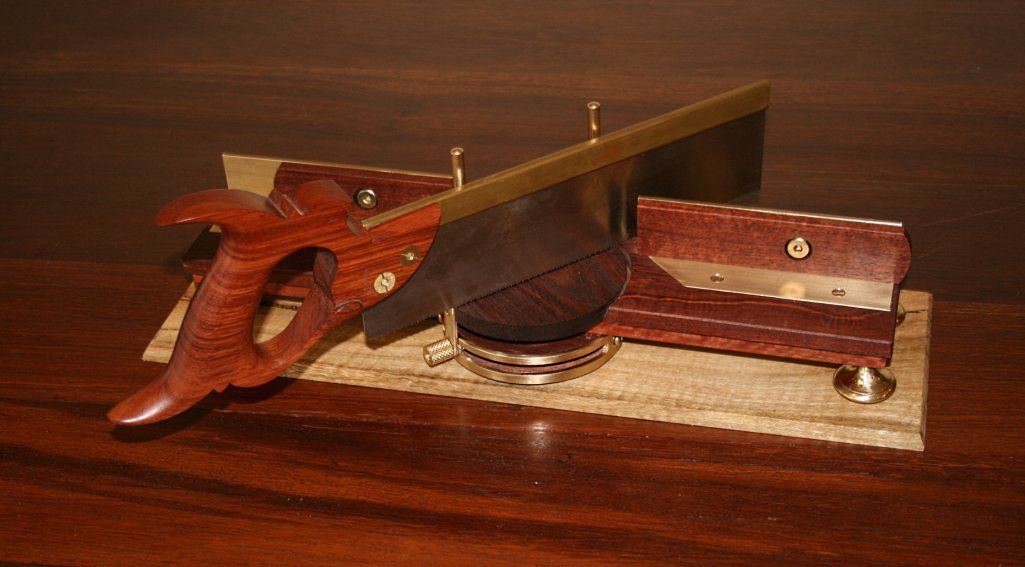
Added a base ..

Derek Cohen (in Perth, Australia)

Patrick, you are most welcome to come over any time to test drive the mitrebox. The beer is cold :)

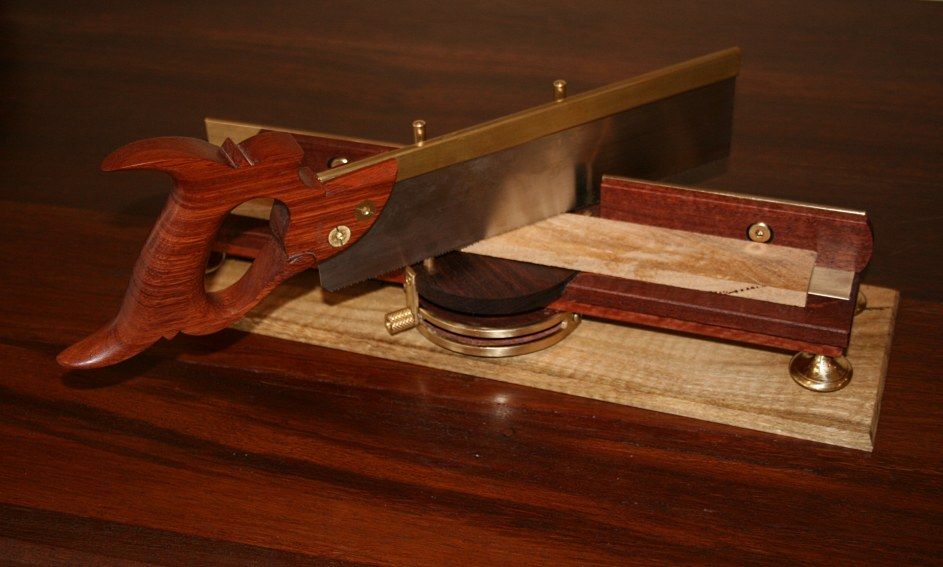
I added a simple base, to enable the mitrebox to be clamped on a benchtop ..


I plan to make a depth stop to control the depth of cut. In the meantime I will use a simple sacrificial board to avoid cutting into the turntable. The workpiece will sit on top of this board.


Regards from Perth

Derek

Re: Steampunk Mitrebox

#17

One word : "WOW !"


Re: Steampunk Mitrebox

#19

Re: Incongruity

William Duffield

That's a beautiful machine, Derek, but the incongruity of using QuickGrips to clamp it to your bench top is jarring.

Are the rare earth magnets recessed below the surface of the blade holder, to prevent them scratching the saw plate? Or are they less abrasive than the jarrah? :D

Evidently, you had too much fun building it to stop and take photographs during the construction.

Re: Steampunk Mitrebox

#20

Re: Incongruity

Derek Cohen (in Perth, Australia)

Thanks William.

You are right about the Quickgrips. What do you suggest - wooden screws?

The magnets are set slightly below the surface of the wood, which is also waxed, and the saw floats across them on the wood surface. The weight of the saw alone provides enough downward force for the guides to drop, and the remainder is pretty much as if you are sawing without a guide. Indeed, it feels less effort than the MF 74A with guide bearings and a large saw.

Regards from Perth

Derek

Re: Steampunk Mitrebox

#21

Re: Incongruity

William Duffield

What do you suggest - wooden screws?

Super Glue? Cut nails? Chewing gum and bailing wire? :D

Seriously, the first thing I would try is clamping the ends between dogs, using the tail vise. Another option is to attach a fence under the base plate, with screws and glue, and clamp it in your leg vise. I have a big Stanley miter box about the same scale as your M-F. It is screwed down to a piece of 3/4" plywood. I usually set it on top of my WorkMutt™ and clamp it between two pairs of dogs.