We value your privacy.
We use cookies to enhance your browsing experience, analyse site traffic, and personalise content.
By clicking “Accept all”, you consent to our use of cookies. You can also choose
“Essential only” or learn more.
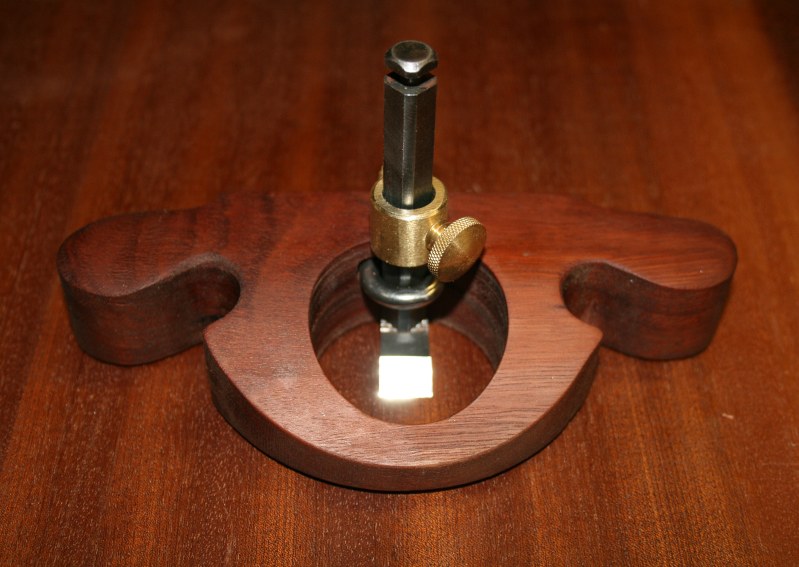
Thank you Derek for the plan and guide, nicely done. I will be building one of these as soon as I can finish other projects that I have in varying degrees of completion.
Derek....thanks....the v groove at the back of the plane body is what I suspected you'd use to take advantage of the shape of the LV cutters....a good project....you'll inspire a lot of builds.....in another thread, you were looking for a possible markers mark....I like the dc and think you might also consider adding the symbol for psychology.....but a little more elaborate than a pitch fork
That's a great tool, and a very well explained and illustrated process for building it.
There are several things you could change to ostensibly improve on the design, but all of them would in some way compromise its elegance.
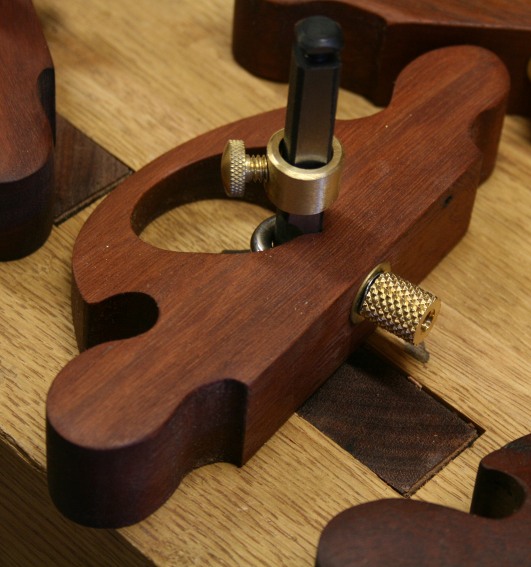
Comparing it to metallic router designs, the most obvious enhancement would be to put another V-groove where the knurled screw is, so you could reverse the blade, allowing you to route right up to a wall. Of course, the first objection to such a modification would be that it would further weaken the body of the router. A viable compromise might be to make two bodies, one with the blade mounted on the inside, the other with the blade mounted outside. This would at least allow you reuse all the hardware with both bodies.
You point out that most of the force is applied with the thumbs to the flat back surface. You might enhance this effect with shallow indents to this surface, like the indentations that Lee Valley grinds in the sides of some of their planes.
Routers often are equipped with a pair of vertical holes, with countersinks, to allow you to attach an enlarged base plate, for spanning a wider excavation.
I have an old user-made patternmaker's router that is equipped with a steel bottom plate. This improves the wear characteristics and also prevents the router from warping. The disadvantage is that it significantly adds to the weight of the router. Instead of the 1/4" steel of mine, 1/8" of brass would probably work better, but for most applications is unnecessary.
There are many of us in the U.S. and also Canada and even in the U.K. who still work in Imperial units and fractions. It would be helpful if the dimensions in your plans were provided in both units.
For fun I looked at my copy of Charles Hayward's How To Make Woodwork Tools, and his craftsman-made routers. I think I got it off the Toolemera website. He related that all young apprentices made their own routers with all in the shop looking very similar. The irons were wedged in and were usually plow blades or a broken chisel set at about 20 degrees. This produced more of a scraping action than a chiseling effect. While this was harder to push, it allowed the router to work in much smaller spaces than a cranked blade. He also remarked about the action being smoother because of the hand's position relative to the blade.