New WoodChat!
Home Articles Forums Gallery Marketplace Videos

WoodCentral Forums

Knowledge You Can Build On — Est. 1998

Personalized Wooden Watches, Engraved Free

Update on Plough Tool Box

Posts

Update on Plough Tool Box

#1

Update on Plough Tool Box

Derek Cohen (in Perth, Australia)

The box needed to be cleaved in two. It always looks straightforward when looking back, but this was a reasonably complex task.

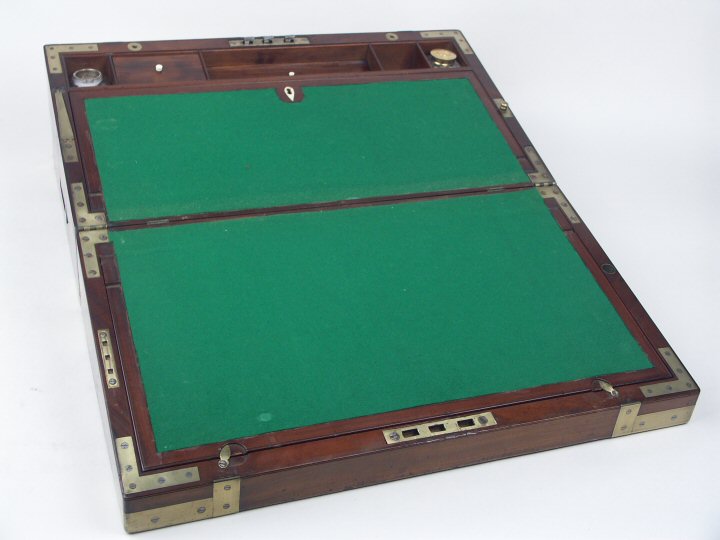
The inspiration for the design came from a campaign writing desk ...
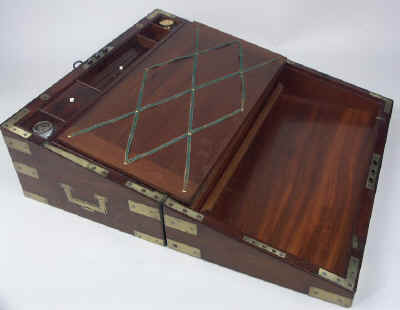

I've been wanting to build one of these writing desks for a few years. Perhaps you have been as well. If so, my experience may help you a little.

The box had been glued up at the last post to ensure that the sides remained coplanar after sawing off the lid. Now it was time to do this. A template for marking the sides was made out of thin MDF ..
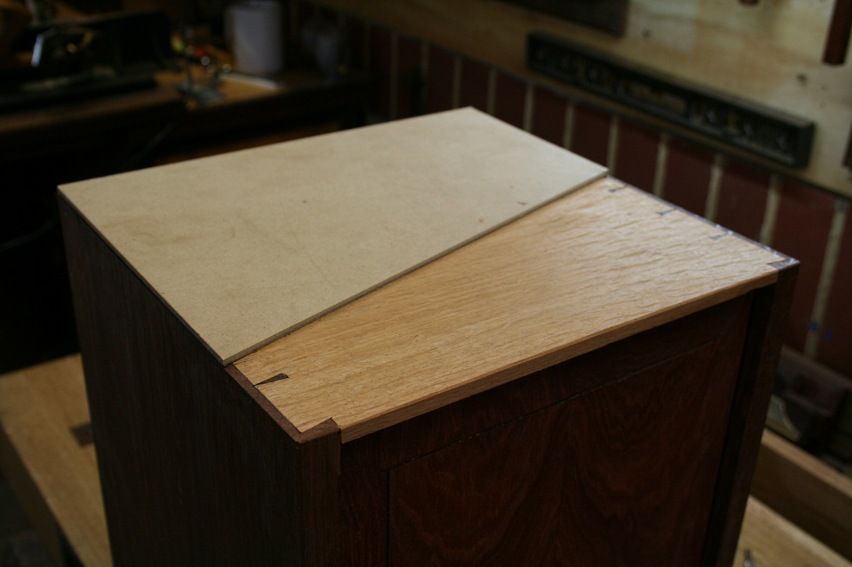

Sawing on the bench was difficult owing to the extra height created. I could have done with a platform, or platform shoes!

I have a guide that does triple duty: one side is angled for siding dovetails, the other is at right angles for a dado plane. I added a few rare earth magnets to the latter for a saw ...
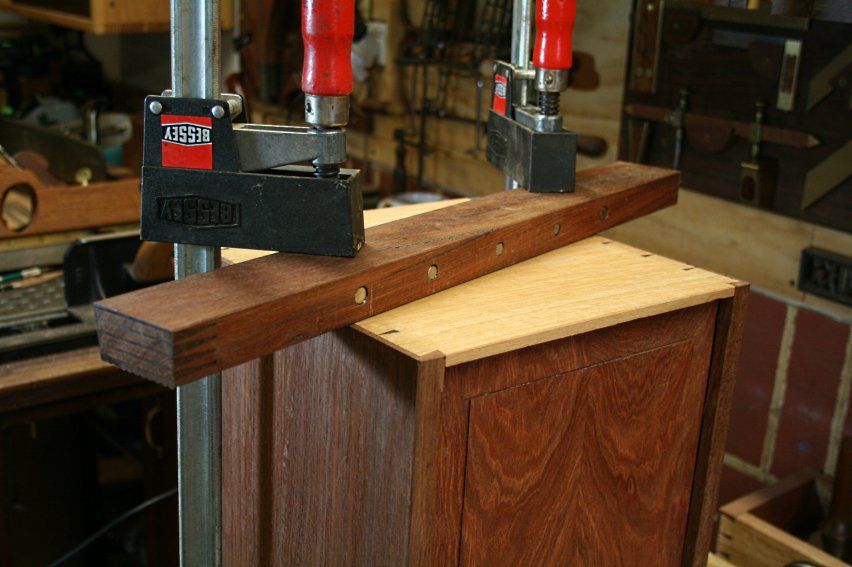

... and brought out "The Beast", a 28" x 5" Disston mitre saw.
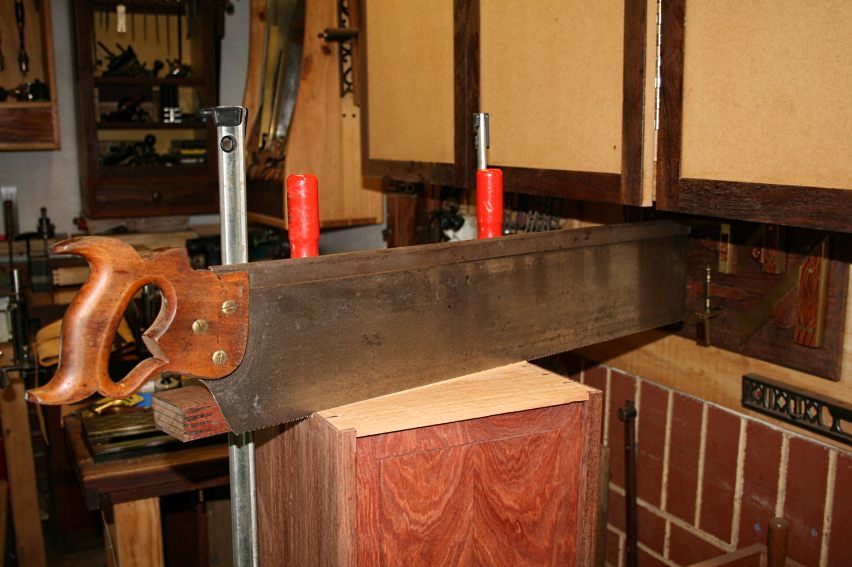

The sides of the box were sawn until just through the side thickness.
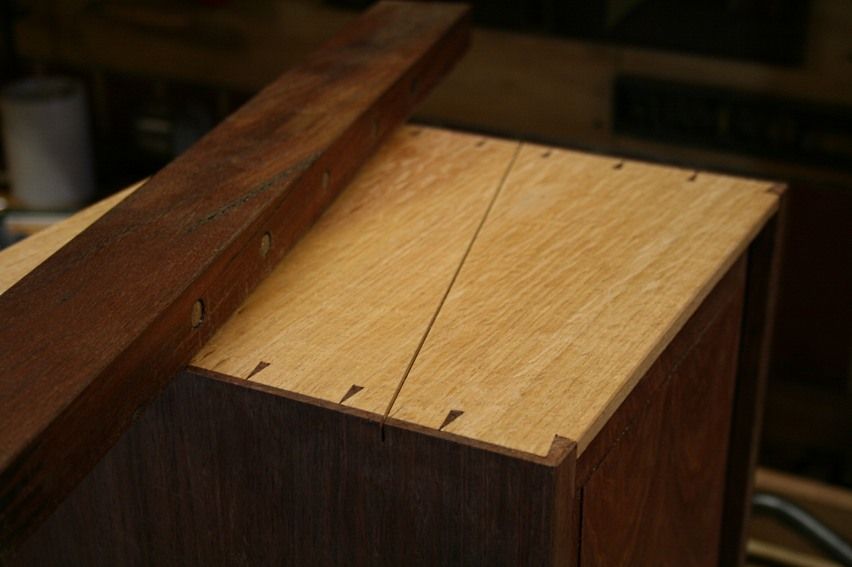


Before sawing the front and back I hot glued scrap MDF over the sides to hold them in place ...
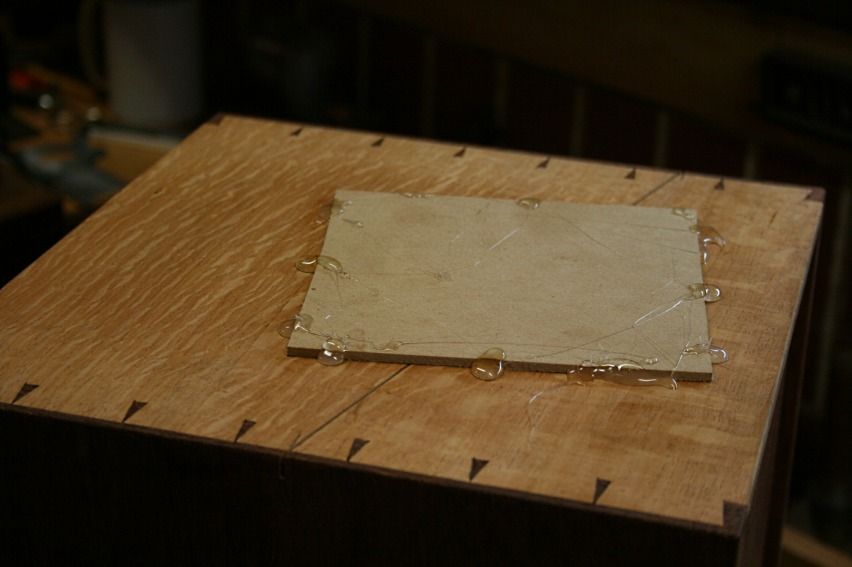

A new guide for the front and rear sides was quickly made up on the tablesaw. This was to maintain the angle of the side saw cuts.
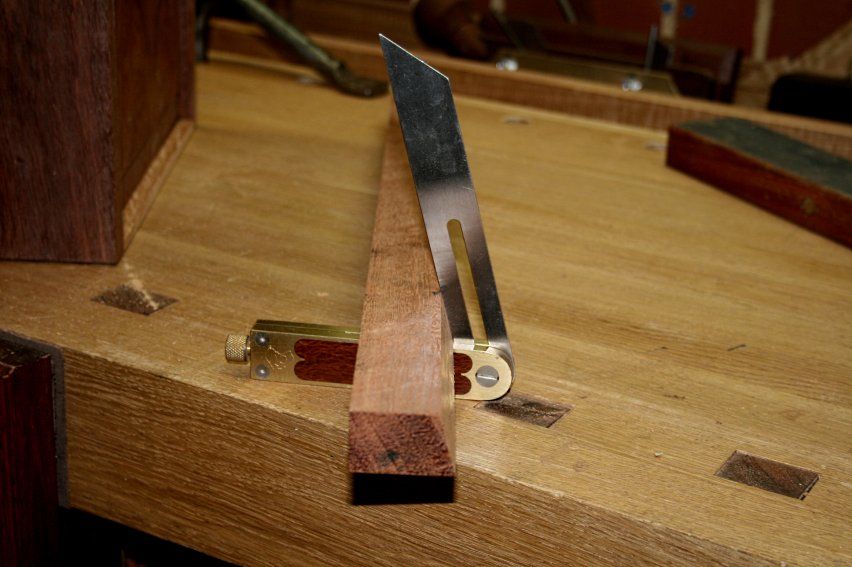
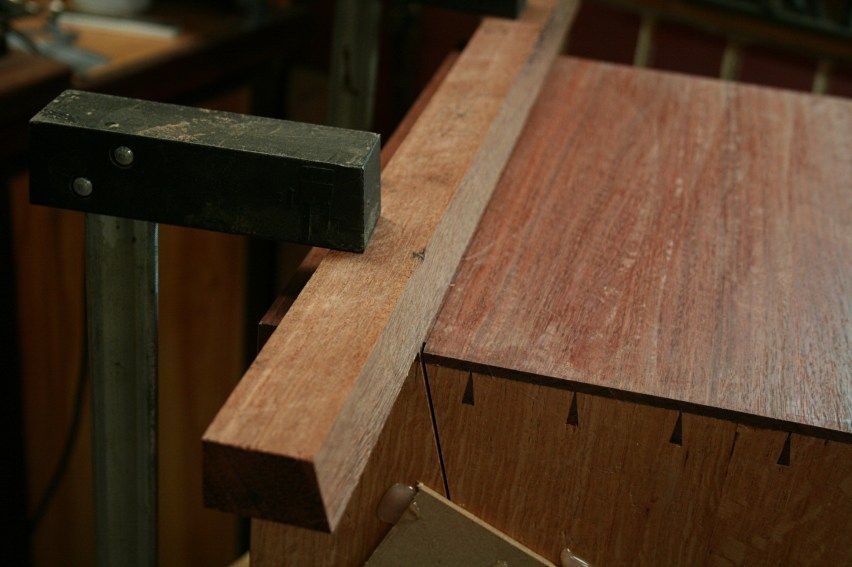

No magnets, so you just need to hold the saw against the fence.
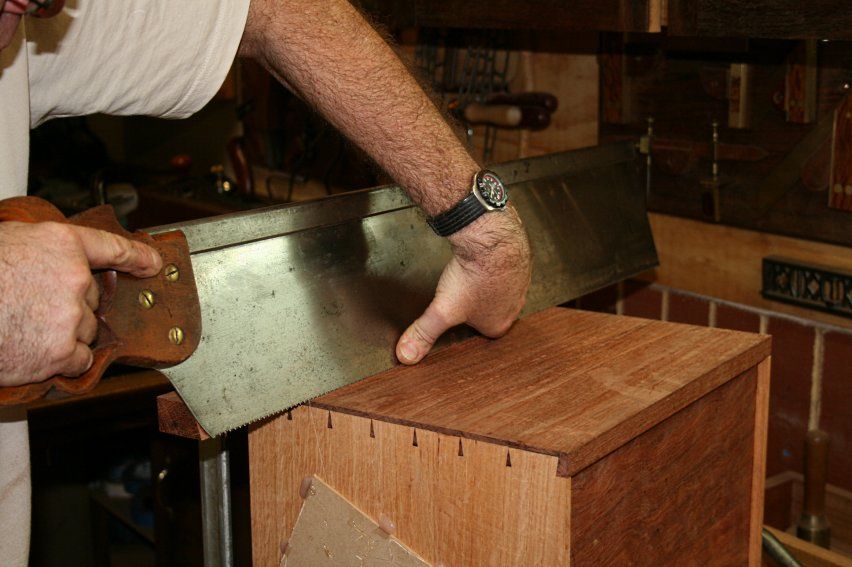

I did not saw all the way through on the first end, stopping just short. Then completely sawed the second end, before returning to finish off the first end.

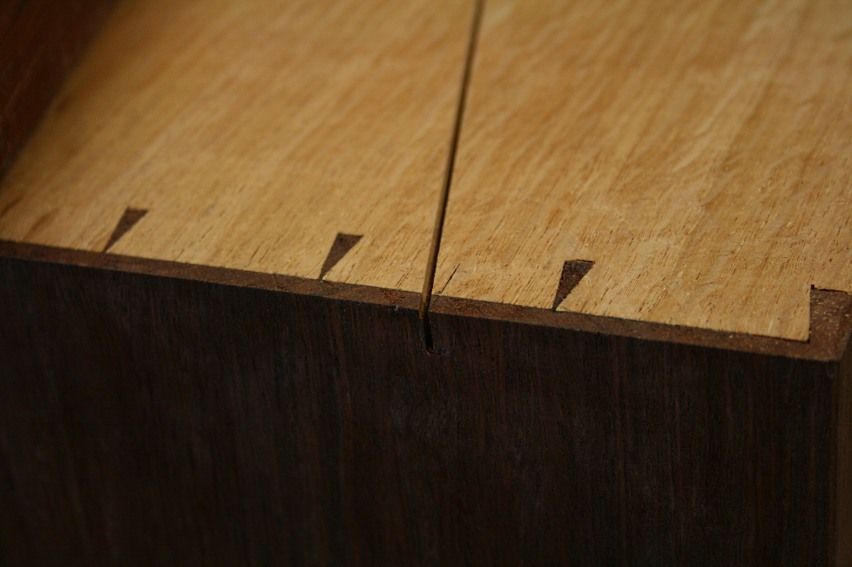
The result was pretty good. There is a tiny amount that will benefit from being lapped smooth. That is for tomorrow.

A side ...
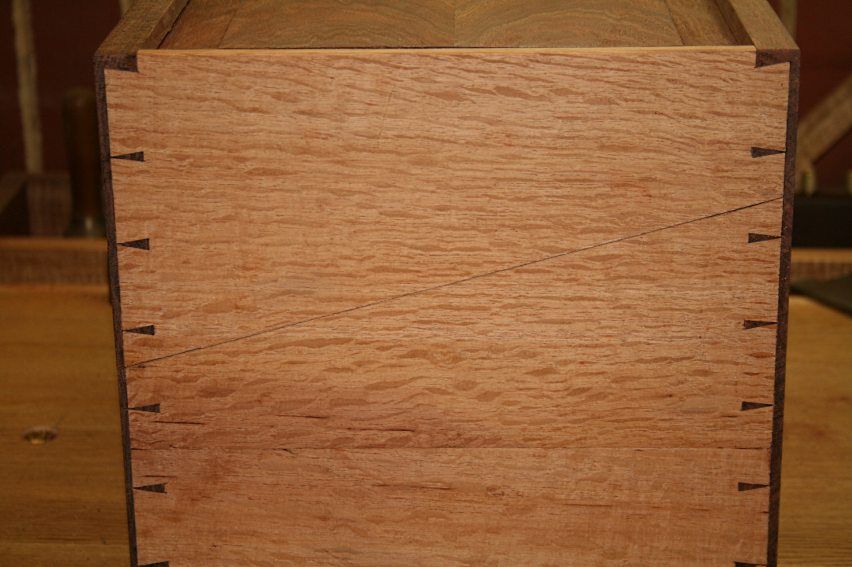

Rear ..
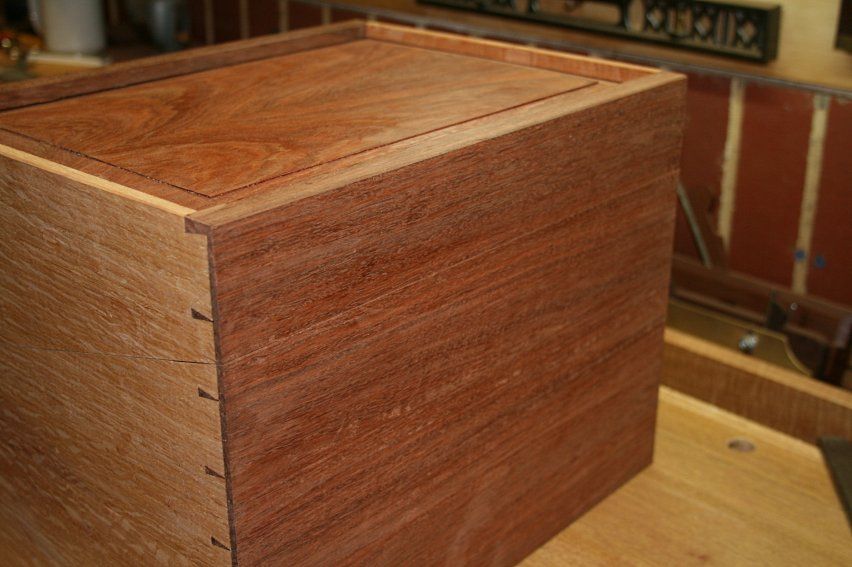

Front ..
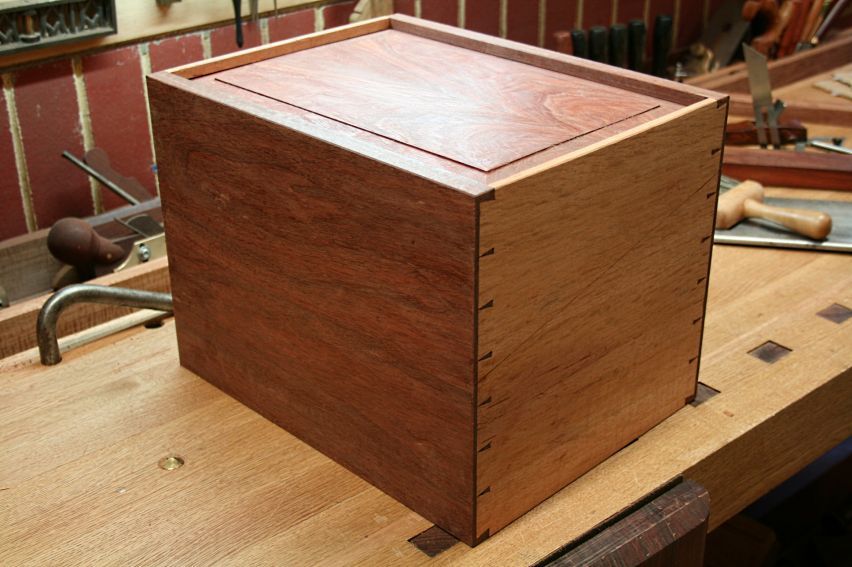

Sides together ...
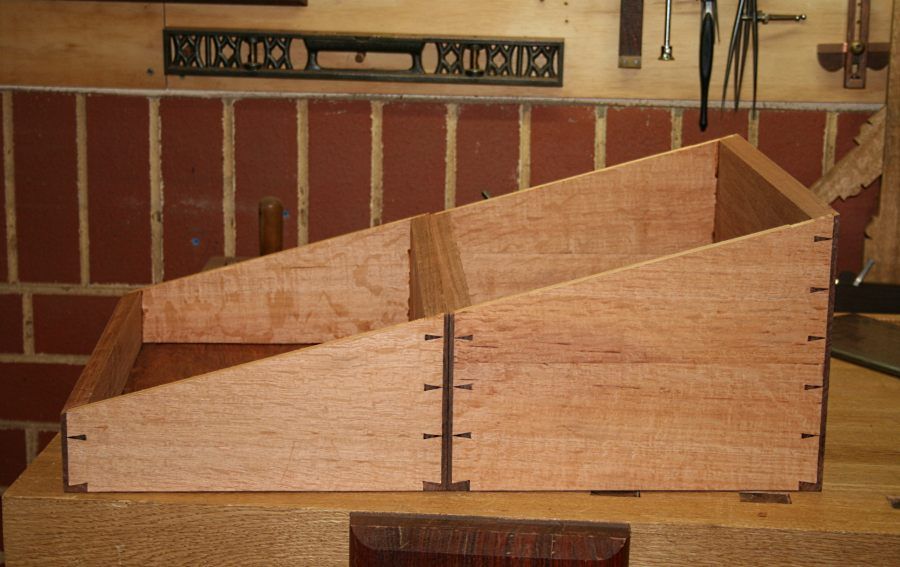

And a preview of what I am after ..
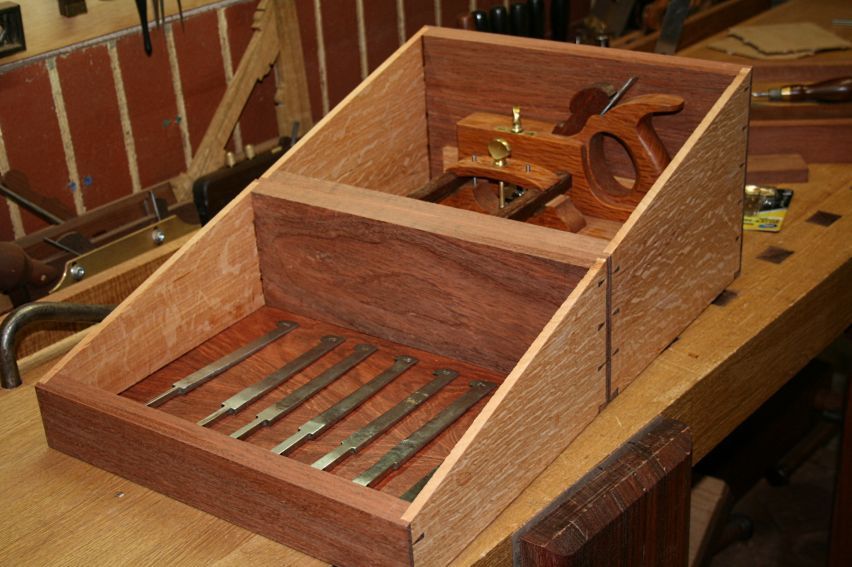

Regards from Perth

Derek

Re: Update on Plough Tool Box

#2

Re: Update on Plough Tool Box

Howard Pollack

Derek- You do nice work! -Howard

Re: Update on Plough Tool Box

#3

Couldn't have done better myself.....

roger lance

:D

Re: Update on Plough Tool Box

#4

Re: Update on Plough Tool Box

Curt Putnam

Beautiful Work!

Re: Update on Plough Tool Box

#5

Ellis Walentine

Sweet!

Ellis Walentine

That is one fancy tool box, Derek, and your methodology couldn't have been more simple or direct. Thank you for sharing this with us.

Ellis

Re: Update on Plough Tool Box

#6

I like that a lot

Ron Harper

Oh Btw that is one gorgeous bevel gauge. Where does one get one of those?

Re: Update on Plough Tool Box

#7

Re: I like that a lot *LINK*

William Duffield

From Chris Vesper


Vesper Tools

Re: Update on Plough Tool Box

#8

Re: Update on Plough Tool Box *LINK*

William Duffield

Love it! Especially impressive is the way you perfectly aligned of the dovetails when the box is opened. And the book matched bubinga in the lid (that you showed us in another post) is stunning. Looking forward to seeing it with finish and hardware and partitions installed.

Im pleased that we came up with enough crazy ideas that you found one that worked for you, while killing a minimum number of electrons in the process.

I have a pair of Veritas joinery planes, with blades and accessories, that need something more appropriate than the cardboard they came in. I've been looking for ideas for a box for them. Yours one provides just the ideas I needed, but if I hadn't seen your final photo, I think I would have ended up with the hinges on the other side, in which case my box would have tipped over if I took both planes out at the same time.

Does that yellow and black package contain Stanley hardware, and are you planning to use it on the box? I think something that nice deserves Brusso hinges, even if it is just a tool, and just for the shop.

N.B. Lots more details on the campaign desk that inspired Derek can be found at the link. There are enough box examples on Hygra's website to keep anyone building reproductions for the rest of their lives.


Antique Boxes at the Sign of the Hygra

Re: Update on Plough Tool Box

#9

Hinges

Derek Cohen (in Perth, Australia)

Does that yellow and black package contain Stanley hardware, and are you planning to use it on the box? I think something that nice deserves Brusso hinges, even if it is just a tool, and just for the shop.

William, you have eyes like a hawk!

That package did indeed contain hinges, cheap and nasty, and since confined to the drawer from where they materialised. I do have decent brass butt hinges, on a par with Brusso, but I am not happy with this style.

The problem with butt hinges is that they will be very apparent from the front of the box. I really want as little to show as possible.

The ideal type of hinge would be an internal strap hinge, such as the one here ..


The problem is that the sides are about 3/8" wide (the front and back are 3/4"), and so I need to find something with a strap around 1/4" wide, in brass. Anyone have a contact? I've looked at several sites.

Or an alternate idea?

Regards from Perth

Derek

Re: Update on Plough Tool Box

#10

Knife hinge?

Bill Houghton, Sebastopol, CA

It's too early in my morning* to think about the geometry here...but would a knife hinge, into the inside face of the box edges, work?

*Of course, if I'm counting right, it's 11 p.m. there in Perth; but you're way more energetic than I am, so you're probably just warming up to your day.

Re: Update on Plough Tool Box

#11

Re: Hinges

William Duffield

I'll start with a little background material: Last month, I was discussing the Jefferson Lap Desk with Mario Rodriguez of the Philadelphia Furniture Workshop. One of their classes is a build of a reproduction of this desk. One of the problems with the original desk is that the two writing surfaces warped, each being made from a single flat sawn mahogany board and being used out in the weather and being covered with baize on one surface. This warpage damaged the box by pulling out the screws holding the hinges. In his reproduction, Mario used frame and panel construction for the writing surfaces and replaced the simple butt hinges with some custom hinges that I think (if I remember correctly) he had Whitechapel make for him.

You can read more about building the desk on his blog. The entry with the pictures of the hinge and the completed desk is here:

http://www.philadelphiafurnitureworkshop.com/blog/?p=330

I think these are the hinges he used, now in the Whitechapel catalog:

http://www.whitechapel-ltd.com/product/boxh/247HV12.html

Whitechapel also sells a version of these with a stay, to limit how far the lid may open.

You might e-mail Mario and Alan and verify that these are the hinges they use.

info@philadelphiafurnitureworkshop.com

The photo is from the Philadelphia Furniture Workshop website. Hope this helps.


img

Re: Update on Plough Tool Box

#13

Re: Hinges

roger lance

Derek....you live a charmed existence my friend !!