New WoodChat!
Home Articles Forums Gallery Marketplace Videos

WoodCentral Forums

Knowledge You Can Build On — Est. 1998

Personalized Wooden Watches, Engraved Free

I declare this bench finished.

Posts

I declare this bench finished.

#1

I declare this bench finished.

Derek Cohen (in Perth, Australia)

This bench is done. Time to move on.

I am very happy with the way it has turned out. Somewhat relieved and always a little amazed when things work out. Here are the finishing touches, plus a road test to illustrate the work holding areas.

When we left off last the bench had reached this stage ...
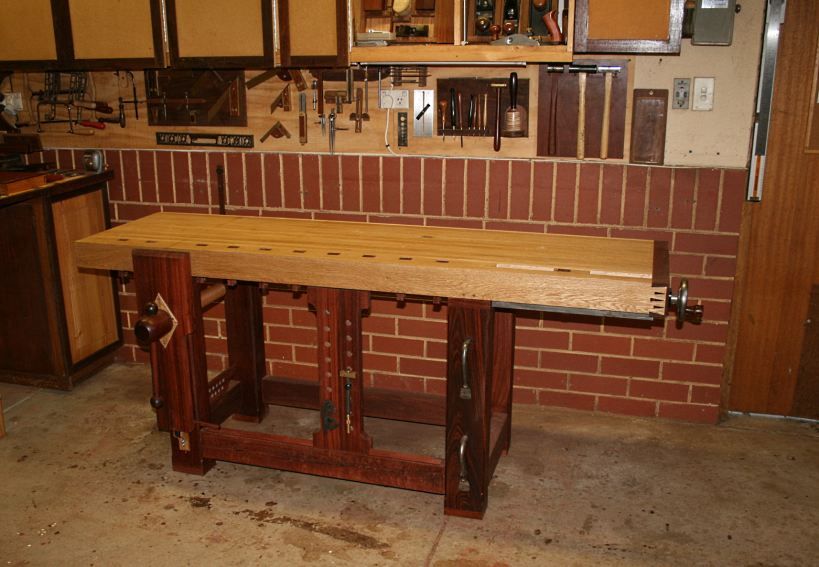

I returned to the fray on the weekend. The first task was to build the shelf. This is made of 5/8" thick (after levelling) Jarrah. I glued the panel up last week. Its weight adds another 10 kg (22 lbs) to the total, bringing the final weight of the bench to 192 kg or 422 lbs.

I was planing the panel with The Dreadnought (36" Jarrah jointer). The quickest way to flatten I know ...
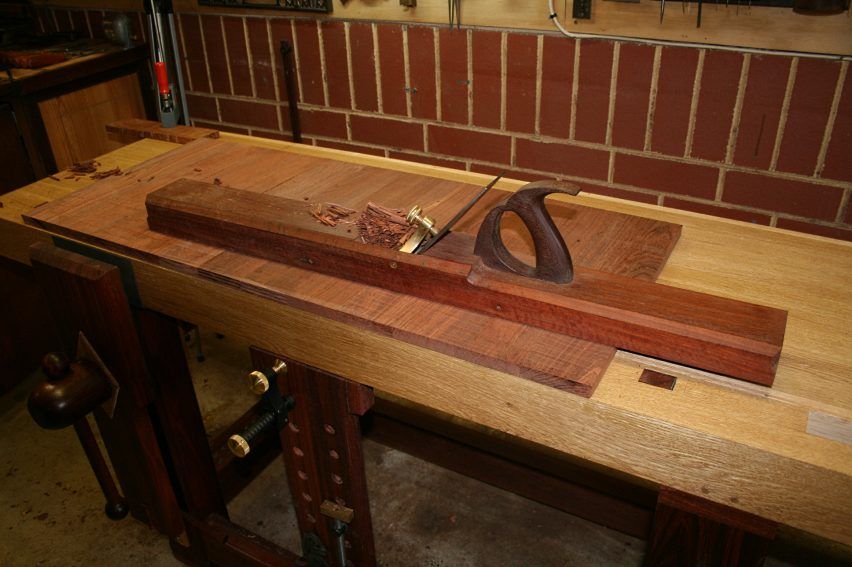

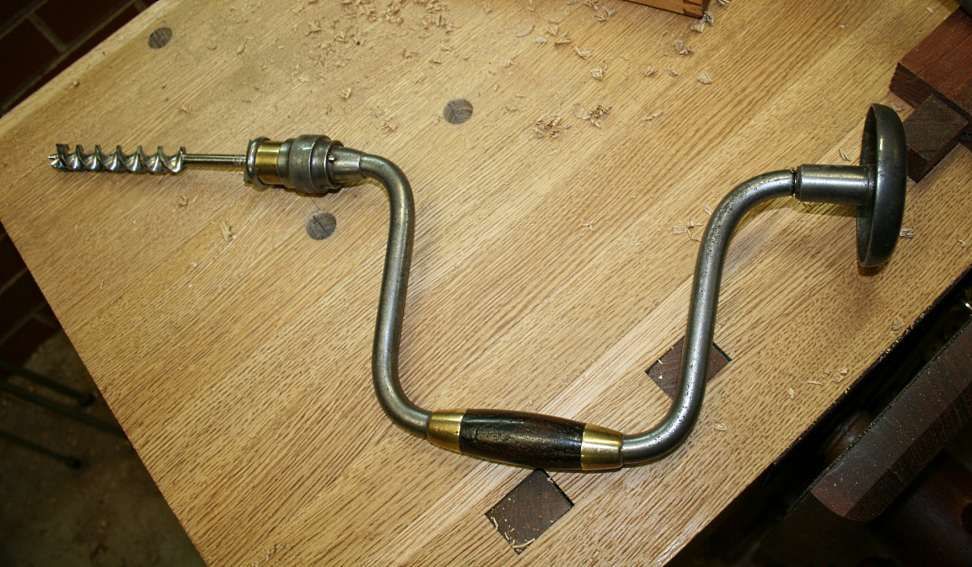
... using one bench dog and a makeshift stop, when I decided I was going about this in the wrong order. Get the round dog holes done! So I sharpened up a 3/4" Jennings bit and brought out the 12" MF brace ...
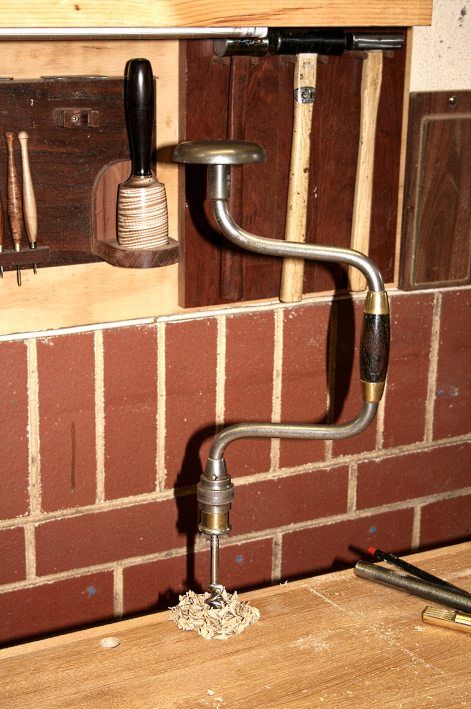

I do like this brace. It has the simplicity of a Spofford, but with bling :)


Soon I had lined up a series of holes opposite the square dogs, each 1" in from the far side of the bench ...

I have chosen to use the brass Veritas dogs. A slight modification is the addition of suede leather on the flat face.
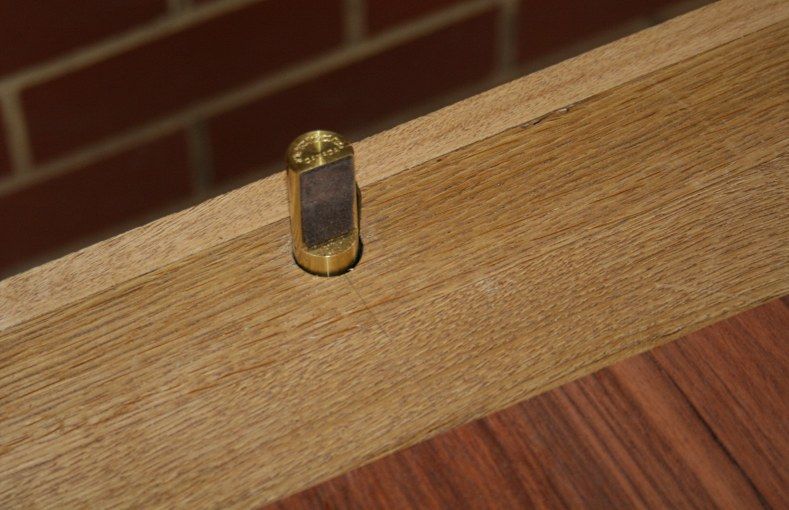

These are long enough to pass through the bench top.
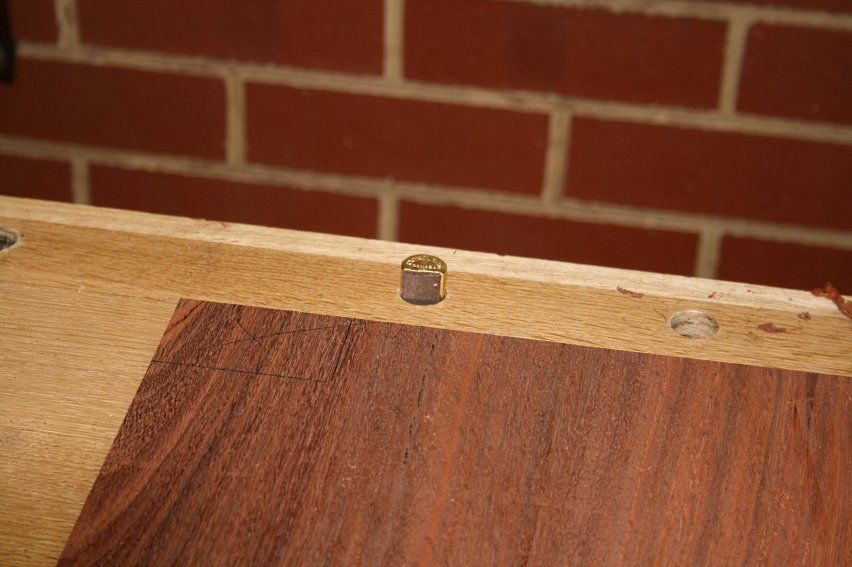

The purpose here is to plane across the bench ...
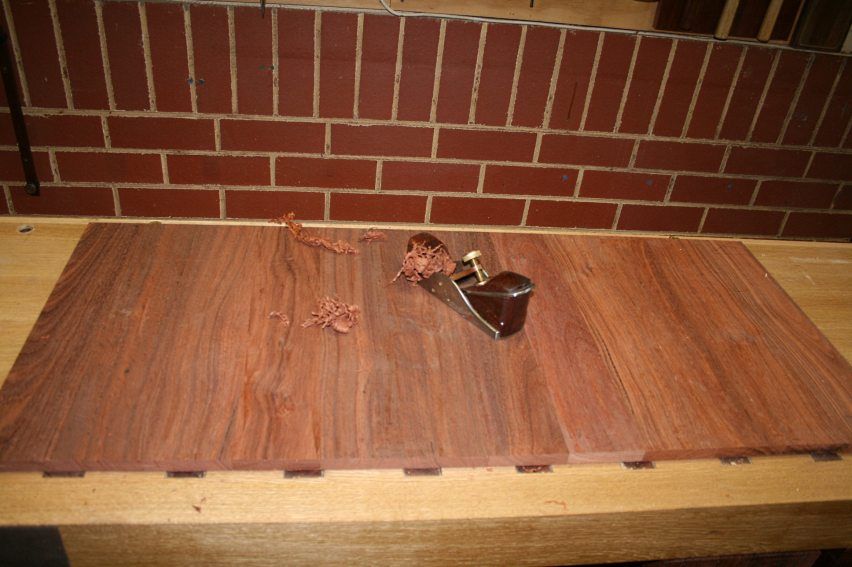

The bench is now 12" from the far wall. This allows the use of a jointer or jack plane without danger of hitting the wall. It was not possible to work this way when the old bench was attached to the wall.

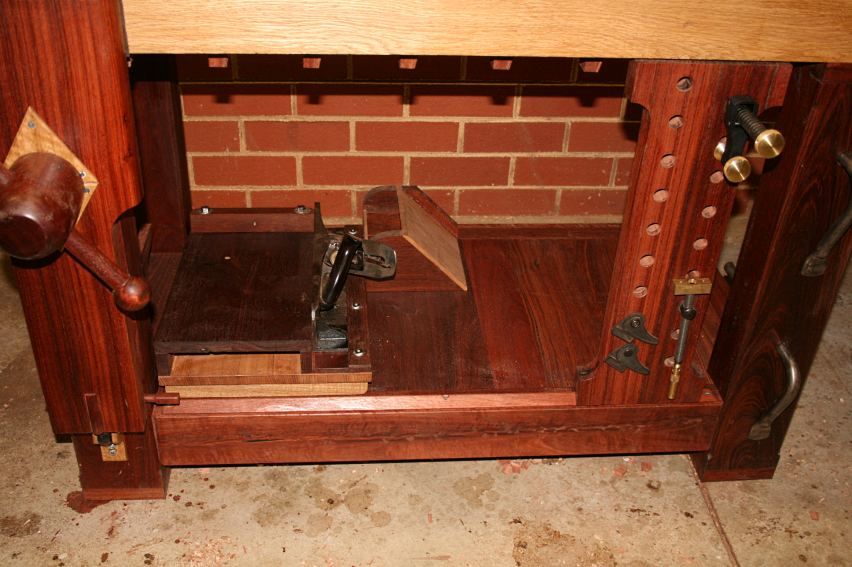
The new shelf ..


It will hold tools such as a shooting board, Moxon vise, and bench hooks.

Alongside the last two square dogs I added two rows of round dog holes. These are coplanar, enabling a short or long bench stop to span the bench. I have yet to make a couple of stops that will be clamped in the leg vise. The following one was co-opted into use in the short term ...


The leg vise was given a layer of 2mm thick suede leather on each side. This makes a huge difference to the work holding power of the leg vise. It will now clamp pieces securely with little force.
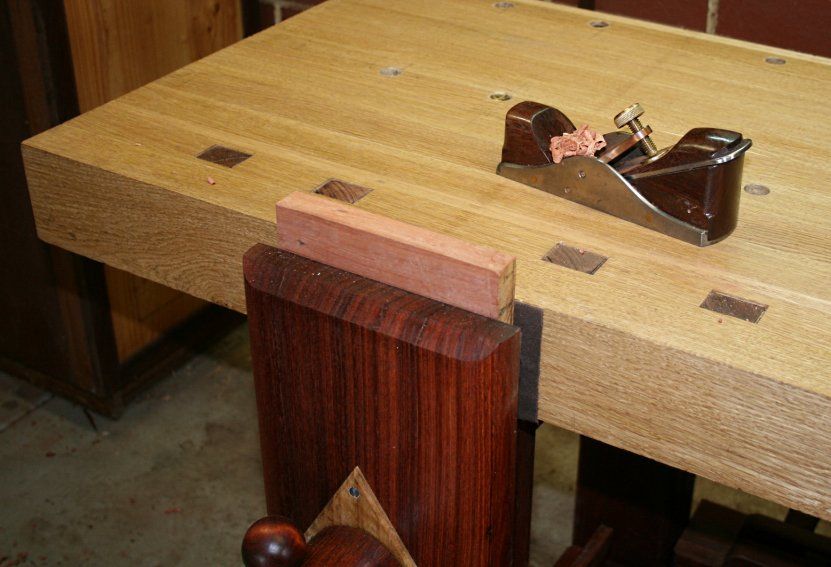

One other point about the leg vise - add the supporting wheels to the glide, as designed by Jameel Abraham, and this will create a smooth running screw, even the wooden one on this bench. I can spin the handle, and the chop will slide in-or-out freely.

My old bench was 34" high. For my height of 5"10" the "pinky test" of Chris Schwarz would point to a bench height of 30" as ideal for planing. My concern, however, was that there are a number of tasks that need to be done at a bench, not just planing. Would the bench be high enough for marking and other detail work? In the end I decided to compromise on a height of 32".

Marking with a gauge is comfortable ...
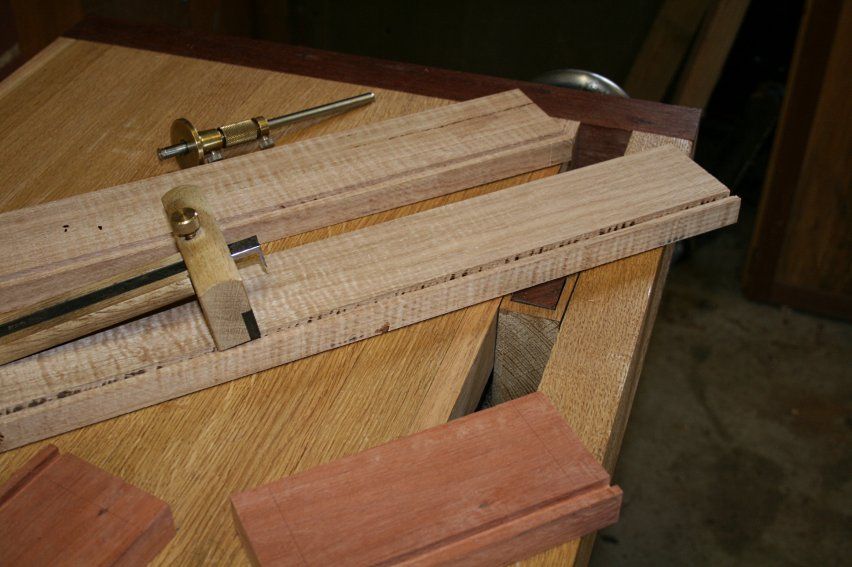

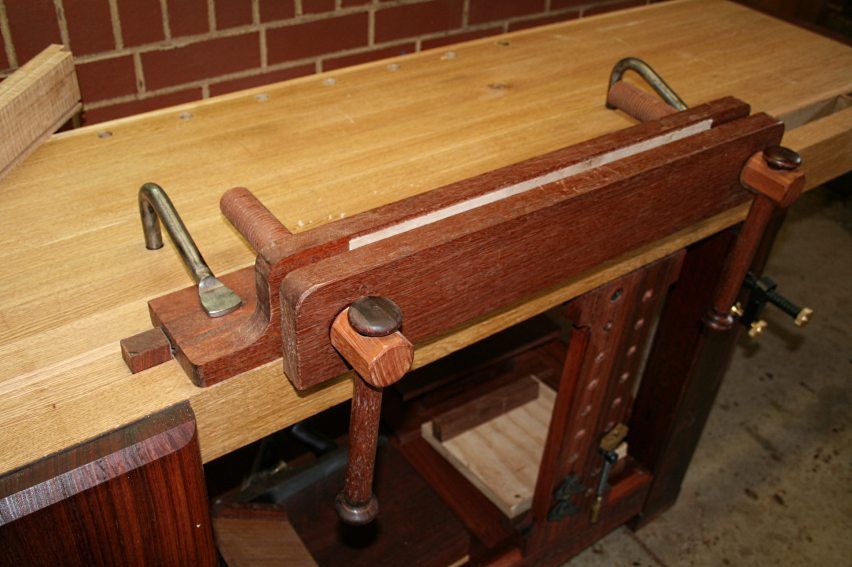
The Moxon dovetail vise is positioned against a dog, and clamped down by two holdfasts at the rear (which may assitionally be used in any of the round dog holes)..

Marking dovetails is also fine, but sawing is less comfortable at this height than before. The saw has to angle upward and I can feel my wrist having to cock more than I like ..


Cross-cutting (the tails) is another comfortable position ..
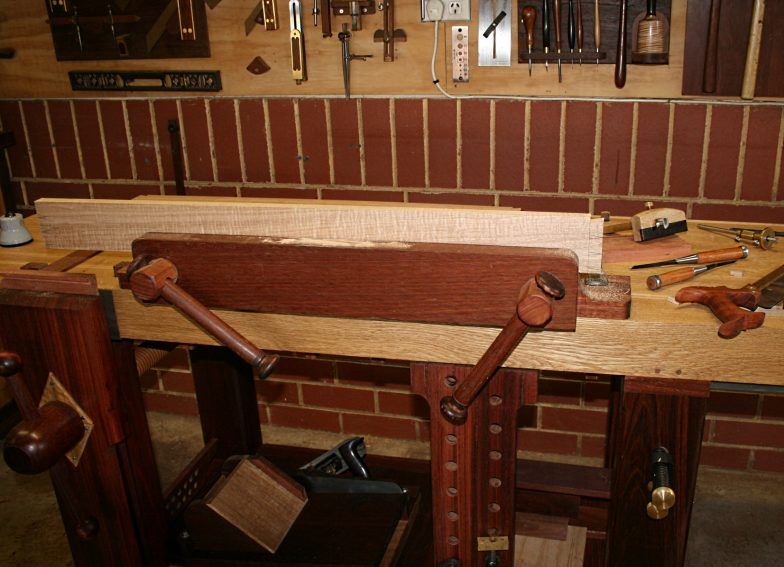

A bench hook clamped into the leg vise allows chopping to take place over a leg ...


It has never been this easy to hold work to plane a rebate along an edge ...
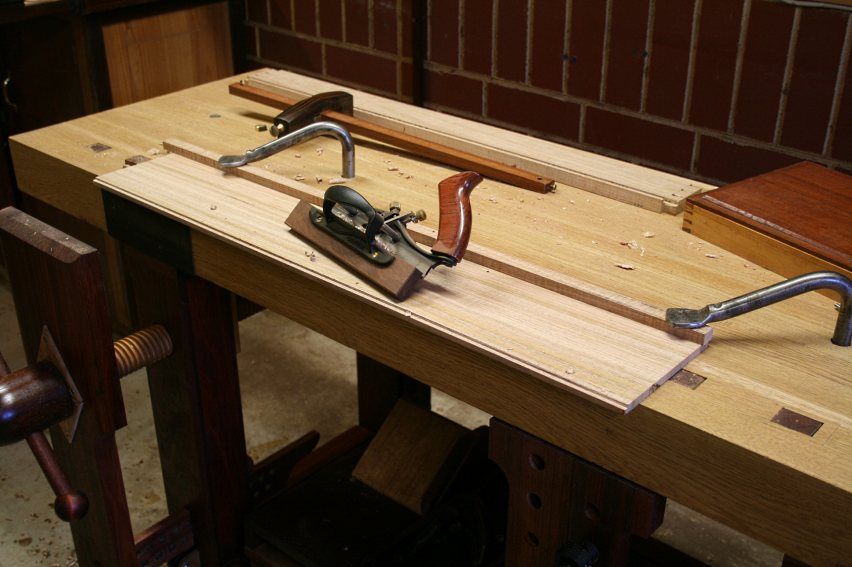

I scratched my head for a while how to hold the short ends. Then I remembered I had a tail vise! Easy peasy ..
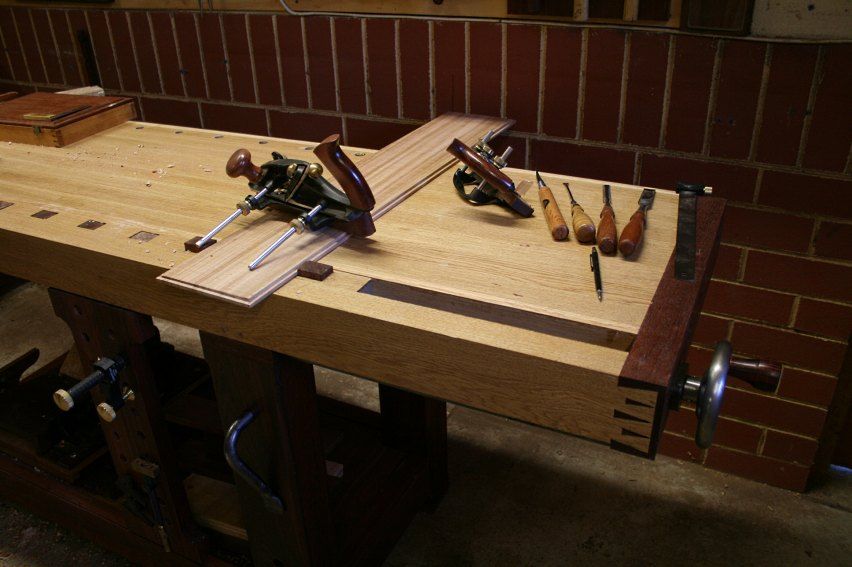

Finally, the sliding deadman, along with the new Veritas surface clamp, made it easy to hold the completed box for planing ..


So what was the first project being built on the new bench? It will become a tool tray, one that will attach to the wall instead of the bench. I want to leave the edges of the bench free for clamps, if needed. To the tool tray I will add a section to hold a few chisels and backsaws that are in current use. That is for a later date.


The completed bench ...
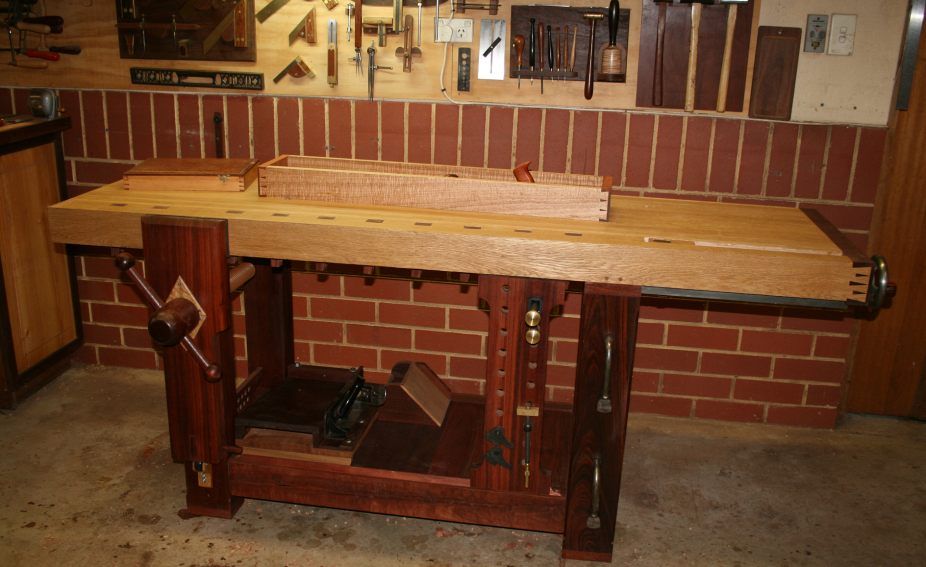

Thanks to all for your suggestions and advise along the way.

Regards from Perth

Derek

Re: I declare this bench finished.

#2

She's a beauty, Derek.

Hank Knight

Well Done! :)

Re: I declare this bench finished.

#3

Very nice Derek...

Christopher Fitch Memphis

That's some excellent work...I expect you will get many years of good service from it.

Re: I declare this bench finished.

#4

Re: I declare this bench finished.

wilbur

Great job! The only way your bench could be better is if it was longer, which we already knew wasn't possible.

So the next step is to build a bigger shop, I guess. :D

Re: I declare this bench finished.

#5

Ellis Walentine

And a beauty it is

Ellis Walentine

If I didn't already have two benches, I'd seriously consider making another one like yours. Both my benches combined -- my Frank Klausz bench and my older Shaker-style bench -- don't have all the nifty features and knockout good looks of yours.

My only question is how do you reach the tools on the wall behind the bench without walking around it? I don't suppose there is enough room in your shop to face the bench the other way and move it away from the wall so that your tools are behind you?

Great job, Derek, and an excellent article (in many excellent installments) to boot. Thanks for documenting it for us.

Cheers,

Ellis

Re: I declare this bench finished.

#6

She doesn't appear the least bit wonky!!!

roger lance

Congratulations!!....well done!!....when I'm at the Outback this weekend, I'll toast you and your bench....looking very much forward to seeing all of the wonderful things that will be made on it. :)

Re: I declare this bench finished.

#7

Re: I declare this bench finished.

roger lance

Wilbur....I enjoyed reading the presentation of your bench build on another forum....I think the people here would also like to read/see your bench build....with the stage now being clear, please post away.

Re: I declare this bench finished.

#8

Re: I declare this bench finished.

Curt Putnam

So when are starting the next one? (laughing, ducking & hiding)

Re: I declare this bench finished.

#9

Re: And a beauty it is

Derek Cohen (in Perth, Australia)

Hi Ellis

Reaching over the bench for a tool is only a very little different to before. The bench is 21" wide and 12" from the wall. I cannot recall what the exact measurement of the old bench was, but it was about 30" wide.

Go on, build another bench. You know you want to. We want you to :)

Regards from Perth

Derek

Re: I declare this bench finished.

#10

Re: I declare this bench finished.

Derek Cohen (in Perth, Australia)

Hi Curt

Another?!

Bite your tongue. Hopefully never again. That's it.

I'd rather be building on top of a bench than building a bench.

Regards from Perth

Derek

Re: I declare this bench finished.

#11

Re: I declare this bench finished.

Pam Niedermayer

Looks great, Derek; but I think you have a little too much bending to do when planing a wide piece, for example in the last photo of planing the shelf, mainly because the 1' space behind the bench is too small to stand in and work. But I could be convinced otherwise, so how was it for you?

Pam

Re: I declare this bench finished.

#12

Re: I declare this bench finished.

Derek Cohen (in Perth, Australia)

Hi Pam

Thanks.

As I mentioned to Ellis (earlier), the new bench is only about 3" further away from the wall than the old bench, which was quite a bit wider. The new bench is 21" wide (narrow). So there is not much difference at this stage. If I do feel that it is a stretch I will move the bench closer until it feels right. So nice to have something freestanding rather than immovably bolted to the wall!

Regards from Perth

Derek

Re: I declare this bench finished.

#13

Re: I declare this bench finished.

George in almost Spring Lowell, Mich.

That bench is a joy to behold! In a hundred years when people are using them to decorate their homes, it will be a gorgeous piece of furniture!

A job well done!!!

Work safe,

George

Re: I declare this bench finished.

#14

Re: I declare this bench finished.

Bruce, a MN Galoot

Very good job, Derek.

Moreover, I appreciate how you have chosen to display the results, not just as a piece of shop furniture but in terms of how well it does what a bench is supposed to do. That's useful information.

Re: I declare this bench finished.

#15

Re: I declare this bench finished.

Derek Cohen (in Perth, Australia)

Thanks Bruce.

But it just goes to show how naive I am about using a tail vise - it should have been the automatic choice for planing all the rebates, not just the cross grain, but also the face grain on the long sides. It did not occur to me at the time. How spoilt am I now for these options?

Regards from Perth

Derek