What's on my bench ... progress report.
Derek Cohen (in Perth, Australia)
This is weekend 5 of the Bench Build.
What's on my bench ..? Well, a bench is on my bench.
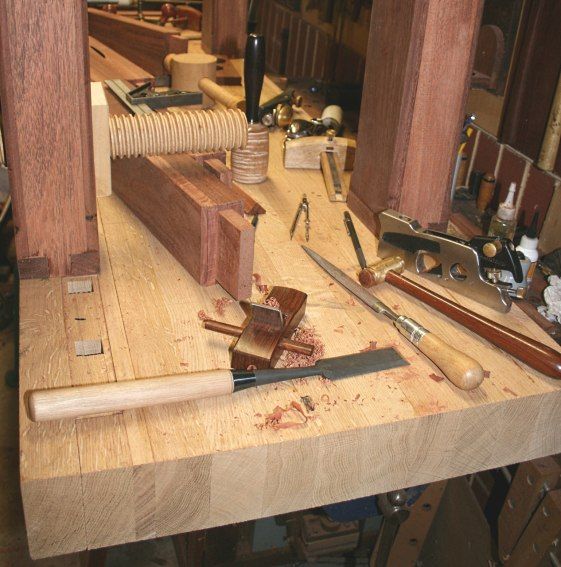
If you have been following the reports, you will recall that I was last busy with the stretchers. The mortice and tenons are now complete. You'd be forgiven thinking that, since the legs are done, the stretchers are done, the tail vise is done ... then why do I not simply glue the base together and fit the bench top?
The answer is ... the leg vise and sliding deadman must first be built. The leg vise especially requires work to the associated bench leg, and this cannot be completed after assembly (without great discomfort).
Here is a picture of Jameel's bench to reference the parts under construction in this post:
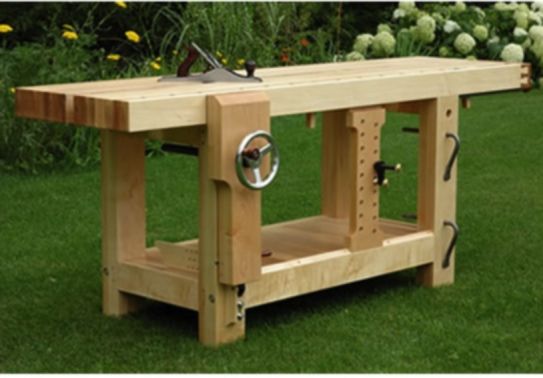
Most of this post involves constructing the leg vise, so I will first get the sliding deadman out of the way.
Incidentaly, no excuses for the blended woodworking here. There is a time and place for both power and hand work.
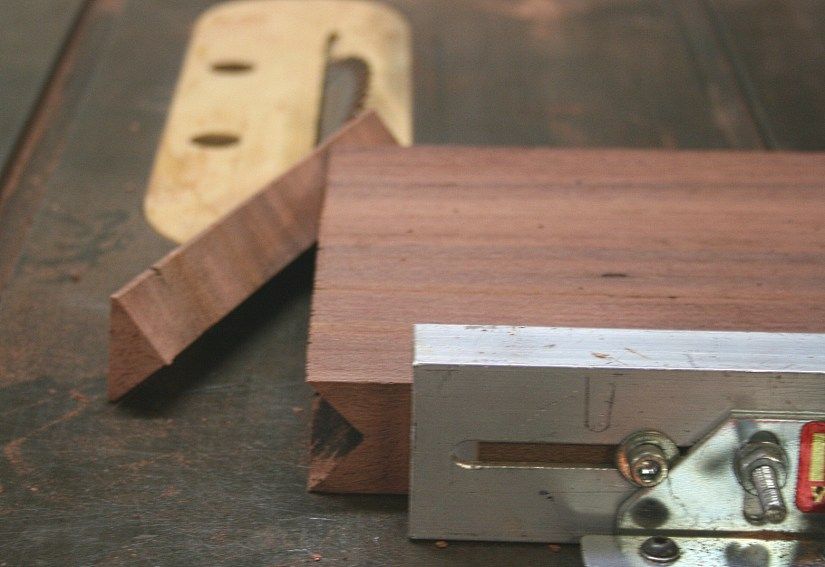
The sliding deadman moves on a triangular section on the stretcher, and needs to mate to this with a V groove at the bottom of the board. Creating this V may be done with a chisel, but the task is easiest as two rip cuts on a tablesaw. In all the pictures I have seen of this being done, the deadman board is held vertically over the tablesaw. A much safer method is to do this with the board flat on the table ...
Raise the blade to the midpoint of the board ..

Mark the start point ...
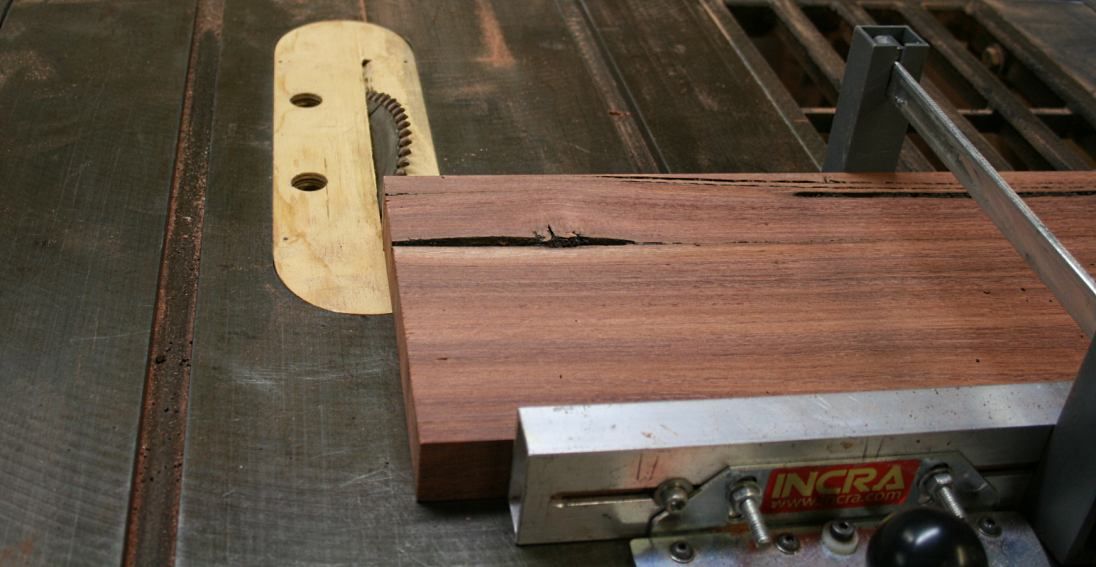
Rip the one side, turn the board over, and rip the other side.
The right-front leg was drilled for holdfasts ...
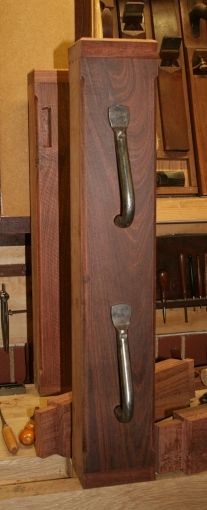
The upper holdfast is positioned to focus pressure at the middle of the bench top, while the lower holdfast will focus pressure at the middle of the stretcher.
Now onto the legvise.
Wilbur made me a wonderful gift of a legvise screw, the twin of the one he has on his bench ...
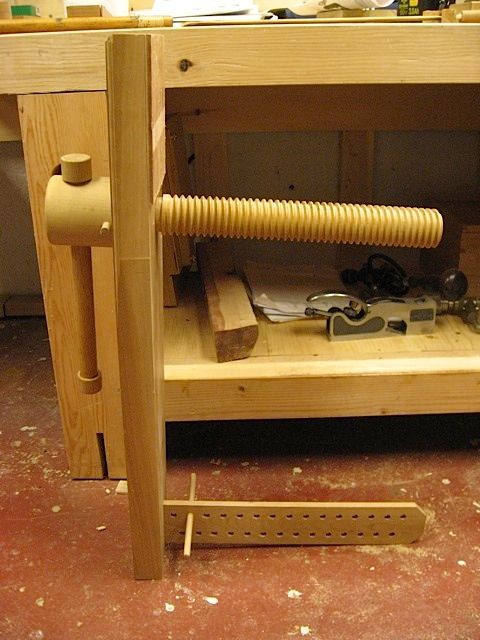
Above you see the screw, handle, and parallel guide. Below is the set he sent me. Note that it did not come with a garter groove, which I have added, since it was not designed to work with a garter.
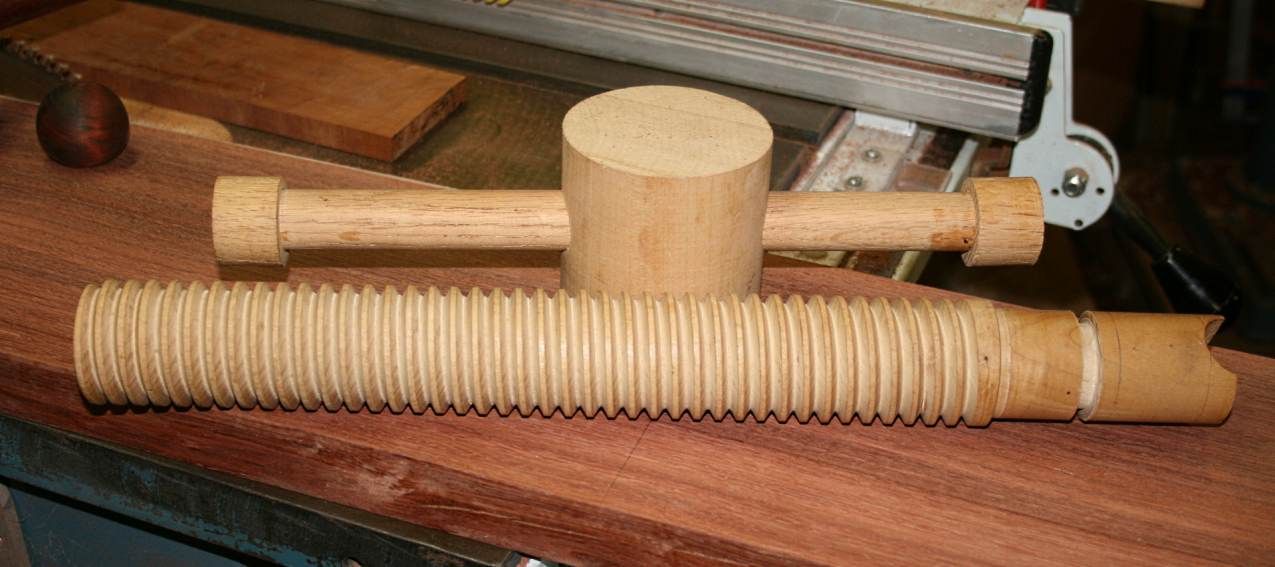
I had decided to add my stamp to the legvise, and one of the changes was to use a garter. The garter connects the screw to the chop, thus allowing it to move back with the screw. Without a garter, the chop is required to be pulled back by hand.
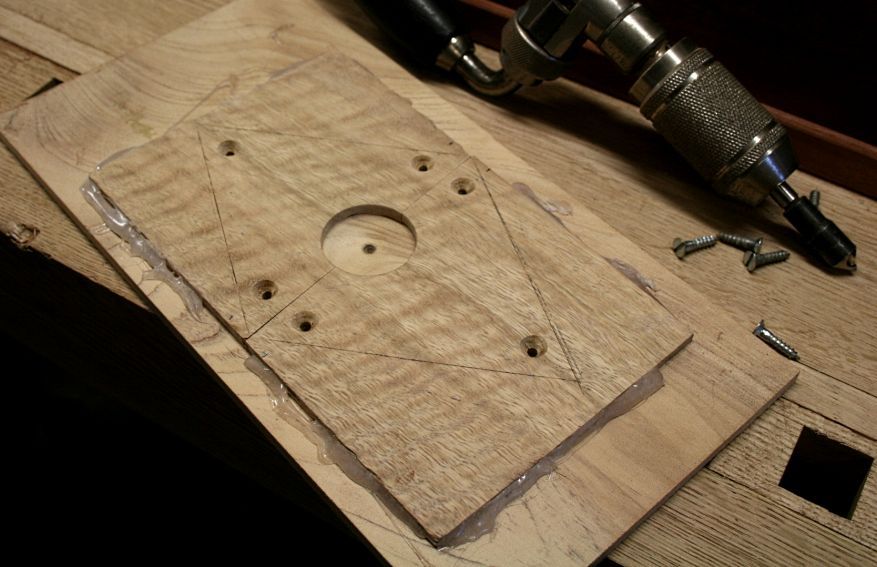
I will show the garter connection in my next post (as it is not installed yet), but here is the garter prior to being sawn out (it is, in fact, already completed). This is a stunning piece of Myrtle. It just ripples ..
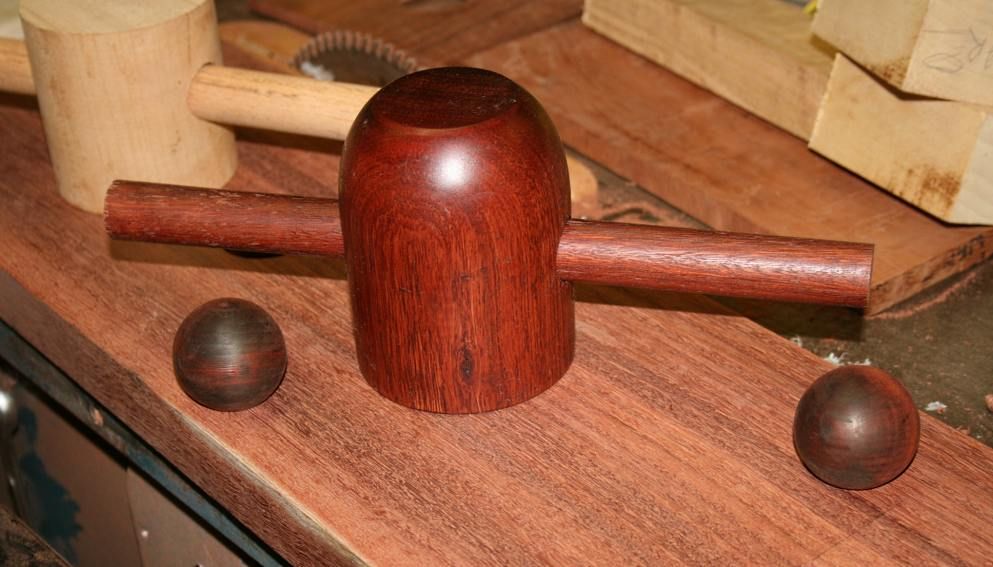
The other change was to turn a new handle and post in Jarrah...
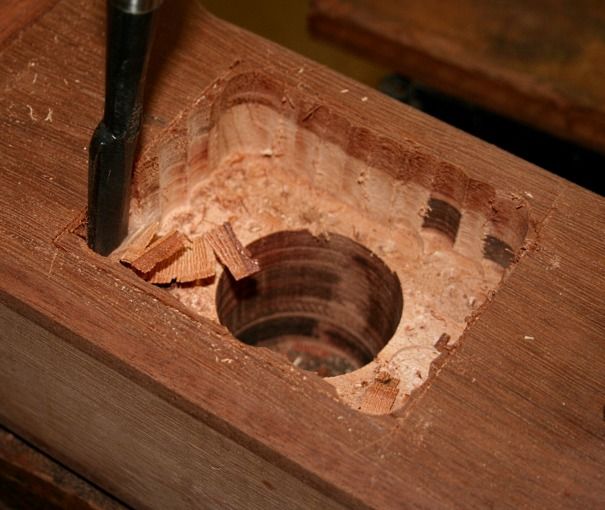
Building the legvise began with installing the screw block in the leg. The block is 2" thick. The leg is 3 5/8" thick. My preference was to mortice the block into the leg to a depth of 1 1/4" rather than simply screwing it behind the led. This effectively provides 1 1/4" additional depth to the legvise in use.
The mortice was drilled out and pared to size ...
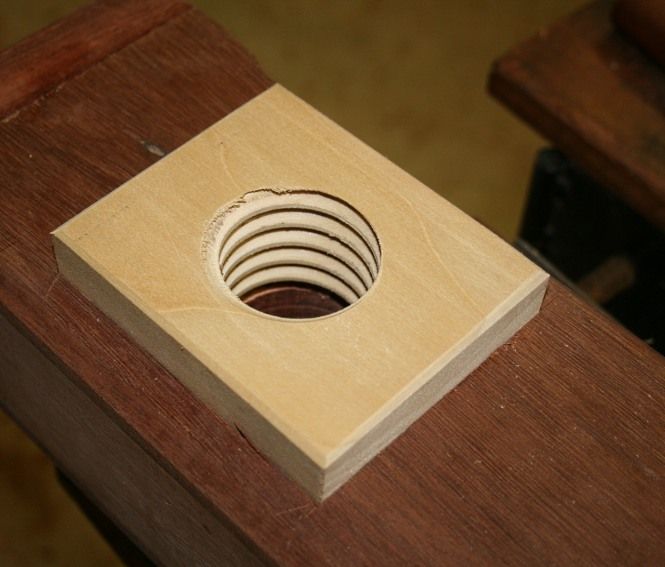
The fit was very tight. No glue is used, but screws will be added. This will enable its removal, if needed.
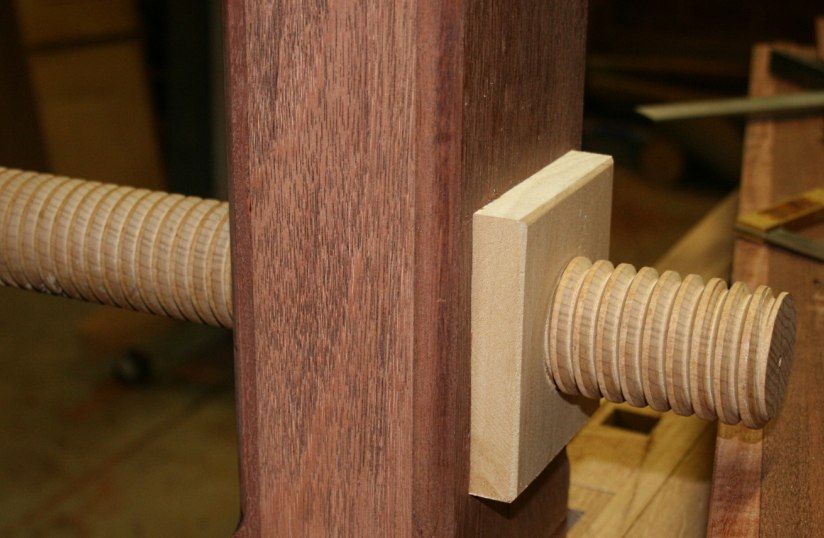
The next step was to attach the parallel guide to the chop. This is positioned a little above the height of the stretcher. The chop will terminate at the parallel guide as I will be adding a roller for the guide to run upon.
Rather than use a blind tenon, I decided to use a through mortice and tenon. It occurred to me that it would be easier to judge the exact position for the matching mortice in the bench leg if I used a through mortice in the chop. This would fixed with a wedge (and possibly pinned - do you think it needs both?).
Of course a through mortice is a more difficult joint than a blind mortice - epecially in a show side ... and I did not have another board that I could use as a chop. I certainly did not was to stuff it up, but I knew I would not forgive myself if I chickened out!
The chop and the sliding deadman come from the same Jarrah board (I bought this at the Perth Woodshow 7 years ago, where it had been freshly slabbed). I like the idea of matching colour and figure on these two pieces. As an aside, they are 1 3/8" thick. Jameel mentions that his chop is about 2 1/2" thick, and does not recommend a chop below 1 3/4" thickness as he is concerned about flex. Well I can assure you that this chop will not flex! At 1 3/8" thickness it is all one can do to lift it! 
Here is the mortice for the parallel guide. It was drilled an then pared to shape.
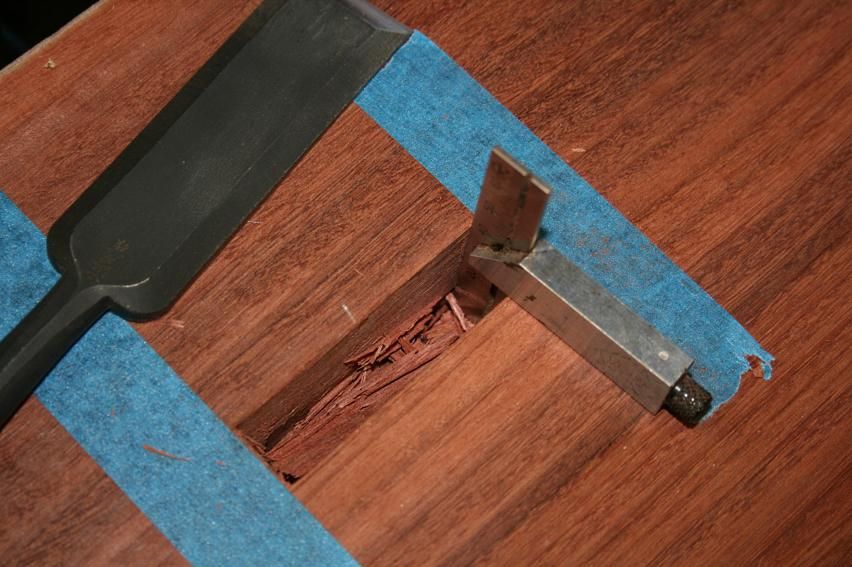
I am happy with this fit ..
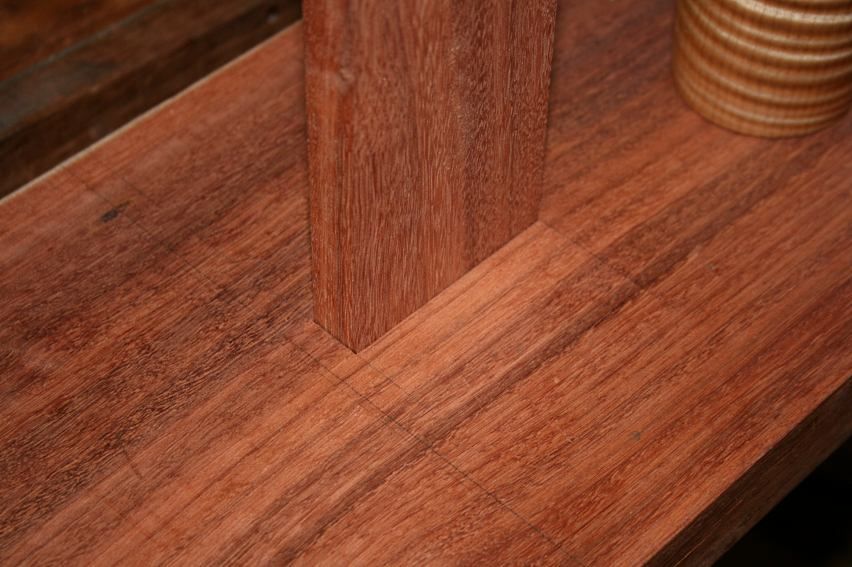
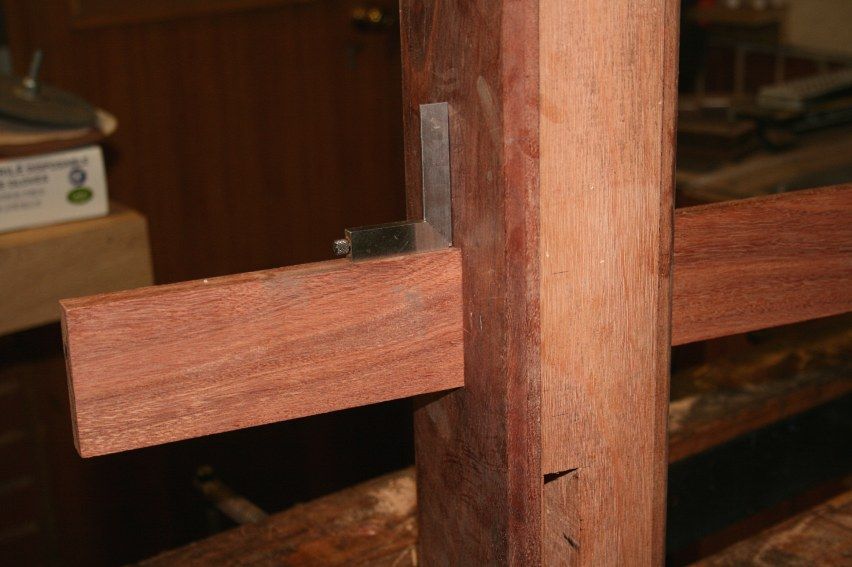
Now you can see how easy it is to transfer the mortice from the chop to the bench leg ..
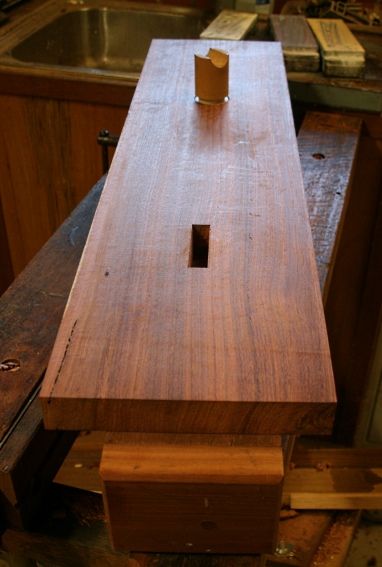
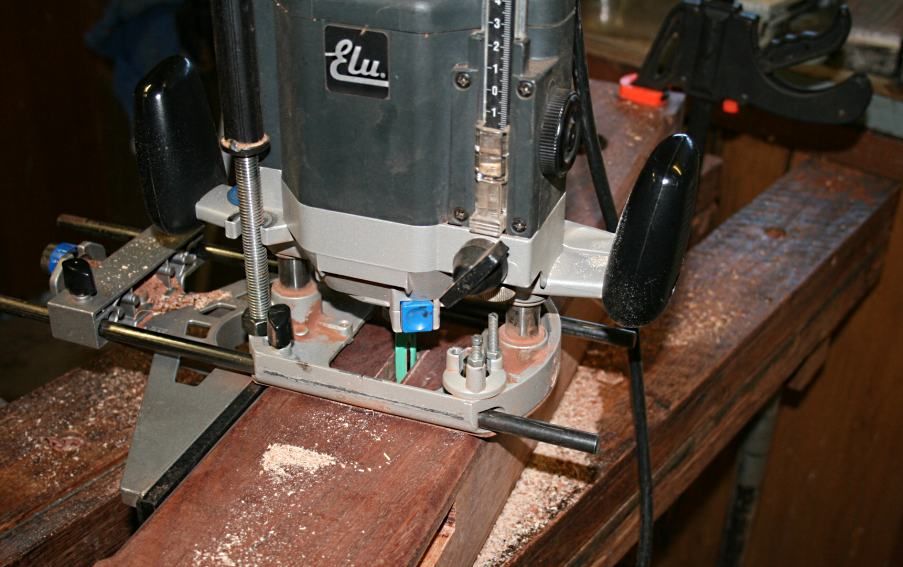
OK, this one I used a router to remove the centre of the waste (You really don't think that I was going to chop out 3 3/8" of hard Jarrah !!!!) ..
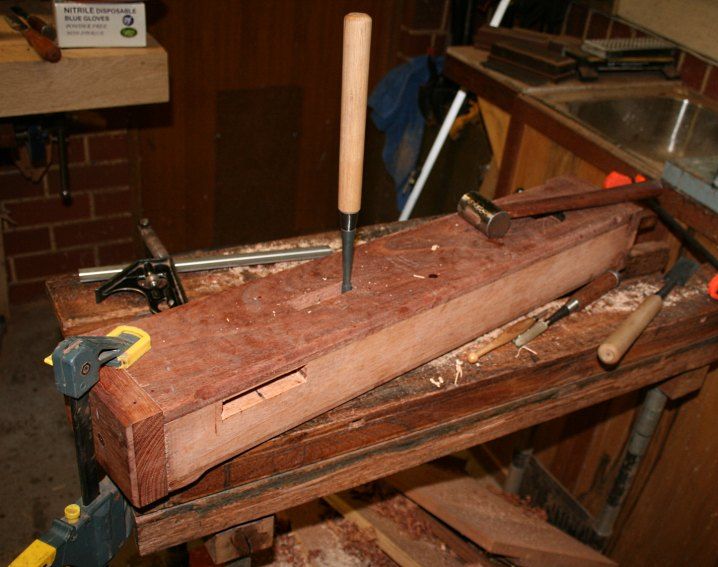
... and pared away the remainder ..
.. to fit the parallel guide ...
On the bench ..
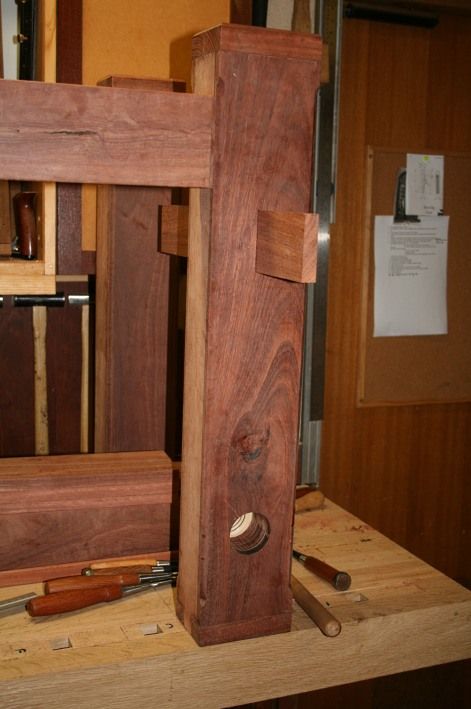
(Aside: the light coloured Jarrah on the side of the legs will be stained to match the dark Jarrah on the front and back).
That's where I am up to at this point. Next weekend I need to groove the underside of the bench for the sliding deadman, then drawbore the mortice-and-tenons for the legs, and glue them up. Then fit the tail vise, shape and fit the leg vise, shape and fit the sliding deadman, make dogs .......
Will I make my 6 weekend build deadline?
Regards from Perth
Derek
 .....truth be told, most of us are blended woodworkers....looking forward to reading your next progress report....the bench is gonna be a beauty!!