Update on the chests: buns and more
Derek Cohen (in Perth, Australia)
I needed to turn 8 bun feet for the two military cabinets. What could be easier? Well, it is not that easy. I have a lot of respect for Ellis, but after the past two days I have a whole lot more. Ellis's buns look so simple however they are anything but!

These measure 3" high and 4 1/4" in diameter ... which is where the problem began - I just did not have stock that size to use. And I was under orders from Lynndy to make the feet about 3" high. For some reason it is important to get the vacuum cleaner nossle underneath the cabinets.
I tried with a 3" x 3" rough sawn post. This just ended up looking like a ball ..
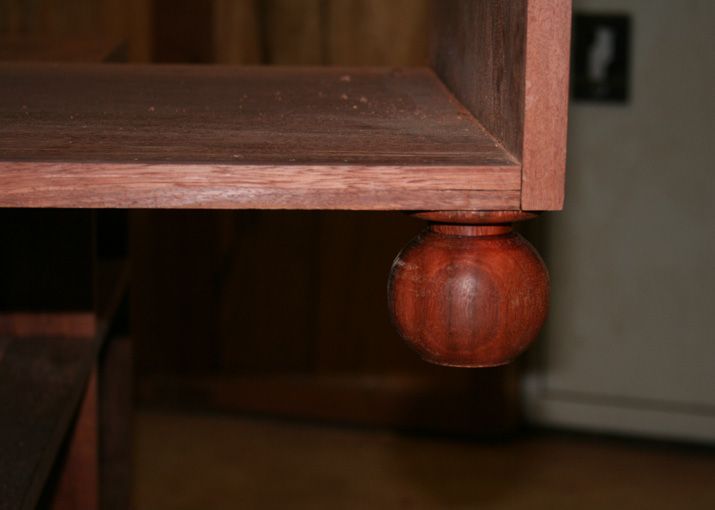
.. and far too small ...

I am not going to bore you with the many failed attempts - it just boiled down to the turning stock being too small to create the appropriate shape.
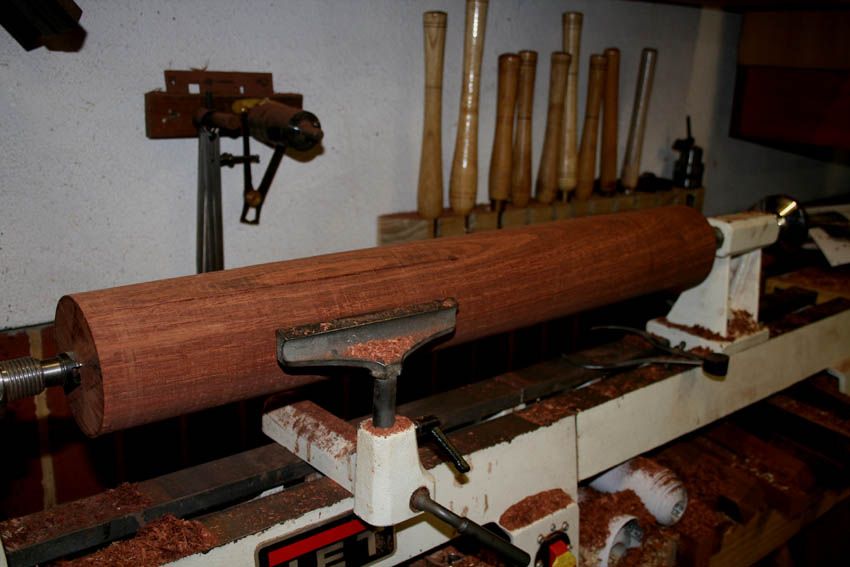
In the end I lucked into a 4 1/2" x 4 1/2" x 6' Jarrah post. I lugged it home and was lucky not to end up with a hernia. It weighed a ton!
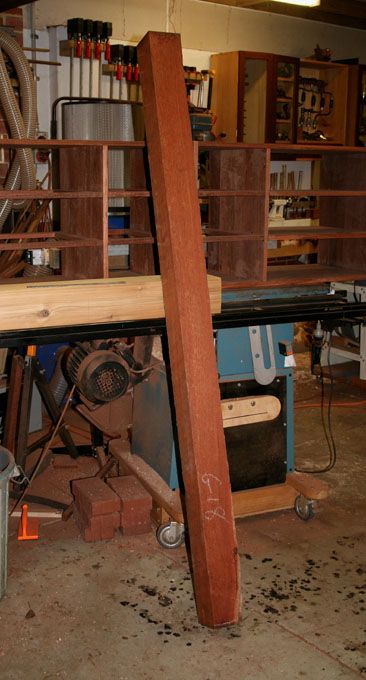
I cut off enough for 8 buns, removed the corners on the tablesaw, and then onto my little lathe (dreaming of something bigger) ..
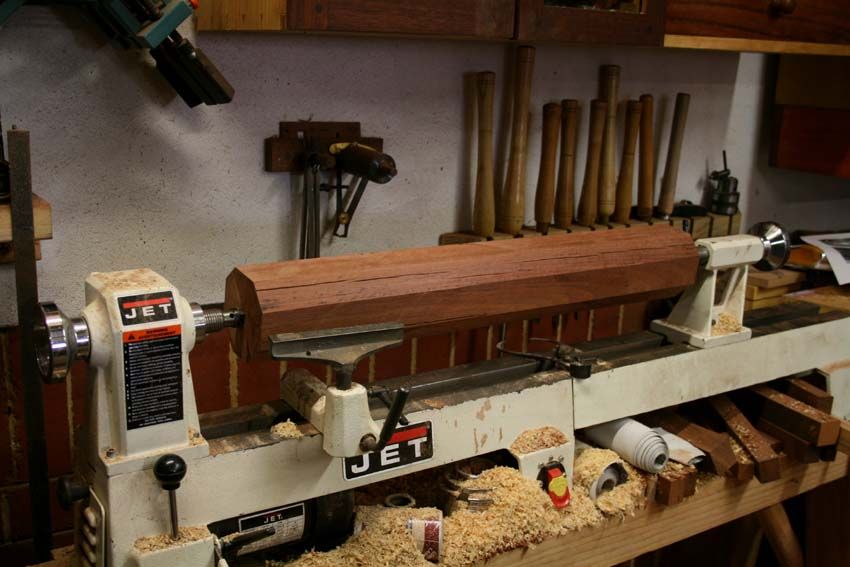
I had noticed that there was some checking, but I was hoping that this did not run too deeply and I could get at least 3 1/2" diameter from this piece.
I began slicing it back, but the check ran deep ...
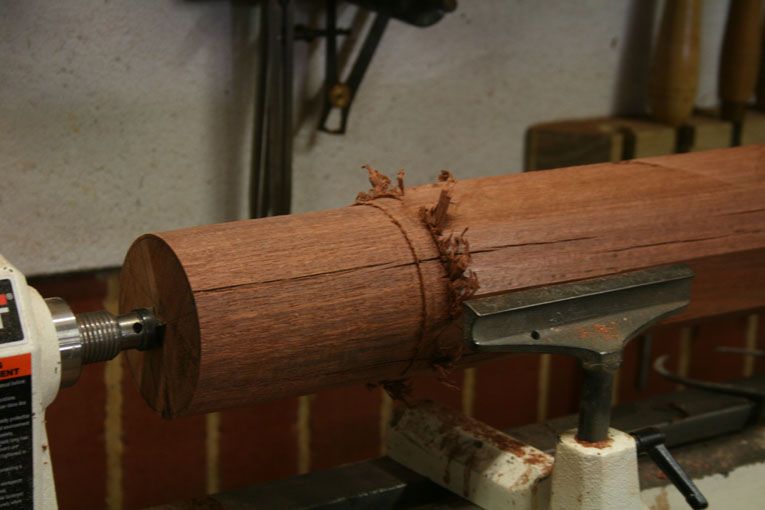
I took it all the way back, but it was too much, and so I was left with a massively overweight dowel ...
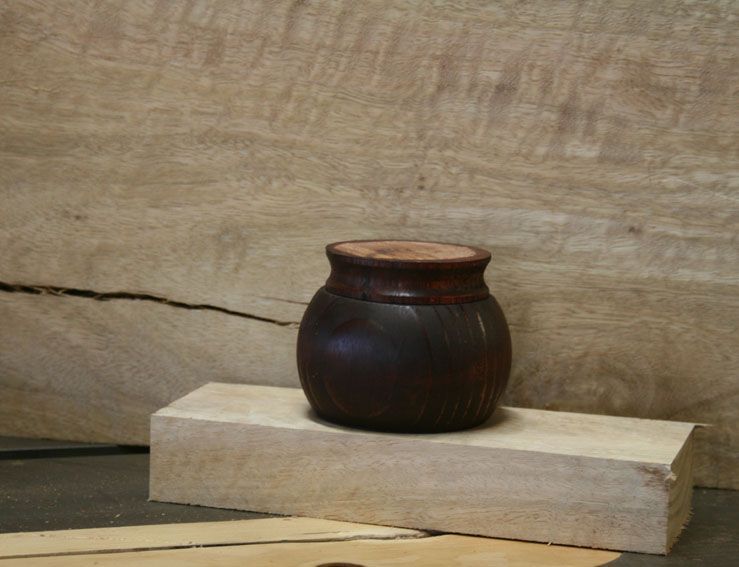
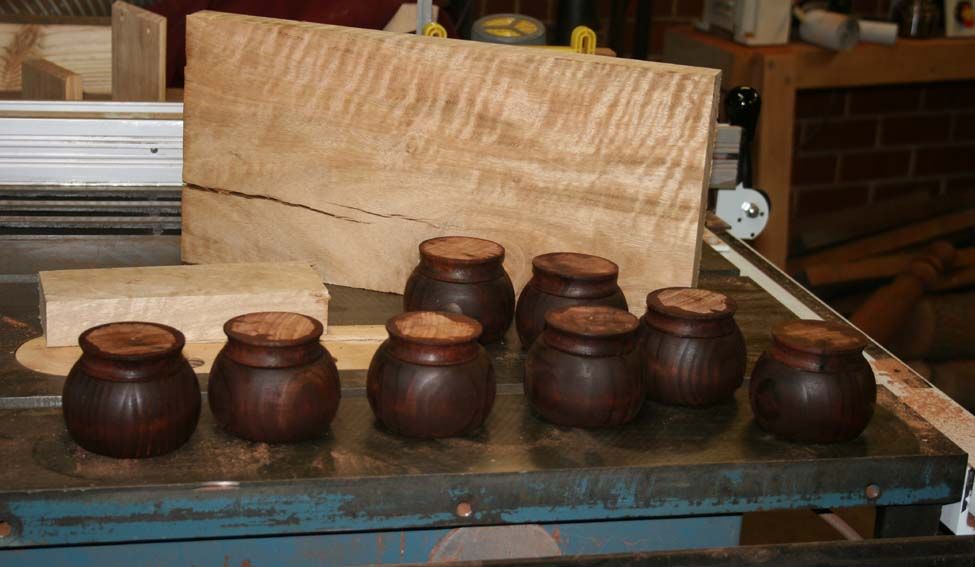
So in the end I decided to turn the main section of the bun from Radiata Pine, stain it, and add a Jarrah transition to get the height I needed. These buns are 3 1/2" wide and 2" high. With the transition added the total height is 2 1/2". That will have to do (Lynndy did say "about") ..
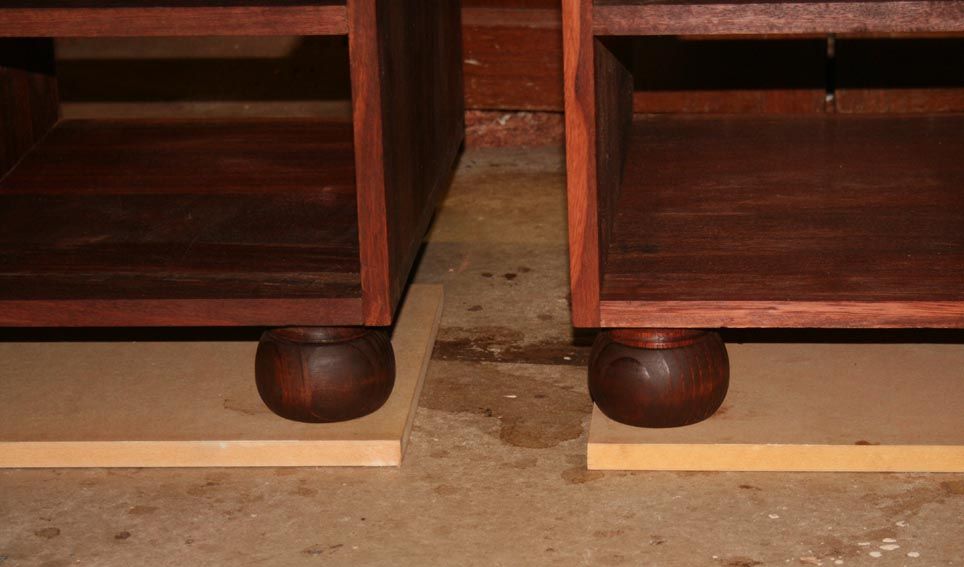
Here is the fit ...
More in a moment. What I want to show you is one of the great pleasures of working with Jarrah.
Jarrah is hard. It is heavy. It is a pain to chisel and a pain to handplane. It is impossible to choose boards based on grain and figure. It is just so variable. Colour and figure vary so widely, even in the same board. Wiping each board with alcohol to get an idea of what it may look like at the end is nothing more than a rough approximation. You will still be surprised. It is this surprise when you add the finish that can make your day.
I had scraped and planed, and scraped some more. Finally I decided that it was time to start the finish (interesting phrase ..). I am using a new-to-me-highly-recommended (local) Danish Oil. Why Danish Oil? The finish needs to be durable and, especially, waterproof since no doubt someone will place a wet glass on top of a cabinet.
So a couple of coats and this emerges ...
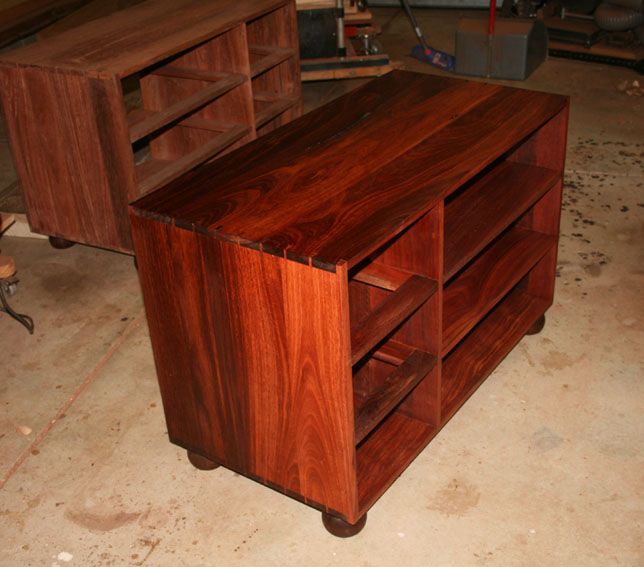
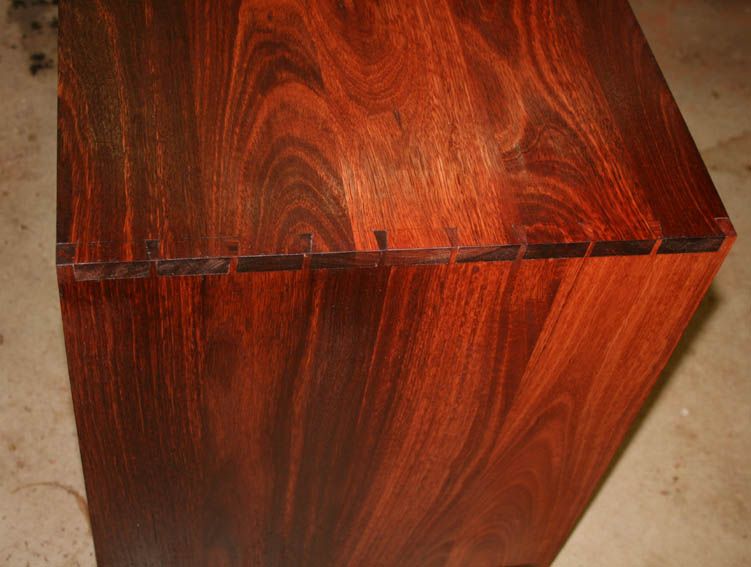
Here is an example of choosing a board that looked the same but turned out a little differently than planned ...
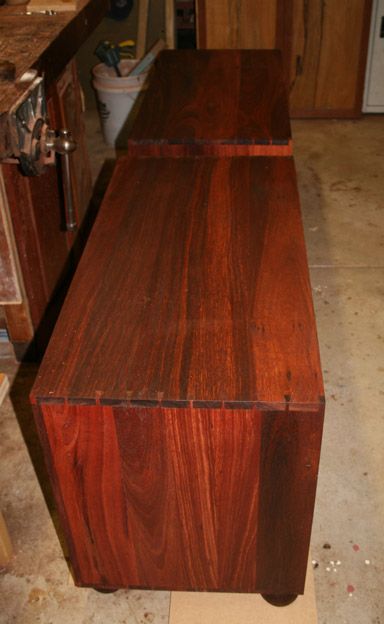
And a final picture, showing the placement of the buns (loosely attached still) ...
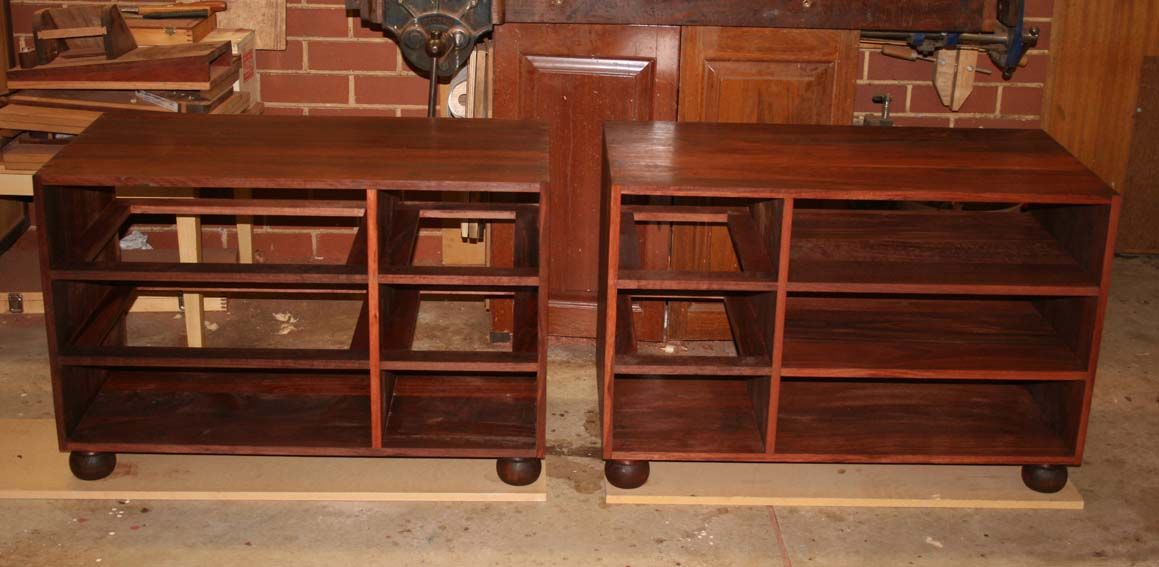
Now I am ready for the drawers.
Regards from Perth
Derek


