How to fit a tenon with only a wide chisel *PICS*
wilbur
>So after the tenon fitting thread I started, I thought I'd share how I've been fitting tenons with just a chisel.
First, here's the mortise and the tenon to be fitted. Although I try to get close when sawing the tenon, I typically err towards the waste side because the last thing I want is to have the tenon be too thin off the saw, because then you're just hosed. For the purposes of this demonstration, I sawed a bit wider than I usually would. The tenon as it came off the saw would not fit into the mortise at all, so step one is to put a small bevel on the tenon, because I want at least the tip of the tenon to get into the mortise. Hopefully you can see the bevel at the end of the tenon.
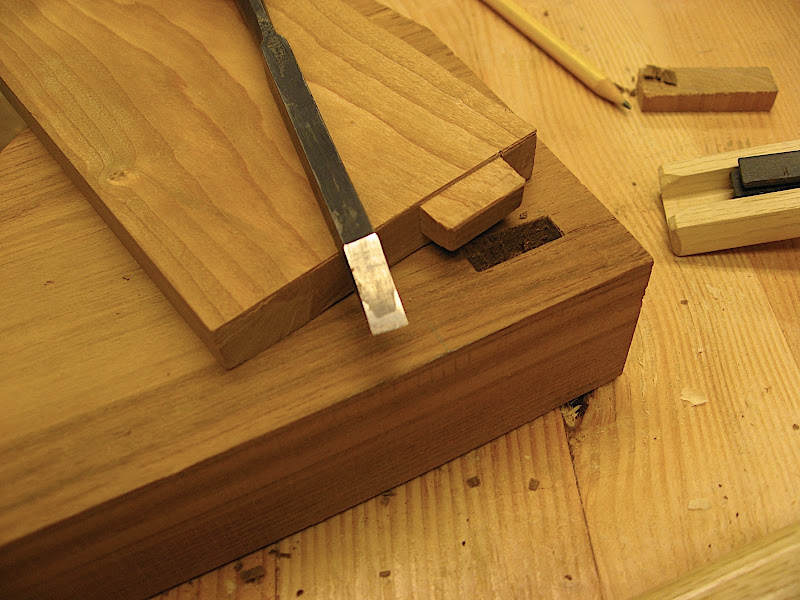
The tenon does not fit.  Here's proof.
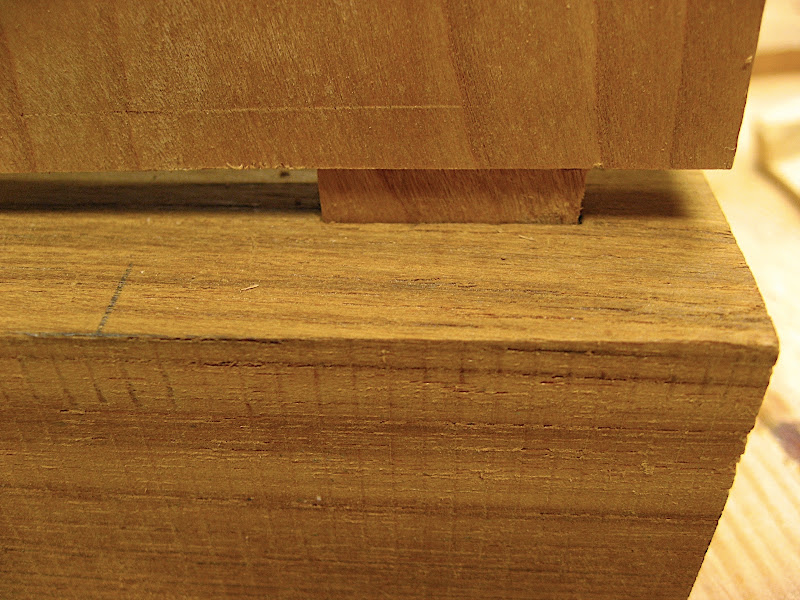
The key to quick and easy trimming a tenon with a chisel is to know where to start chiseling. Luckily, where the tenon gets wedged into the mortise is just the spot to start chiseling. Normally I just eyeball the spot on the tenon where it stops at the top of the mortise. Sometimes you can see a little compression mark in the tenon where it gets stuck. In this picture, I made a pencil mark where the tenon got stuck, to make it show up better. This is where I'm going to start to chisel away a little bit of the tenon. I have the chisel moved to the side so you can see where I'm starting. When actually paring, I use the chisel across the entire face of the tenon so I can pare the entire tenon face at once. This chisel is 2" wide.
Also note that I pare with the grain towards the shoulder, not across the grain.
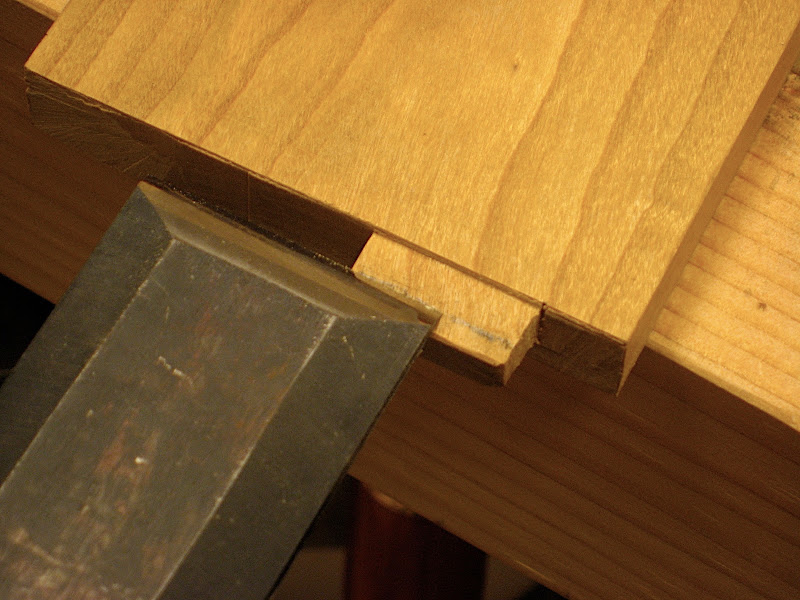
This is a schematic diagram of what's happening. Basically, if part of the tenon can get into the mortise, it's already the right width for the mortise (or maybe too narrow), so you can leave that part alone. The spot where the tenon gets stuck is just a hair too thick for the mortise. All of the tenon from that point towards the shoulder is also going to be too thick, so that can all be pared away.

Fitting the tenon after paring gets me closer.
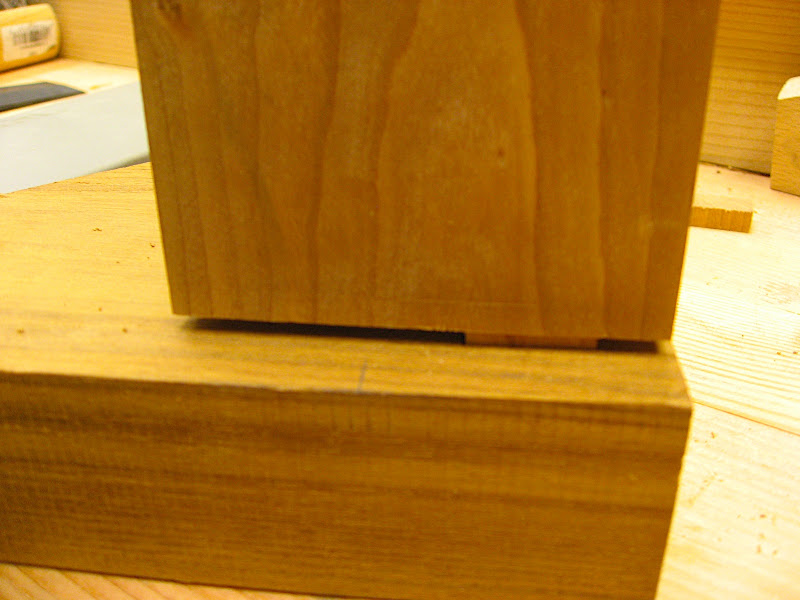
I repeat the paring step, only this time I started closer to the shoulder. One more round of paring, and the tenon fit perfectly. All I have to do is square up the shoulder, and I'll be all set.
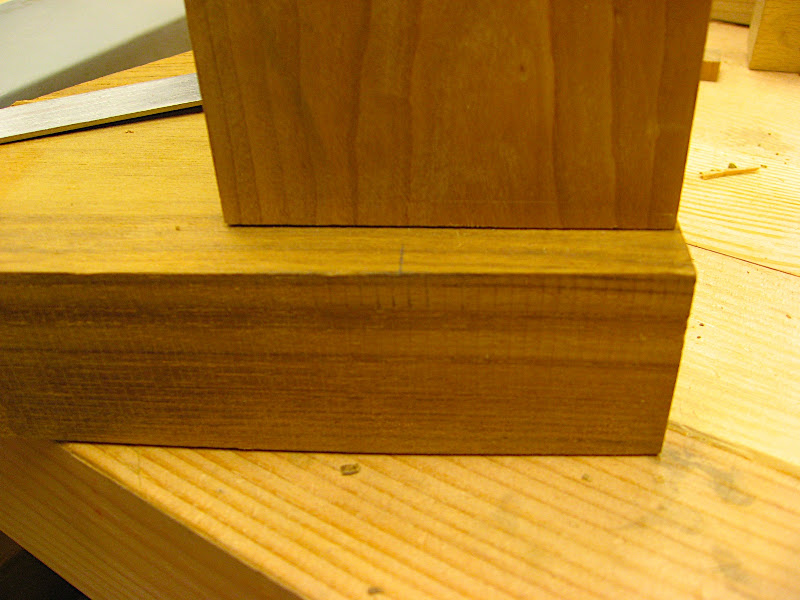
I don't know how this method fits in with historical practice, but it seems to be really easy and quick. If I didn't stop to take photos, I'd be able to do the 2-3 rounds of fitting, paring, and testing needed to get me to a final fit in just a few minutes. I found that I don't really have to pay close attention to keeping the chisel level while paring, since starting the paring above the spot where the tenon gets stuck sort of auto-levels the face of the tenon to match the mortise. I just make sure that the chisel isn't cutting down too low. The main thing that I pay attention to regarding the chisel is to make sure it's really sharp.
If anyone knows how historical practice differed from this method that I've worked out, I'd love to know what those differences are.
Who needs a shoulder plane? 


