>I'm making an Arts and Crafts taboret based on the plans that Pop Wood had as a download on their website. I'm starting from rough stock and using hand tools only. I'm not going to use their dimensions, rather, I'm building it according to the stock I have on hand and trying to apply the golden mean to its layout. Now here come the questions. Please don't laugh at how simple they are. I'm making the top out of a wide board that I'll glue up. I started by crosscutting the boards and then planing them to get them reasonably flat. Then I'll glue them together and plane them even. Is this the best way to go about doing the top? Should I have glued them together first before any planing? If I glue the two boards so that they can be planed in the same direction then the top doesn't look as nice as reversing the grain to allow the lines to arch towards or away from each other. What's the better consideration here?
I can only speak for what I do. No doubt that there are many ways to skin a cat ..
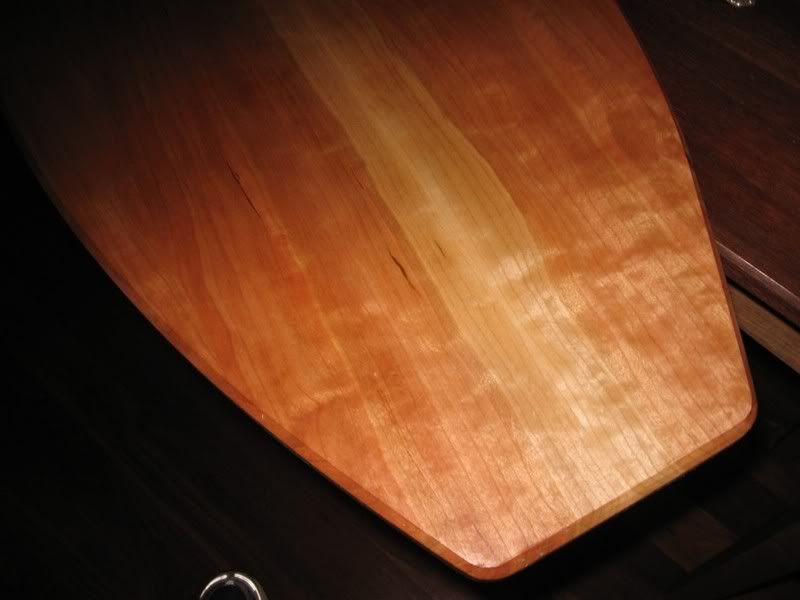
I am in the process of building a sofa table (Jarrah base, Cherry top - I think it is Cherry. The salvage yard sold it to me as Americal Oak). The top began with a 3" thick board that I first flattened and levelled on both sides (just using a LV BU Jointer). Then was then run through my bandsaw to obtain 4 boards.
These boards came out quite flat and my next step was to plane off the saw marks on the face sides. This was not intended to finish the boards but the level out any hollows from the resawing, and to have a closer look at the grain.
The next step was to play with the boards until I got an arrangement that I liked (this turned out to be a centre pair of bookmatched boards that will show off an interesteing pattern, and then half boards each side that just bookmatched the grain but without drawing away any attention). Once done I marked the position of each board.
Each pair of boards was then match planned with a sprung joint.
I additionally use dowels to aid in alignment (using my trusty Stanley #59).
And glued up. This is the stage I am at (I am heading for the workshop now - early Sunday morning here in Perth).
I expect to find glue lines to remove and a top to plane down that will include some boards with opposing grain. I will remove the glue with a scraper (probably a Stanley #80 if there is much, or a card scraper if it is light).
I took a couple of minutes to take a few pics (as I am also interested to hear from those more knowing about the wood type).
A close up of the glue lines.
With regard the opposing grain, I am interested to find out how well my Stanley #7-scraper-set-up will work on the jointed area. Ordinarily, if I was just joining non-bookmatched boards, then I would just level with a HNT Gordon Trying plane or a LV BU Jointer or a LV LA Jack (depends on the length). I now plan to use the LA Jack across and diagonally to the grain to level it all out (winding sticks at hand), then smooth it out with a high angle smoother (such as the Marcou or LV BU Smoother, both of which are superb with reversing grain). If I did not have a suitable plane, then I would plane close to the join lines and finish with a card scraper.
The last stage is to cut out and shape the outline of the top (as it is not rectangular).
Hopefully I will later be able to post a picture of how it turns out.
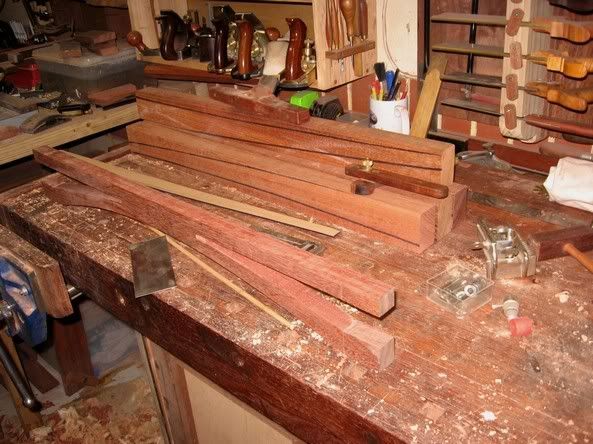
The mess (WIP).
The piece in the foreground is the front stretcher.
>I've been there many times with quartered white oak glue-ups. Much of my experience was with power tools only, but recently I have used planes and scrapers for the final preparation of the panels. These comments are specific to oak:
-I would arrange the grain for best appearance in the manner you did, but remember that you will have to mark the boards for grain direction (maybe on the underside).
-If you don't know the grain direction and plane against the grain on oak you will have serious tearout even with a smoothing plane. So plane with the grain and use a scraper or scraper plain as the last step. Set the plane with a tiny mouth and just take wispy shavings. You can try planing across the panel to avoid tearout also.
-Block plain the end grain. I also lightly break the edges with my block plane. If you successfully avoid tearout, oak has virtually no other negative qualities and your results will be very satisfying, so just be patient. By staying away from sandpaper, you will leave the porous grain structure open to absorb your finish.
I have found gluing up tops to be a compromise.I built a small tabletop out of walnut and oriented the grain for ease of planing.Fortunately the grain orientation also looked right.Planing that top to a perfectly smooth surface was a revelation and a joy to do.However,since that experience I haven't been that fortunate.When I can't combine planing ease with looks,I plane close to finished dimension while the pieces are still separate,then glue up paying special attention to top surface alignment.Then I smooth the top with scrapers and even resort to sanding if it comes to that.
I'm still a novice with a handplane.There are some here who can plane almost any surface using the right tools.---Jack
Judging from your pictures, I would say it is cherry. The color and grain patterns look right, although other fruitwoods look similar. The usual confirmation is dark inclusions in the wood. Cherry has a distinctive aroma, but unless you have worked with it before, I guess you couldn't idendtify it that way.
Compared to the descriptions of native Australian hardwoods, it should be a joy to work with handtools.
>I wait until after glueing to plane the boards. It is a little less work because you are only flattening one surface, not doing several and then falttening again after gluing. Unless you are after a special affect I would favor grain direction. If the figure is similar on both sides of the board, you can reverse the grain direction by turning over the board. When laying out a panel, it is helpful to pencil an arrow on both sides of each board.
>First off, JIm thanks for the confirmation. This is the first time I have worked with Cherry. It is not common here. Oh, it is such a sweet wood, so easy to work, and I love the subtle grain. This piece appears as if it has quite a bit of quilting, and I look forward to seeing the finish. I would value any input on the right finish for the table top. Its a pity I don't get to keep it - this sofa table is a house warming present for good friends. It is going to look great against the Jarrah base.
OK, a million pictures of a work in progress. I did warn you all. Emphasis here is on showing the issues in planing book matched boards, that is, where joins involve opposing grain direction.
Scraping glue lines:
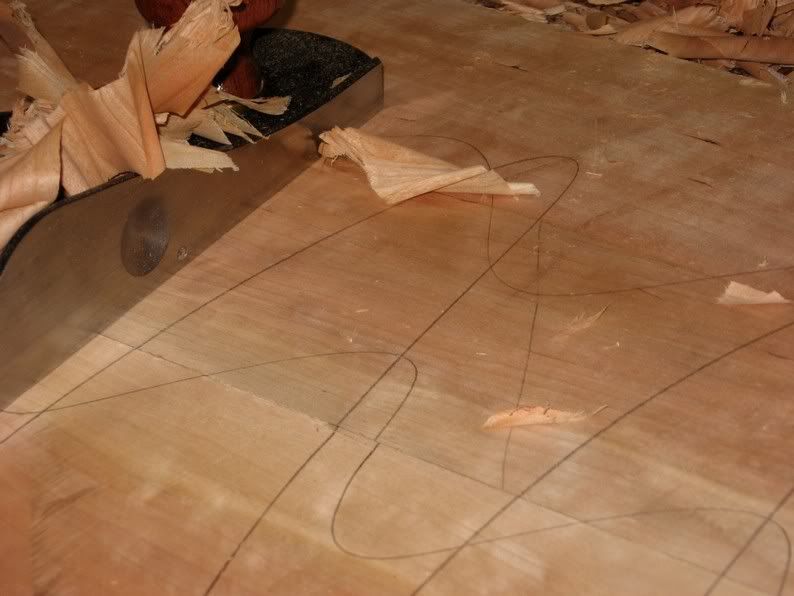
Mark the top with scribble and plane across the grain. Here I am using a LV LA Jack with a 37 degree cutting angle:
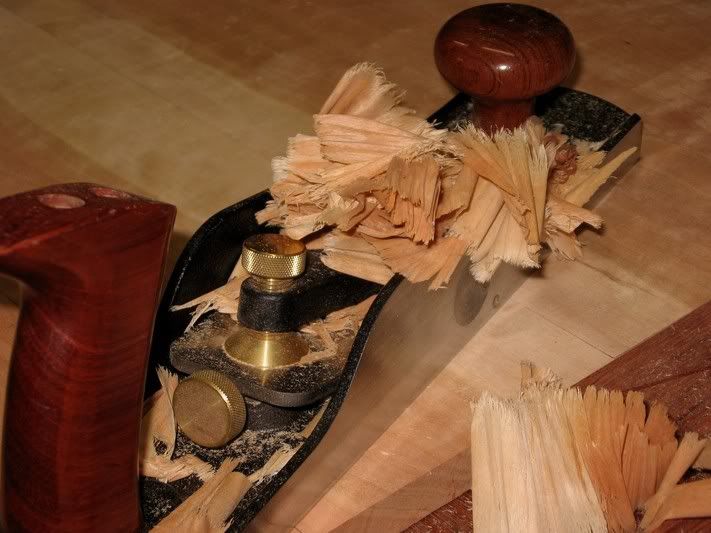
Moderately thick shavings:
Reset the plane for fine shavings:
More:
Time to flatten longetudinally. I decided that I wanted to try out the Stanley #7 scraper set up (that I posted about a week ago). This worked very well:
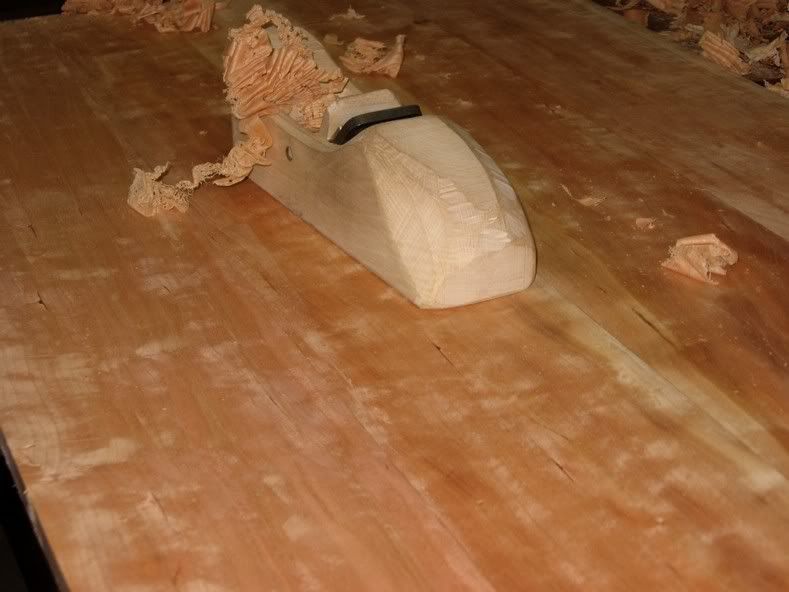
Now I should mention that the design of the sofa table is heavily influenced by Krenov, and I thought that it would be fitting that I used my JK plane here. Initially I set it for a moderately thick shaving:
... then I set it for a finishing cut:
Damn, this plane is sweet! This JK guy could make these for a living if he chose!
A glue line after planing:
After all that I decided that I did not like that side of the table top as much as the other side, so I did it all again!
>Cherry will darken over time to a great color. My favorite finish for it is BLO. It pops the grain of cherry very nicely. If it's going to see a lot of use I,d top it with Belden's rock hard varnish.
>I started off with a board about 11" wide. Cut out two sections selecting for ease of planing, fleck and match. Cut out the small amount of sap wood, oriented the two boards so the grain would run the same direction and glued them together. So far it's looking pretty good. Of course I'm getting further away from the original design idea and may end up with a round top rather that a square with the tips cut off. The fleck is more pronounced on both boards on one side. Of course that's the side that has a gash in the middle. I'll see if I can raise the grain enough with an iron and a wet rag to fix the gash. Not interested in filling the gap with sawdust and glue or any other fix. This is because I did manage to find some 27% ammonia to fume the wood and don't think a fix of any kind would darken. (The glue prohibiting the darkening) I'm also not interested in using stain for the same reason and so the tiny bit of sapwood that remains will have to go. (Sapwood doesn't fume) As an aside, even here in petrochemical heaven, Houston, TX, finding ammonia of this strength is a major accomplishment. It's no longer used in making blueprints and most chemical supply houses don't carry it anymore. If I had ordered it, the shipping, due to hazardous chemicals regulations, would have been much more than the actual cost of the ammonia itself. I'm not complaining here. This is more of a drive by.