WoodCentral Forums

Est. 1998 — 27 years of woodworking knowledge

Pictures of sharpening stone boxes

Posts

Pictures of sharpening stone boxes

#1

Pictures of sharpening stone boxes

Angelo in Cornwall, NY

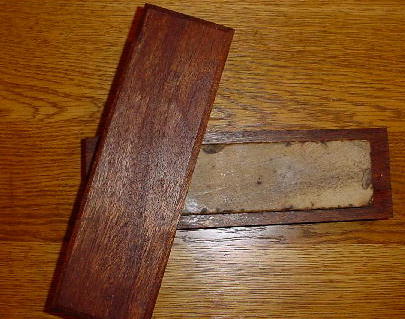
>Here is the larger box, with some BLO. To make each of them I resawed the piece of wood, planed the faces, then layed the stone on top of the thicker piece. Scored the outline using a utility knife, and bored a series of holes at each end using a brace and forstner type bit. (Anyone know where to get more of these? I only have 1/2?) Then I excavated most of the material with gouges, using them kind of like scrub planes. I then cleaned up the bottoms with a 71 (hence the earlier post) and squared up the sides with some chisels. Using the bottom as a reference, I repeated the process on the top. Put the stone in, clamped the whole thing in the vise, crosscut to length, and evened up the sides with a plane. Each one was an easy, 1 night project.
img

Re: Pictures of sharpening stone boxes

#2

Second Pic.

Angelo in Cornwall, NY

>This is for the smaller of the two. You can see on the inside of the lid that my depth guaging abilities were a bit off. Both stones seem to be about the texture of a Hard Arkansas, with the smaller being a bit finer. The color is a bit on the tan side, rather then greyish white. Maybe from years of oil? I also picked up a small rose color German made "wetzstein" waterstone marked Zwei Reimen. Any clues? Google turned up a bunch of pages in German...no help. I'm thinking a razor hone.


img

Re: Pictures of sharpening stone boxes

#3

Pic 3

Angelo in Cornwall, NY

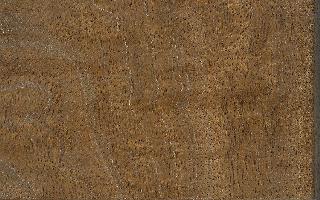
>Here is the wood, unfinished. Its some kind of cedar, and came from a pallett holding, of all thins, IPE. It has those white stripes here and there. Any one want to guess as to what it actually is?


img

👍 This page answered my questions

Your vote helps other woodworkers quickly find the answers and techniques that actually work in the shop.