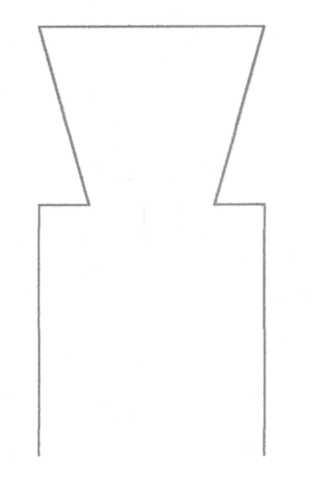
making the half-blind chisel, long
Rob Cosman
>Hi John, sorry for taking so long to respond, I have been in Maine getting my new toys at L-N, long pointy things in a leather tool roll!
To make the dovetail chisel I took a 3/4 Sorby and using the grinder with a tool rest slowly shaped the chisel. I used a wheel dresser to keep the corner of the grinding wheel sharp (90 degrees). I am sure a shop teacher at some point told me never to grind on the side of the wheel but that is how I did it. Go slow, dip it frequently and remember to bevel the sides of the chisel top to bottom as your grinding the dovetail shape (helps when undercutting the waste). I only use 1:7 and 1:6 slopes so if the chisel is sloped 1:5 you won't have a problem getting into the corners. This chisel is for paring and undercutting only, I don't use a mallet on it, only hand pressure, so one sharpening will last a long time. In the 4 or 5 years I have had this it has only been sharpened a couple of times. Tom L-N is going to offer a half blind chisels in 2 sizes in the near future, one sharpening on these chisels could last years. I have read comments about this shape eventually being ground to a point of being useless. If it is used properly I don't think many of us will be buying a second or third in our life time. Problem with skew chisels is two fold, first there are 2 (when one tool can do the job) and second your line of force is off. Paring end grain takes a bit of force so I much prefer to be pushing straight on not on an angle.
One tip that didn't get into the video you watched is to use a piece of masking tape on the chopping chisel (not the paring chisel) as a depth guage when chopping out the sockets for the half blind tails.
Rob