Home Articles Forums Gallery Marketplace Videos

WoodCentral Forums

Knowledge You Can Build On — Est. 1998

Fast and affordable laser cutting – so you can make the parts you can’t find anywhere else

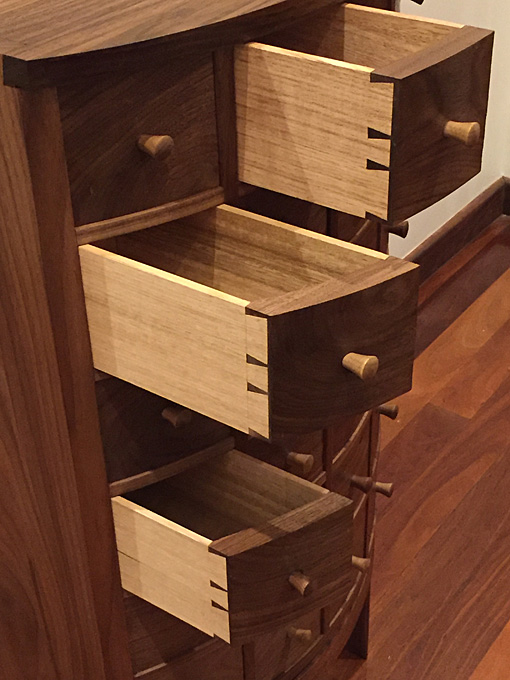
Power and hand together (5): Bowed drawer fronts

Posts

Power and hand together (5): Bowed drawer fronts

#1

Power and hand together (5): Bowed drawer fronts

  1. All the dovetailing was completed while everyone was napping.
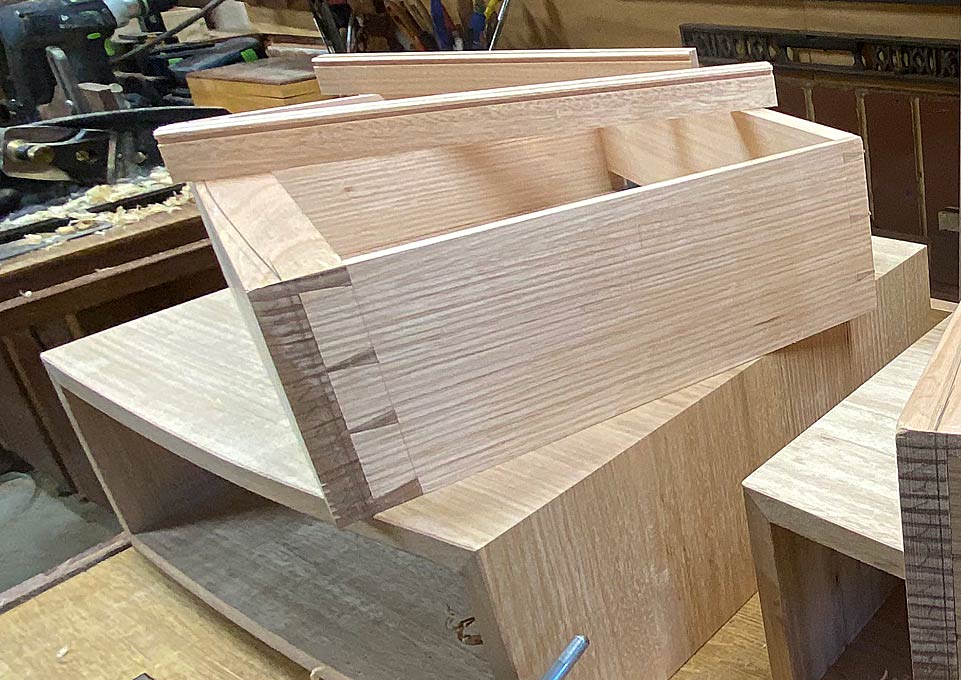
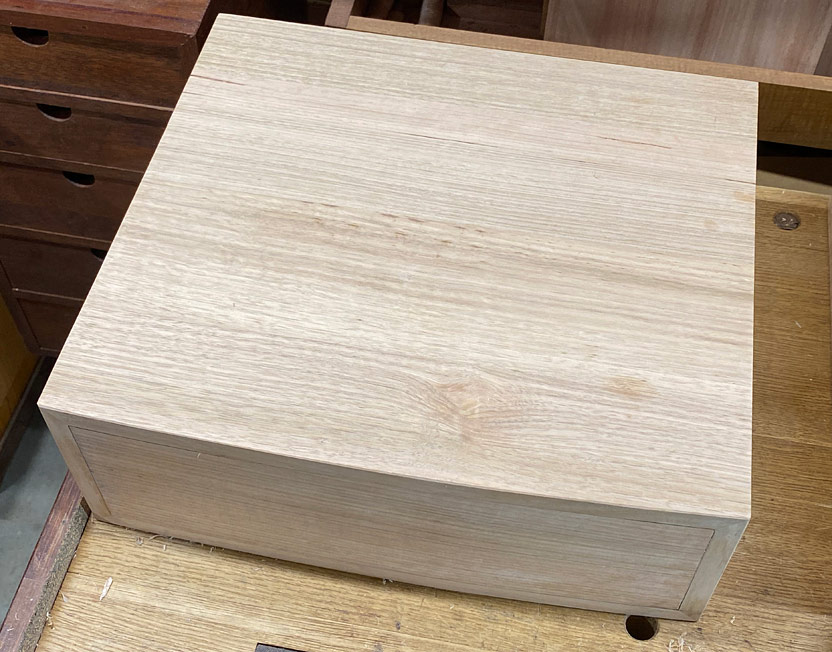
    The drawer fronts had been left deep enough to create the bow front. The drawers were fitted into the case and clamped to prevent movement. The top was then marked in ...
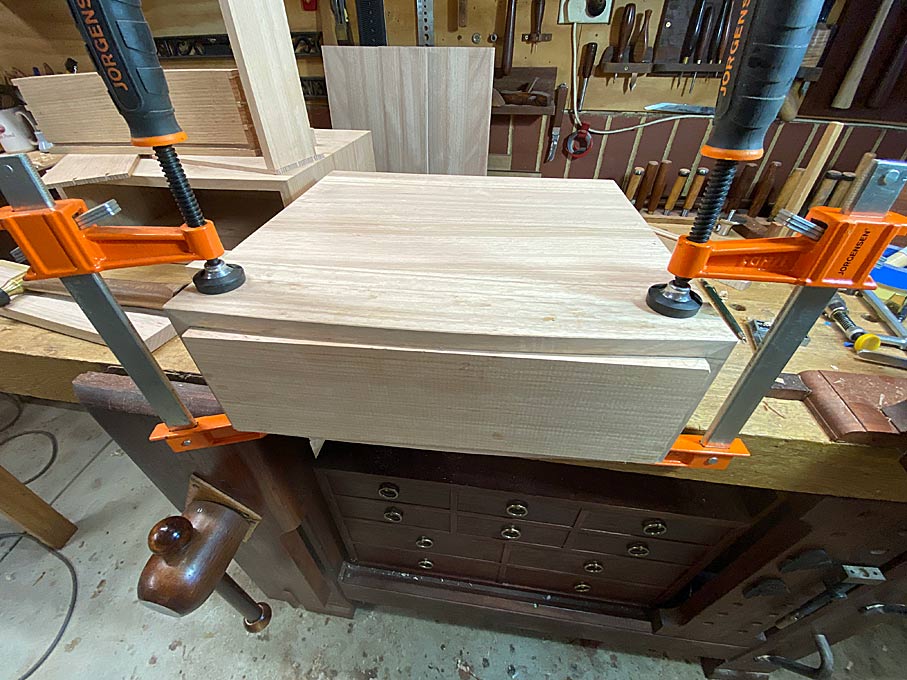
    ... and then flipped over and marked underneath ...
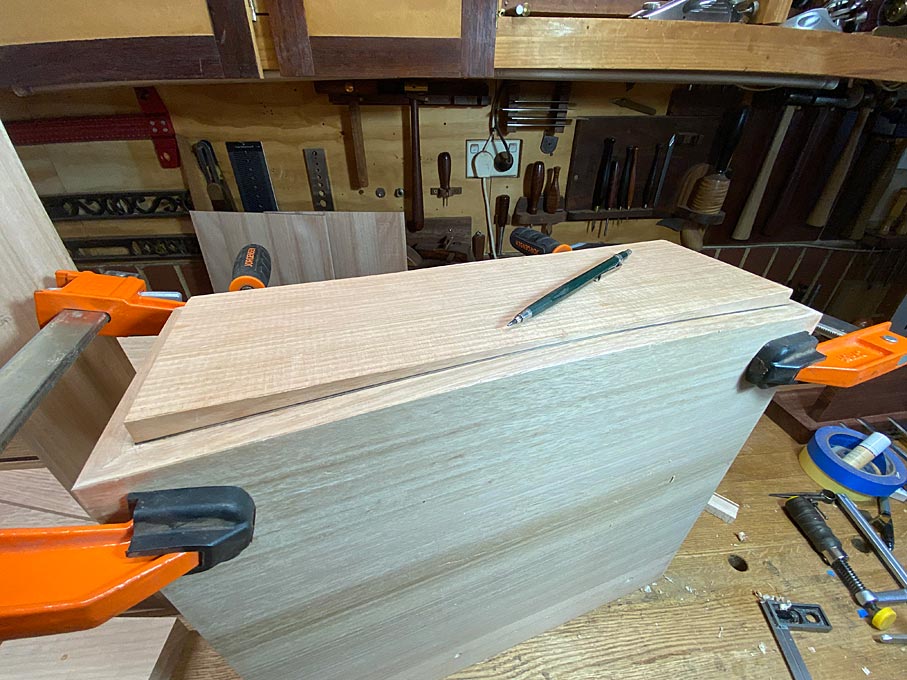
    The alignment can be seen here ...

    Next the waste along the curve was bandsawn away.
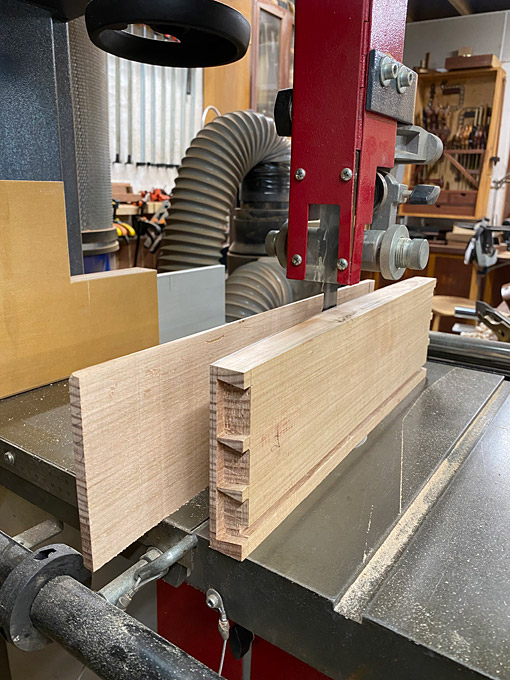
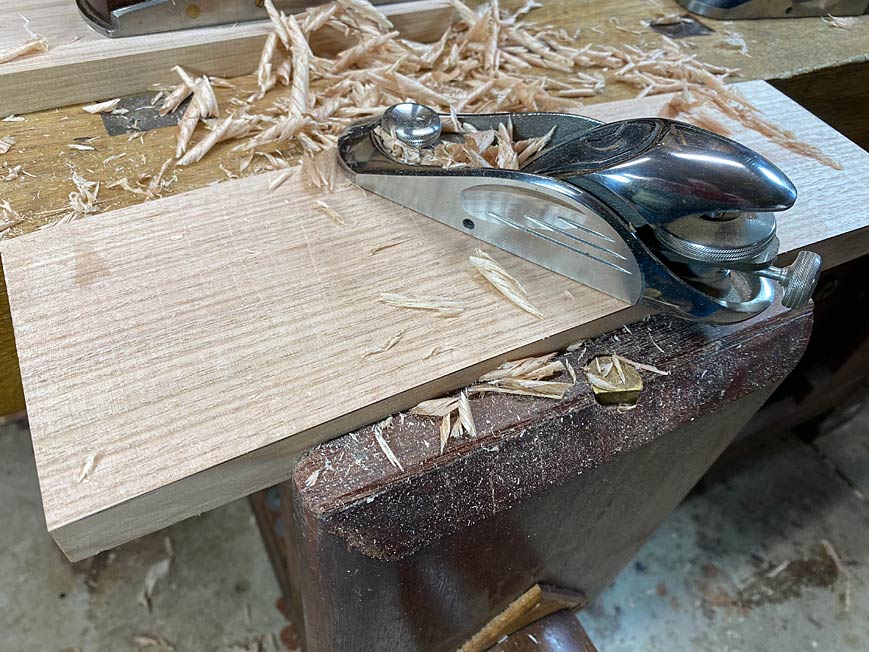
    A block plane traversed across the board to shape down to the lines, working inwards from both sides.
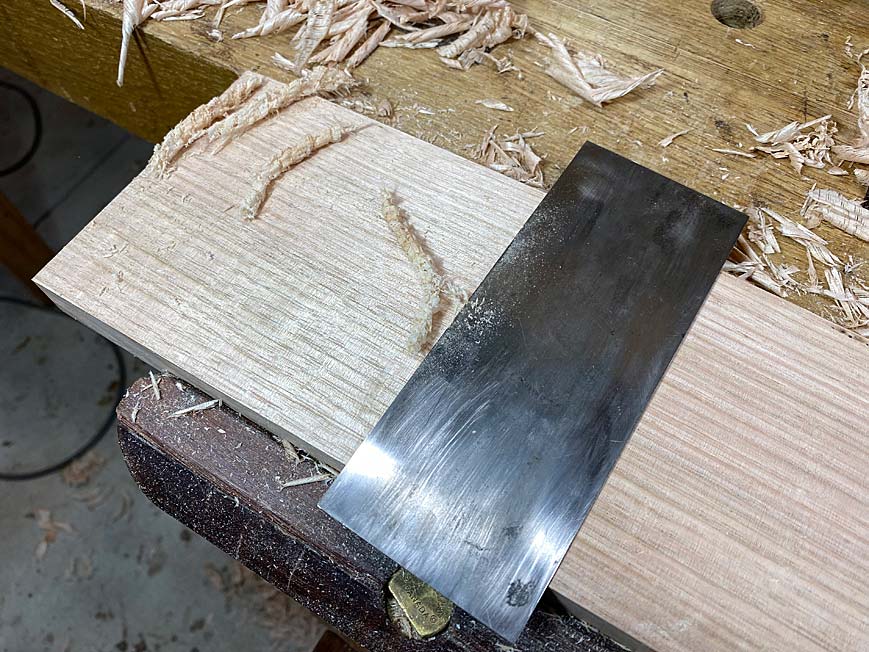
    And cleaned up with a scraper ...
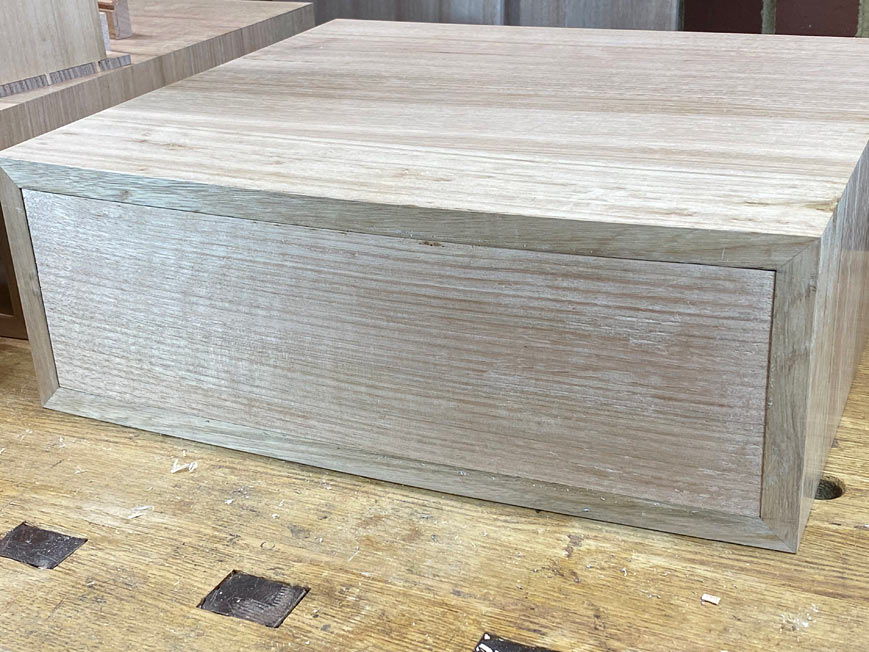
    It's a good fit ..
    All the drawer parts are pulled apart once again, and the inside curve of the drawer front is marked from the front ...
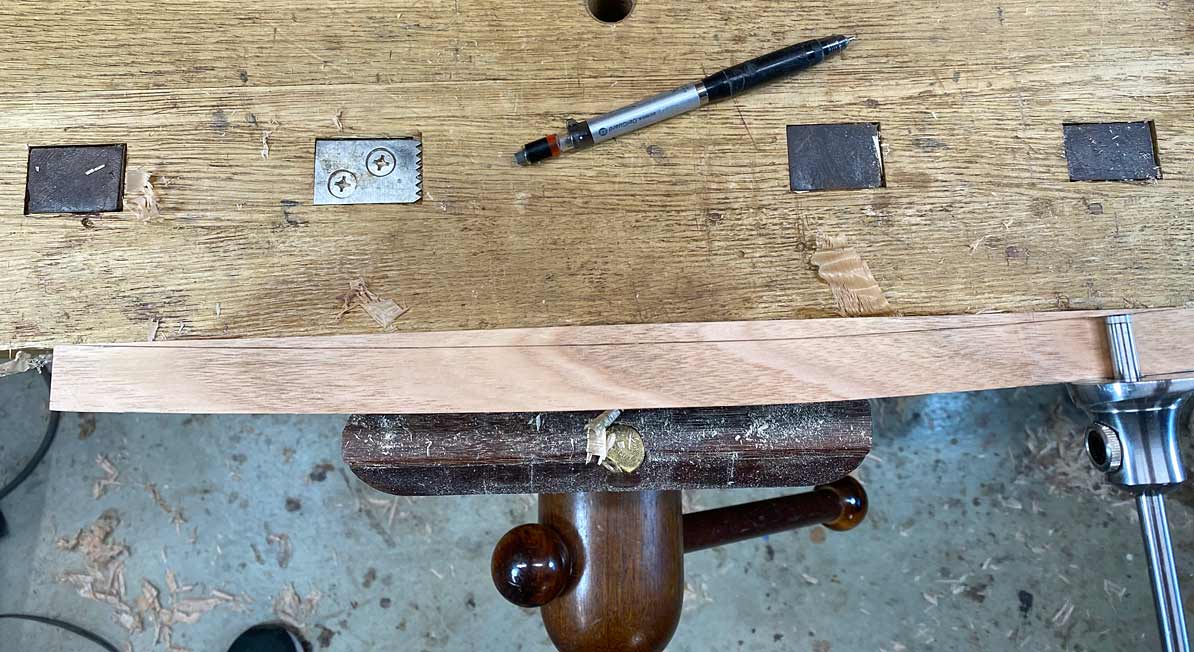
    The waste is removed with the bandsaw, as before.

    I've used blue tape here to make the waste easier to see ...
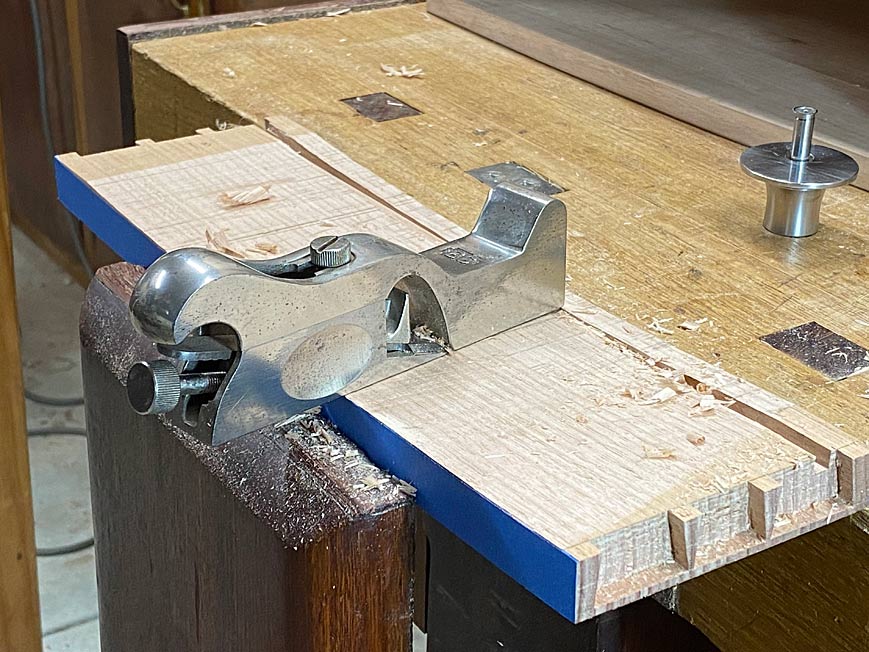
    ... and the Stanley shoulder plane does a great job of traversing the curve.

    Coarse clean up with a thick scraper ...

    .. and followed by smoothing with a thin one.
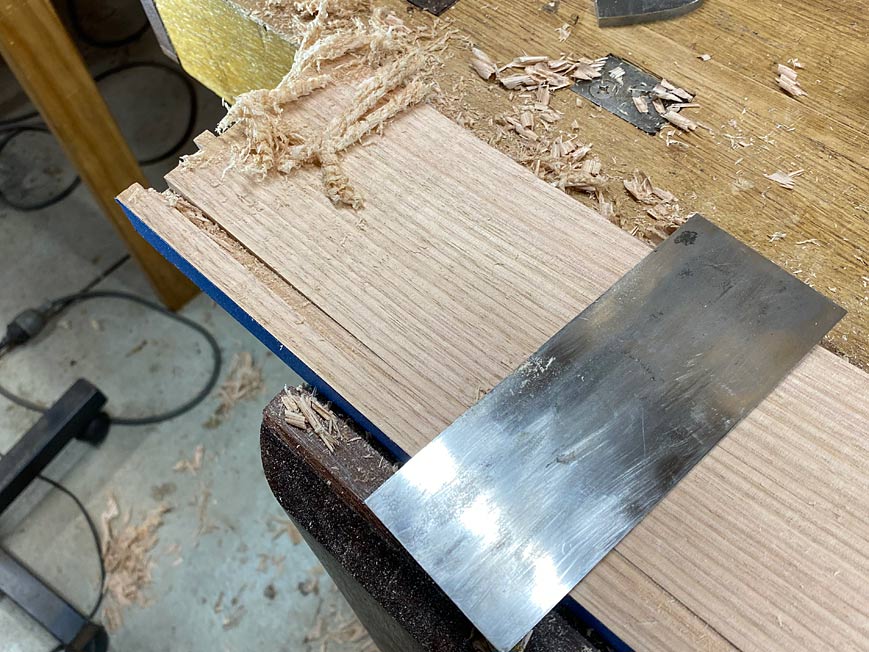
    The curve also removed part of the groove for the drawer front. This is replaced using a router plane ...
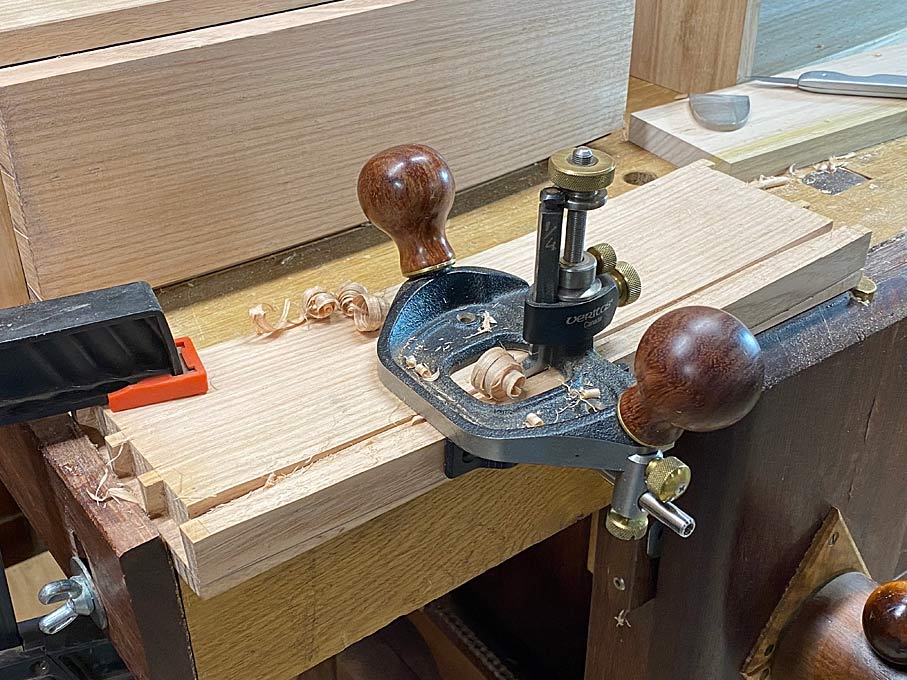
     Note that the curved bandsaw waste was used to rest the curved drawer front on.

    Now the drawer is ready for re-assembling, just minus the slips for the drawer bottom (which can be seen in this picture - making them will be the next chapter).
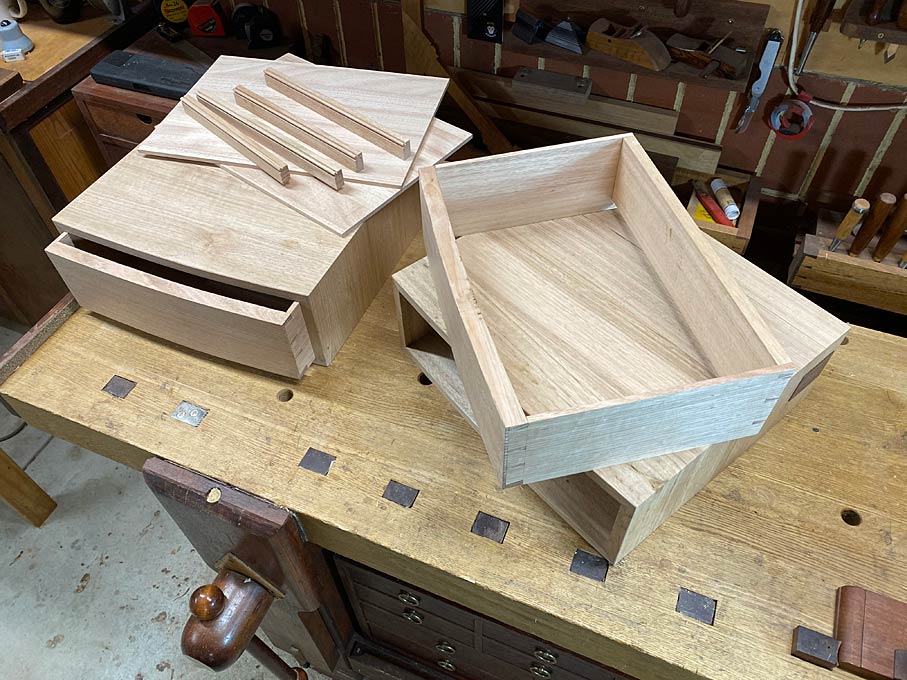
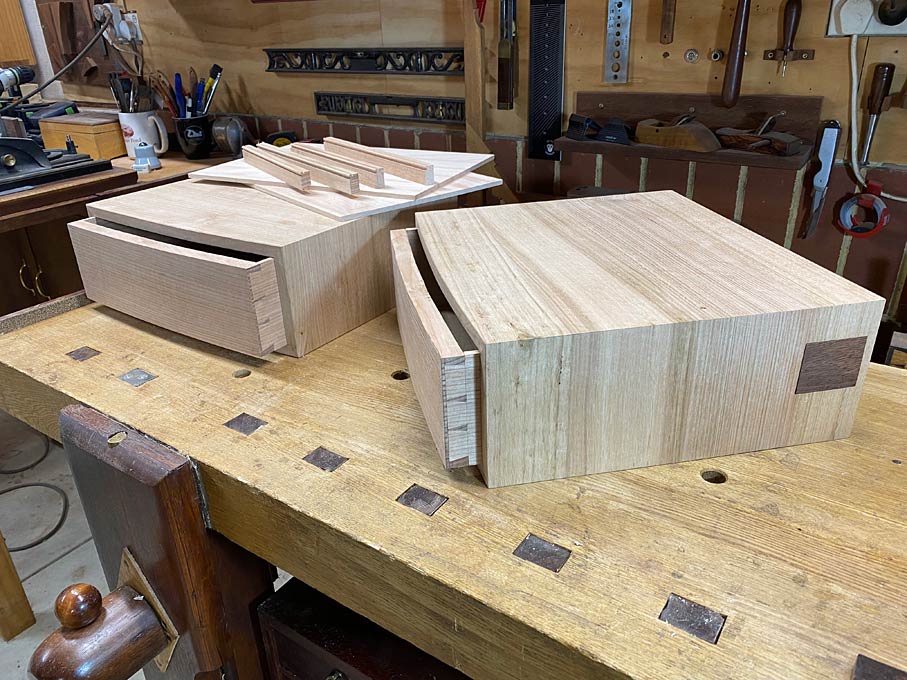
    Close up ...
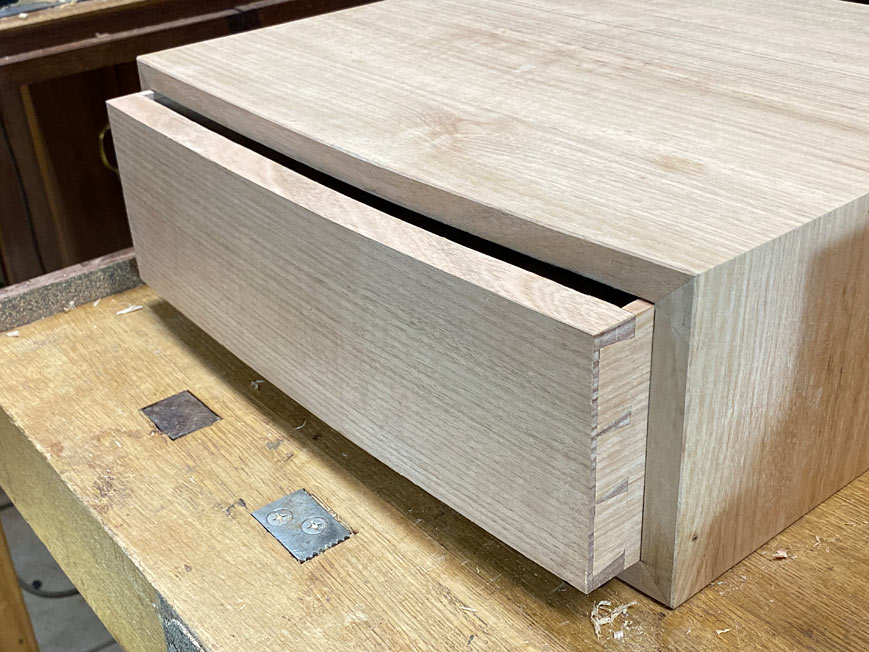
    Next: Making of slips, fitting the drawer bottom (with a matching front curve), and completion of drawers.

    Regards from Perth

    Derek


Re: Power and hand together (5): Bowed drawer fronts

#2

Re: Power and hand together (5): Bowed drawer fronts

Derek......beautiful work as always.......I've not gotten up to the level of making curve front pieces as yet......curving the interior face of the drawer fronts was a big step......requiring a lot of work.....but, I'm assuming that is the standard practice when making bow front pieces, is it not??

Also, the use of thick and thin scrapers was a nice touch......with thin scrapers giving the more finished surface......nice point worth remembering (if enough synapses still work that is).


Re: Power and hand together (5): Bowed drawer fronts

#3

Re: Power and hand together (5): Bowed drawer fronts

Roger, I see a fair amount of drawer fronts which are curved only on the outside. That does not look right to me. But there are other ways to do this, such as laminating curves. 


Regards from Perth

Derek


Re: Power and hand together (5): Bowed drawer fronts

#4

Re: Power and hand together (5): Bowed drawer fronts

Work space looks very comfortable too.


Re: Power and hand together (5): Bowed drawer fronts

#5

Re: Power and hand together (5): Bowed drawer fronts

Derek......do you keep an edge relieved blade on the Stanley shoulder plane for use on inside curves??.......and do you shape the inside of your curved drawer fronts first before doing the curve on the outside of the drawer??......want are the advantages, if any, in doing the curves in that order??


Re: Power and hand together (5): Bowed drawer fronts

#6

Re: Power and hand together (5): Bowed drawer fronts

Hi Roger

All good questions.

The reason for the shoulder plane is that the blade is narrow, just 1” wide. I like this Stanley #93 for this purpose as it has a low slung body and functions like a block plane (which generally have blades about 1 1/2” wide). All-in-all, it is a little like a scrub plane except I do not camber the blade as I am avoiding deep grooves, which would make for more work in removing them.


This is not my first go-round in making curved drawer front. I’ve done quite a few over the years. I have probably just taken for granted the order of work and assumed others would see the logic … well .. my logic at any rate :)


The outside if the drawer must be done first to match the curve if the case. This needs to be marked from the case, itself. It does not matter if the curve of the case is not fair. It is the alignment of the case and drawer that matters. 

Once the front is done, it is a simple matter to use it as a guide to scribe the inside of the drawer. I fine the lines hard to see when planing the waste (below eye line) and so blue tape helps here.


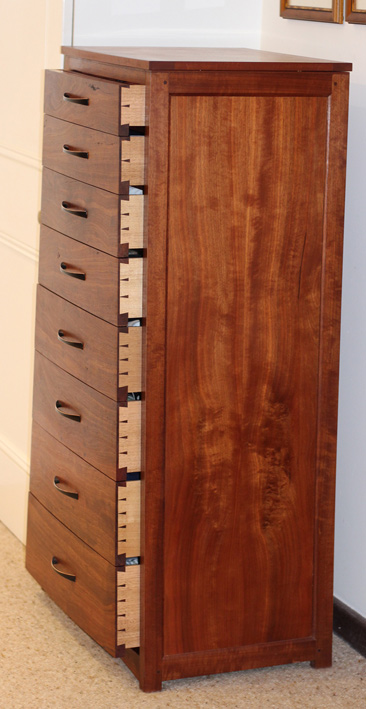
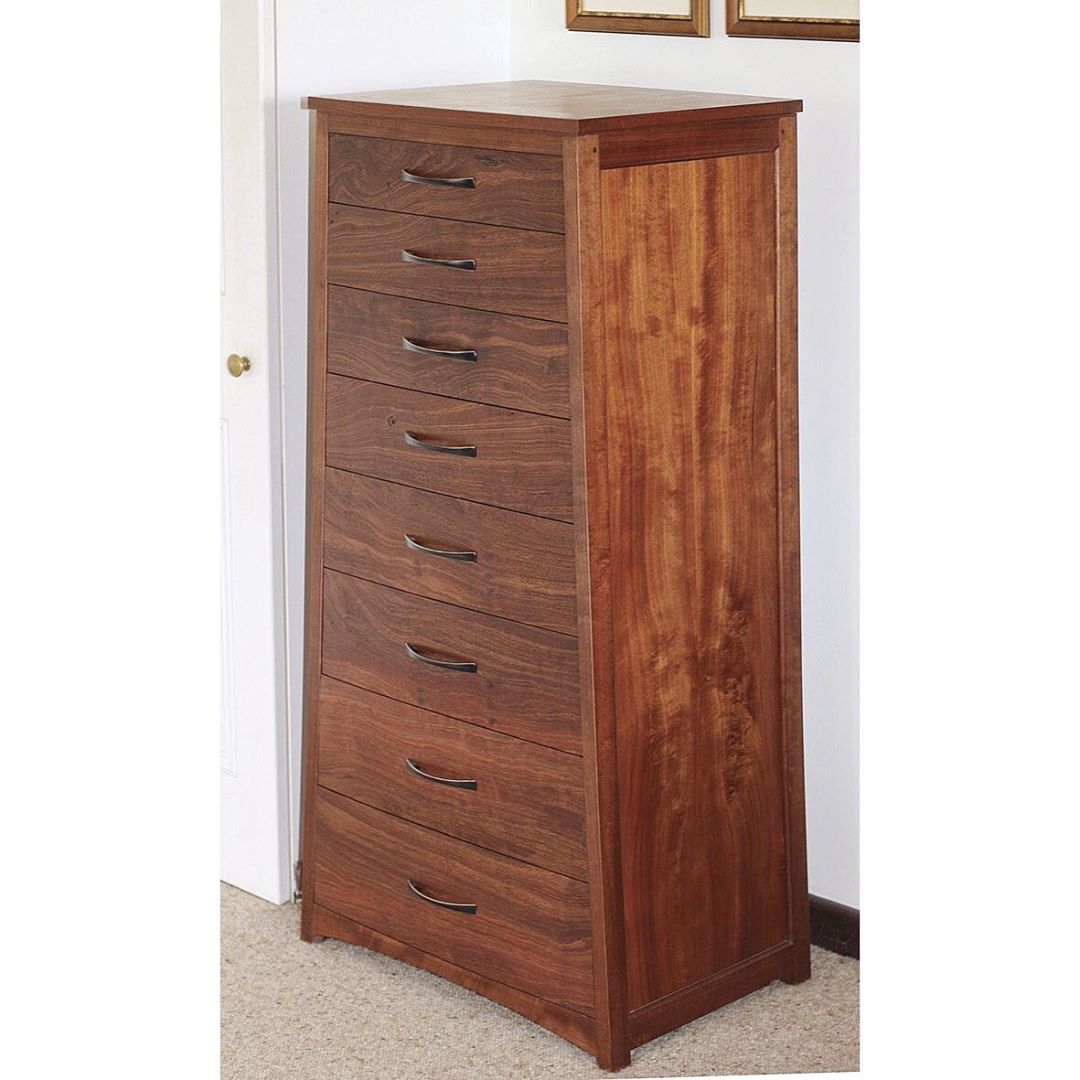
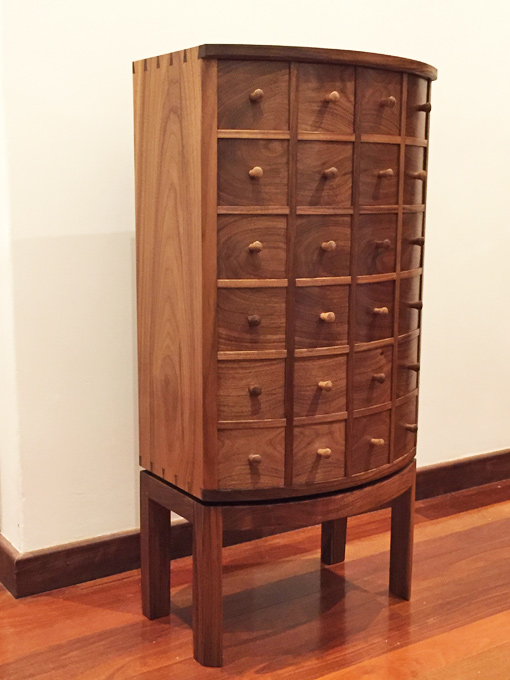
This was a lot of work (also as the drawer sides angled) …


These angles were more extreme ..


Regards from Perth

Derek


Re: Power and hand together (5): Bowed drawer fronts

#7

Re: Power and hand together (5): Bowed drawer fronts


Re: Power and hand together (5): Bowed drawer fronts

#8

Re: Power and hand together (5): Bowed drawer fronts

Derek, Thank You for this post. I have forwarded it to friends to demonstrate how to accomplish work using both power and hand tools. You are such an inspiration to our craft.


Re: Power and hand together (5): Bowed drawer fronts

#9

Re: Power and hand together (5): Bowed drawer fronts

Nice stable wood. I have only made one bow front piece and when I sawed the profile on the drawer front (cherry) the tension in the wood was released causing the board to twist slightly. It was a fair amount of work to get the ends co planar again. I had anticipated this and had not cut the dovetails yet. Great posts.


Re: Power and hand together (5): Bowed drawer fronts

#10

Ellis Walentine

Re: Power and hand together (5): Bowed drawer fronts

Superb post, Derek. Your photos are wonderful. I'm wondering if and when and how you do finish surface prep. With sandpaper? 

Cheers,

Ellis


Re: Power and hand together (5): Bowed drawer fronts

#11

Re: Power and hand together (5): Bowed drawer fronts

Thanks Ellis. Just an iPhone 11 and Photoshop Elements to edit.

Sanding? Probably for the drawer fronts. Everything else is already planed. One has to be careful with sanding as it can remove the crisp edges. What would you do if this was one of your projects?


Regards from Perth

Derek


Re: Power and hand together (5): Bowed drawer fronts

#12

Ellis Walentine

Re: Power and hand together (5): Bowed drawer fronts

I have a habit of hand planing proud surfaces flush with whatever they need to be coplanar with including edge banding around panels. In the case of fronts like these, I'd plane them carefully while in the cases, likely finishing with a card scraper and some fine sandpaper. Depends on the finish you're going for.

Ellis