WoodCentral Forums

Est. 1998 — 27 years of woodworking knowledge

Mortising Jig

Posts

Mortising Jig

#1

Mortising Jig

I've tried a drill press with Forstner bit and then using a chisel. I've tried my ancient AMT mortising machine. I've tried plunging wood down on a bit in my router table. None yielded perfectly centered mortises. So I watched a number of Youtube videos on mortising jigs. (There must be thousands.) Many are elaborate and complicated and would take more time to build than the table I'm trying to build. So I borrowed ideas from some and came up with this.

A scrap piece of masonite and two bearings borrowed from flush trim bits. The bearings are carefully located along the centerline of the router bit and spaced equally on each side. I cut a large diameter opening in the center to aid in seeing layout lines. With one of the eight legs I'm cutting mortises in located in the center of the stack of legs, I set the router down, twist it so the bearings run tight against the sides of the stack, then plunge cut the mortise. For insurance, I repeat the process after turning the base so the bearings are in the opposite position. If the bit is off center by even a minute amount, this guarantees the mortise is centered.

Now to find the best way to cut tenons to match and get them perfectly centered.


Re: Mortising Jig

#2

Re: Mortising Jig

That idea seems to work. On work where the parts are all the same thickness I never worry about mortises being perfectly on center. I mark one side of the mortise piece "F" for face and use that side against the fence always. I mark the tenon part as well with an F and use that face to measure/cut the tenon. I use a tenoning jig on the table saw keeping the F face against the jig always. I don't flip the tenon piece on the jig and cut from both sides to center the tenon. In the manner I describe the wood thickness variation does not very the width of the tenon.


Re: Mortising Jig

#3

Joe Fleming

Re: Mortising Jig

Virgil, I do something similar.  Instead of an F for face, I use F for front  :)


Re: Mortising Jig

#4

Re: Mortising Jig

Nice!  I was thinking there might be a problem if the mortice was near the end of the piece and the bearing would "fall" off the end of the guides, but the way you made it solves that problem by letting you extend them as far as you need.

Hmm?  I made some patterns by cutting an accurate slots in plywood and then clamping on a fence.  Set up the router with a guide bushing and go to work.  Wonder if you could combine the two ideas and set up my type pattern with bearings like yours?


Re: Mortising Jig

#5

Mortising templates.......

Pat.....in the theme of your post, I made little mortising templates that were of various lengths and had a 5/8" wide opening......I used a 5/8" guide bushing on the base of my plunge router......and screwed the templates down to my stock where I wanted a mortise......the screw holes in the mortise stock were covered/hidden in the final assembly by the shoulders of the tenon stock......


Re: Mortising Jig

#6

Re: Mortising templates.......

Roger... if I used a template like that, I absolutely guarantee that I could screw it down off-center or even at an angle. It's a talent I have.


Re: Mortising Jig

#7

Re: Mortising templates.......

Pat.....to avoid that, I'd carefully layout the mortise in pencil to match the opening in the template I was going to use......then place the template on the workpiece and mark the screw holes......it worked; but, sometimes you just can't overcome a talent someone may have......


Re: Mortising Jig

#8

Re: Mortising Jig

Pat, firstly, thanks - making mortices easier is always a good thing as they are the backbone of cabinetmaking. 

I am spatially-challenged, unfortunately, and am struggling to understand how this fixture is used. Can you offer up a photo of it in use?

As Virgil mentioned, I use a reference side (another term for face and front!!) rather than attempt to centre mortices.


Regards from Perth

Derek


Re: Mortising Jig

#9

My three ways to mortice.

1. Mortice chisel guide with variable width fence ...

Designed to hold the work piece on the bench top and be a hold down.

Wood Rectangle Flooring Floor Wood stain


The fence can be positioned where ever the mortice is situated on the stretcher.


Another way to use this fixture is to drill out the waste, and use the sliding fence to pare the remaining waste ..


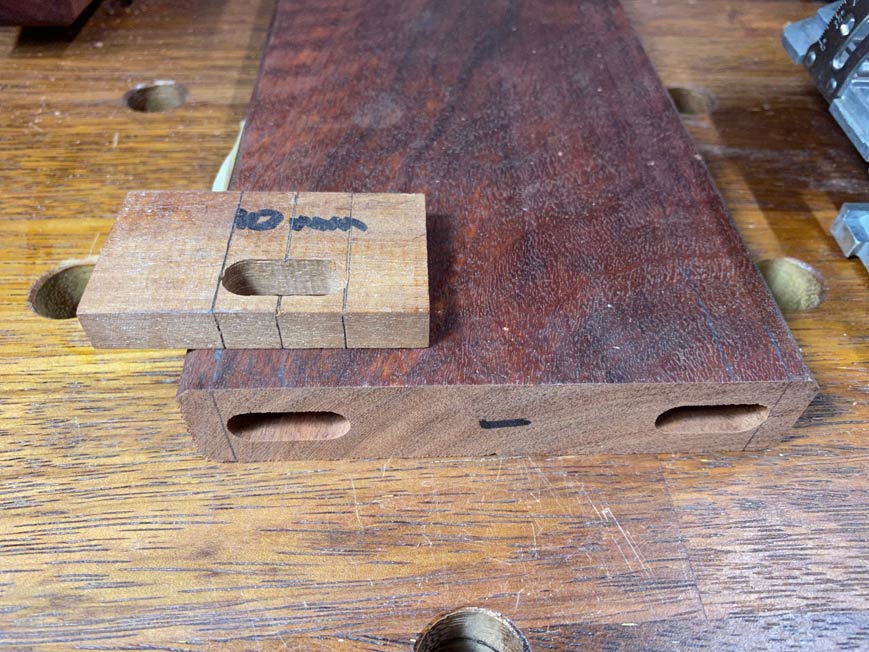
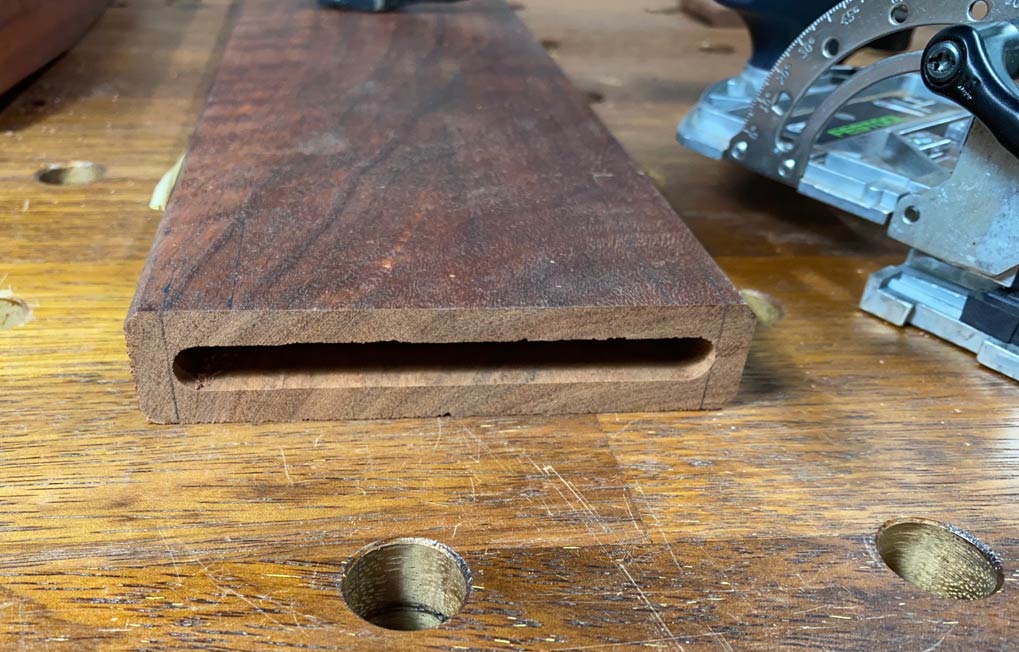
Using the Domino to make loose tenon joinery ...

The aim here is to make wider mortices than available from a Domino machine.

Use a simple guide to mark the end positions of the mortice ...

3Nibble away the centre ...


Add your custom loose tenon ...


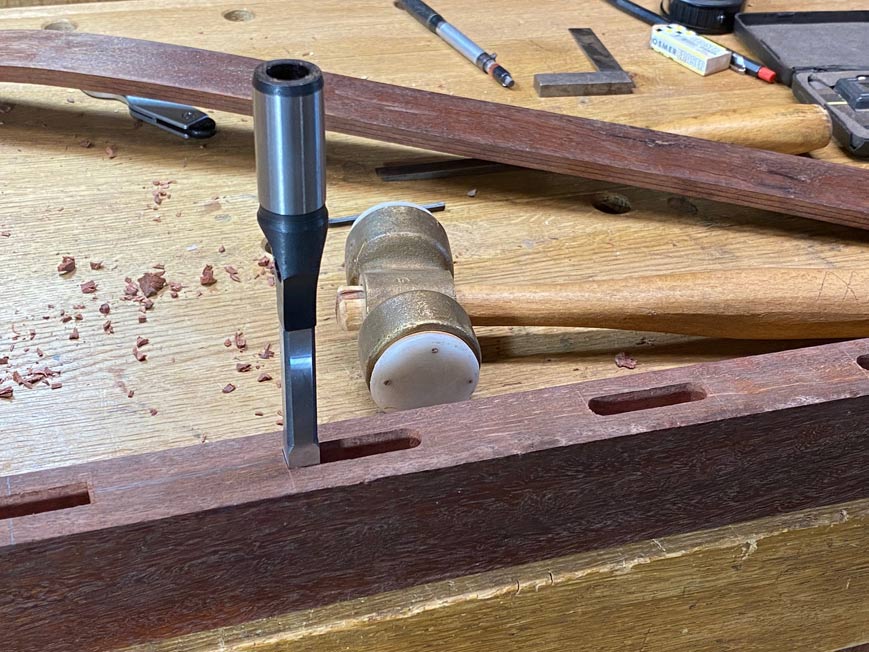
Square ended blind mortices with the Domino.

As before, measure out and rout out the mortice. Then use a hollow mortice chisel to square the ends ...


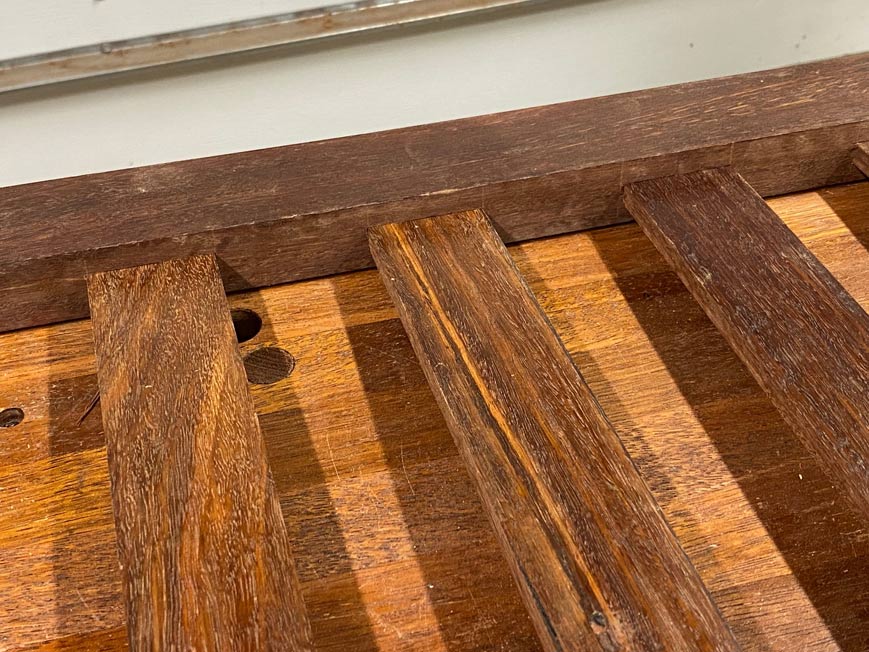
These become home to slats for a bed head (so a useful method when you want a tight, clean joint) ...


3. Router fixture for morticing


Router fence running (trapped) in the groove ...


Clamping a narrow stretcher across the top ...


The router fence runs in the lower, wooden track. The upper track is used for stops. The router can slide along the top cutting the mortice parallel to the front edge ...


Regards from Perth

Derek

Re: Mortising Jig

#10

Re: Mortising Jig

Derek.. hope the pics don't come out sideways like the last, or if they do, perhaps Peter can fix them. Also, mine is pretty much a one-off quick and easy jig. It's probably been 15 years since I did any mortices and didn't want to spend a lot of time and energy on something rarely used.

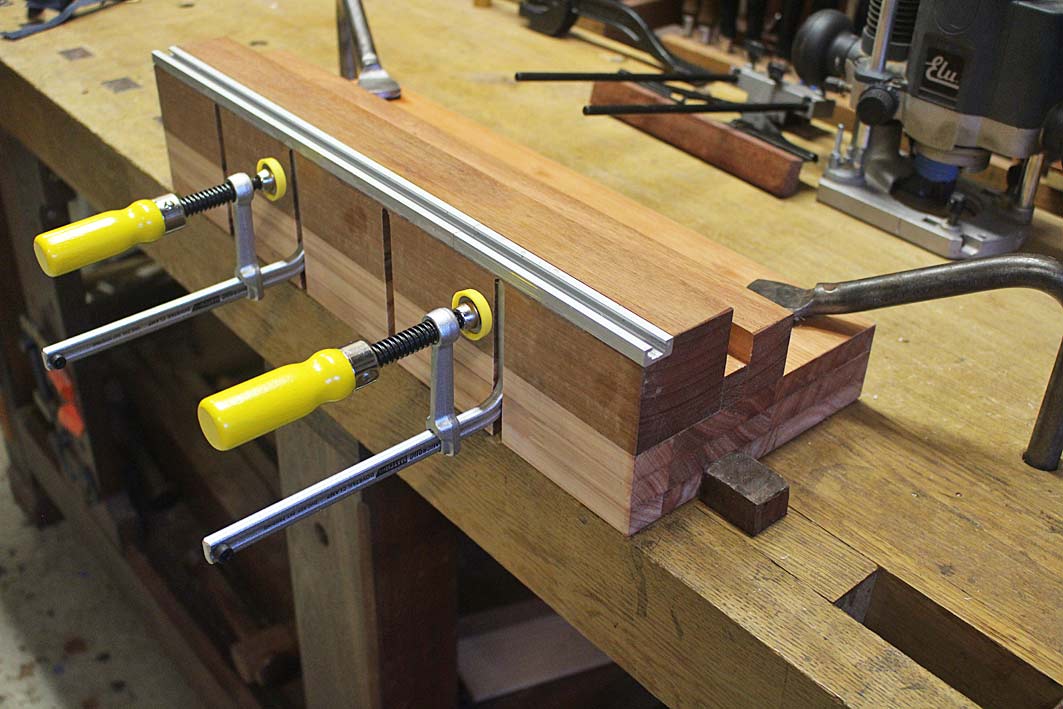
First pic shows jig sitting on work with one bearing at lower left and one at upper right and bit plunged into test piece. (Plywood blocks are just backing for screws holding bearings.)

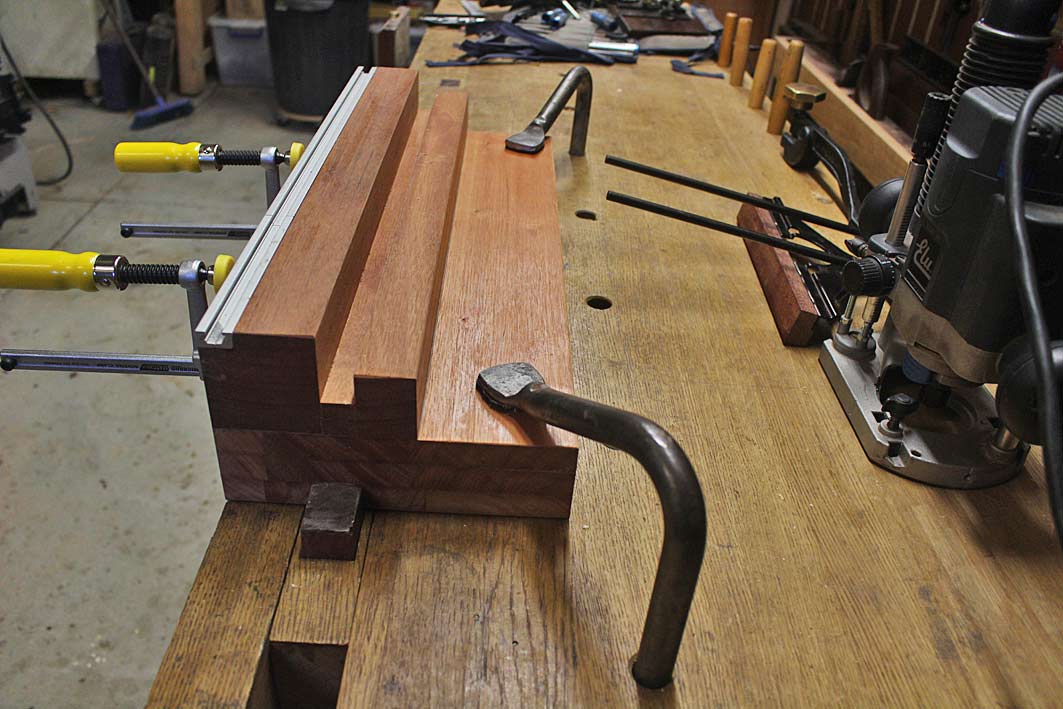
Second pic is with router unmoved but base turned clockwise so left bearing is at upper left and right bearing is at lower right. Running the bit back through the mortice in this position is just insurance in case the bit wasn't dead center between the bearings. In fact, if it removed any material, it was so little I couldn't tell it.

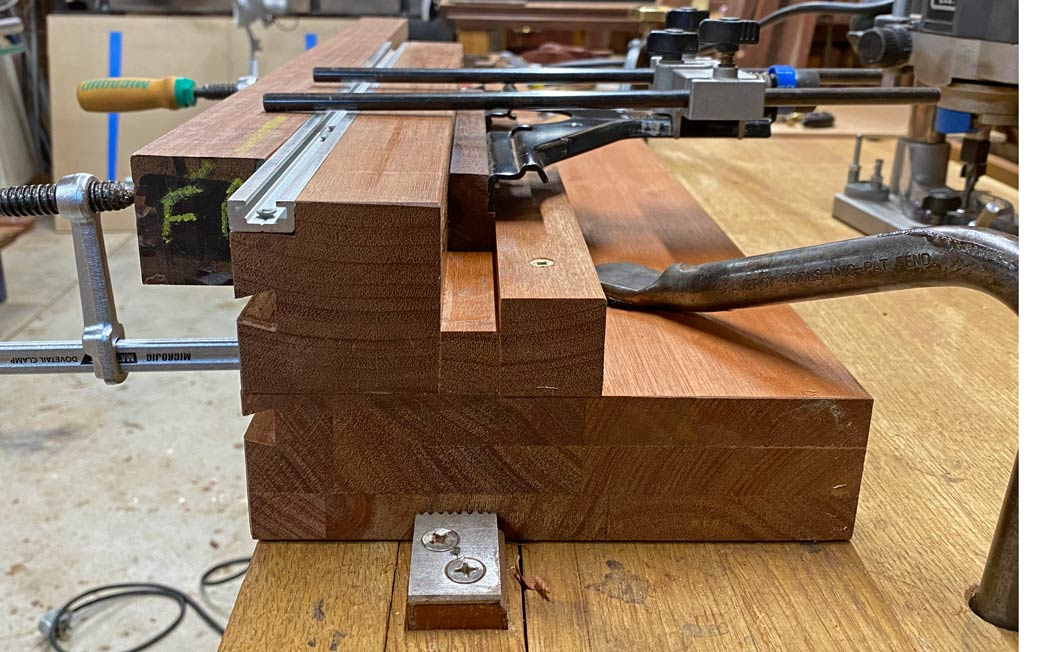
Third pic just shows how the bearings ride against the stock. The only trick to using this jig is that you have to be sure to keep pressure applied such that the bearings don't wander away from the work. A more elaborate jig could prevent that.


Re: Mortising Jig

#11

Re: My three ways to mortice.

Derek... I'm jealous of your skills. I have none and therefore use almost exclusively power tools and jigs to compensate. For example, when making some test tenons, I cut them slightly thick and tried to sand them down to a good fit. Even using a sanding stick, invariably I would sand more toward the edges and leave a high spot in the center of the tenon. Like I told Roger, it's a talent I have.


👍 This page answered my questions

Your vote helps other woodworkers quickly find the answers and techniques that actually work in the shop.