WoodCentral Forums

Est. 1998 — 27 years of woodworking knowledge

Underbench cabinet: 5. Glueing up

Posts

Underbench cabinet: 5. Glueing up

#1

Underbench cabinet: 5. Glueing up

Derek Cohen (in Perth, Australia)

I don't know about you, but I face glueing up with mixed feelings. On the positive side, it is great to have reached a milestone. But then the fears creep in .. will it come together like the dry fit ... what if I get something upside down ... yeah, you know I have done this!

I get everything ready ... glue (Titemark Liquid Hide Glue) and spatula ... clamps ... mallet ... wet rag ...
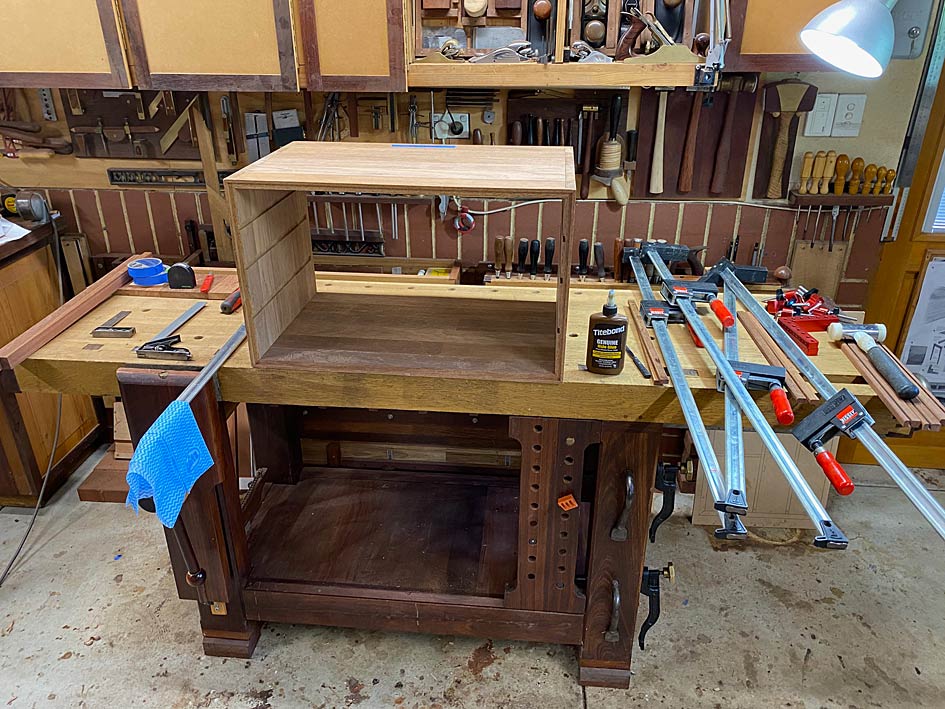

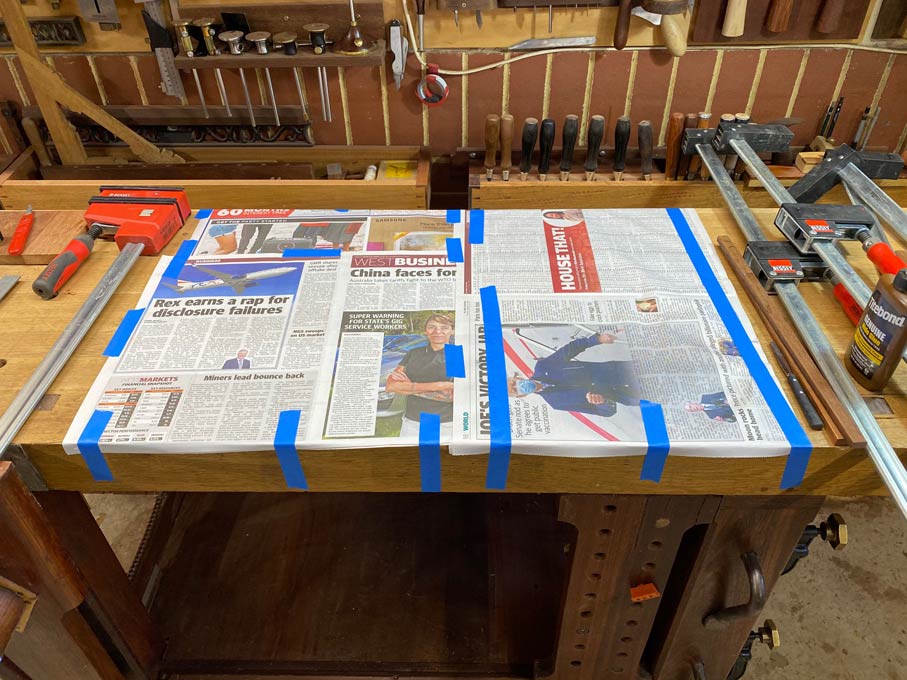
The bench is wiped down and covered in old newspapers ...

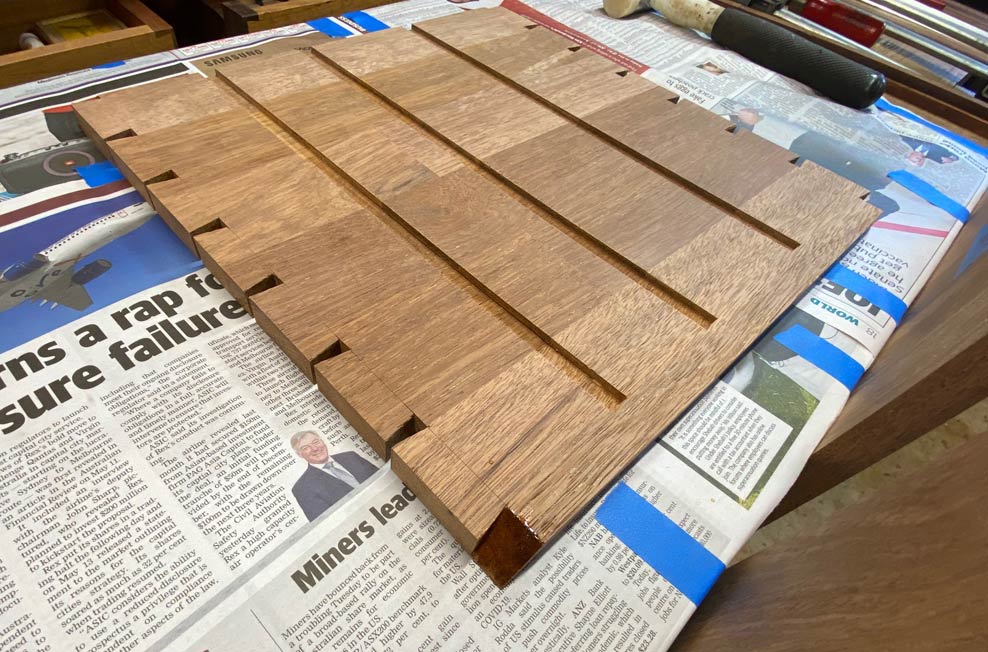
Both pin boards receive a generous amount of glue at the same time (all surfaces) ...
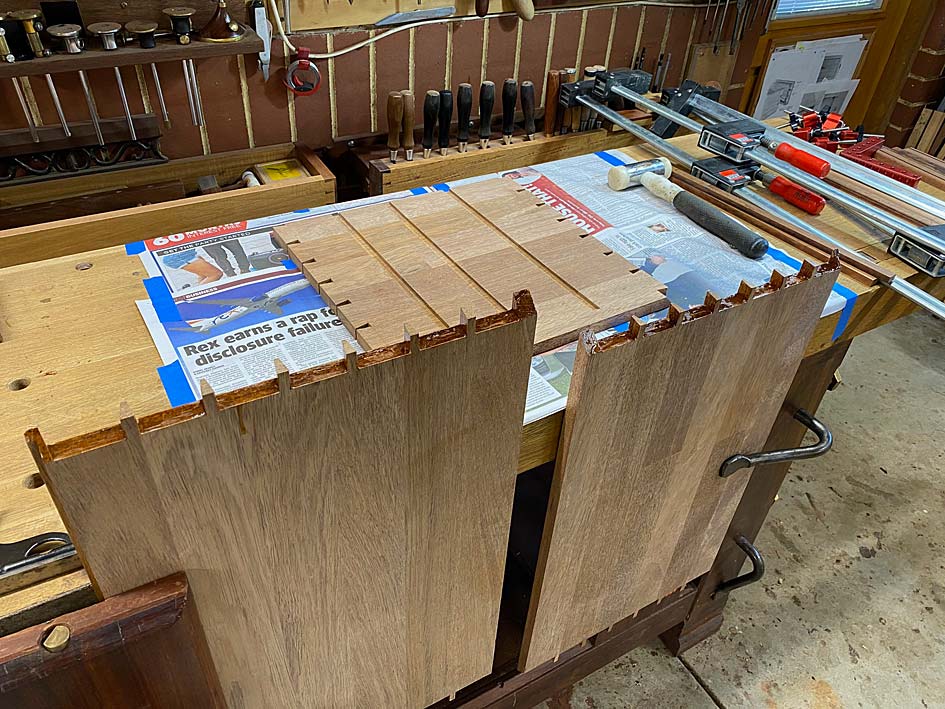

No glue is added to the tail board, with the exception of the mitres.

The two pin boards are inserted into the mutual tail board, and then the exposed pins receive their glue ...
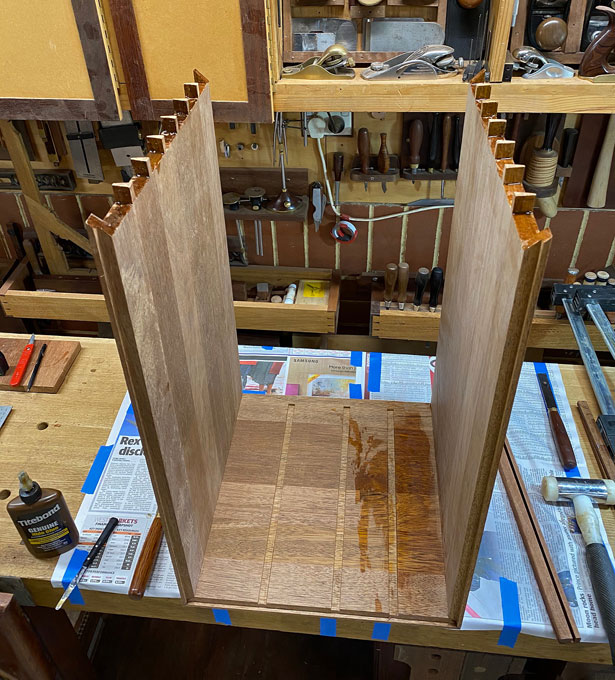

Lastly, the remaining tail board is attached, and all corners are hammered down ...
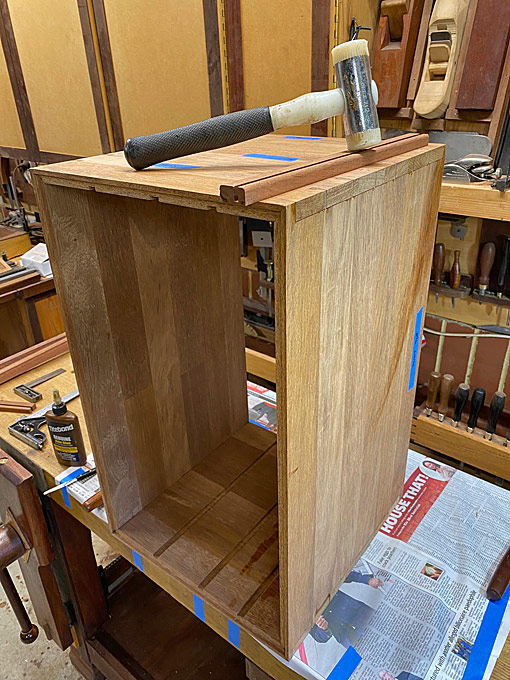

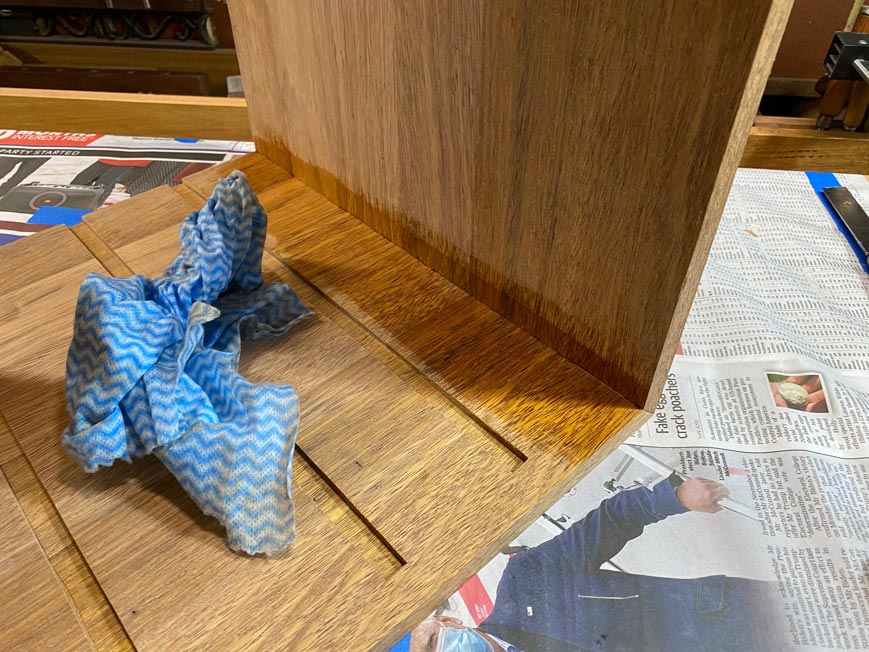
Any glue spills and runs are immediately removed with a wet rag. I have not had a problem with finish doing it this way. I am more concerned that dry glue will act as a barrier to stain or finish, and that removing it will damage the surface.

The case is now clamped. Happily, all is square and no adjustments are needed.
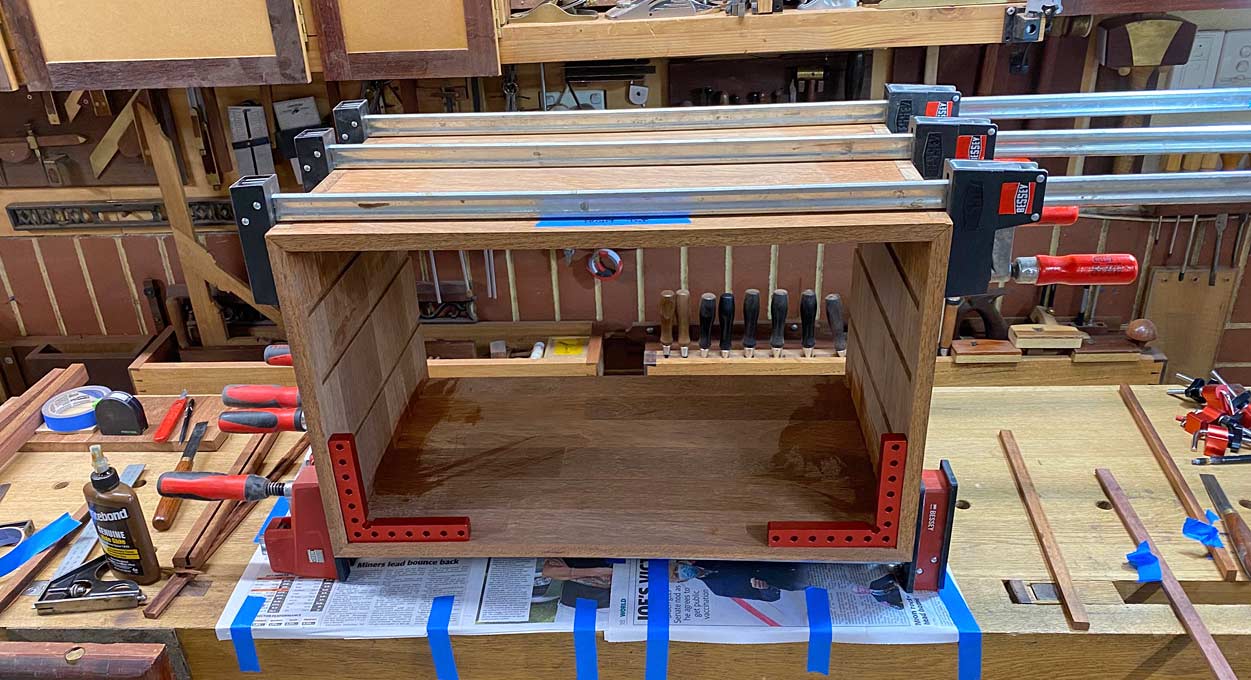

Once dry, the case is checked for square once again. It is necessary to hold one's breath at this point.

All is square ...
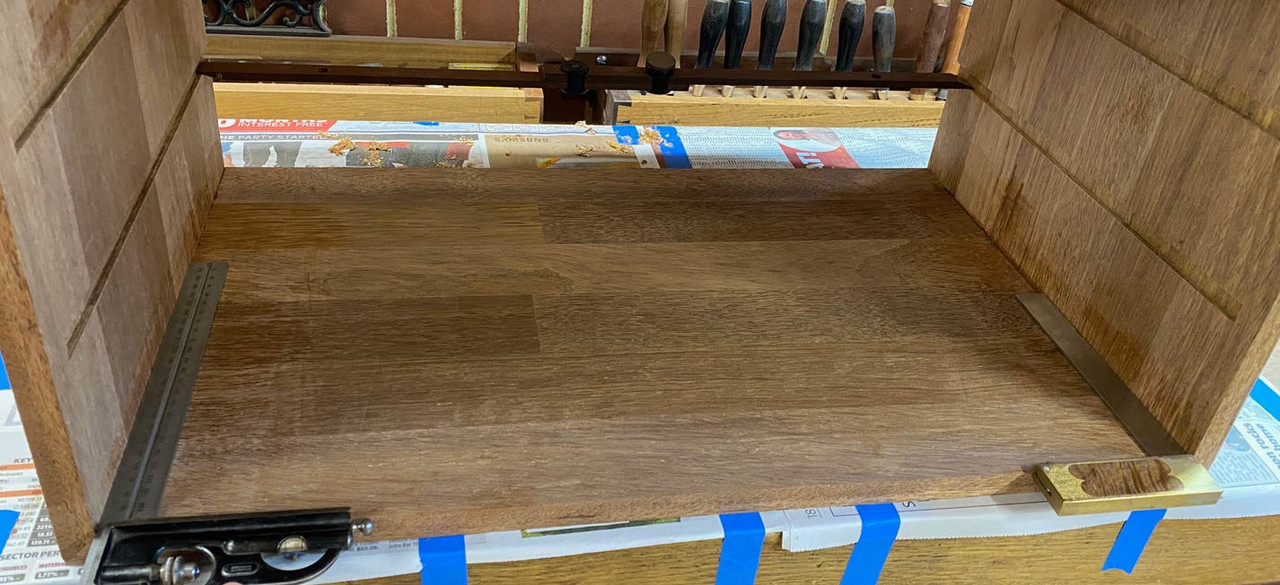

... and in all directions ...
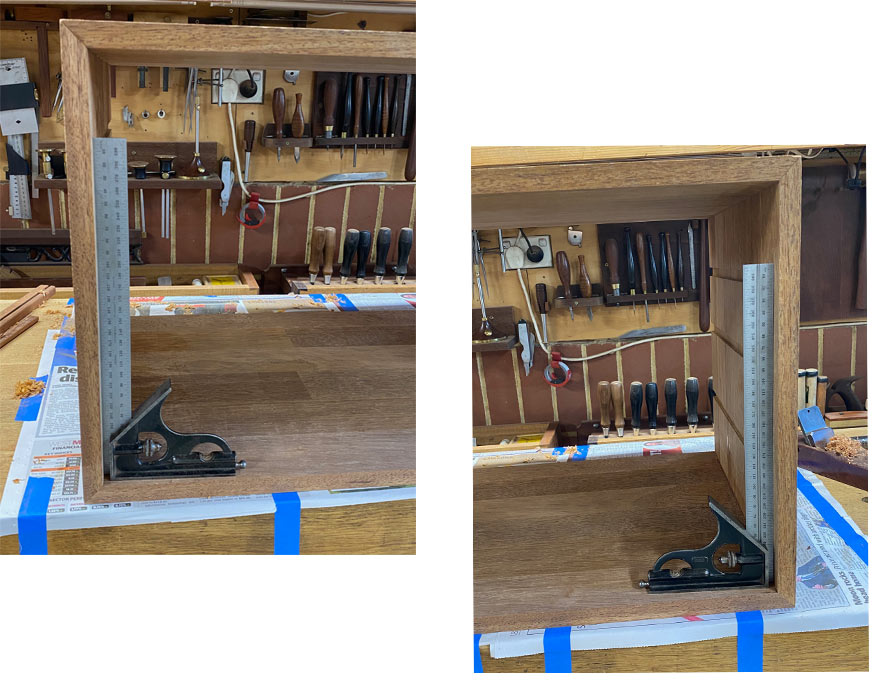

Continue breathing.

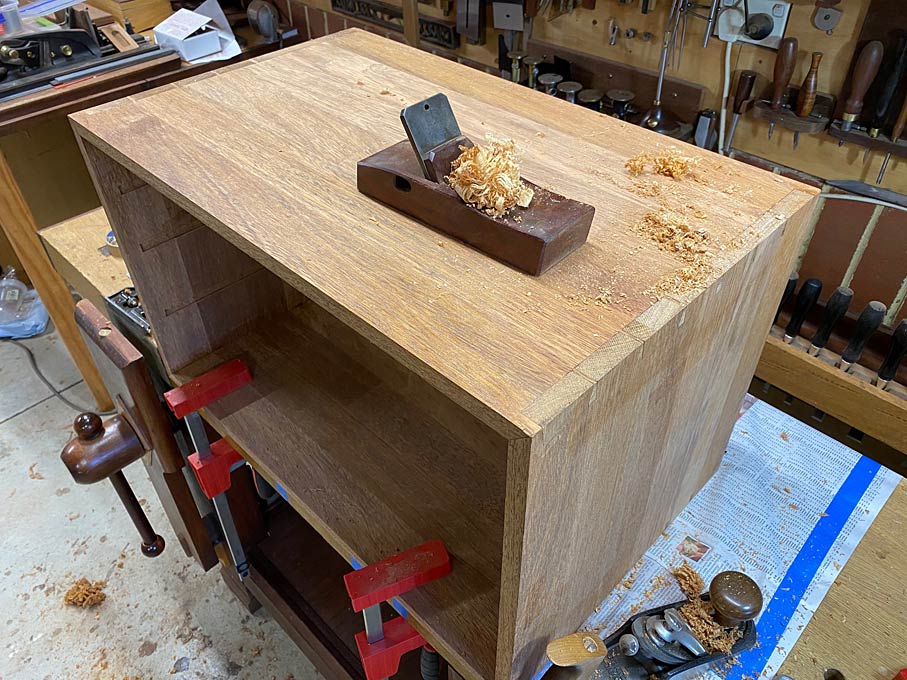
Time to flatten the outside of the case. The choice of smoother is an HNT Gordon with a 60 degree cutting angle. This low plane will make it easier to plane with the case high on the bench, and it can be pulled for extra leverage ..

Perhaps sacrilegiously for some, the case is now sanded (80/120/240 grits) as the plan is to stain the wood to match the Jarrah drawer fronts.
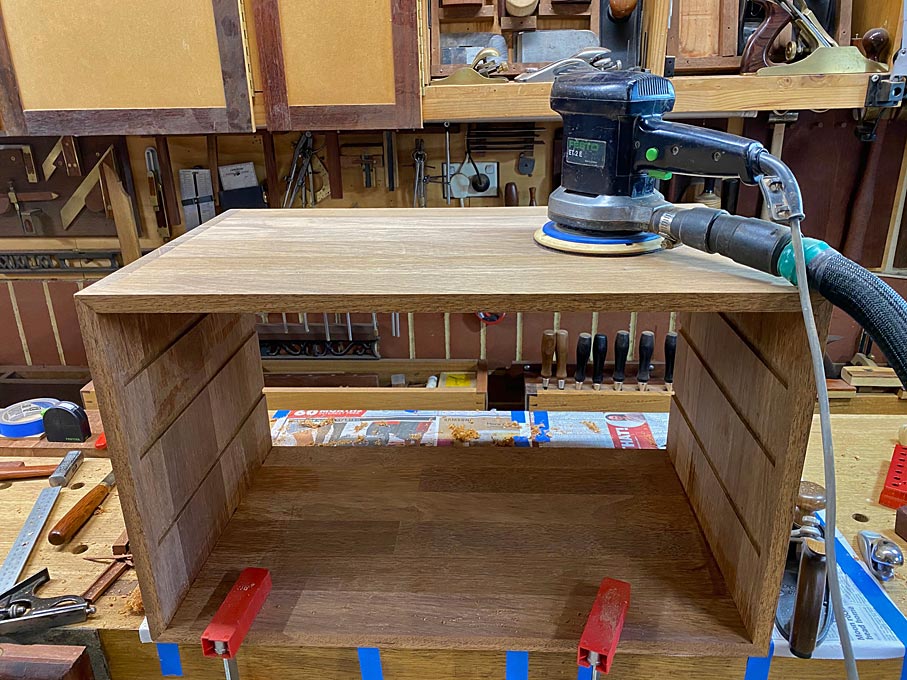

And then we are done ...
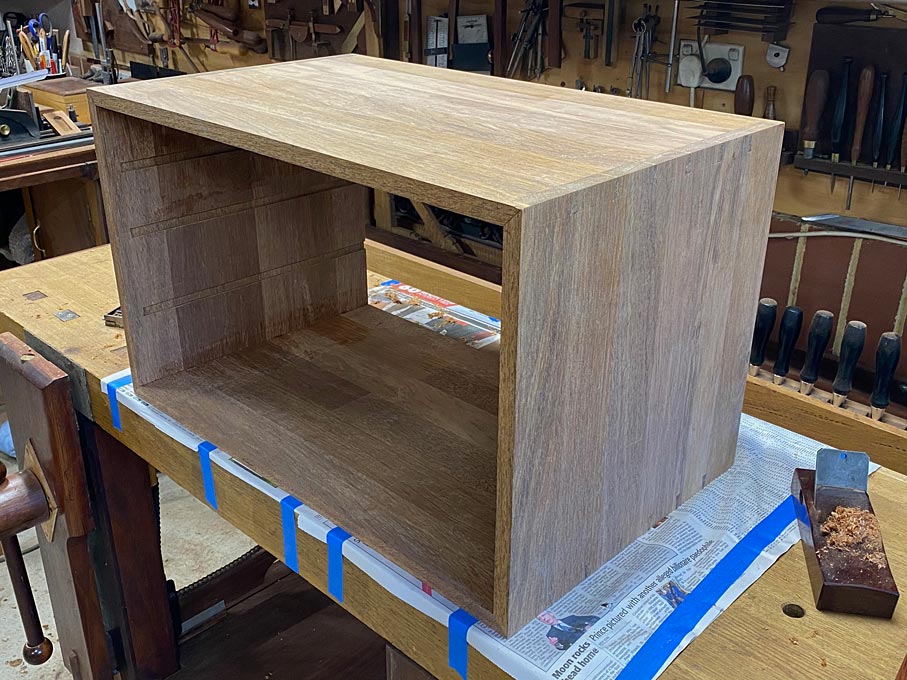

... and ready for the drawer blades.

Regards from Perth

Derek

Re: Underbench cabinet: 5. Glueing up

#2

Re: Underbench cabinet: 5. Glueing up

Ralph Lipeles

Impressive. Looks Great!

Re: Underbench cabinet: 5. Glueing up

#3

Kneale Brownson

Re: Underbench cabinet: 5. Glueing up

kneale brownson

Just a note: I use a chunk of hardboard the way you use the newspaper.

Looks like it's going to turn out as wonderful as all your work.

Re: Underbench cabinet: 5. Glueing up

#4

Three differences in my shop

Bill Tindall, E.Tn.

1. I do not apply glue to the end grain. It does nothing useful and risks squeezing out. I never get squeeze out in interior surfaces in this kind of glue up.

2. I apply a thin layer of glue to both surfaces that mate. To bond, each surface must be wet with glue. If I wet it and I can see I wet it there is no risk it won't be wet by transfer from only one surface.

3. I never check case square with a square; I measure diagonals either with a ruler or trammel. If any side of the case is not perfect flat one will go crazy trying to figure out whether the case is indeed square and if not what is off. Been there and done that.

Re: Underbench cabinet: 5. Glueing up

#5

Re: Three differences in my shop

Derek Cohen (in Perth, Australia)

1. I do not apply glue to the end grain. It does nothing useful and risks squeezing out. I never get squeeze out in interior surfaces in this kind of glue up.

2. I apply a thin layer of glue to both surfaces that mate. To bond, each surface must be wet with glue. If I wet it and I can see I wet it there is no risk it won't be wet by transfer from only one surface.

3. I never check case square with a square; I measure diagonals either with a ruler or trammel. If any side of the case is not perfect flat one will go crazy trying to figure out whether the case is indeed square and if not what is off. Been there and done that.

Thanks for a response, Bill! I was not sure if I was just posting to the ether. It’s good to stir up some discussion.

1. That is a valid point about squeeze out. I tend to mostly agree with you about end grain. There is some adhesion, however, which is partly why I do it, and partly also because inevitably some glue slops over from the side walls.

2. It is only with dovetails that I add glue to one side. As shown here, the mitres were glued on both sides. Why one side? Firstly, the dovetails are tight and too much glue will simply squeeze out. I have done many cases and drawers this way over the years, and never had a failure. That in itself says this technique is sound.

I am reassured somewhat that this is a mechanical joint, and they could get by without any glue - witness how strong the case is when dry fit. The panels move slightly, and the clamps are there to pull them flush in the glue up.

3. There is a reason why measuring with square is more important for me. Quite simply, the case does not need to be square, but the lower corners must be so. The upper corners can be out-of-square. No need to go crazy :)

It is easier to fit drawers when the sides they run along are square - hence the lower corners must be square. What lies above the drawer is irrelevant in this context - hence the upper corners may be out-of-square. Of course, one would like the upper corners to be square as well, however that is for aesthetic purposes.

Regards from Perth

Derek

Re: Underbench cabinet: 5. Glueing up

#6

Inside squeeze out solved

David Yoho

To Bill's point about how much squeeze out to expect based on how it's applied, here's what I do -

On a dovetailed case I assemble the parts dry to check the fit. Once satisfied and while the case is still dry fitted and clamped, I lay a piece of blue painter's tape along both surfaces of the inside corners. Then take it apart and glue and assemble. Because the tape was applied while dry fitted, it will not get stuck under a part of the joint. Then it's a simple matter of removing the tape along with any glue that may have squeezed out on the inside surfaces.

Using hide glue almost acts like a lubricant when putting dovetails together. Since the dovetail joint is a strong mechanical one anyway, there's no need for too much glue. However, I am probably not the neatest gluer so the tape trick works well for me.

Re: Underbench cabinet: 5. Glueing up

#7

Re: Inside squeeze out solved

TomD

Great thing about hide glue is that if you did get squeeze out, it is far easier to clean up than if using white glue which tends to persist, and affect the finish.

Re: Underbench cabinet: 5. Glueing up

#8

Re: Three differences in my shop

TomD

"1. I do not apply glue to the end grain. It does nothing useful and risks squeezing out."

I can't argue with "useful" as that is subjective, but as far as endgrain gluing is concerned it is just as strong as any other gluing, whether that provides utility in a given situation, I don't know. Over time it might stop the joint from opening up in the sense of showing a gap at the endgrain, but it might not make the joint less likely to fail in a given situation, though I expect it would be less likely to fail.

Endgrain bonding is the basis of some aircraft and a lot, or marine composites. Mostly balsa cores.

For those who have not heard the argument before, the main reason people underestimate endgrain bonding is because they are told that side to side bonding will break outside of the joint, while end to end bonding will likely fail in the joint. What is overlooked is that end to side bonding, breaks in the sidegrain. Or if you want a more general rule: All properly bonded joints will break in the sidegrain, not the joint.

Re: Underbench cabinet: 5. Glueing up

#9

Re: Three differences in my shop

al morgan

Not to dispute what you present, but I thought the reason end grain joints "suck up" the glue and therefor starve the joint of glue. I've heard people who recommend sizing the end grain first, waiting a period of time, and then try gluing the joint up again. Sorry to say, I never had the patience for that...perhaps much to my lack of strong joints...LOL.

Re: Underbench cabinet: 5. Glueing up

#10

Gluing end grain.

Jack Dover

I did an "experiment" not too long ago by gluing three samples from rectangular pieces about 4" long: end to end, end to side grain, side grain to side grain. The pieces were cross cut from one 3/4" x 2" board of red oak, the glue was Titebond II PVA, all joints were clamped and dried overnight.

Side grain to side grain was the strongest with failure occurring 1/16" away from a glue line, no surprise here. It could happen anywhere in the piece really, it's just a glue line was in the middle and the force was applied to the middle too.

End grain to side grain failed along a glue line, clean break. Ditto for end grain to end grain. This last one had less glue on the surface, so end grain did starve a joint and sizing is definitely required when this type of glue up is considered.

So any joint that involves end grain is weaker than side grain joints, but that's a relative measure. So how strong is an end grain join?

Turns out it's plenty strong contrary to the popular belief that these joints are so weak they're useless.

End grain to end grain could not be broken with hands no matter how I tried. I put it in vises vertically and was yanking in as hard as I could - it held, and it was a starved joint. Had to prop it from both ends and carefully step on in in the middle. Same with end grain to side grain.

So yeah, while end grain joints will not hold a structural load, they're sufficient to keep a joint from opening (e.g. preventing a tail from parting with the bottom of a socket) or other applications with moderate loads. A reinforced end grain joint (e.g. doweled, biscuited, fishplated, etc.) could be sufficiently strong for any cabinetmaking application.

Re: Underbench cabinet: 5. Glueing up

#11

Re: Gluing end grain.

Derek Cohen (in Perth, Australia)

Thanks Jack. That bears out my experience.

In the case of dovetails, we have end grain (pin board) to face grain (tail board) when the pin sockets receive glue.

Now this presupposes that the pin sockets are not undercut, as glue (other than epoxy) is not gap-filling.

Regards from Perth

Derek

👍 This page answered my questions

Your vote helps other woodworkers quickly find the answers and techniques that actually work in the shop.