WoodCentral Forums

Est. 1998 β€” 27 years of woodworking knowledge

Entry hall table for a niece: Part 6

Posts

Entry hall table for a niece: Part 6

Edited #1

Entry hall table for a niece: Part 6

Derek Cohen (in Perth, Australia)

We ended the last session with the drawer dividers installed ...
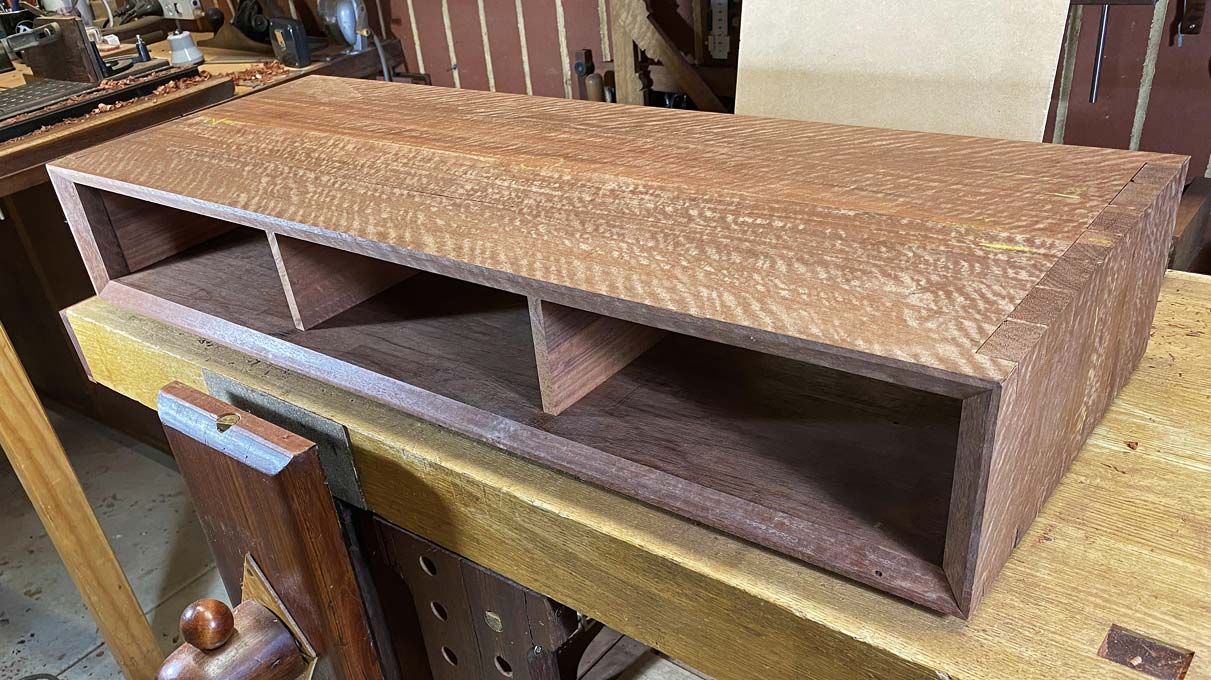

Everything was nice and square, but the more I thought about what I had done, the unhappier I became. Such an elementary oversight. I cannot believe I did it, and also that no one pulled me up for it. What was it? Two items:

The first was that the grain for the drawer dividers runs the wrong way. Although the boards are as close to quarter grain as possible, which adds to stability, they will expand vertically. That could cause them to buckle, and then the drawers will not run nicely.

The second is that I could have built in a way to close up the drawer dividers against the back of the (to-be-built) side lipped drawer fronts ... this is to be used as a drawer stop ... at this stage it would be necessary to add a filler. Not good.

So I re-did the drawer dividers. Here is the rear of the case. The drawers are left long on purpose ...
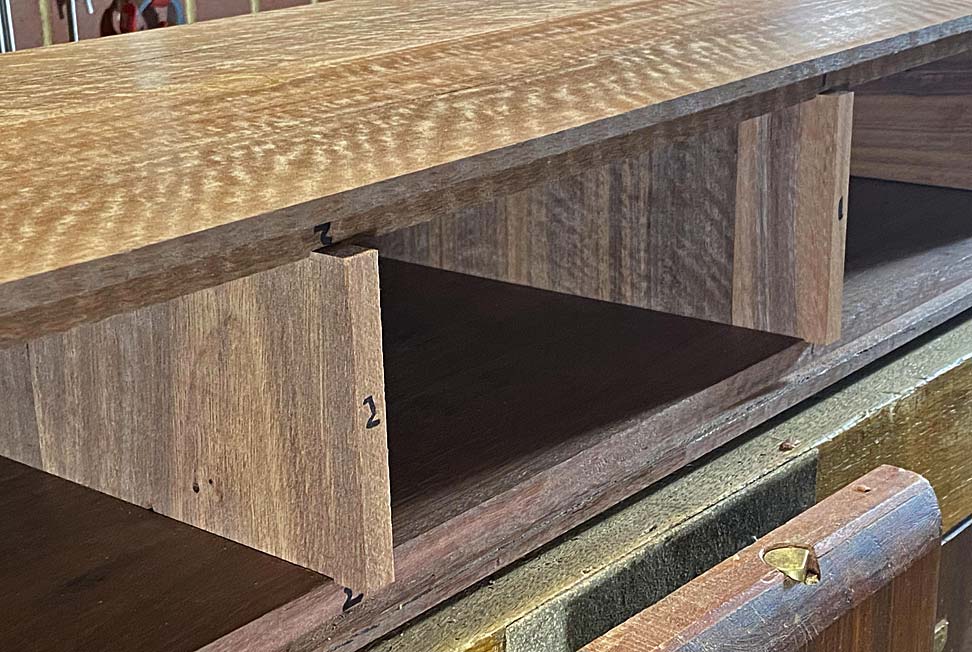

Provision is made for the dividers to be adjustable in length (to close up with the back of the drawer front). They are given rebates to slide further forward ... it will be necessary that they move around 15mm forward (to within 5-6mm of the opening).


The rebate is 2mm deep (the depth of the dados), and largely created with a cutting gauge. The blade slices away end grain, and the resulting splitting away makes it easy to chop the remainder.

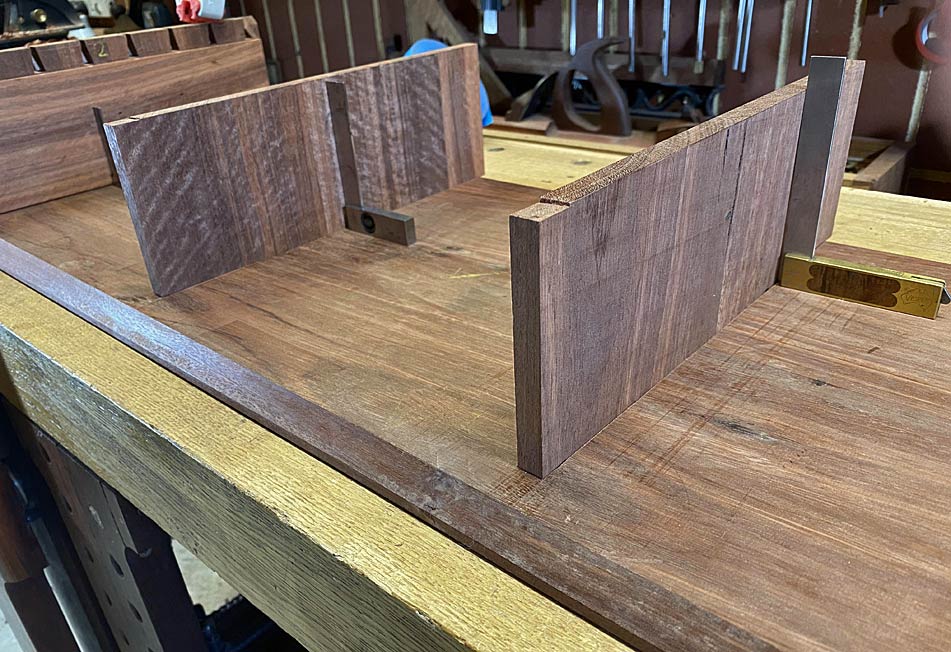
Here are the dividers, further forward than before, and capable of moving a little more still ...
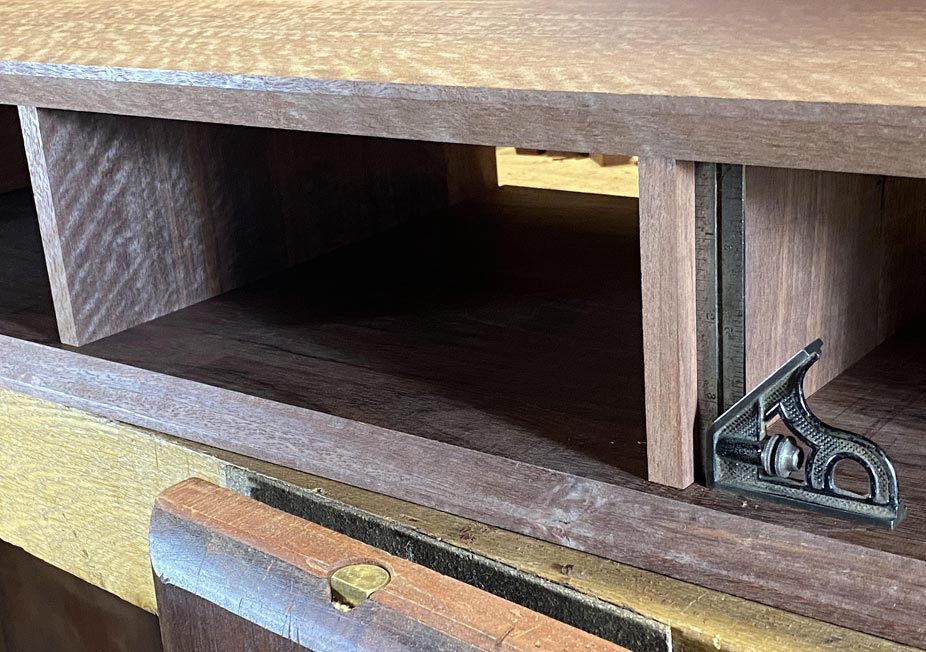

The plan was to glue up the case. However, before this is done, it is wise to fit the drawer fronts across the width (the height will be done at a later date).

This is the board for the three drawers.
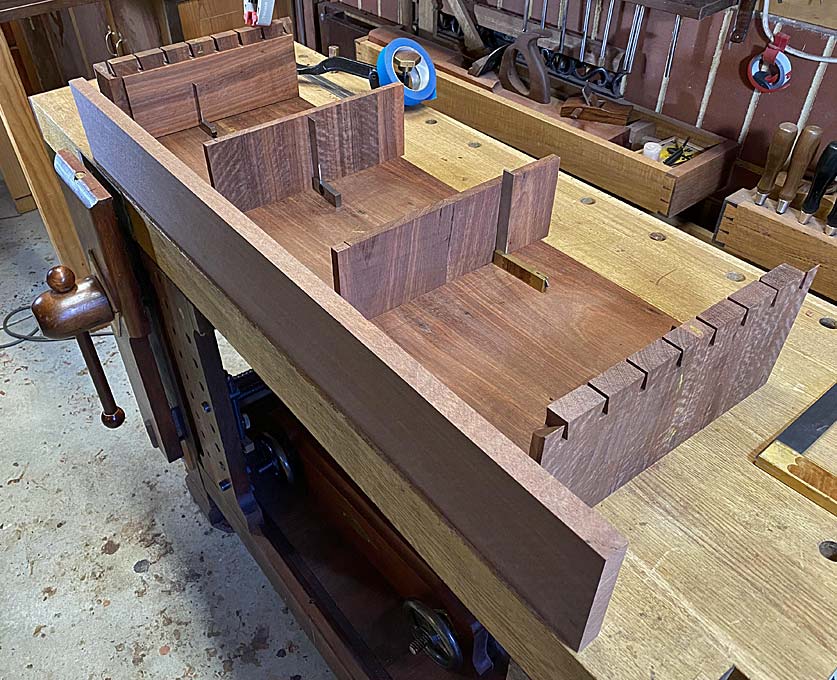

Removing one end, the board is set on the case ...
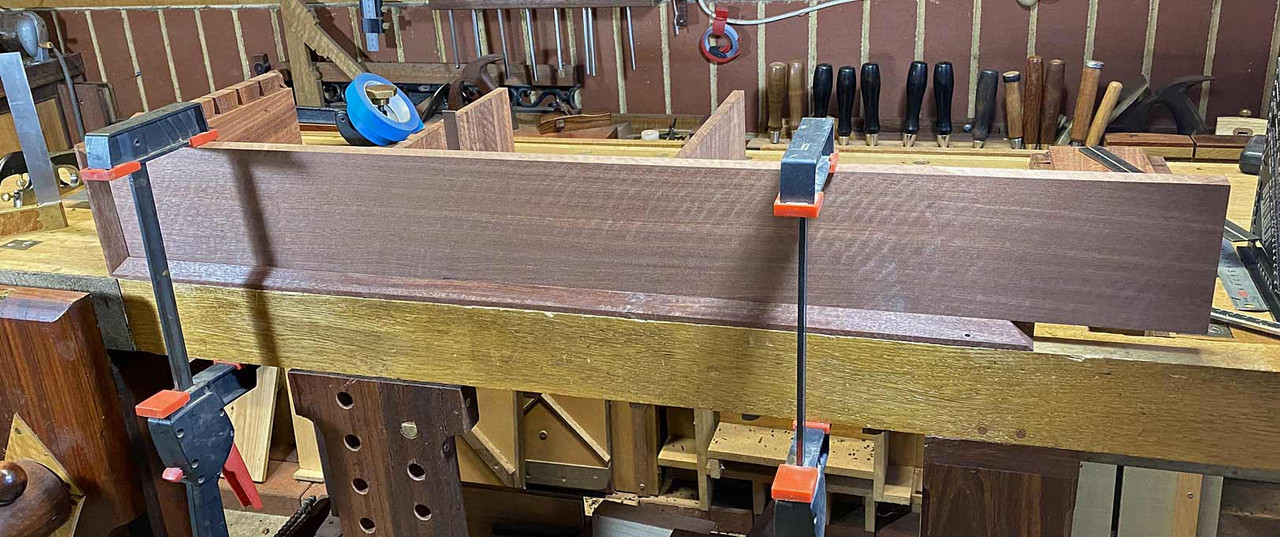

It is now apparent that the front of the bevel, where it meets the drawers, is not straight. It is possible to see a small amount of flat ...
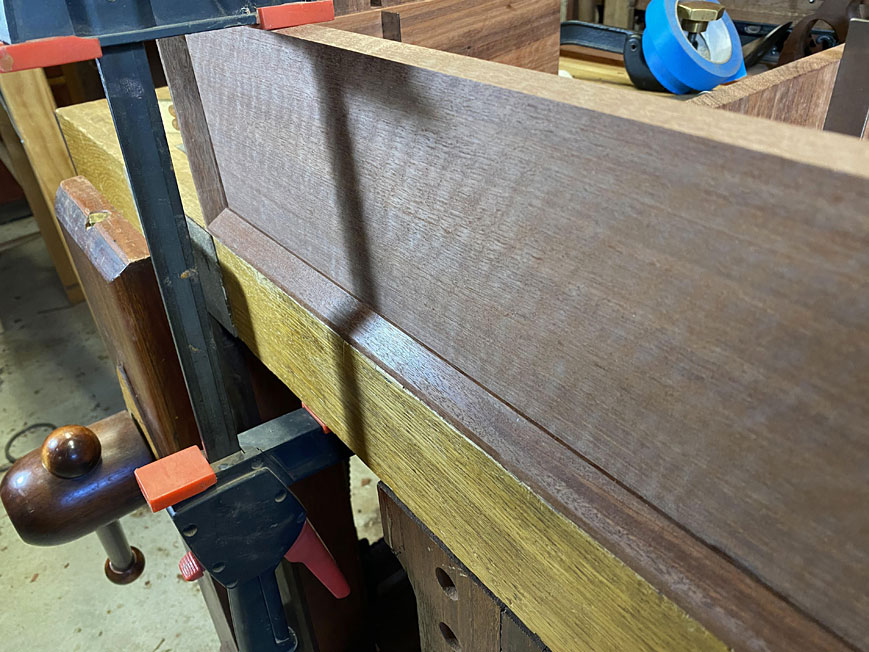

This is especially noticeable in this corner ..
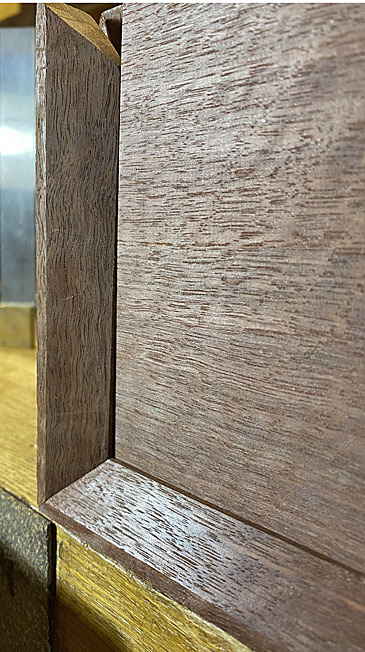

This is fairly easy to remedy ... mark with a pencil, and then plane away the pencil marks ...
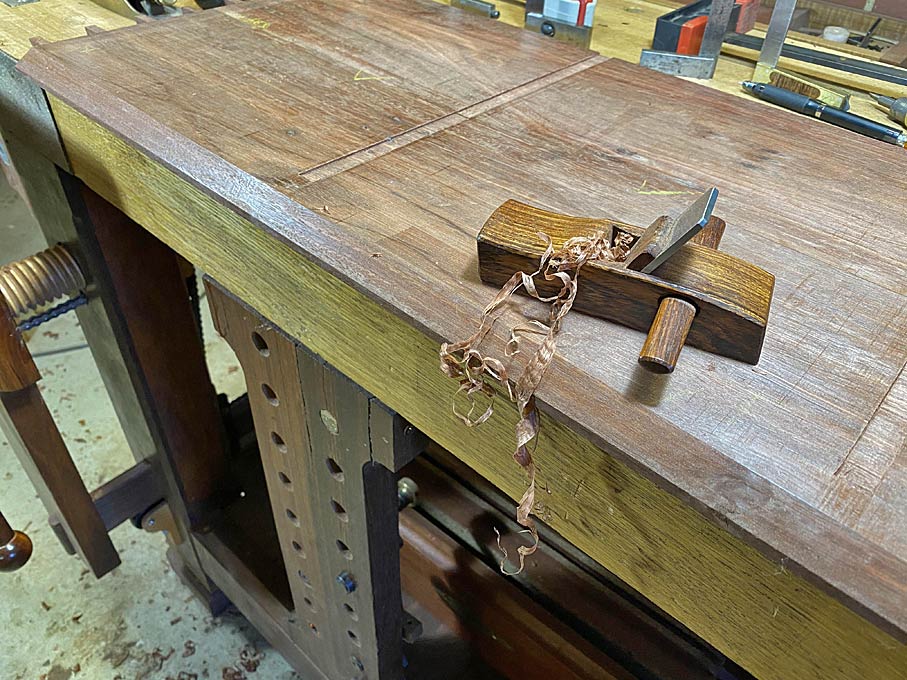

Perfect now ...


The other end needs no more than a smidgeon removed ..
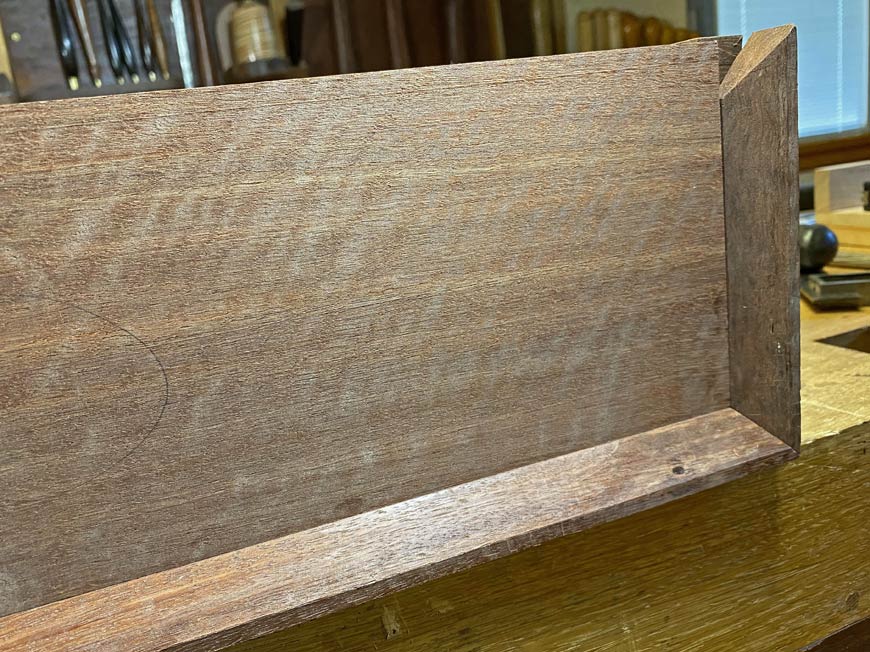

The upper side is now treated the same way. Interestingly, this needs no work at all.

Time to saw the drawer fronts to size.

First step is to mark the middle point of each divider (since the lips will share the divider). The mark can be seen in the rebate ...


The drawer board across the front ...
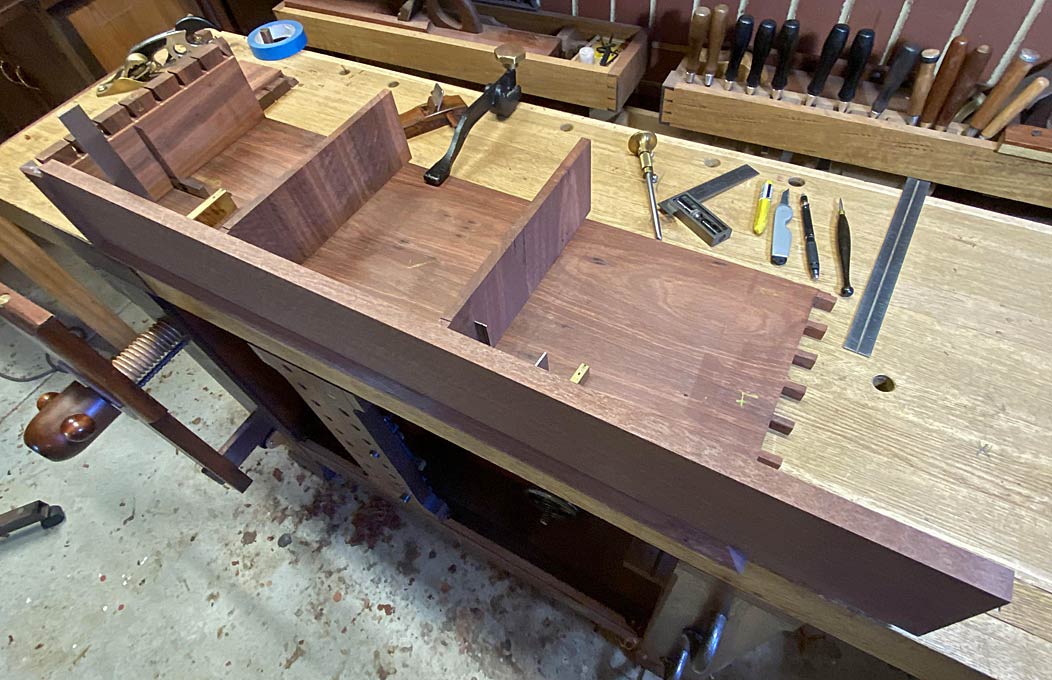

Transfer the mark, and then saw the drawer front ...


This process is repeated. Here are the three sequential drawer fronts. You can just make out the breaks ...
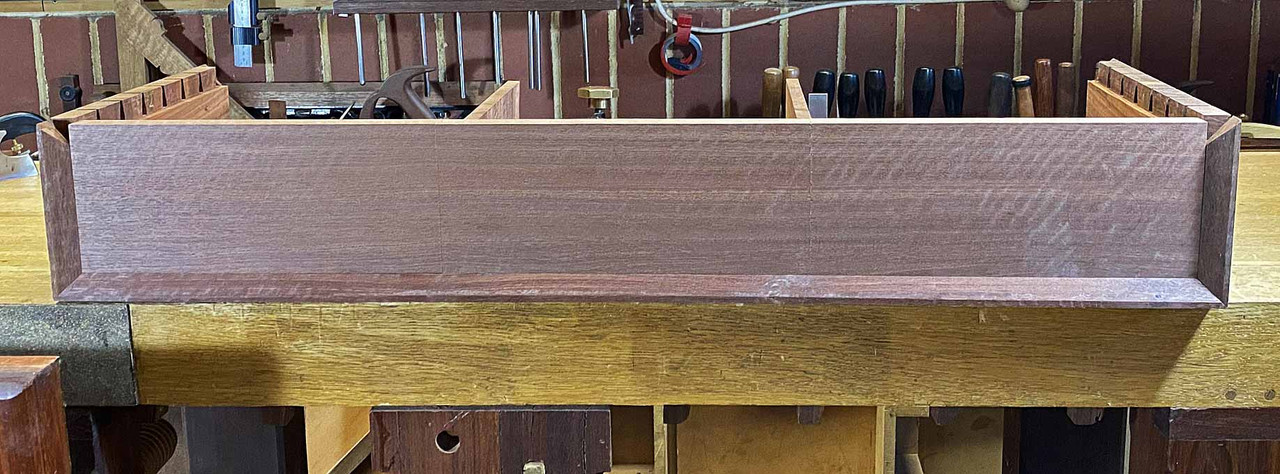
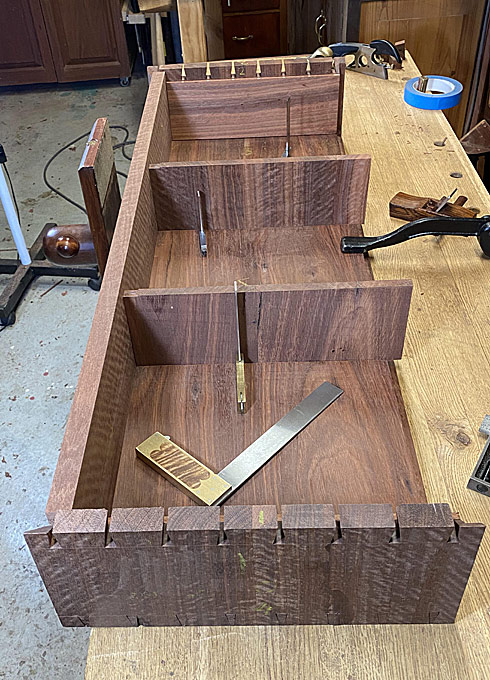

I am happy with this.

And so, finally, the case is glued up (Titebond Liquid Hide Glue - reversibility and long open time). Looking like a trussed up fowl ....
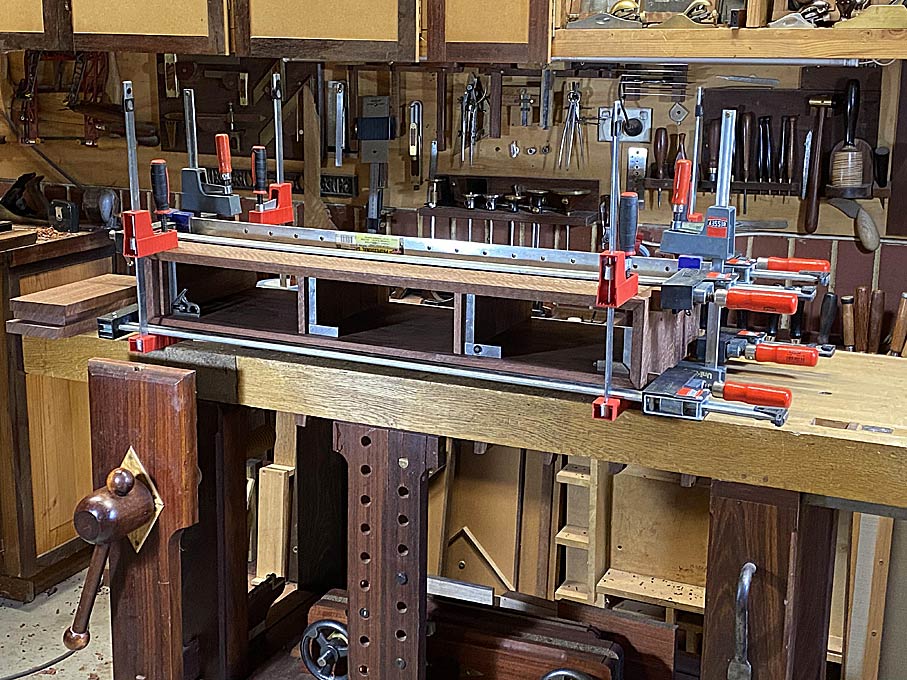

Regards from Perth

Derek

#EntryHallTable

Re: Entry hall table for a niece: Part 6

#2

Re: Entry hall table for a niece: Part 6

virgil johnson

Interesting. Missed my chance of internet critiqueing. I never looked at the grain direction of the dividers. Only thing I paid attention to was the method of the layout and of cutting the dadoes.

Re: Entry hall table for a niece: Part 6

#3

Re: Entry hall table for a niece: Part 6

roger lance

The following isn't commentary on your build, which is extremely exceptional; but, on the psychological/mental aspect of creating/problem solving.

One of my major reasons for becoming involved in woodworking was to have an activity, as I aged, that would challenge me mentally.....help keep my brain going.

Recently, I had an experience that was somewhat remarkable. I was doing some electrical work in my shop.....rearranging the wiring to a light and trying to work in a switch somehow that would make controlling that light more convenient and also do this change in such a way as to not interfere with other lights/outlets on this circuit. I couldn't come up with a suitable solution and mentally wrestled with this problem for a couple of days. Then, out of the blue, I recalled an available alternative circuit that I had wired into the house years ago.....everything would work using this solution and nothing else would be disturbed.

The mind is a curiosity.....capable of problem solving on a completely subconscious level. One day, a problem that can't find a workable solution.....the next day, the problem is resolved.

Its interesting what we don't see.....and then, we see it.

Re: Entry hall table for a niece: Part 6

#4

Re: Entry hall table for a niece: Part 6

Derek Cohen (in Perth, Australia)

Roger, I always remind myself to sleep it ...... not my patients, mind you, I could not do that - that’s why they come to me :)

Regards from Perth

Derek

Re: Entry hall table for a niece: Part 6

#5

Re: Entry hall table for a niece: Part 6

Johanna Johanson

Thanks for posting this. I am just beginning on a pair of dressers. I have never made anything with internal frames before, so this was a good reminder that I need to be really aware of grain direction. The humidity here is low and pretty constant, but someday those dressers may travel to another part of the country where humidity fluctuation is extreme.

Re: Entry hall table for a niece: Part 6

#6

Re: Entry hall table for a niece: Part 6

Larry Barrett

Derek, the dividers can now move fore and aft a little with moisture change. How will you keep the dividers from preventing the drawer from closing completely or pushing against the back?

Re: Entry hall table for a niece: Part 6

#7

Re: Entry hall table for a niece: Part 6

Derek Cohen (in Perth, Australia)

Hi Larry

The centre two dividers are free to move at this stage. Once the drawers are completed, and positioned, then the dividers can be butted up against the back of the drawer lips, and glued in. The drawer dividers will then act as a drawer stop as well.

Regards from Perth

Derek

πŸ‘ This page answered my questions

Your vote helps other woodworkers quickly find the answers and techniques that actually work in the shop.