Entry hall table for a niece - Part 2
Derek Cohen (in Perth, Australia)
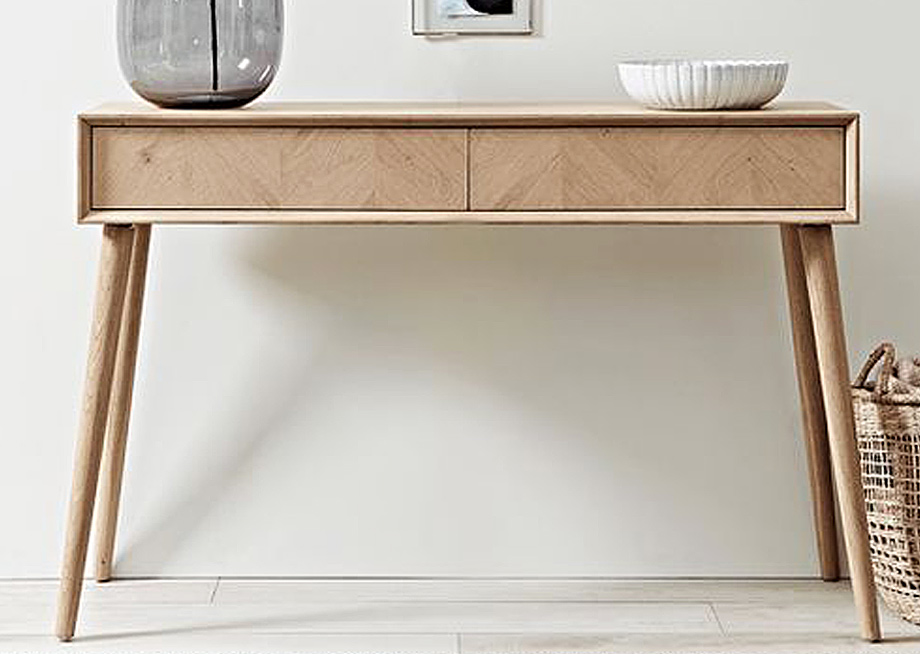
We are building a version of this hall table ...
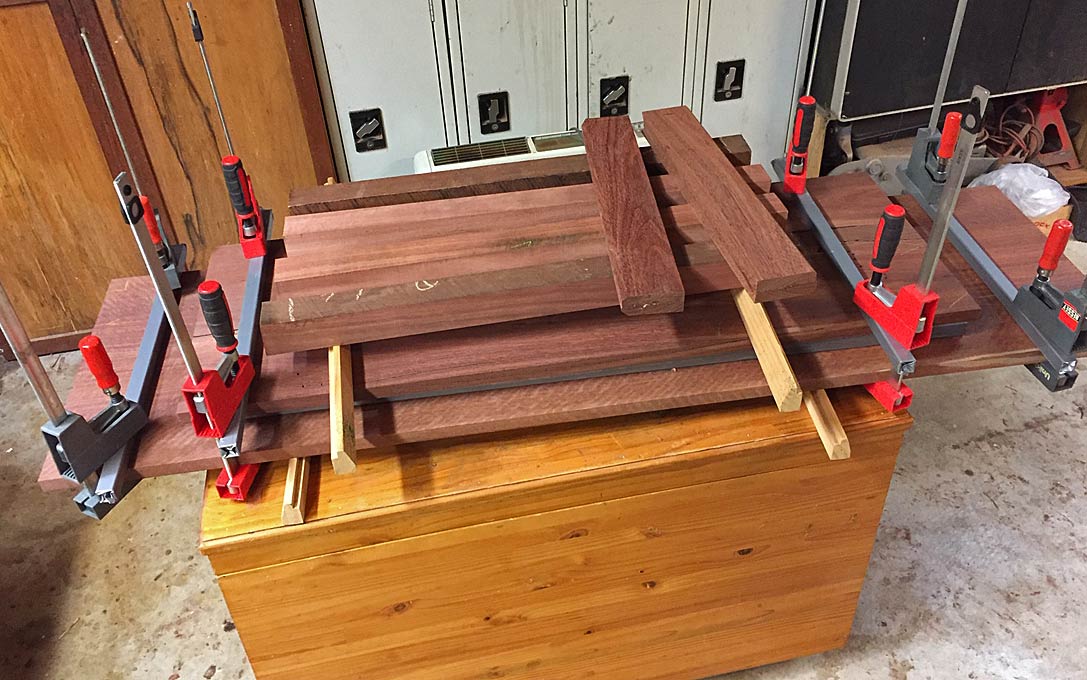
We left off last time with basic preparation of stock from rough sawn boards ..
A word of introduction before continuing: while I am best known for hand tool work, I am a blended woodworker and have a pretty full compliment of power tools, which I use. It is horses for courses - power does the grunt work and hands do the details and joinery. So there are machines here as well as hand tools, and I like to believe they coexist well in my builds, as they should.
I began this session by turning the legs ...

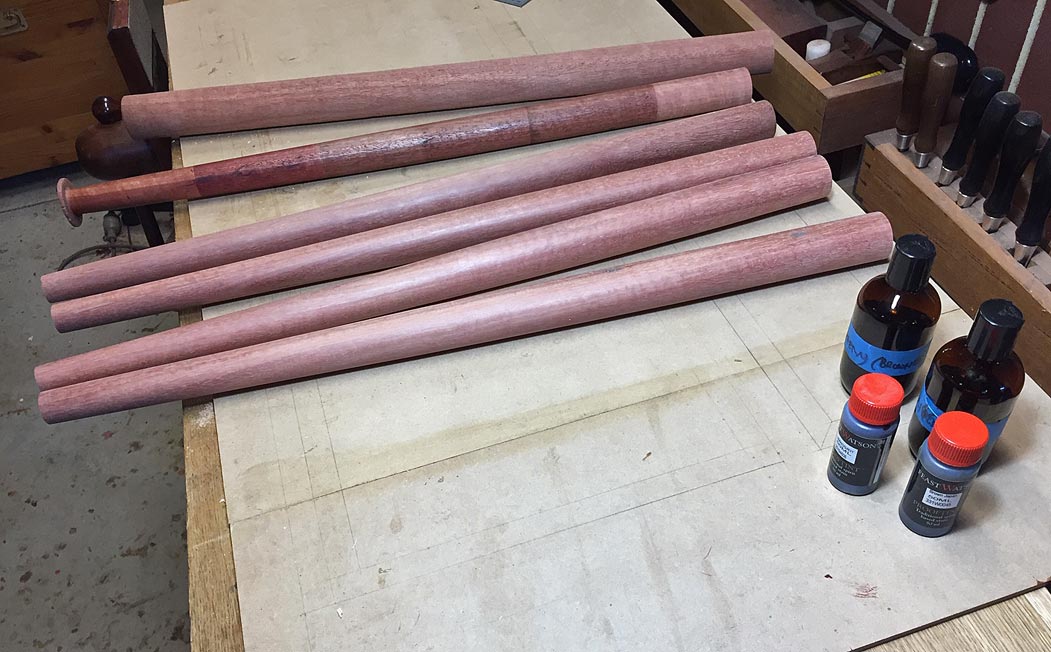
The Jarrah for the legs turned out a few shades lighter than expected, and I made an extra piece to experiment with different dye mixes. A final decision shall be made once the case is completed.
The panels needed to sized, which involved measuring from the centre line of the book-matched panels. The quickest way to square this up was to mark a line (in blue tape), and plane to it ... much faster than using power saws, etc.


Once done, you can square up on a jointer ..
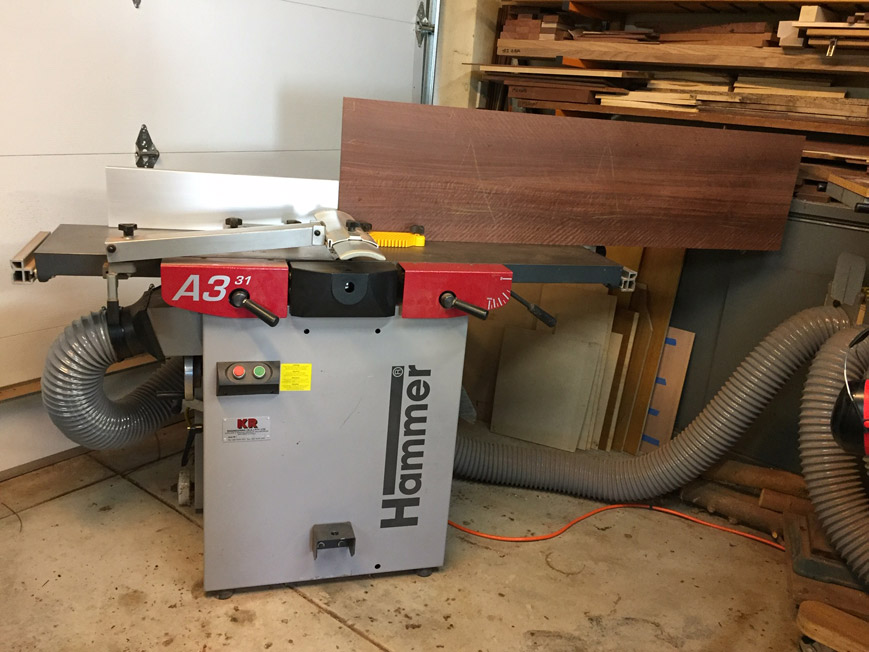
... rip to width ...
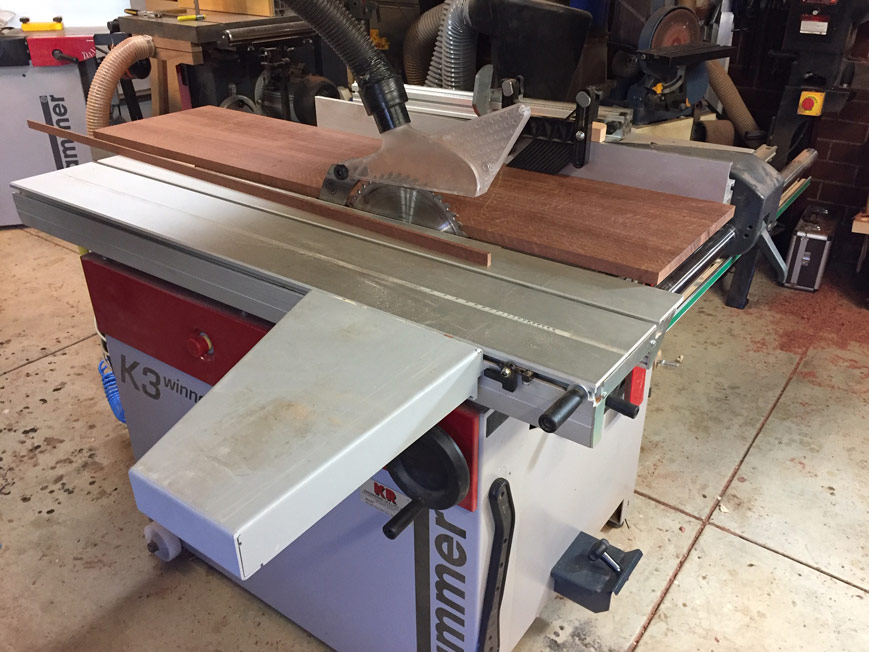
... and cross cut ...
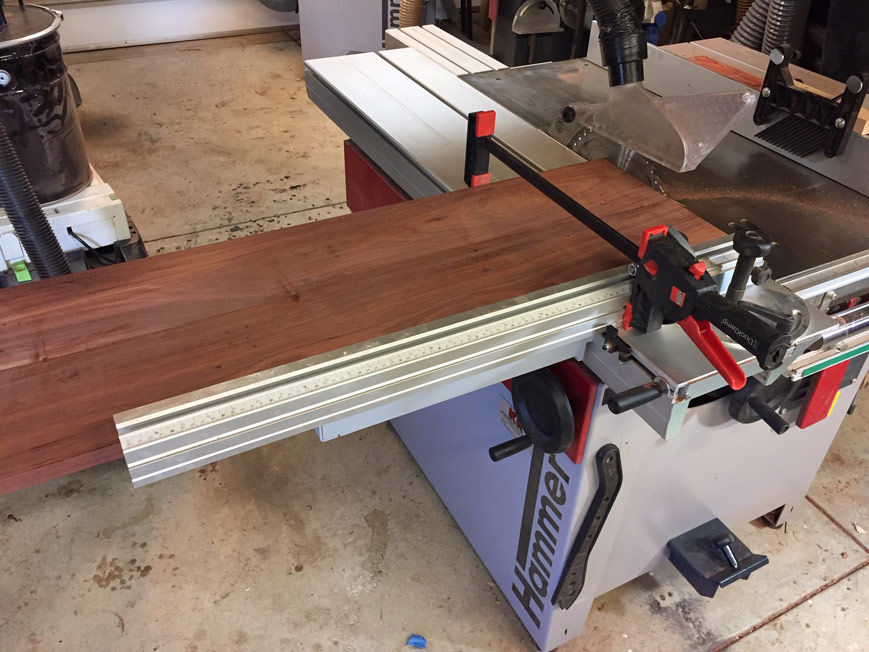
Here are the panels for the case (sides yet to be dimensioned for height) ...
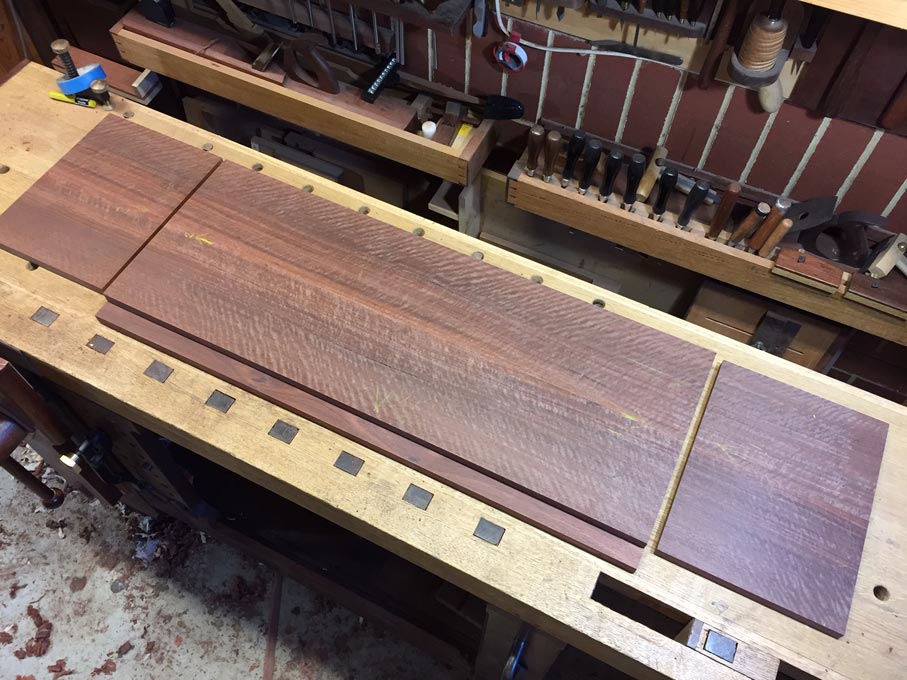
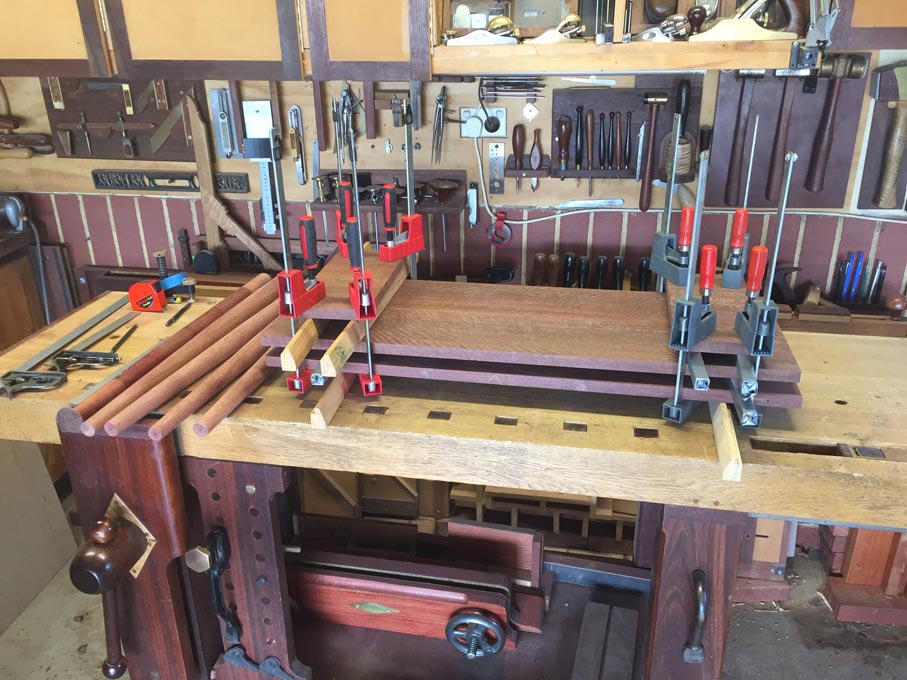
Packed away for the night ...
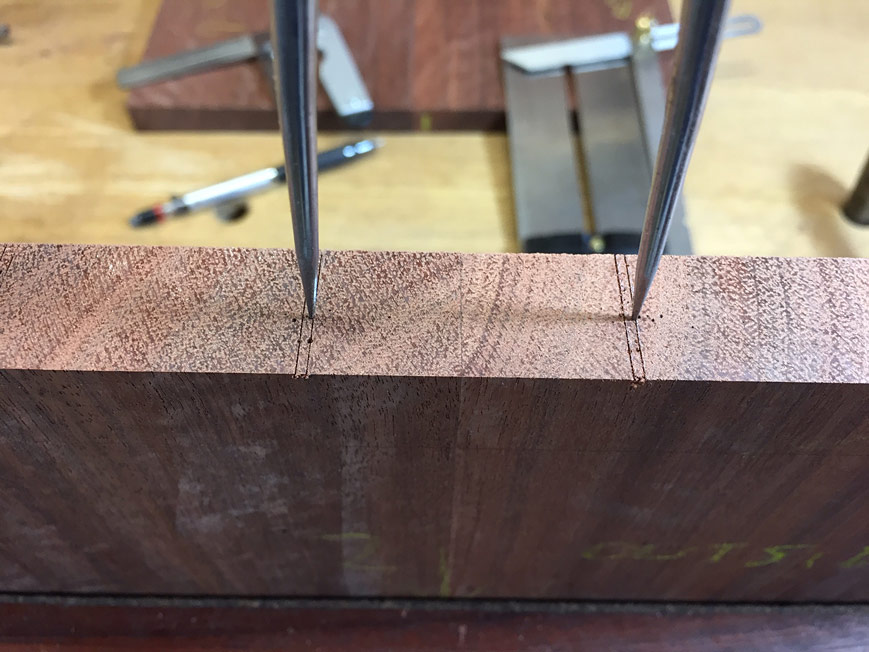
When marking the dovetails, it pays to work precisely. Mark carefully ...
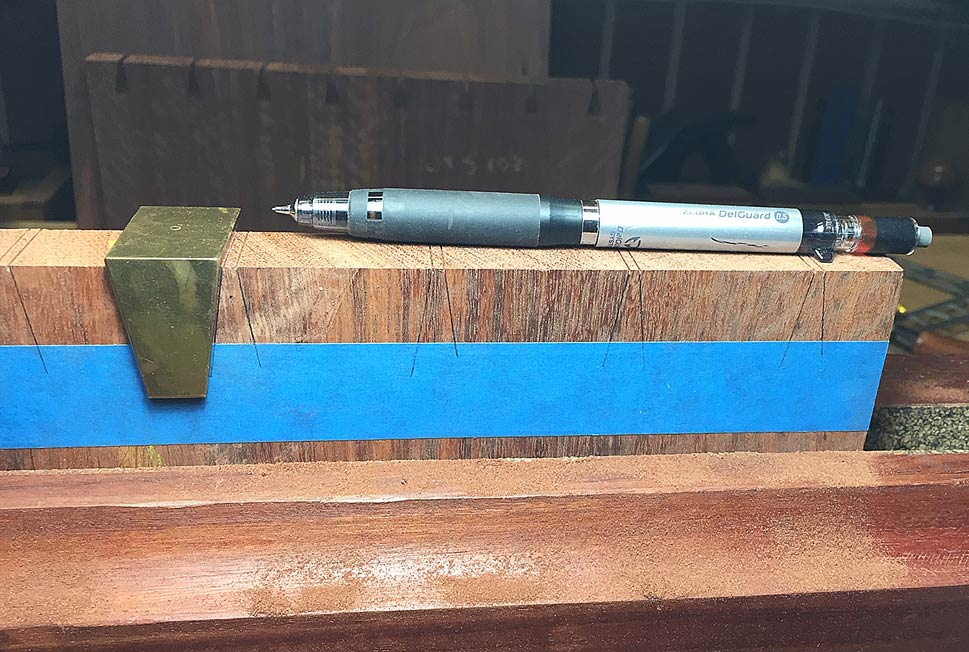
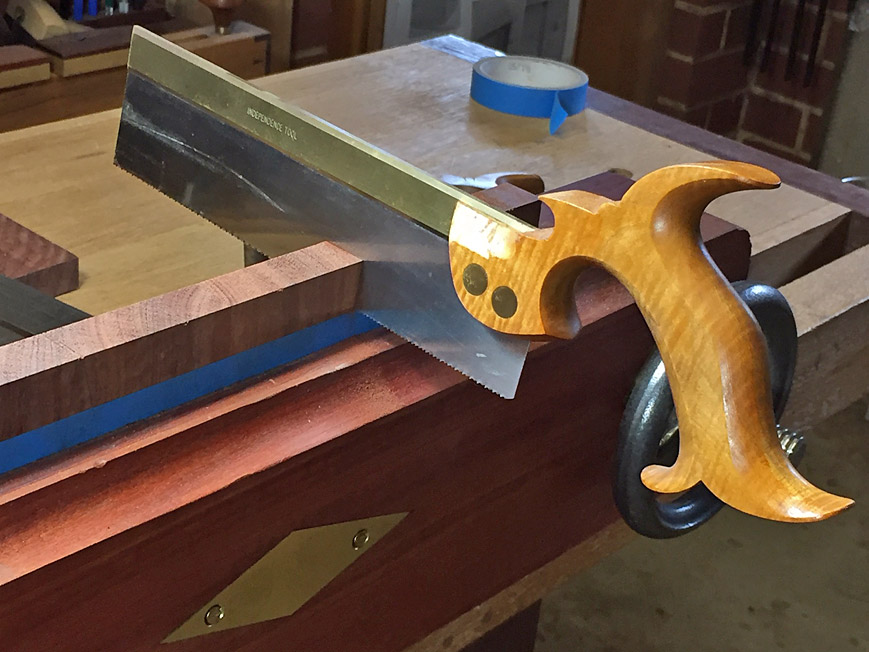
My favourite dovetail saw is usually the one I sharpened most recently. This is an original Independence Tools saw by Pete Taran (circa 1995) ..
Completed side panels ...

It begins to be a little more fun as I get to use one of the features I recently built into my new Moxon vise - the Microjig clamps (details of Moxon vise here: http://www.inthewoodshop.com/ShopMadeTools/TheLastMoxon.html).
These are used to hold the tail board to transfer to the pin board ...

Here you see the transferred tails outline in blue tape (easier to see in the hard wood). On the left is a model of the mitred ends that will be part of this build ...
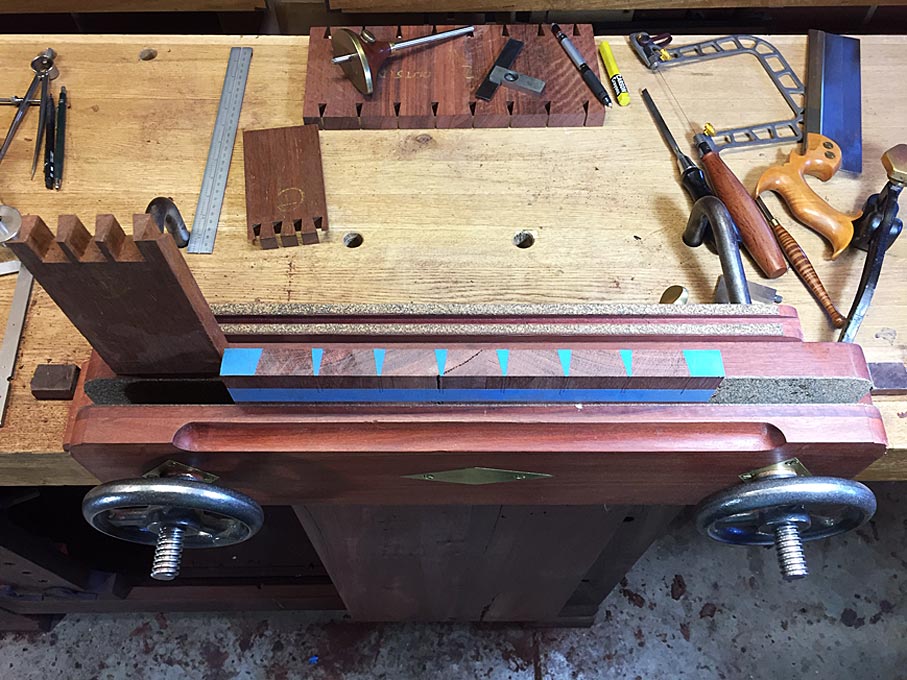
Saw the pins ...
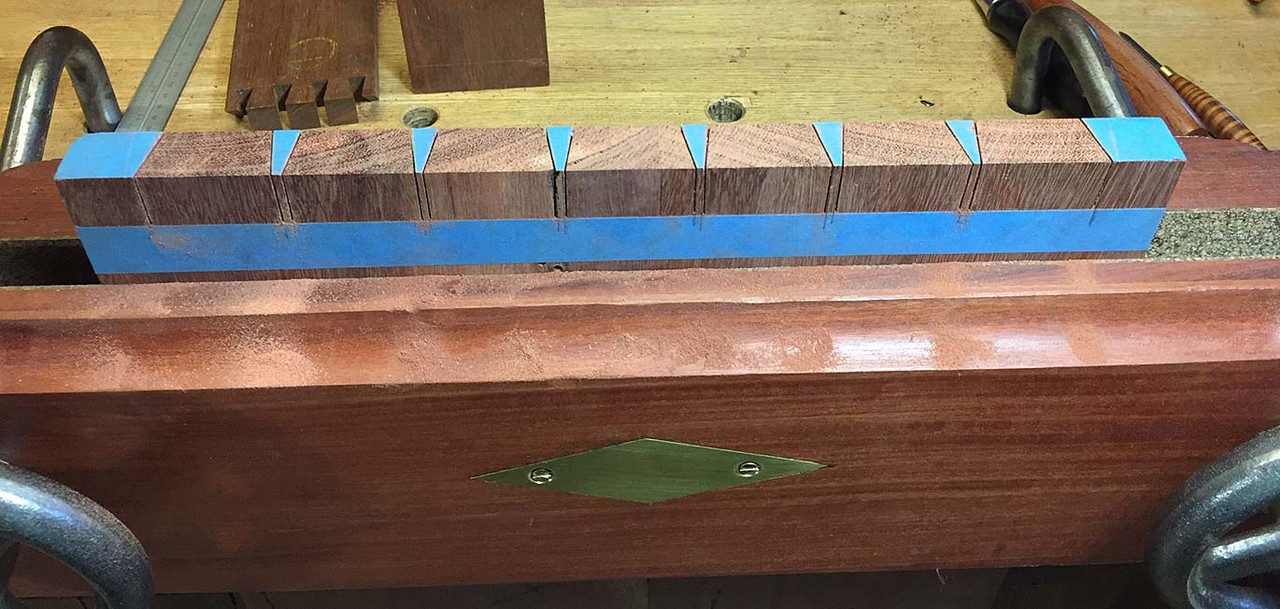
Note that the end pins are not sawn on the outsides.
Now turn the board around, and strike a vertical line at the outer pin ...
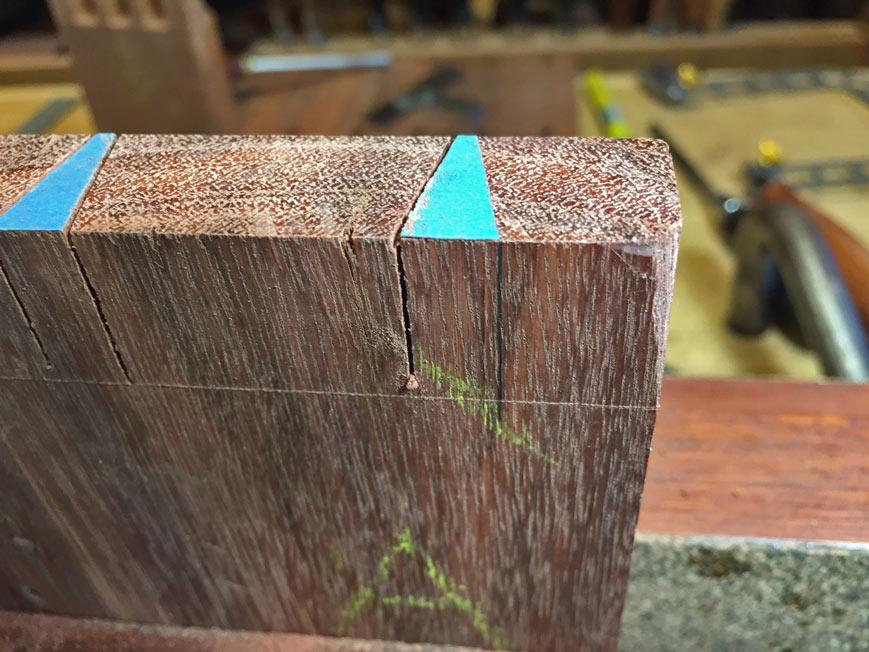
Saw this on the diagonal only. Do both sides ...
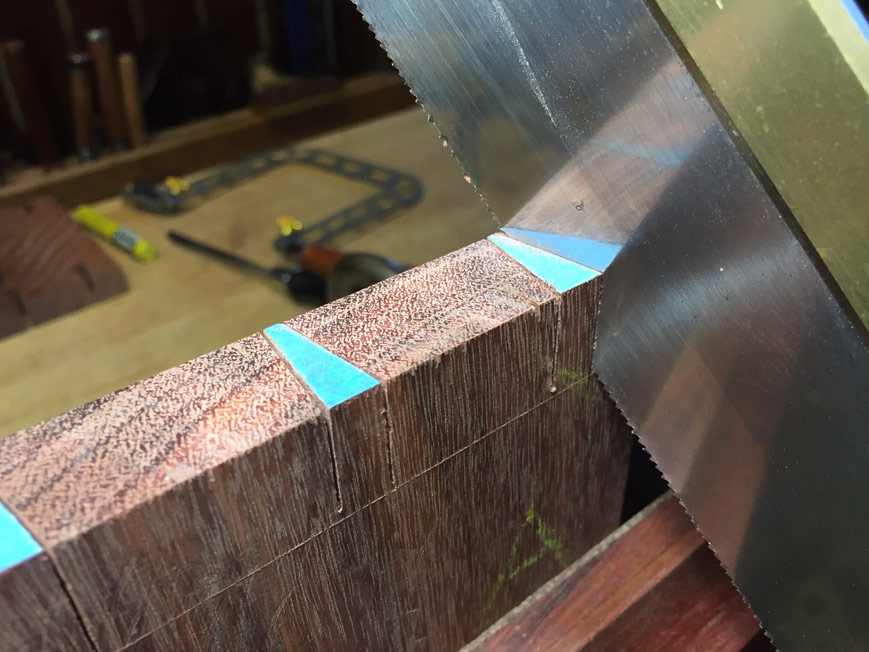
Place the board flat on the bench and create a chisel wall for each pin (earlier, this would have been done for each tail) ...

The chisel wall will make it easier to create a coplanar baseline when removing the waste (by preventing the chisel moving back over the line). Do this on both sides of the board before proceeding.
Now you can fretsaw away the waste.
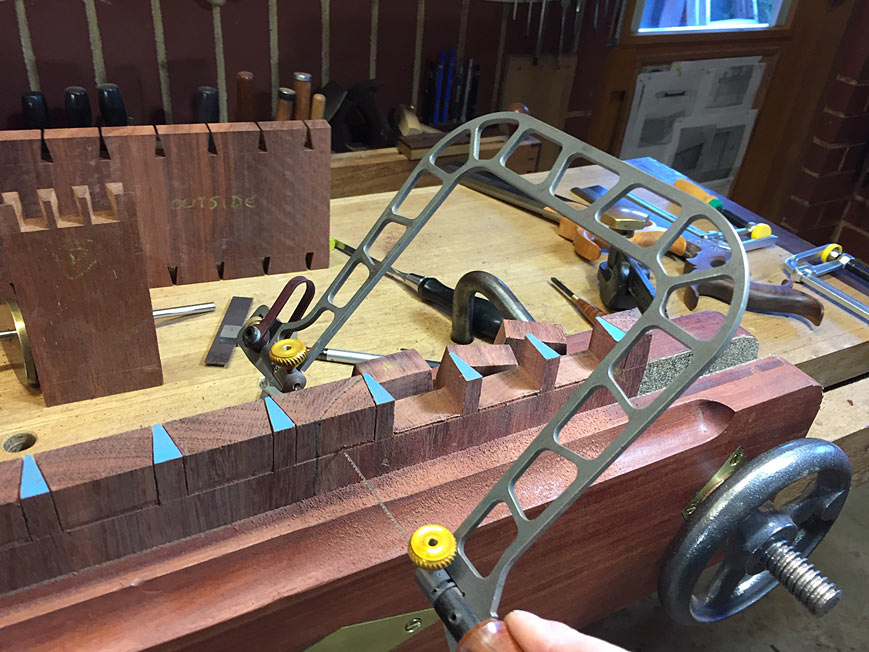
Try and get this to about 1mm above the baseline ...
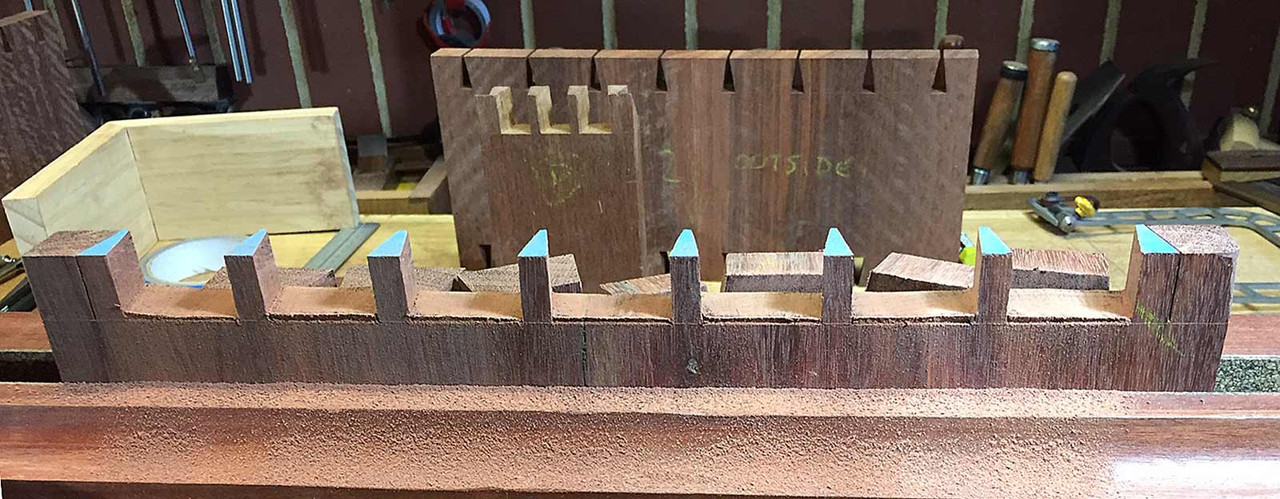
Here is a video of the process:
https://www.youtube.com/watch?v=M6O4rY_0zQs
To create the mitred ends, first mark ...
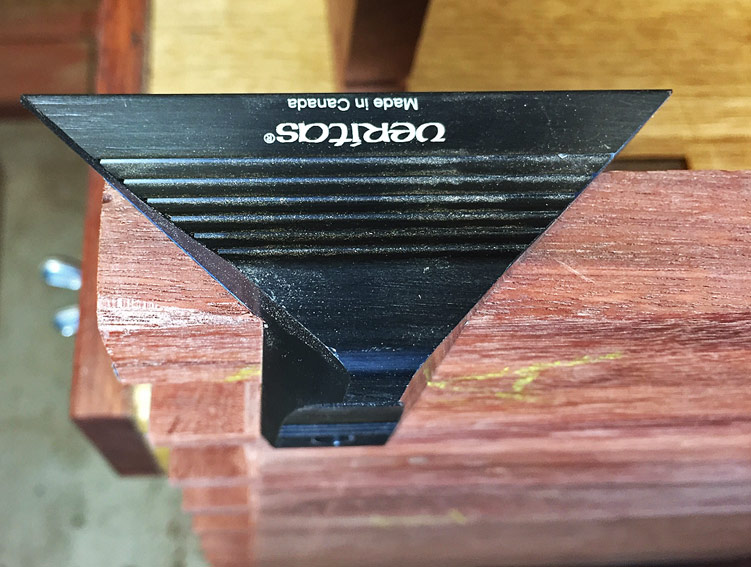
... and saw about 1mm from the line. This will later be flushed with a chisel for accuracy.
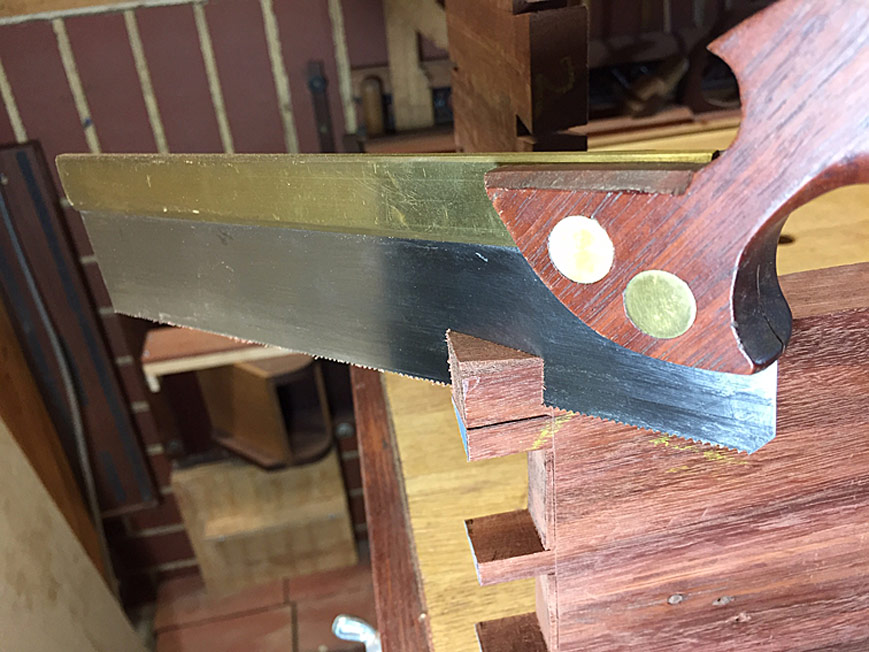
And so this is where we are up to at the end of the weekend ...
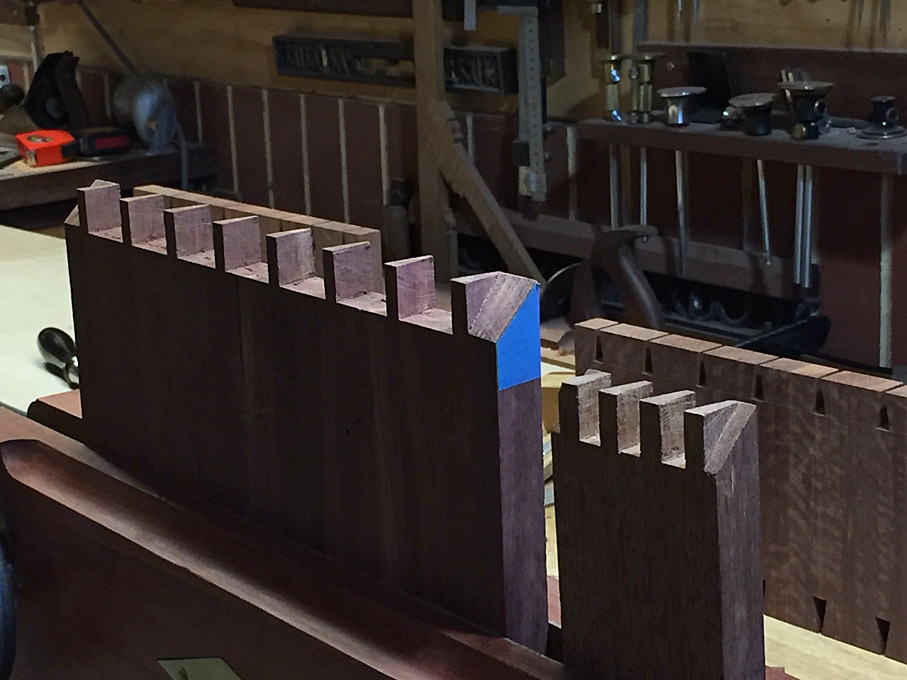
So will the sides fit ... or won't they .... mmmmm 
Regards from Perth
Derek
#EntryHallTable


