WoodCentral Forums

Est. 1998 — 27 years of woodworking knowledge

Drawer bottoms into slips

Posts

Drawer bottoms into slips

#1

Drawer bottoms into slips

Derek Cohen (in Perth, Australia)

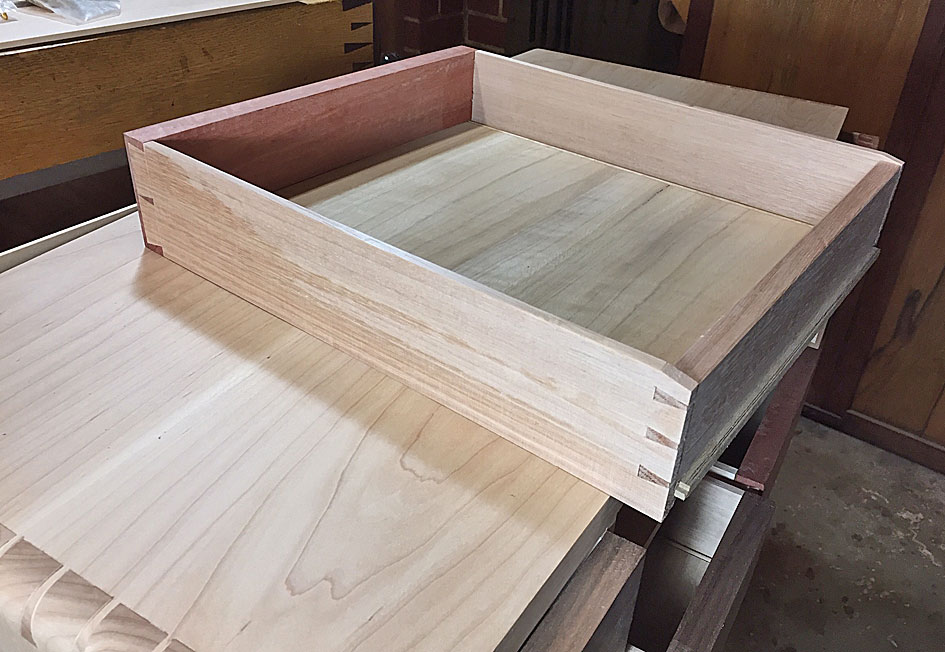
I am in the process of completing the Harlequin Table. I will post the finished piece in a couple of days. Here are a few pictures of making the drawer bottoms for the slips, which may interest a few.

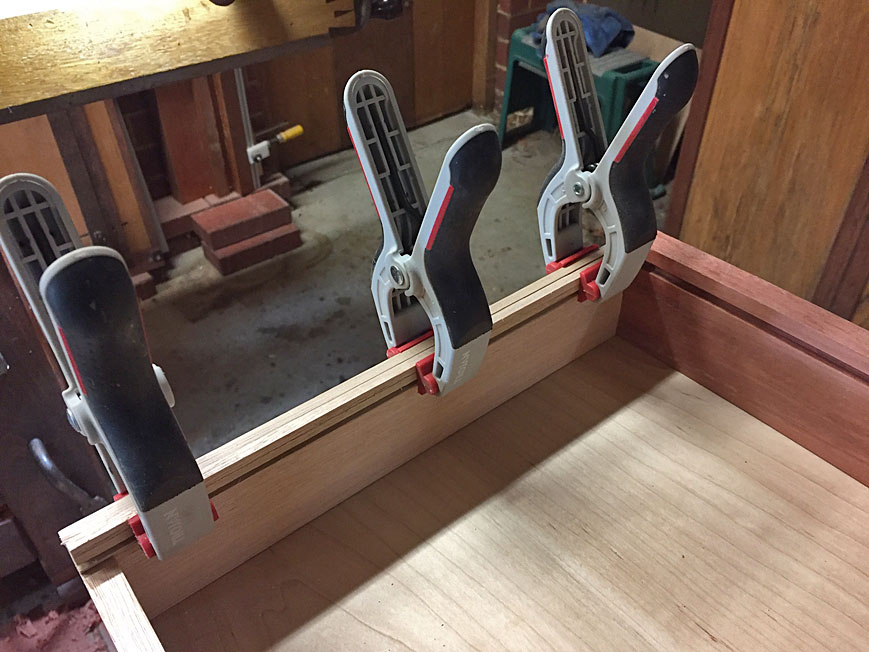
Bill was not enamoured with the slips as they has this ruddy great groove down one side. That was a too-wide quirk from the beading blade. Not to worry Bill, I cut that section away, leaving just the bead.

Here are the slips being glued in ...
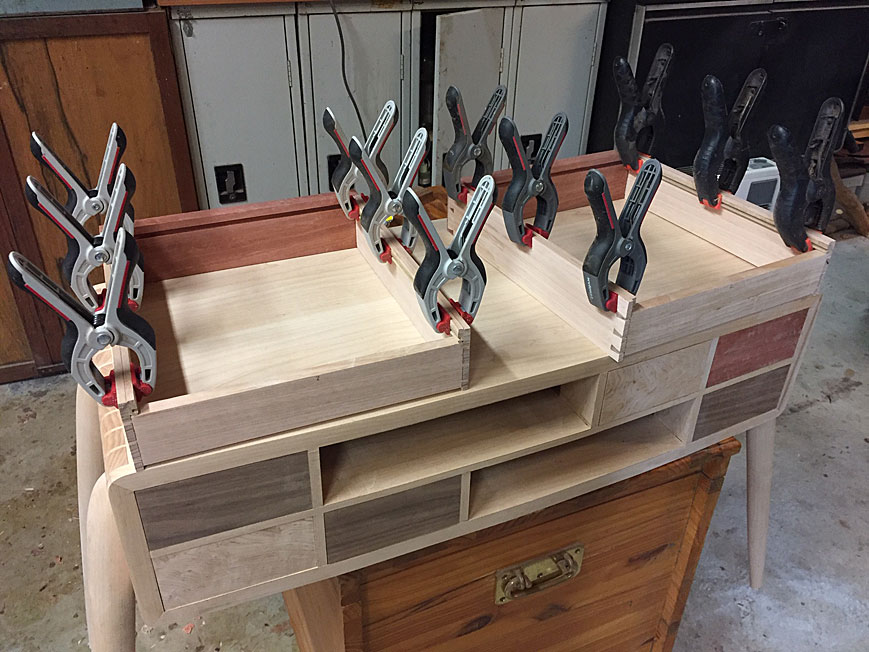


The drawer slips and bottoms are Tasmanian Blue Gum. The drawer sides are Tasmanian Oak. Both are 1/4" thick.

The groove in the slip is 1/8" (3mm). The slip requires a matching 1/8" rebate. This was planed with a skew rebate plane on a sticking board ...
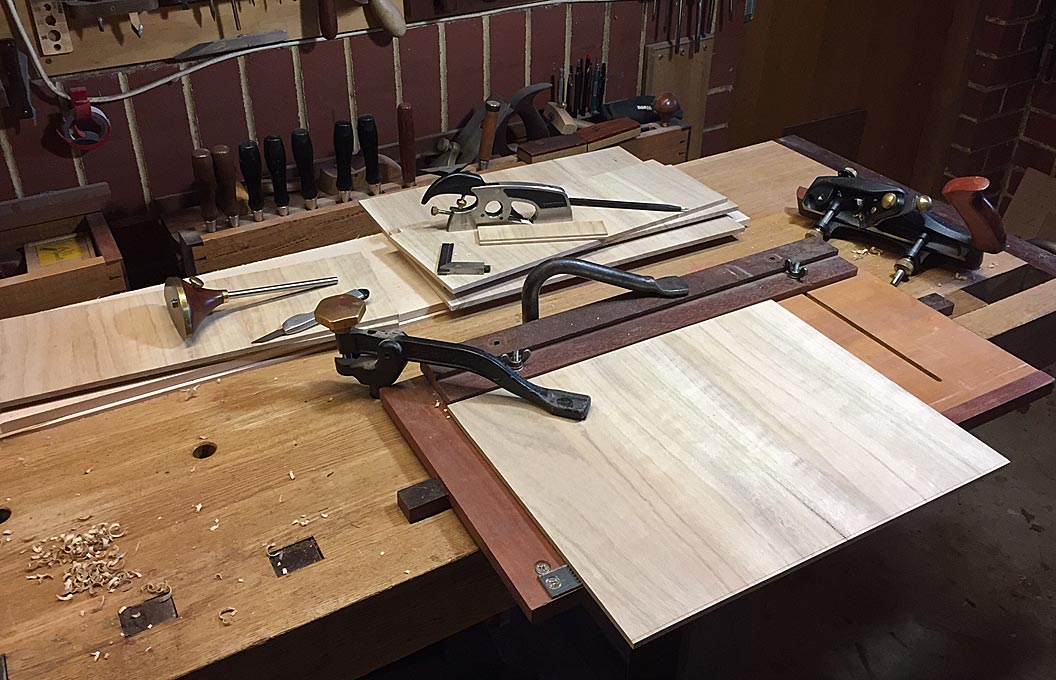

Although the plane has a nicker, I always scribe the line as well ...
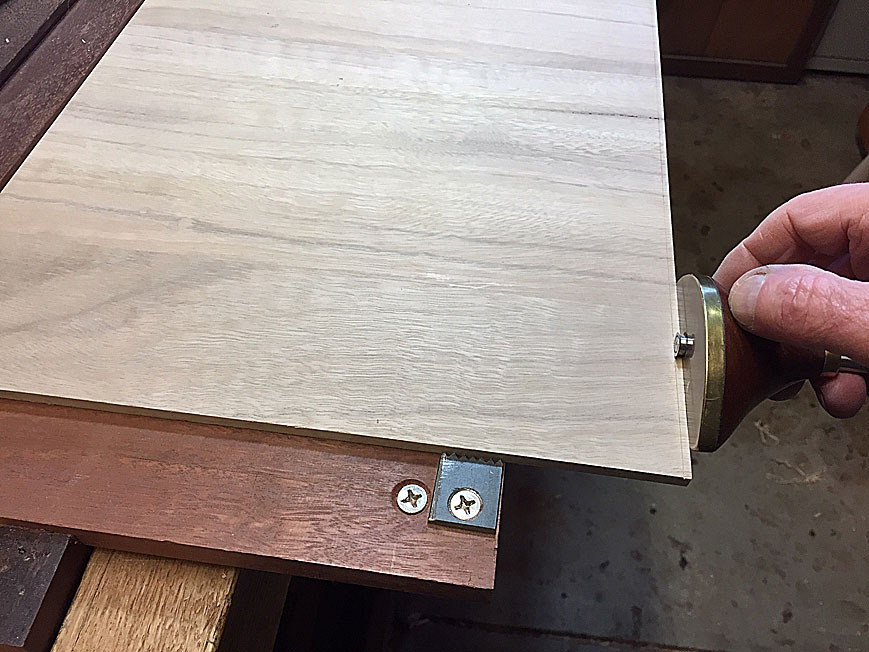

It is worth the effort to set up the rebate plane for a precise cut ...
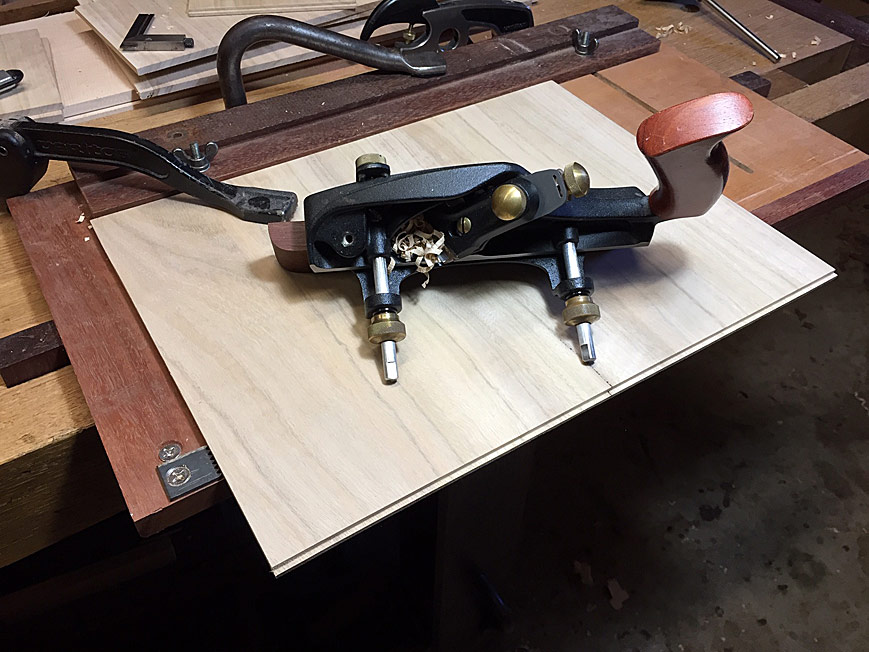

Once the one side is done, slide the tongue into the groove of the slip, and mark off the width of the drawer bottom ...
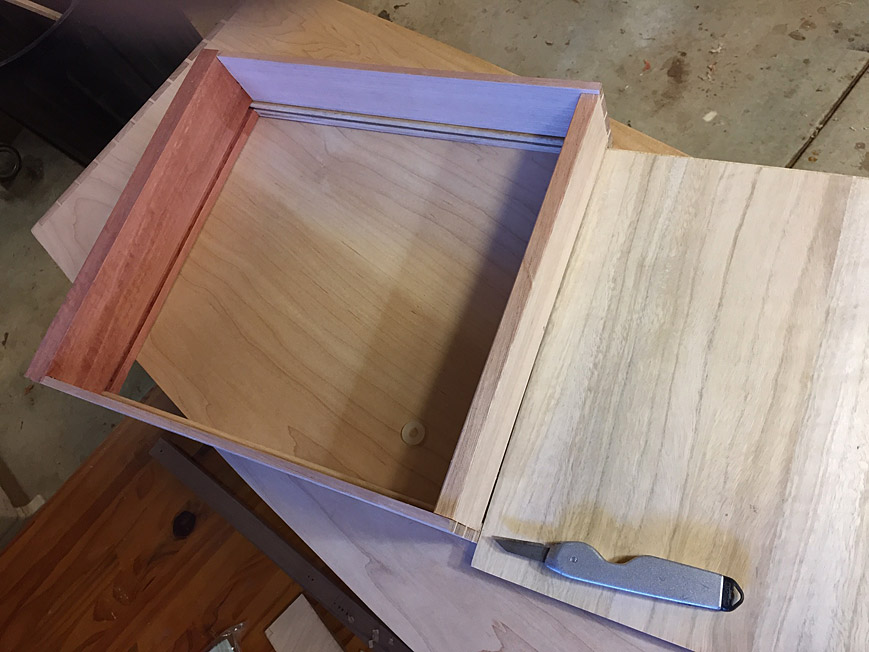

Then saw to width ...
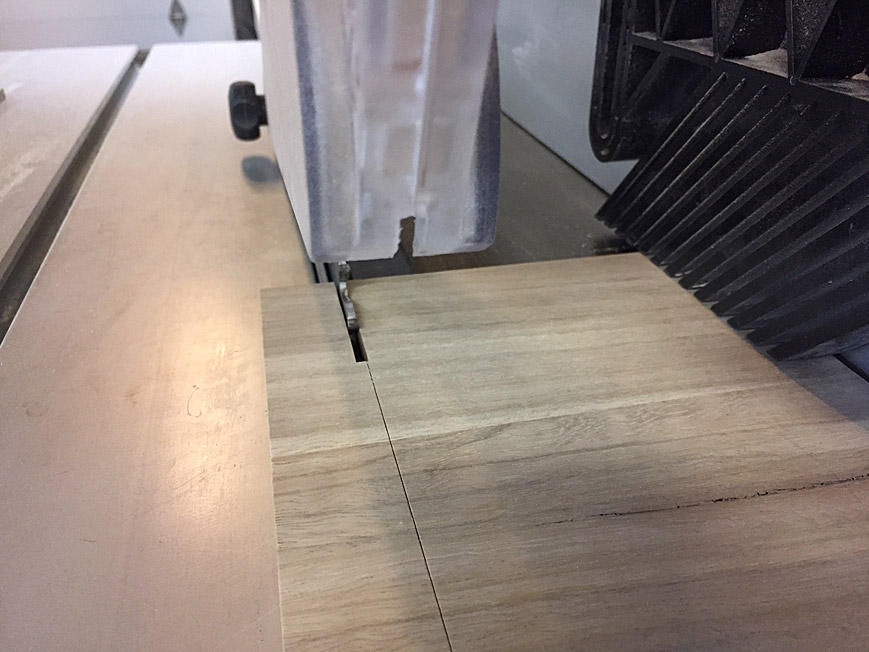

Any fine tuning is done with a shoulder plane ...
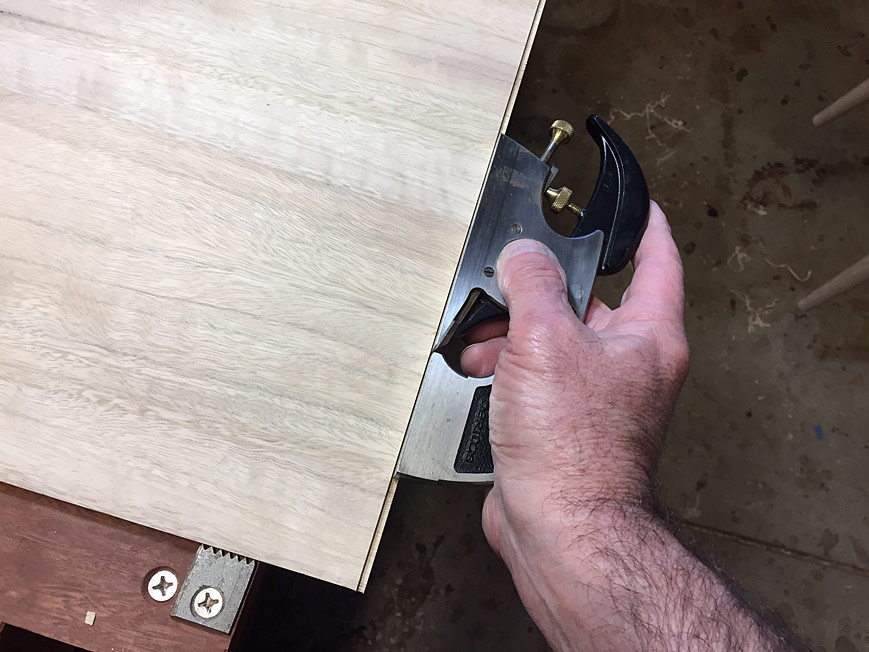

The drawer fronts are all curved, and the drawer bottom must be scribed to match this ...
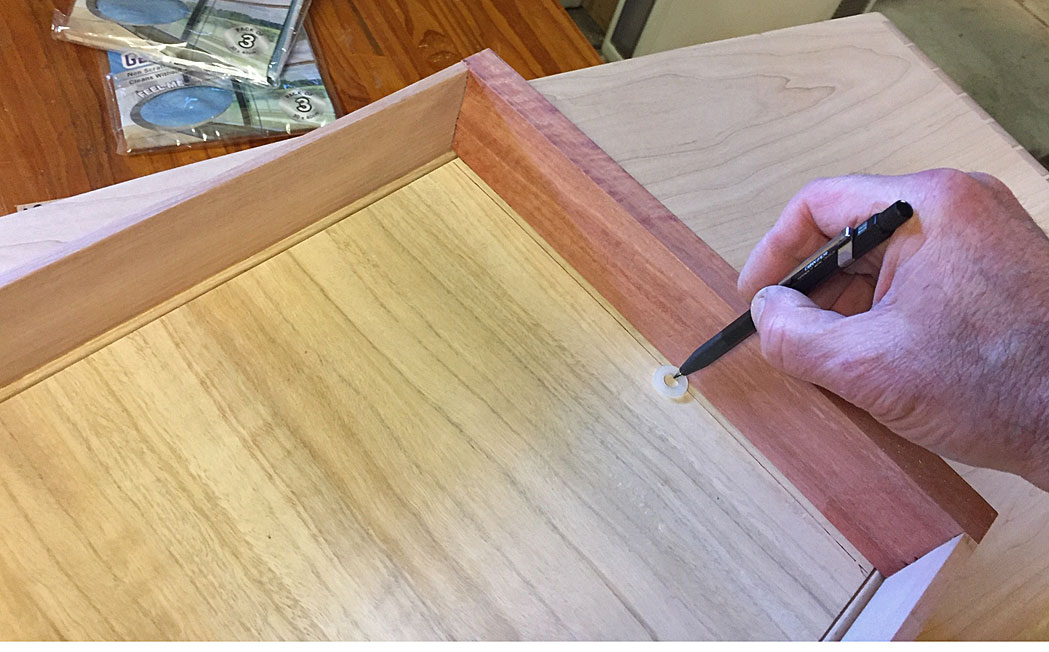

Here is the fit behind the front of the drawer, and the match with the beaded slips ...
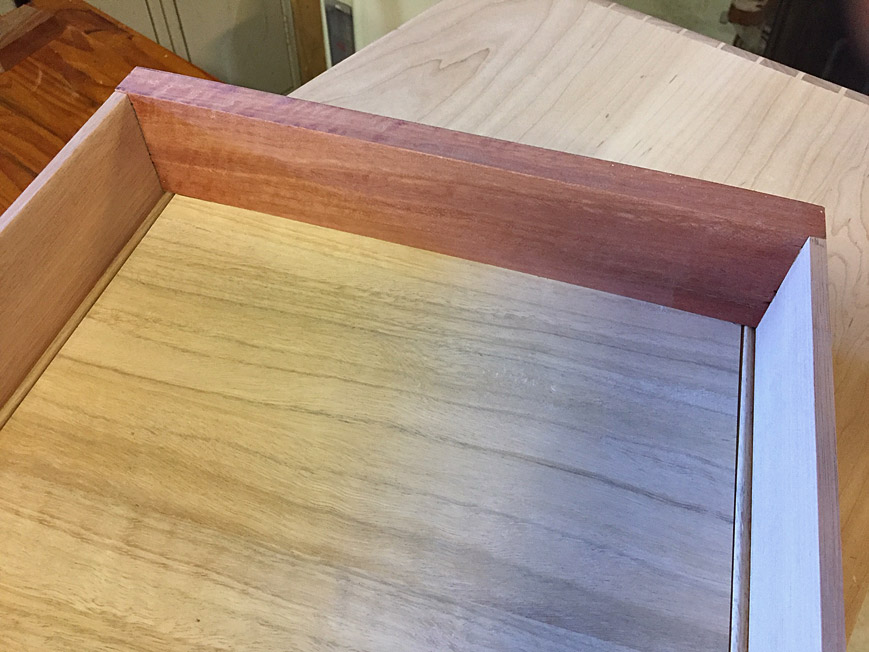

The rear of the drawer, with the added bearing surface from the slips ...
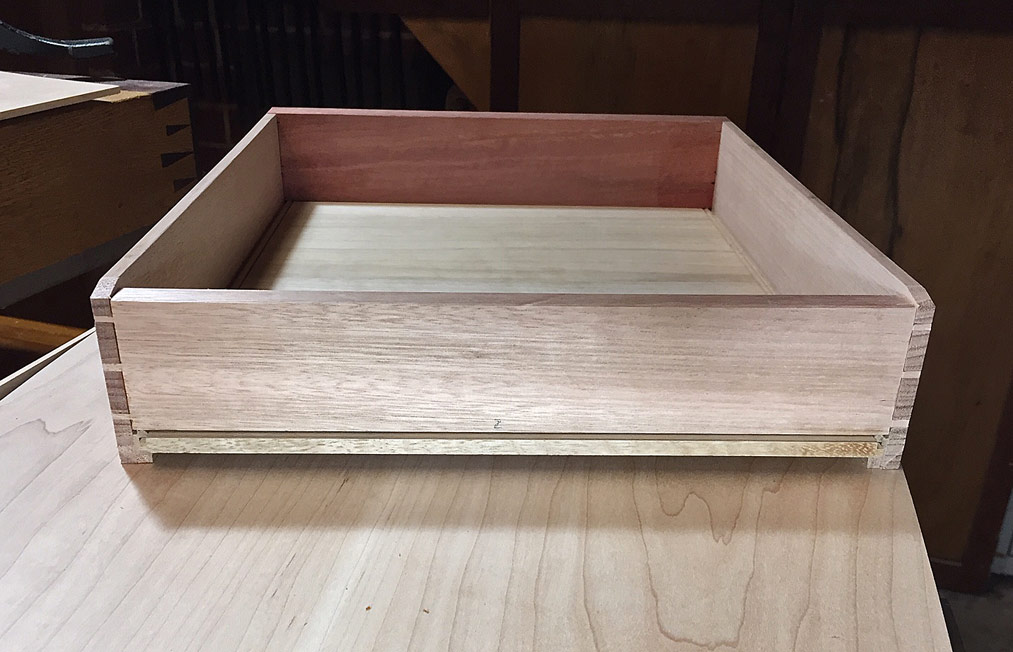

The profile of the drawer sides ...
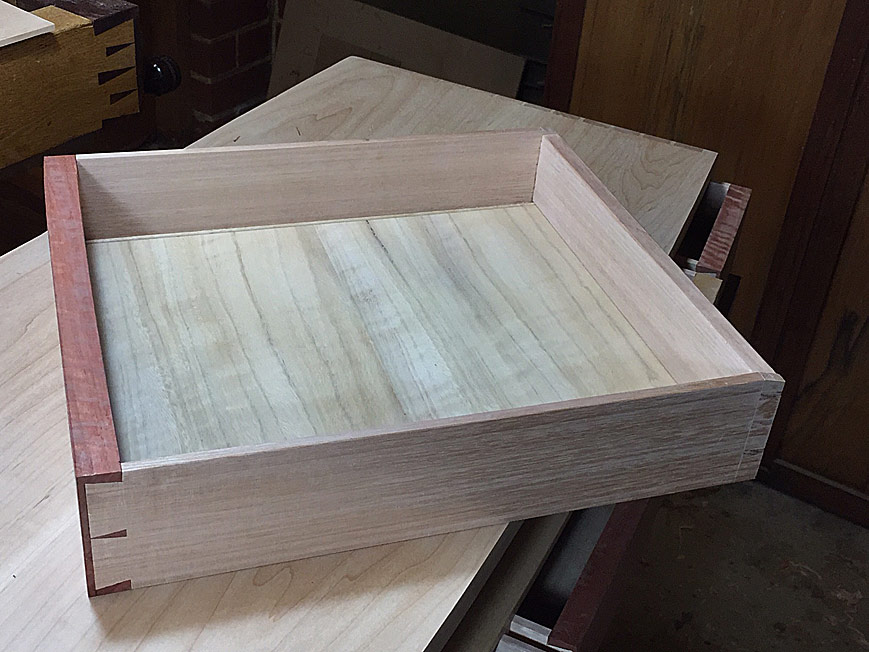


Until the final pics ...

Regards from Perth

Derek

Re: Drawer bottoms into slips

#2

questions

Bill Tindall, E.Tn.

what is a "sticking board" and how is it used?

the backs of the drawers are mowed off at an angle...why? Reducing material back there means the drawer drops down more upon opening. The reason I dovetail the drawer back as you have it is to be able to extend the drawer sides all the way back for bearing surface upon opening. This arrangement enables the back to be dropped to avoid dragging, though on a small drawer it would unlikely be an issue.

Nice interiors

Re: Drawer bottoms into slips

#3

Re: questions

Joe shelton

Wouldn't those bevels ease the insertion of the drawer into the cabinet?

Re: Drawer bottoms into slips

#4

Re: questions

Derek Cohen (in Perth, Australia)

what is a "sticking board" and how is it used?

the backs of the drawers are mowed off at an angle...why? Reducing material back there means the drawer drops down more upon opening. The reason I dovetail the drawer back as you have it is to be able to extend the drawer sides all the way back for bearing surface upon opening. This arrangement enables the back to be dropped to avoid dragging, though on a small drawer it would unlikely be an issue.


Bill, a sticking board is used to hold narrow or small pieces when planed, pieces which are too small or too awkward to be held in a vise or other traditional means. Most commonly, a sticking board is used when planing mouldings.

Most sticking boards are purpose made - just a screw in a board to act as a stop ...


My sticking board has an adjustable fence, so the use is wider ....


Link: http://www.inthewoodshop.com/ShopMadeTools/AdjustableStickingBoard2.html

With regard to the “angle at the back”, this is only over the drawer back (10mm). It reduced the possibility of damaging the front when placing the drawer into its case.

Regards from Perth

Derek

Re: Drawer bottoms into slips

#7

Re: questions

Bill Tindall, E.Tn.

I didn't see what problem inserting a small drawer, or any drawer, this modification would aid. If it is there to personalize the piece, fine, it does little harm. But, one should have no trouble inserting a 3' x 9" drawer 20" deep. A small drawer is just a lighter weight version of the same . Hold the drawer at a drooping angle, engage the bottom in the opening, tilt up and slide in. The top back edge never becomes involved in the process. Handsome drawers but the bevel looks like training wheels on a trail bike.

Re: Drawer bottoms into slips

#8

Re: questions

Don Stephan

The slight bevel doesn't bother me, and I doubt it would be seen very often at all. As it doesn't extend very far forward, it would not seem to let an open drawer "droop" in use as most people would not leave unsupported a drawer open that far. Some may find it adds a bit of interest if discovered.

Re: Drawer bottoms into slips

#9

Drawer Side Chamfers *LINK*

Steve Elliott

Here's a link to a site by a retired English antiques dealer who builds pieces in the style of the eighteenth century himself. His explanation for the small chamfer at the back of the drawer side is "This ensured a smooth transition from ‘full-open at rest’ when pushing the drawer back into the carcase."

There's a picture of his version a little way down the page.


Pegs and 'Tails Website

Re: Drawer bottoms into slips

#10

Aha, it has a function

Bill Tindall, E.Tn.

Makes sense, in a way, or at least the physics theory predicts it is a good idea. I'll have to try it. I can because I end a drawer side with a half tail instead of a pin like in front.

It should smooth the transition of a heavy drawer closing. I have not seen it on American Period furniture. But then there is a lot about English drawers I never see on America Period furniture, though neither is lacking.

I have read this guy's stuff before. He knows antiques and how to build them. Interesting he does tails first. I thought it an English tradition to do pins first, or at least that was the way drawers were built in factories according to Alan Batty who built them.

What he is calling single entry dovetails are what Derek is using on the fronts. According to Batty they were, as this guy says, an aid to production, not a fashion statement. Three saw cuts in the hard oak side, one paring slice and done. 6 drawers a day quota.

Re: Drawer bottoms into slips

#11

Re: Drawer bottoms into slips

Sgian Dubh

"Here are the slips being glued in …"

Derek, I'm pleased to see you seem to have abandoned putting a slip on the back face of the drawer front. I've always been a bit puzzled about how that odd configuration ever came about: I don't think you were the first to use it, and I can't recall now where or when I first saw that arrangement. I think it might have been a blog or a magazine article I came across that described it, perhaps written by an American that had somewhat misunderstood the whole slips concept, they apparently being a scarce element in typical North American drawer box construction over the last two or three hundred years. Slainte.

Re: Drawer bottoms into slips

#12

Re: Drawer bottoms into slips

Derek Cohen (in Perth, Australia)

Richard, I think I did that once only, about 10 years ago. You have a long memory! I learned from that thread (mostly your comments), and never did it again :)

Regards from Perth

Derek

Re: Drawer bottoms into slips

#13

Slips....

david weaver

... my parents have purchased gobs of american furniture from the mid 1800s on, hand dovetails, etc, until factories became more common.

I'd never heard of drawer slips before internet forums (to be fair, I didn't start woodworking before internet forums, but my parents had a thing long before the internet of being relatively uneducated about furniture but still insisting something done by hand somewhere in each thing they bought).

Re: Drawer bottoms into slips

#14

Re: Drawer bottoms into slips

Sgian Dubh

Was it really that long ago, Derek? Maybe it was.

I do have a question, because I can't tell by looking at your pictures. It's this: How did you line up the front of the slips with the groove in the back of the drawer front? The common method is to cut a wee tenon at the slip's front end to engage with the drawer front's groove? Was that what you did? Slainte.

Re: Drawer bottoms into slips

#15

A labor saving alternative

Bill Tindall, E.Tn.

Over time I have standardized a few things, especially for drawers, such as the groove size for drawer bottoms. To achieve alignment of the side to front groove in this construction, or conventional "American" construction, I slip a snuggly sized piece of wood (temporary tenon, not so wee) in the intersection of the side and front groove. (Another tip learned in the Headley shop.)

Re: Drawer bottoms into slips

#16

Re: A labor saving alternative

Sgian Dubh

I've used that technique as well, Bill. In truth, I have a slight preference for the 'integrity' of the titchy tenon at the front of the slip, although it's probably slightly more work. One benefit of it is that it can't inadvertently fall out, which I've experienced with the removable alignment device. I've also forgotten to install the slip of wood until almost too late, i.e., the slips glued and clamped in place, followed by an 'Oh, Bu**er' moment and a frantic scrabble to find one of the alignment slips to shove into the right spot, which can be a bit tricky if the glue's already started to grab, ha, ha. Slainte.

Re: Drawer bottoms into slips

#17

Re: Drawer bottoms into slips

Derek Cohen (in Perth, Australia)

I do have a question, because I can't tell by looking at your pictures. It's this: How did you line up the front of the slips with the groove in the back of the drawer front? The common method is to cut a wee tenon at the slip's front end to engage with the drawer front's groove? Was that what you did? Slainte.

Hi Richard

I still do the tenon thing. I know the method that Bill advocates. It is also popularised by Chris Becksvoort at FWW magazine.

The tenon takes under 30 seconds to saw very precisely. Why I continue to prefer this method over an alignment-tenon-jig is that I find that a real tenon is easier to glue up (is less fiddly).

To make the tenon, I slide in a loose tenon into the groove in the slip, and then use a flush cut saw to saw each side. As mentioned, this takes seconds to do.

Regards from Perth

Derek

Re: Drawer bottoms into slips

#18

Woodworking in my formative years

Bill Tindall, E.Tn.

I have built stuff beginning in childhood. Moved to large, more serious stuff as children got older. Oldest wanted a loft bed for college. It was to be sturdy- 16/4 poplar with M&T joinery and bed bolts, not the bolted together yellow pine framing lumber affairs sold at college. Hand tools were just beginning to gain interest and best of my ability quality was a goal. After a few weeks daughter came by the shop as I toiled away with mortise chisel, mallet and hand plane. With her school calendar in mind and my progress on display she said, "Dad, I'll graduate before you finish it". I think it was at that instant I decided the quality standard would become good enough and the techniques would be what ever is fastest to yield good enough. Over time I have sacrificed efficiency for pleasure some but I am always mindful that someone is waiting to put the furniture in service.

Many of the things advocated by others are in the category of "best of ability" quality. But I will take the occasion to remind of what could be good enough.

Re: Drawer bottoms into slips

#19

Re: Drawer bottoms into slips

Don Stephan

Fessing up, after first reading (decades ago) your description of drawer slips on the Internet I was so eager to try them with an included scratched bead that I paid no attention to the finer details of your writeup and ran a slip across the back of the drawer front.

And I never sent you the gold coins you advised using to set the gap on the mortising machine.

Maybe the home country was lucky to be rid of the damned colonists across the pond?

Re: Drawer bottoms into slips

#20

Re: Drawer bottoms into slips

Sgian Dubh

" … your writeup and ran a slip across the back of the drawer front."

Ah, yes Don, now I remember where I first saw that configuration, causing me to scratch my head at its oddness. Thanks for jogging my memory.

I guess I'll let you off your forgotten intention to send the golden sovereigns, particularly as you've largely redeemed yourself through buying my book Cut & Dried, ha, ha. I am sometimes, as you can see, a model of generous forgiveness. Slainte.

👍 This page answered my questions

Your vote helps other woodworkers quickly find the answers and techniques that actually work in the shop.