Some clarification
Derek Cohen (in Perth, Australia)
The hard part is what Derek does which involves solving the problem of teetering the router on the end of the drawer (or whatever), again with router set to make the depth spot on. If the teetering support issue is readily solved and two routers set to depth are employed I see a time saver. But how to efficiently solve routing on a multiple drawer ends remains elusive?
Bill, Brian describes the same procedure as I use for setting up and routing the orientation I reported on.
What appears to be causing you pause is that I used a wooden clamp to hold the drawer end, and that this appears unstable.
Recall that I have mentioned on a few occasions that the drawer faces in my example are parallelograms, and not square. If they were square, there would be no difficulty in clamping them a different way. In this instance, they need to be held at an angle to create a coplanar registration surface around the edges for the router to ride on. The wooden clamp enables this.
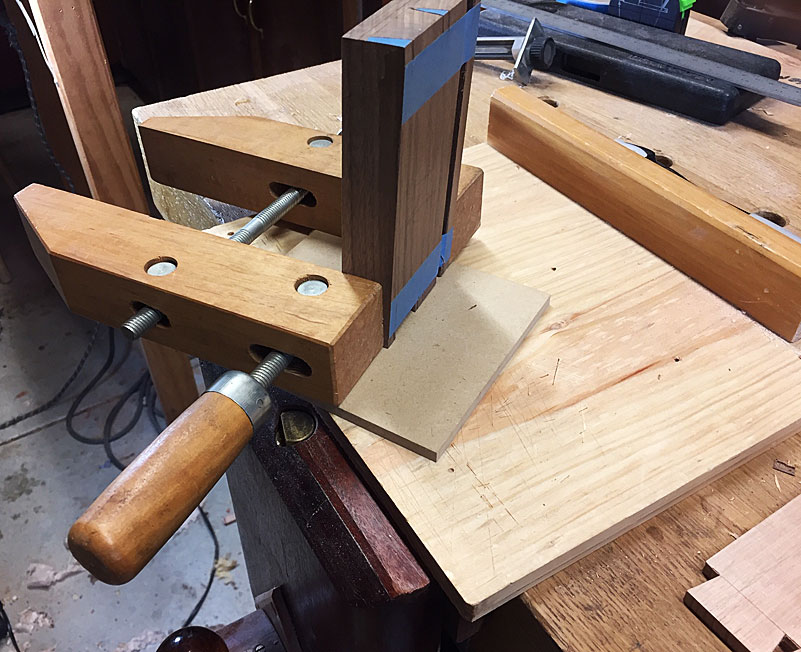
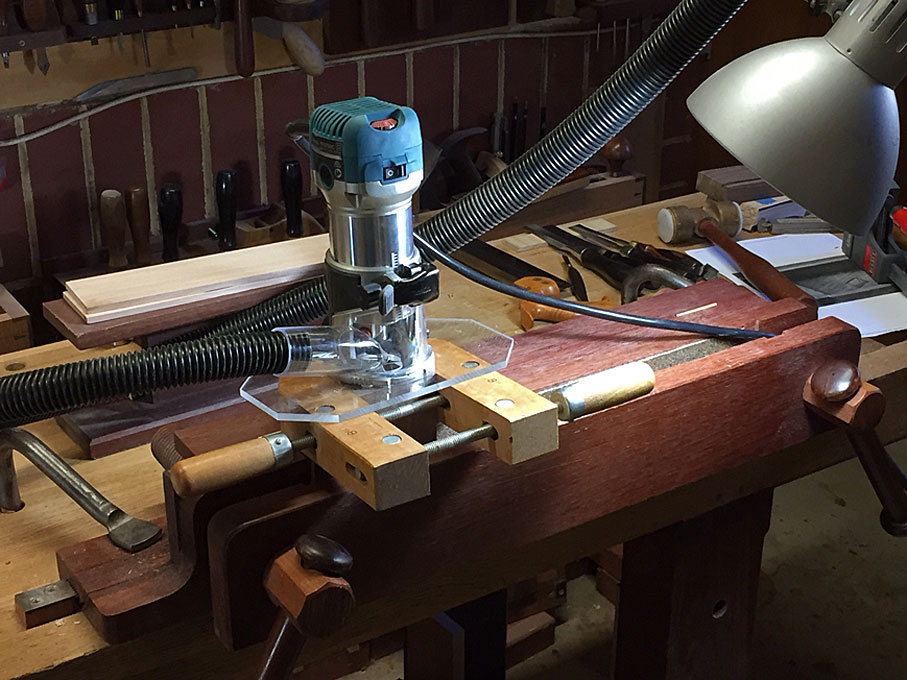
Obviously, it is not about speed of set up for you (as mentioned, this took 45 seconds), but stability for the router.
Now if the ends were square, it would be a simple matter to just clamp the board against the side of the bench. With a wide sub-base for the router, there would be plenty of registration to support the router to work on the edge.
I suspect that Brian goes from one set up to another. His boards are square and he maintains constant measurements. I would do exactly the same in his circumstances. Indeed, there is an element of this in the 8 drawers I have done: all the tails are the same spacing and the same vertical length (15mm). All the pin boards are marked to fit this sizing after the ends are prepared for the angled dovetailing. The depth of cut is a standard/fixed 1/4" setting for all. Brian would simply use more than a single router (or equivalent).
Regards from Perth
Derek


