Dovetailing the drawer dividers
Bill Tindall, E.Tn.
I find dovetailing the drawer dividers one of the most fun parts of case construction.

PIC 1
Dividers, AKS “blades in lands across the seas, can be mortised or dovetailed into the case sides. Judging from observation of antiques, mortise joints open up over time while dovetails don’t . Having a quick way to do the dovetails encourages their use. My process, learned at the Headley shop, is illustrated on a practice piece of wood. It uses half tails which are easier to make and easier to fit if tight because one side can be planed to thin the tail. Unclear why anyone would use double tails for this application.
PIC2
First a vertical cut is made in the case side located at what will be the top of the divider location. The cut is made to depth at the front of the cut but by necessity this cut tapers up toward what will be the back of the socket. Overcutting here is acceptable but not necessary. I usually over cut about 1/8”. I use a guide block to ensure the cut is perpendicular.
PIC3
Previously all the half tails on the ends of the dividers have been cut as I have described in the past. The jig used ensures these tails are identical in size, regardless of variance in lumber thickness. By trial and error a gauge block of correct width was made. The gauge block is positioned against the guide block for the saw kerf and a line scribed. The scribe line locates the width of the socket, established by trial and error fitting on a scrap.

PIC 4
A second saw kerf is made about 1/16” shy of the guide line that was made with the gauge block. Waste between the two saw kerfs is chiseled out.
PIC 5
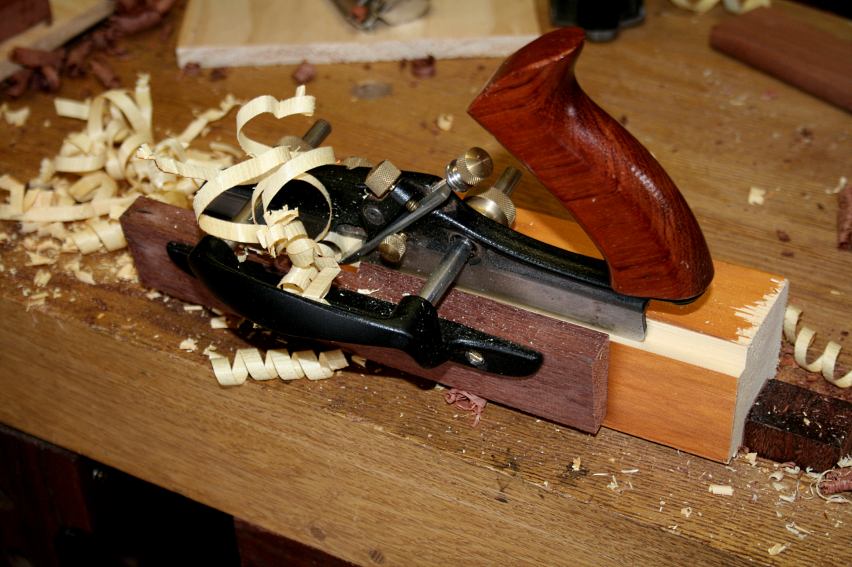
Final depth of the socket is made with a router plane.
PIC 6 and 7


A guide block angled at the dovetail angle, in my case 14 degrees, is positioned on the scribe line. With an arcing motion, waste is removed by chiseling, using the guide block to fix the angle and position of the angled side of the socket. By practicing with a few sockets one learns to position the angled guide block relative to the scribed line to achieve a well fit joint. A well fit joint is one that can be pushed together by hand pressure. This fit will give no problems when assembling the case.
While all this sounds complicated it is not in practice. It takes me 10 minutes to make a socket and 30 seconds to make the tail using the process illustrated. Most of this time is spent chiseling out waste.
However, if a dado is planed or routed across the inside of the case to establish the location of the divider and runner these steps are faster and I can do a socket in 5 minutes. I route this dado on flat sided cases but not on frame and panel sides.