
WBpoly/Oil Stain Follow-up--Pedestal Table
Alan Young
Here is the end result of several weeks worth of work spread over several months! My small shop was pushed to it's limits this late winter early spring when commissions from two clients plus a few "smaller" projects challenged my abilities to juggle space and work flow in my shop.
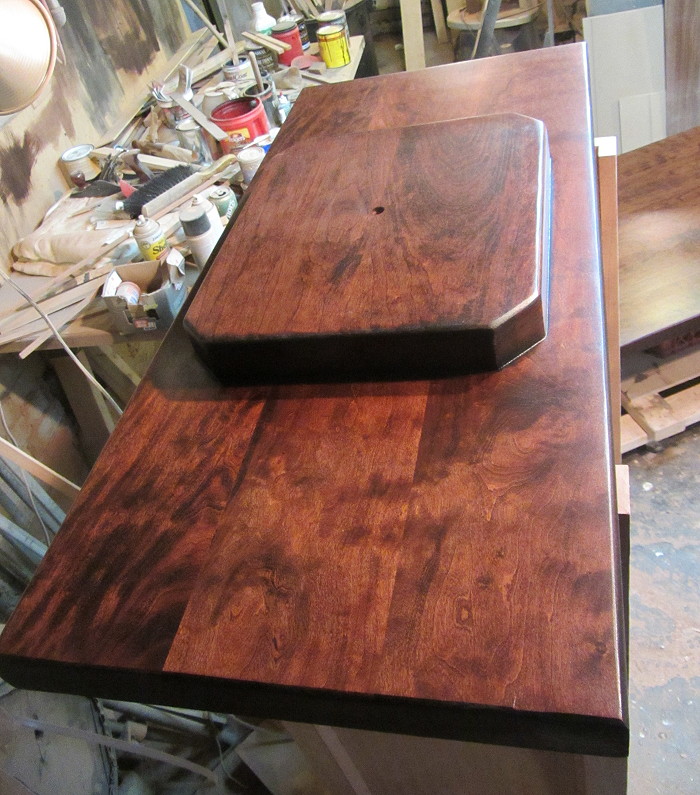
The first piece was this 7ft long 26.5" w and 35" h Walnut Wetbar. This pieces was designed for a 100+ year old town house that was totally gutted and refurbished for a living space. I had to accommodate the work schedule of the GC. This required the piece to leave my shop before the "finish" was finished. The piece is completed but this is NOT the finished look
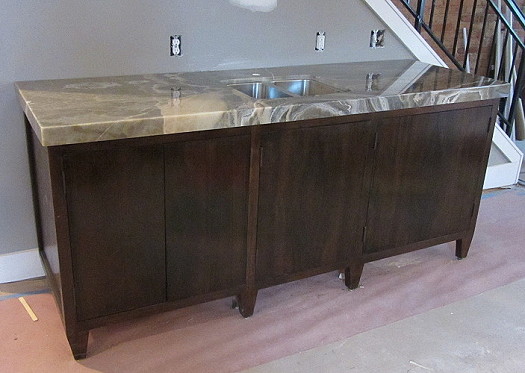
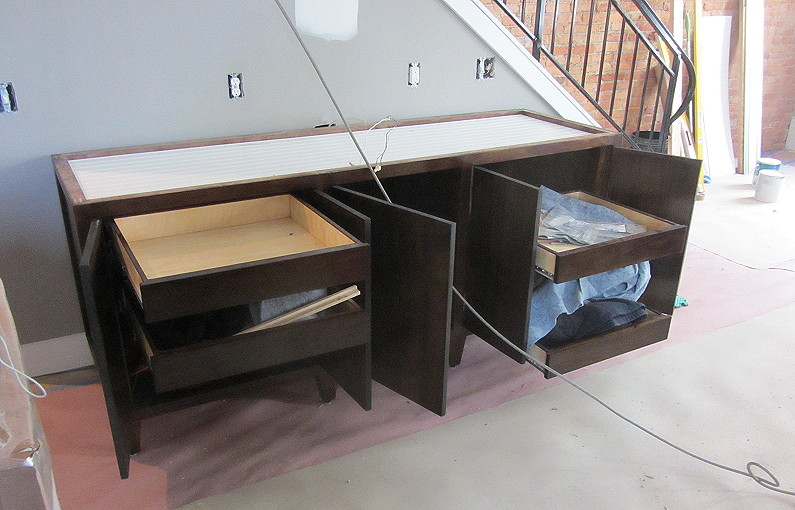
Having the main carcass out of the shop was a space saver as I was working on a cherry pedestal table which was the topic of a question on WB Poly applied over an Oil Stain...
I had just applied the first topcoat of Oil based Poly over an oil stain when I noticed (too Late) there were some small surface defects that I had failed to sand out. This pic doesn't really show the defects but it's all I have of the processes.
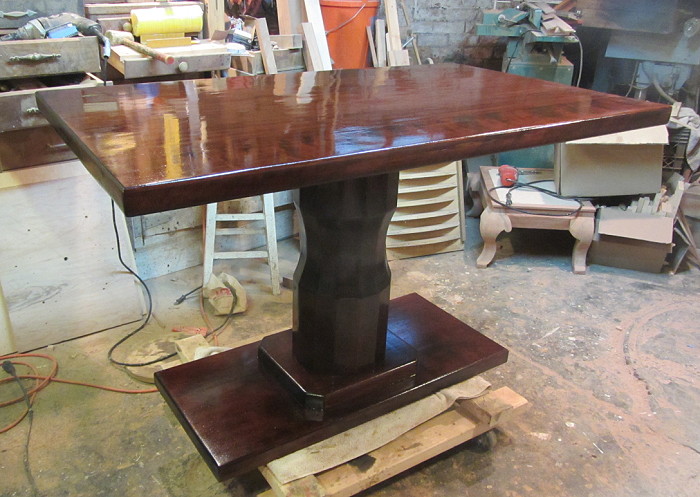
After reading responses from Mssrs Mandel and Corell in my post in the thread above, I proceeded to strip the entire finish and start again. I sanded the entire piece thoroughly through 220 grits-and did my best to eliminate the defects I had missed earlier. I re-applied the Oil Based stain (Minwax Red Mahogany) as that was the client's chosen color. I let that sit overnight then sprayed a coat of Sealcoat toned with Transtint dye (to carry the color through the WB Poly) and sprayed several coats of Enduro WB poly (semi-gloss)...
Here's the result:
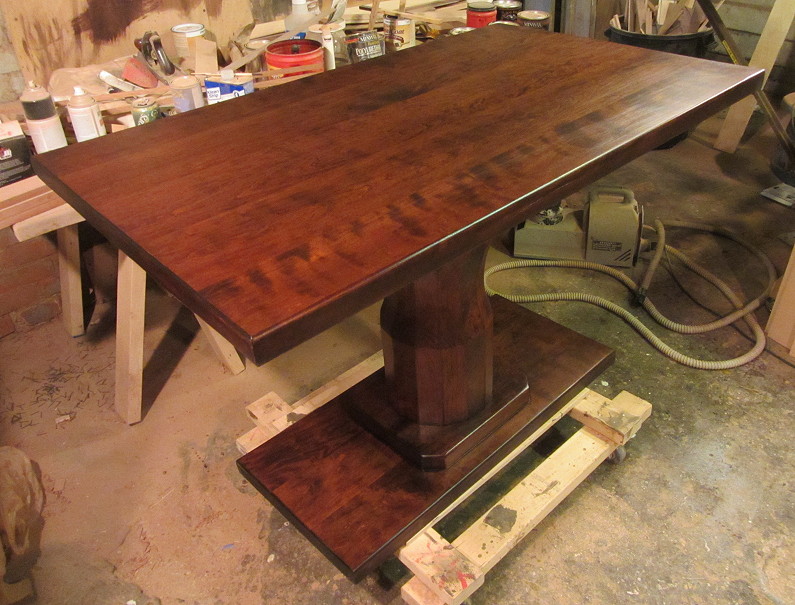
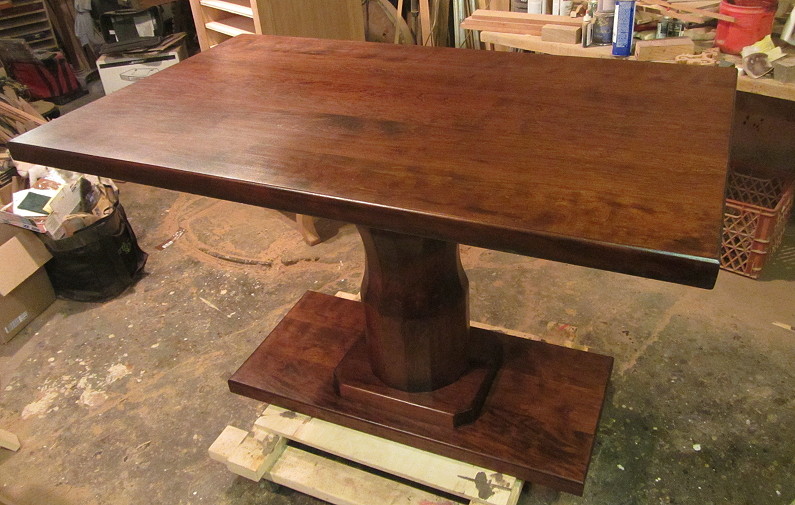
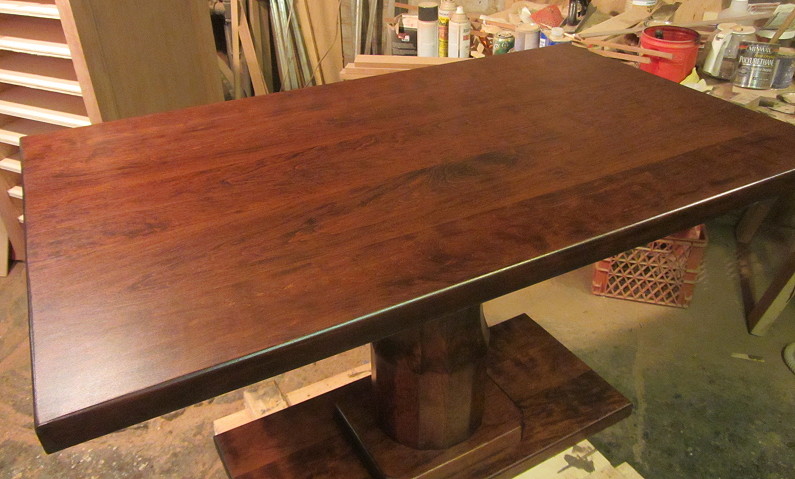
I have an inexpensive turbine HVLP unit and my spraying technique needs some refinement but the end result is vastly superior to the finish I was staring at last Friday Morning. My Thanks to Mark and Robin for their comments which lead to a much better outcome.
-Alan


