
A Farmhouse Table
Alan Young
Hello friends,
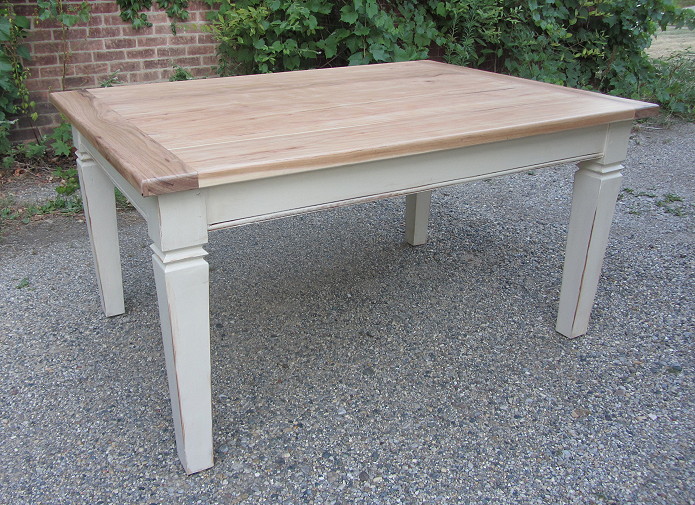
Here is a long write-up on the building of a Farmhouse Table. I delivered the table this past weekend. The project started with a request from the clients for a "beefy" table -Hickory for the top to match their floors and a painted base-color to match their Kitchen cabinetry. Top dimensions were to be 42" x 60".
The clients sent me this leg design in the hopes it could be worked into the design.

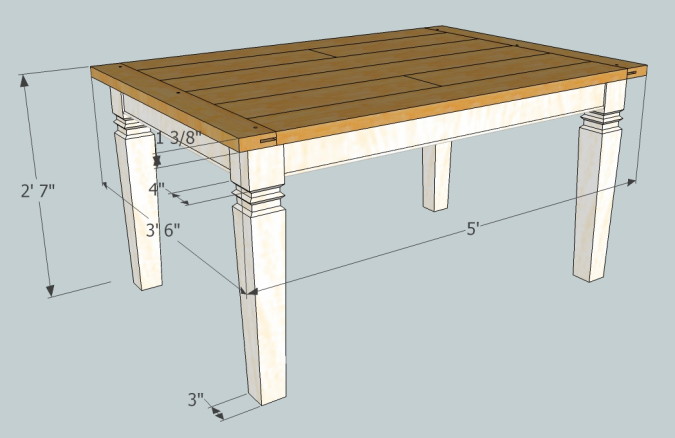
After a few sketches we settled on this design.
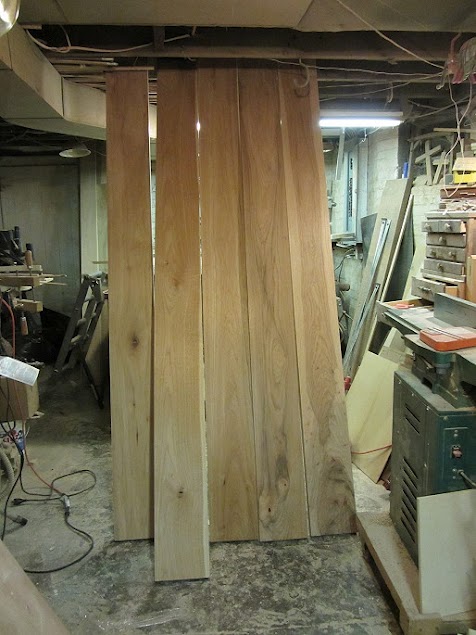
Here is the hickory stash for the table top. 1.5" thick and just under 8" wide.
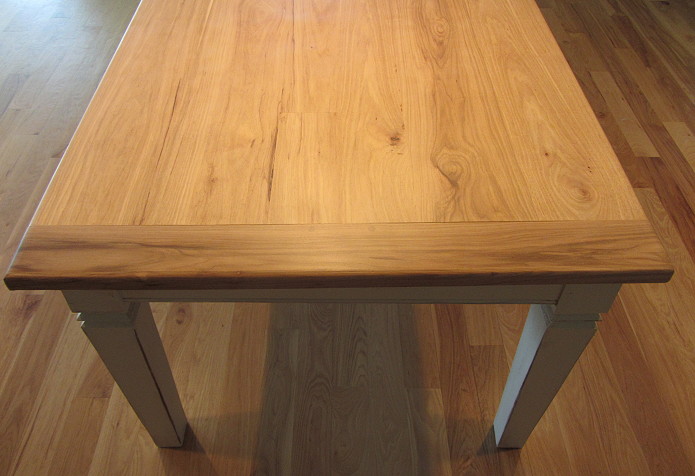
After a bit of playing around with the boards I cut them into this parqueted pattern with bread board ends.

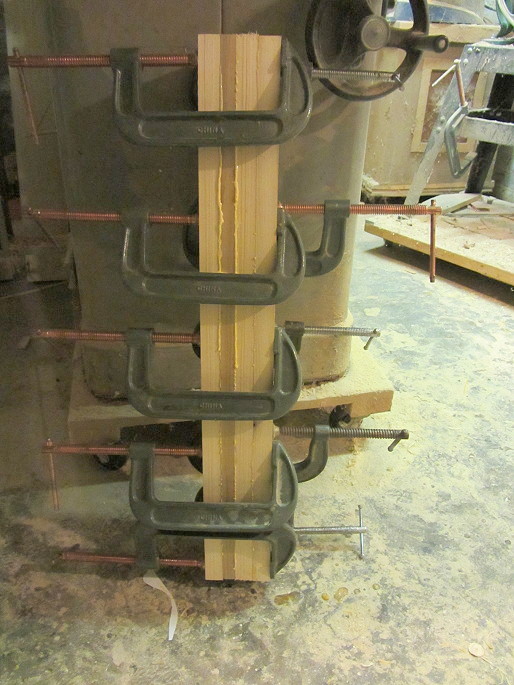
I began work on the base by gluing up the poplar legs.
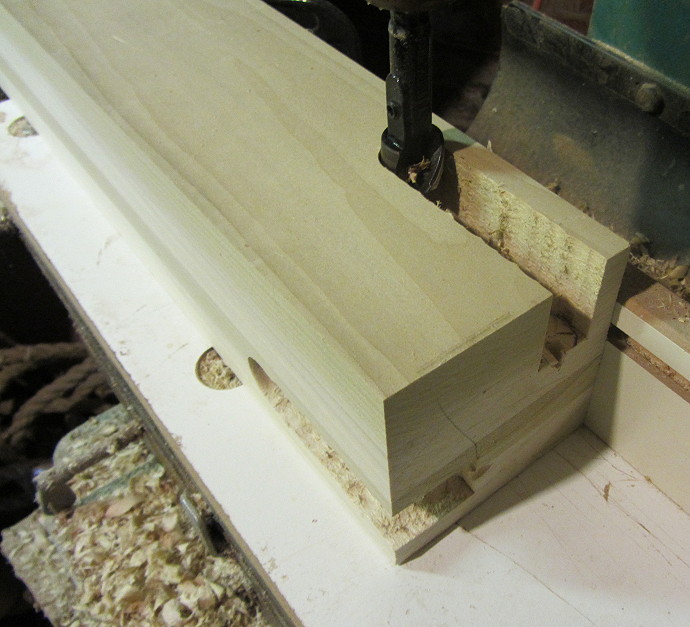
After planning the legs square I cut mortises to receive the apron pieces.
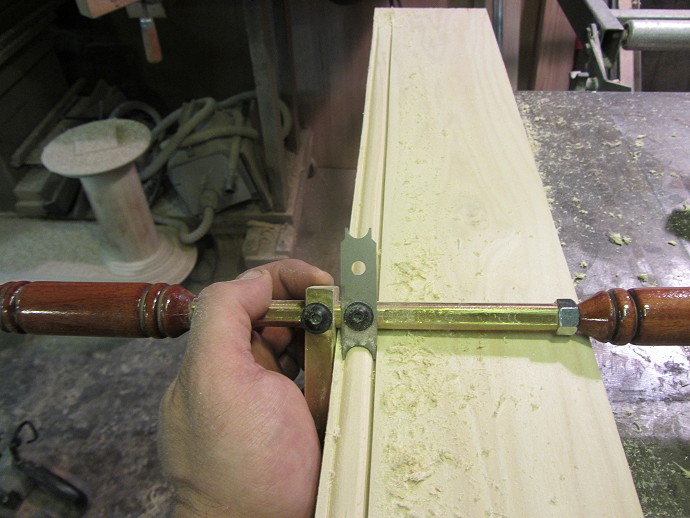
I am missing quite a few photos in the progression of the build-just was too busy to stop and take shots. I did show the beading of the aprons.
Here is the basic joinery of each corner. Glue blocks support the mortise and tenon joints.

I reinforced the mortise and tenon joints with oak dowels.
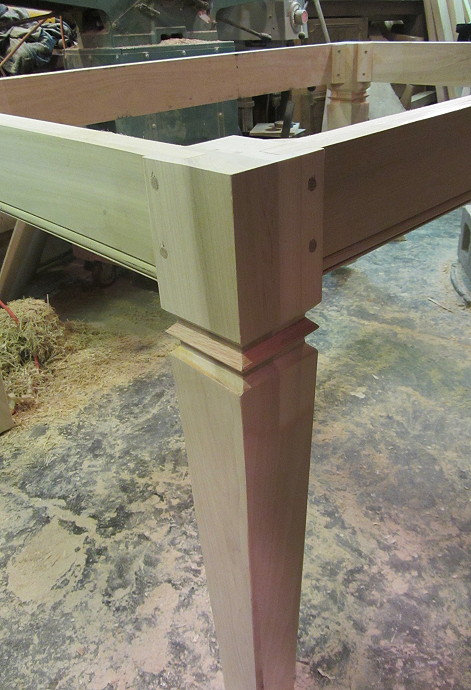
I am certain that some of keen eyed sticklers will notice a strange overlap of grain in the tapered legs. I'll just say that in the process of creating the tapers-the initial go yielded a taper that was too abrupt. As this base was to be painted I was able to add and subtract again with the second taper yielding the desired form.
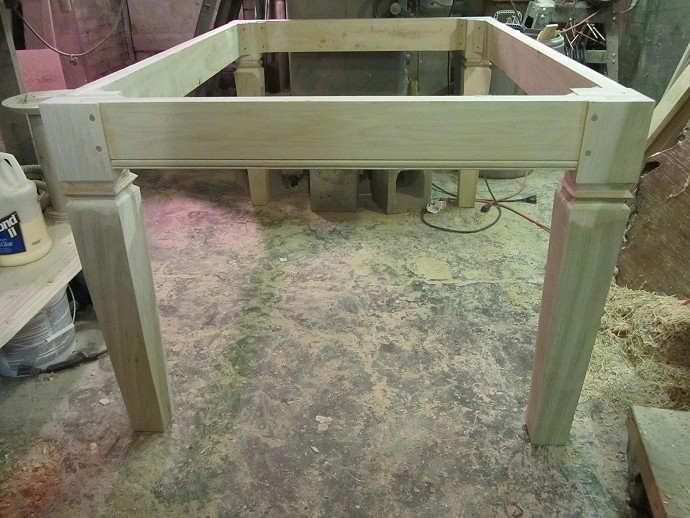
A note about the leg details just under the aprons. I should have taken pictures but I didn't- The top and bottom bevels were cut on the table saw and the center section hogged out with a dado. The center bevel pieces are oak cut-offs left over from a previous piece. I just mitered and glued them centered between the upper and lower bevels.
Back to the top- The main hickory was edge glued with some BB splines for re-enforcement and alignment.
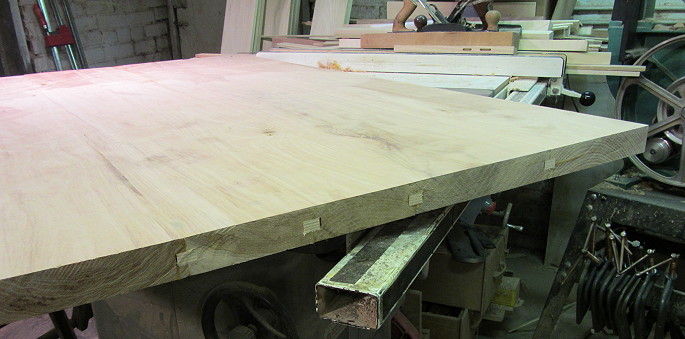
I then trimmed each end flush and cut long tenons. I didn't take shots of this process for this table but here is the method I used as in a previous table:
First I cut the mortises in the breadboard caps on a mill-drill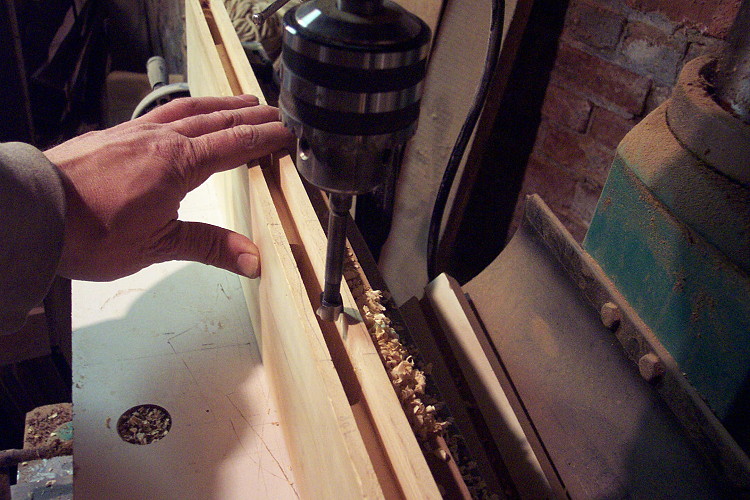
Then I milled the tenon.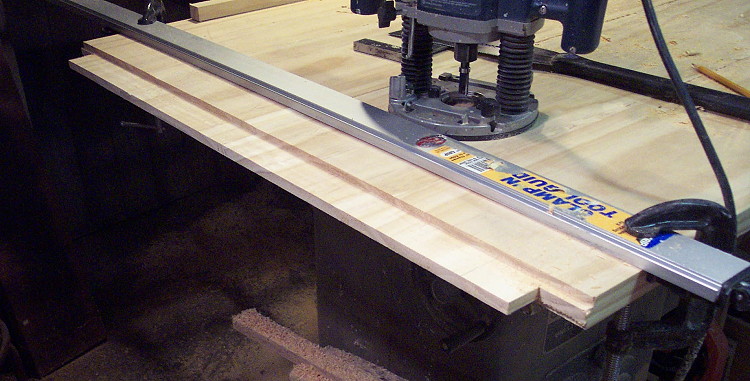
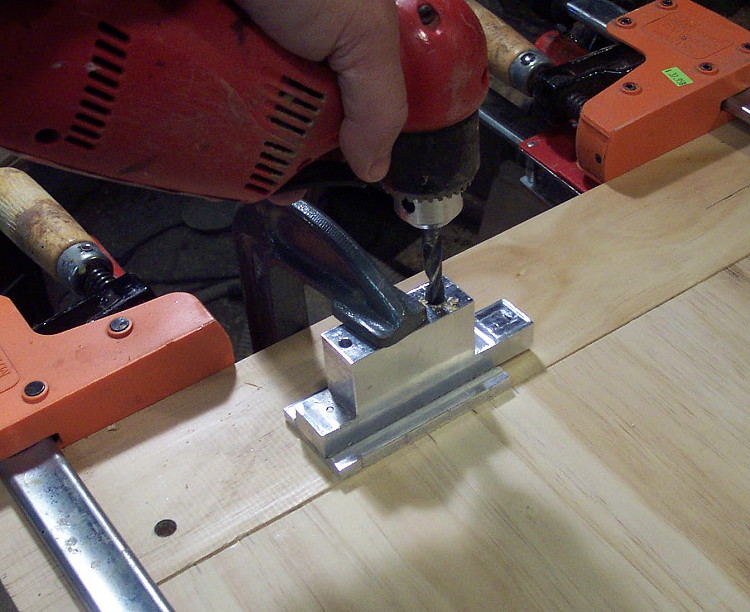
The breadboard caps will be pinned to ends of the table panel. I clamped the caps tight to the
end and drilled holes for the pins.

(Again these photos are from a previous table-I am using them just to show the technique I used in the hickory top-as I didn't photograph the process in this latest piece)
I made a doweling jig with different sized holes. (This shot shows a 3/8 in hole but the Hickory top in this post received a 1/2 hole)
The two center holes are left alone but the outer holes are elongated to allow the panel to expand in higher humidity seasons.
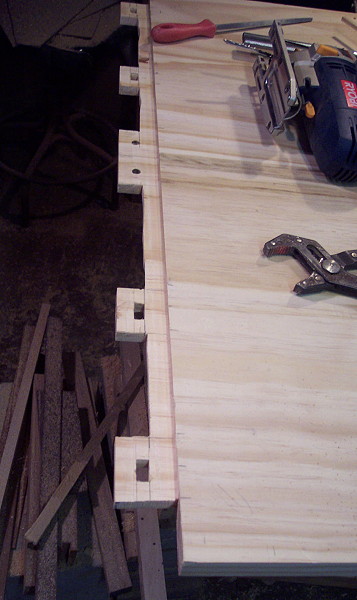
The outer holes are only pinned-no glue as the panel can now expand in summer months when the humidity is higher.
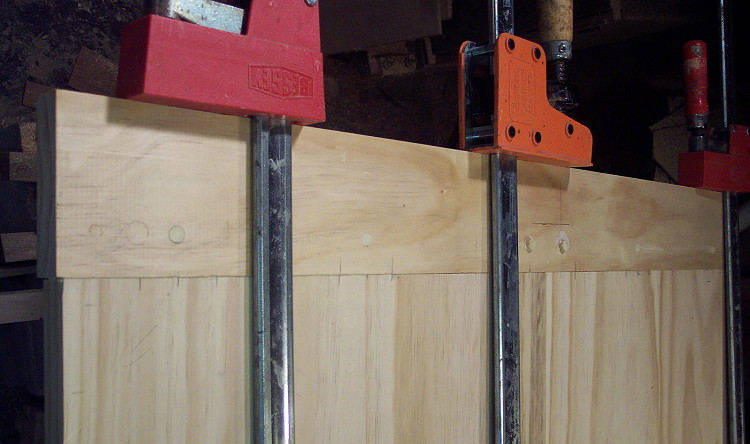
OK back to the current Hickory top- here it is with all the joinery cut , assembled and glued.
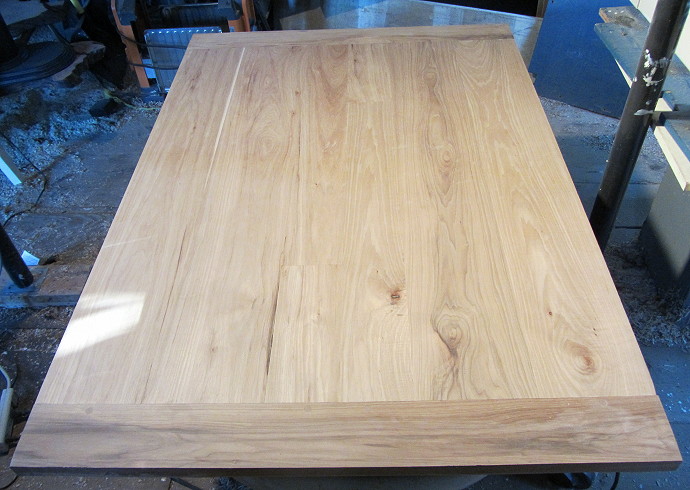
The table was moved to an out building for the finish. The base received two coats of primer then two coats of an enamel I had tinted from a sample the client sent me.
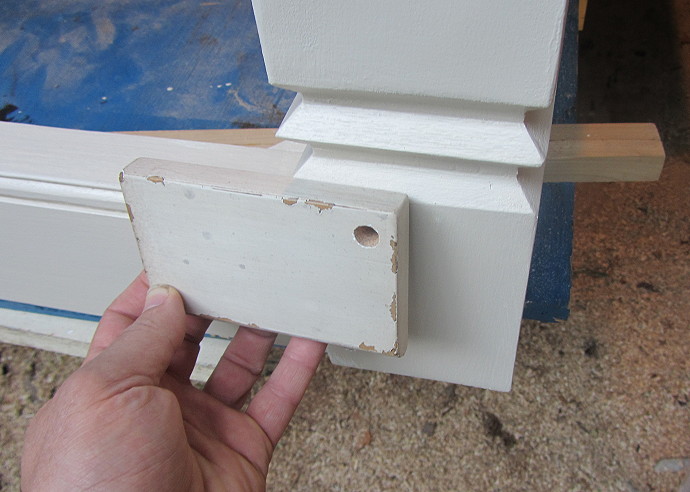
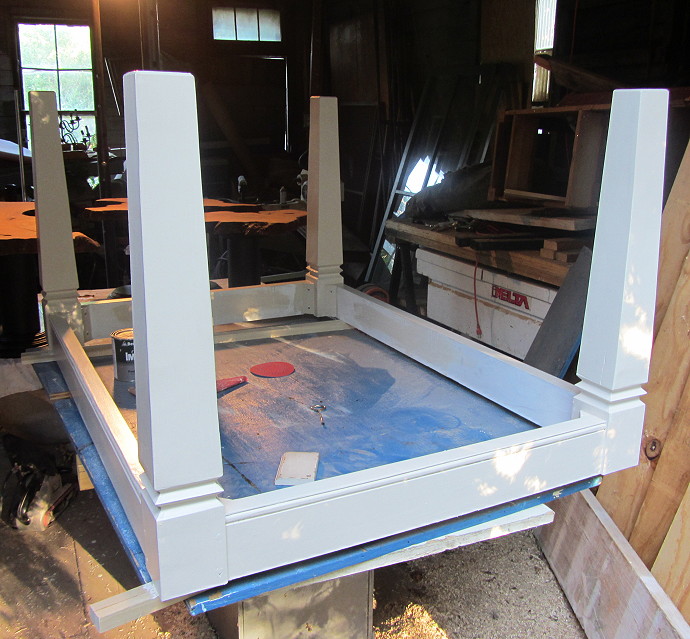
I had never done a distressed finish before so there was a bit of trial and error in the next steps.
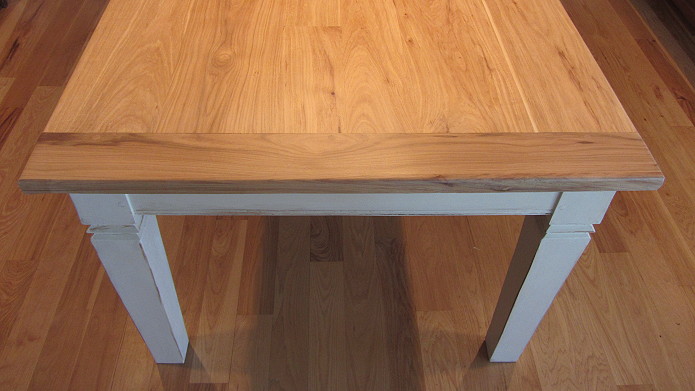
I sanded back the finish on the corners of the legs and the beaded sections of the aprons. Then I added a glaze-Van Dyke brown from General Finishes.

This yielded a pretty neat distressed look:
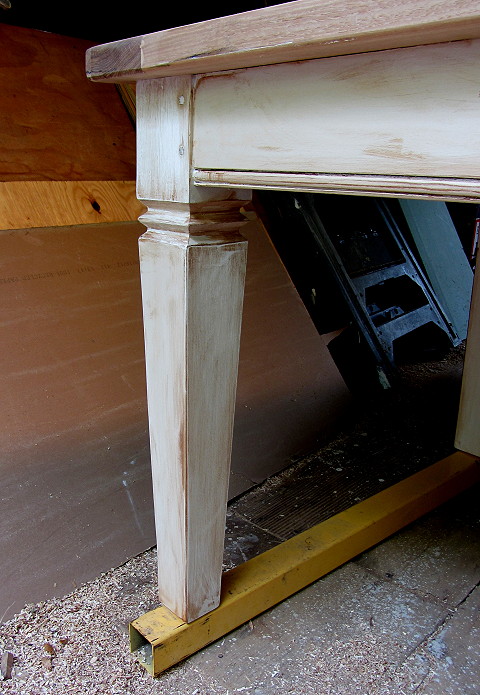
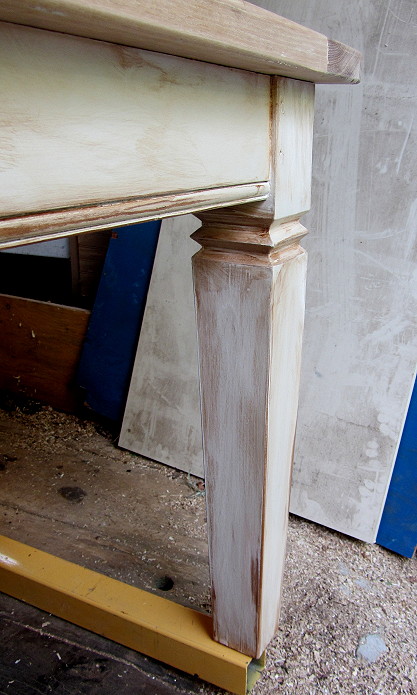

But the client decided this was just a bit too distressing. So I re-coated the base with the enamel and re distressed in a slighter manner.
This was more the look the client wanted:
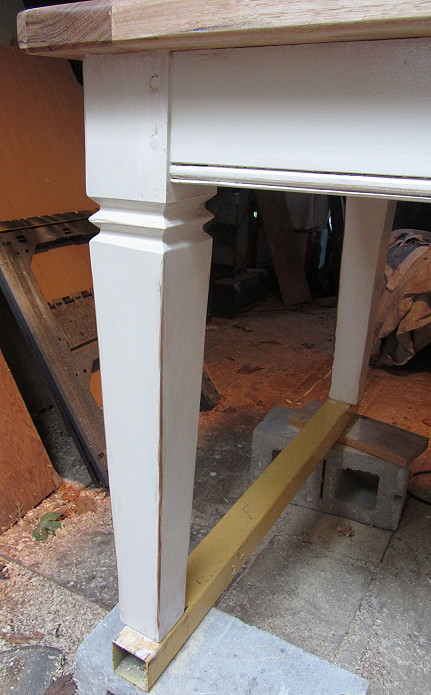
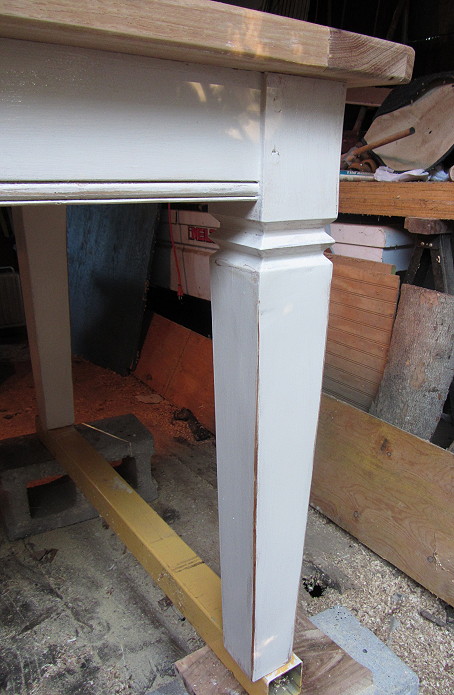
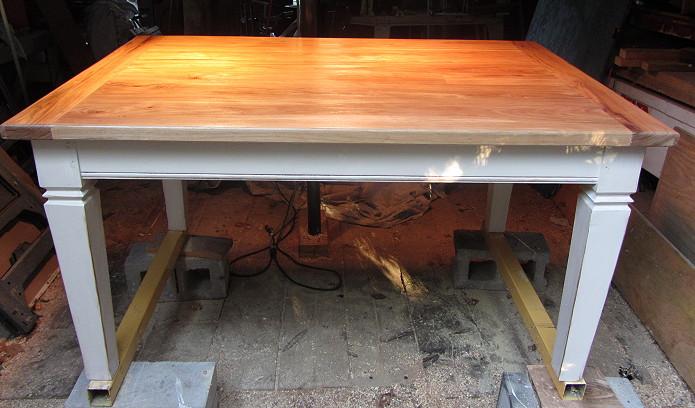
After the second go at distressing, the entire table then received several coats of an acrylic polyurethane. I had just purchased an HVLP turbine and gun and this was the first project to get a sprayed finish.
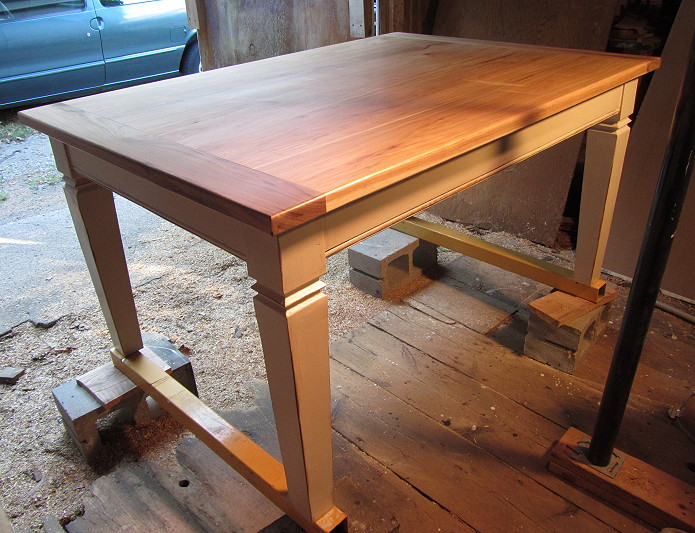
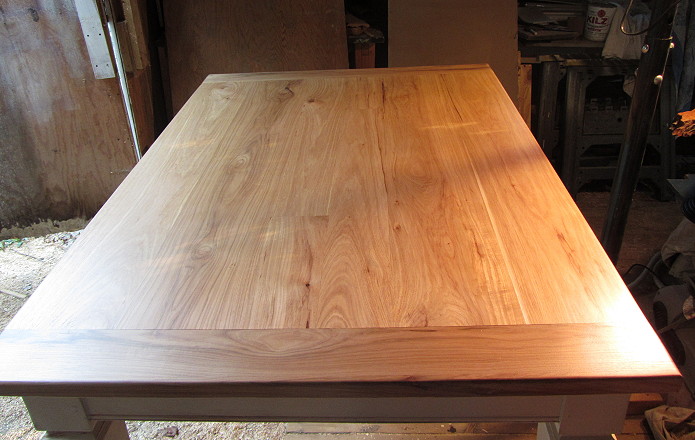
I am certain to pursue sprayed finished in the future and Oil finishes are probably going to drift into my distant past-especially brushed oil finishes....
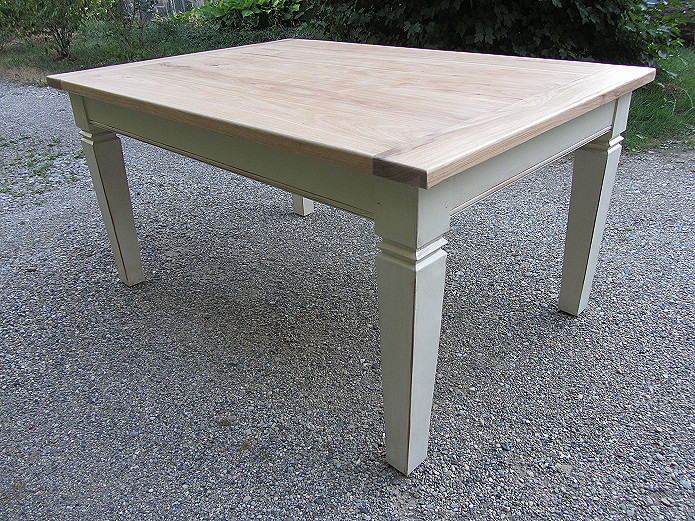
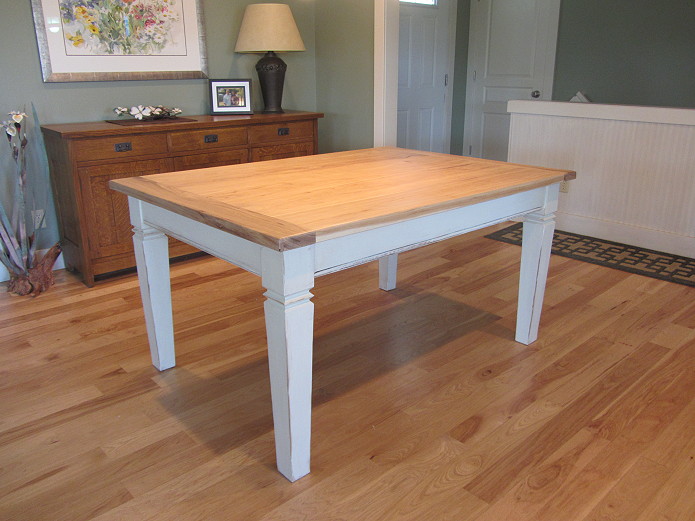
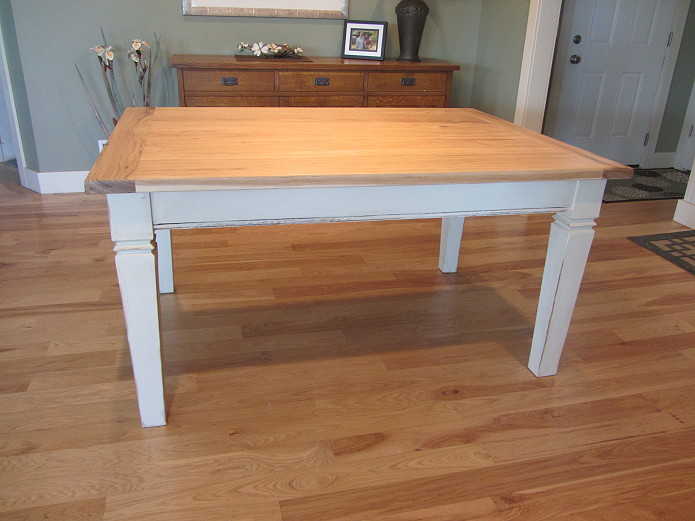
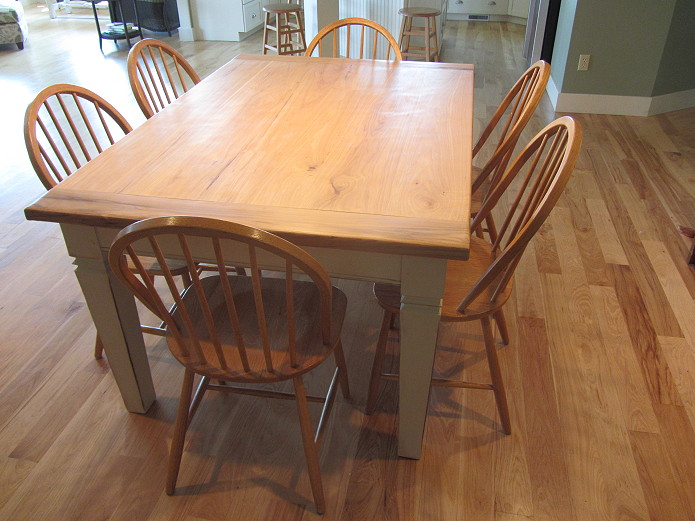
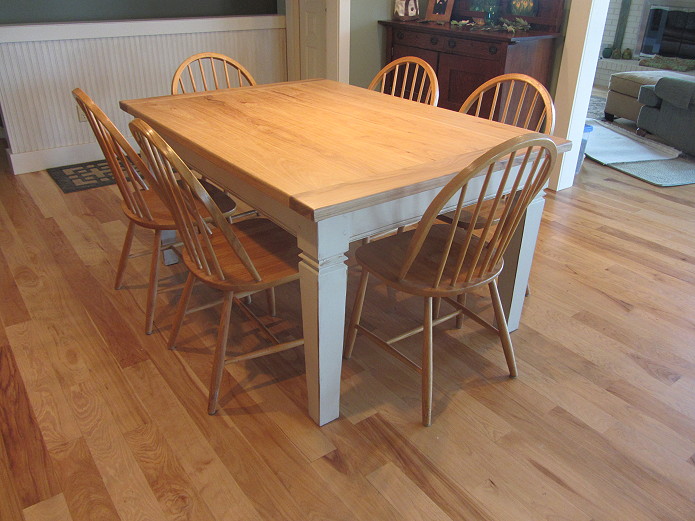
This past Saturday I loaded the table up and drove it out to the Farm-This piece is really heavy! Here it is in it's new home:

Thanks for reading all the way through!
-Alan


