Home Articles Forums Gallery Marketplace Videos

WoodCentral Forums

Knowledge You Can Build On — Est. 1998

Premium Live Edge Slabs, Hand-Selected in the Berkshires. Shop Unique Hardwood Pieces.

Recently Completed Work(long) *LINK*

Posts

Recently Completed Work(long) *LINK*

#1

Recently Completed Work(long) *LINK*

Andy Lincoln,in Dearborn,MI

>Hi All,

Having some time lately to work on projects of my own instead of other work.Thankfully I have A/C in the shop and it helps to regulate the high temps we have been having of late.

The first project was a new mailbox/address plaque.I had bought the ceramic tiles a couple years ago on a clearance table at Lowe's and have finally got around to using them.
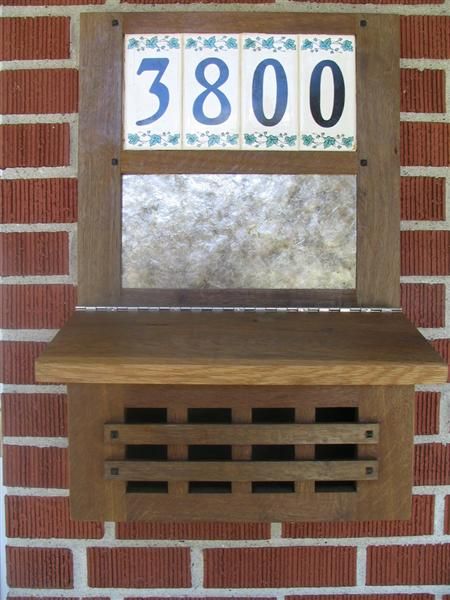
From Recent work

The wood is QSWO that I got from a barn sale a month or so ago.

The finishing process began by fuming the QSWO with household ammonia,it takes longer but it was real easy to find at the local store.After about a week in the fuming tank I applied several coats of Waterlox to bring out the brown color.I really enjoy seeing the wood come from an ashy grey color to a wonderful deep brown with the Waterlox.My pictures do not do the wood justice.

My second completed project is my copy of Glen Huey's Vineyard Cabinet which was published in PWW Sept 1999.I followed the plan with a few alterations to the type of wood and the finish.
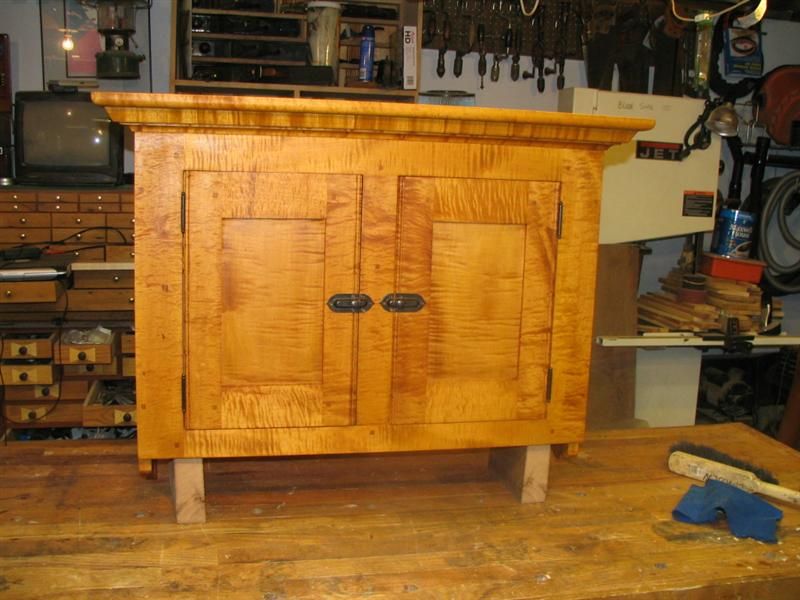
From Recent work

I used curly maple(purchased on line from a WC/Woodfinder vendor,Bell Forest Products).The wood came in UPS project pack bundles of +/-10bf.

For me it was a chance to use a wood species I had not worked with before.I was very pleased with the wood ,it was milled to 15/16" when I got it and the figure was impressive even in the rough state.
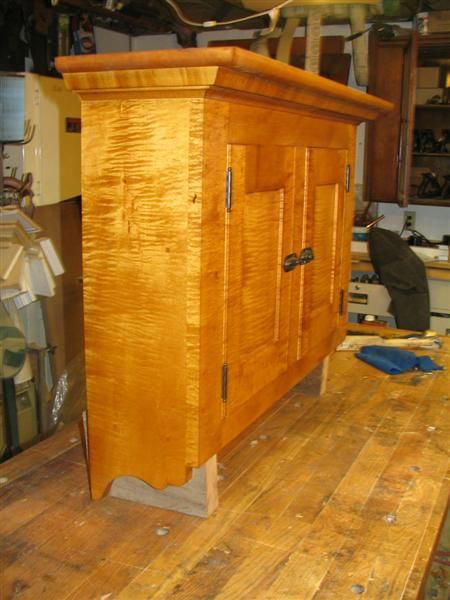
From Recent work
.

This project also allowed me to use an aniline dye stain for the first time.TheTransTint dye used was Dark Vintage Maple mixed with distilled water.After getting it to a shade that both I and the wife agreed upon I added 5-6 coats of hand rubbed Waterlox to the cabinet and added the hardware from Horton Brass.The hardware is the same as what was used in the PWW article because I could show it to the wife before the order and there is a visual reference to what it looked like installed no there would be no suprises.
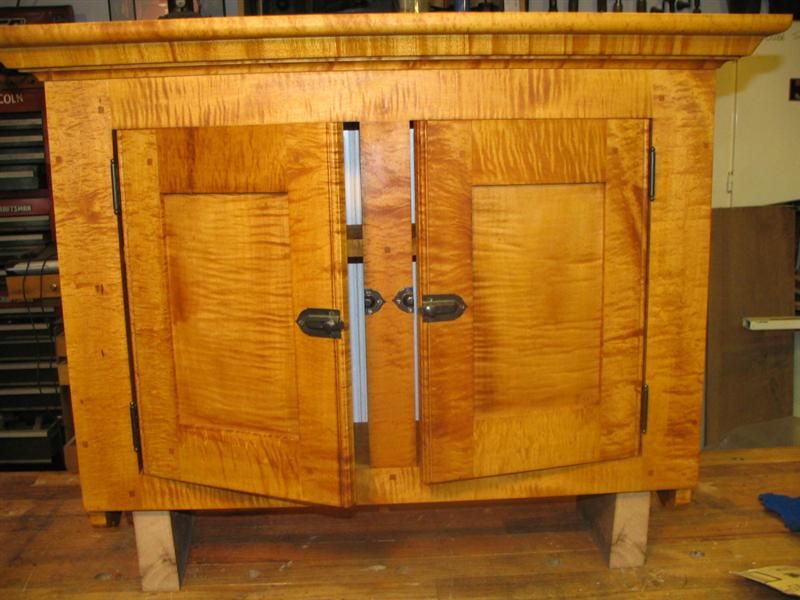
From Recent work

The back panels were made of recycled pine that was salvaged from another job and I just painted them white to brighten the inside as much as possible.
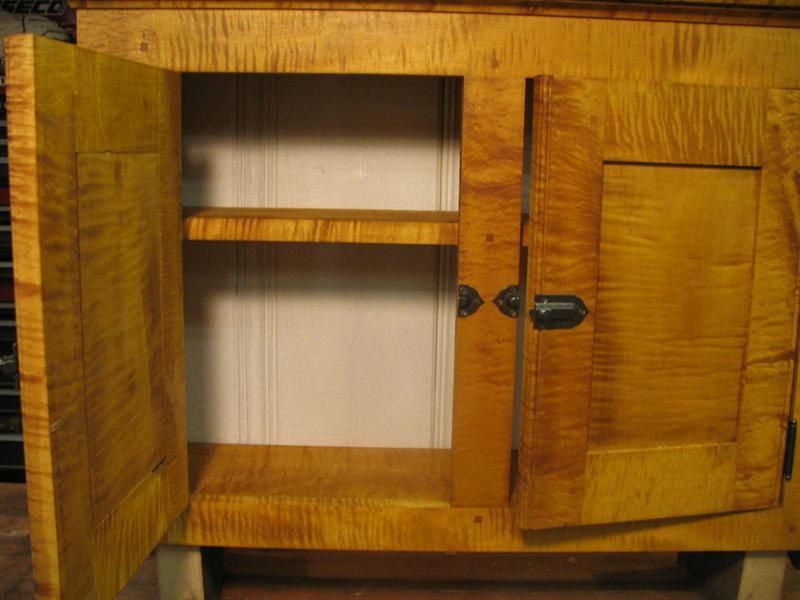
From Recent work

The project also allowed me to make my own moldings based on the drawings.
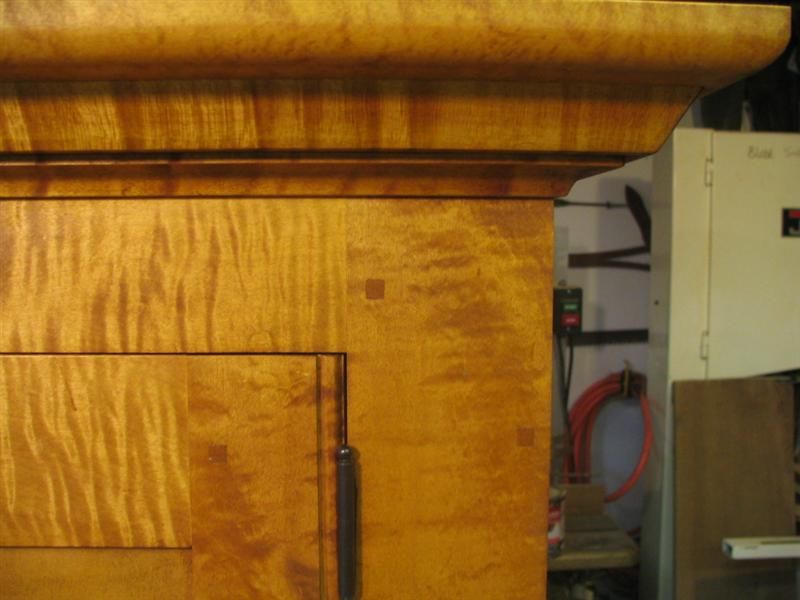
From Recent work

Now to get the wife to spot the cabinet in the bathroom and I'll have to begin design and construction of a vanity to match.

Also included below is a link to the full Picasa Web Album with more pictures.

Thanks for looking,

Andy


Picasa Web Album

Re: Recently Completed Work(long) *LINK*

#2

Re: Recently Completed Work(long)

Bill White

>Andy,

I hate to tell ya, bt the vineyard cab looks pretty rough. If you will ship it to me, I work on it for the next 20 years. I'll return it when done (sure I will).

Very well done.

Bill

Re: Recently Completed Work(long) *LINK*

#3

Re: Recently Completed Work(long)

Andy Lincoln,in Dearborn,MI

>Bill,

Sorry, but the Vineyard Cabinet will not fit into the new mailbox.

I wonder if one forever stamp will cover the postage though???

Thanks for the compliments,

Andy

Re: Recently Completed Work(long) *LINK*

#4

Re: Recently Completed Work(long)

Larry in NW Ohio

>Andy That about how long it`ll take to get to the address you want to send it to- Forever. That is an absolutly beautiful cabinent. I wish when someone would do fuming on wood like you worked on would also finish just the normal way. So I could see what the difference would be between the two. Thanks for posting. Larry

Re: Recently Completed Work(long) *LINK*

#5

Re: Recently Completed Work(long)

Andy Lincoln,in Dearborn,MI

>Larry,

I don't know what the "normal" way of finishing would be in the case of Arts & Crafts style.I'd have to look up a couple reference articles ...seems to me Jeff Jewitt had an article on using dyes to get to the right look and color.

For me I think the fuming technique is rather simple and mostly painless.In the case of teh mailbox/address plaque I put the completed pieces in a rubbermaid tub along with a plastic butter tub with household ammonia in it.I placed a plastic garbage bag over over the top lip of the rubbermaid tub before putting the lid on.In my small brain it made me think it was "airtight".After 5 or 6 days I opened the container and found the QSWO had turned to a gray,ashy color.

Here is a quick photo showing the white oak before fuming and the piece below shows 1/2 fumed and 1/2 fumed and wiped with a coat of Waterlox.

From


Hope this helps,

Andy

Re: Recently Completed Work(long) *LINK*

#6

Re: Recently Completed Work(long) *LINK*

Andy Lincoln,in Dearborn,MI

>Larry,

Here is a how to article posted on Jeff jewitt's site regarding using dye stains to achieve a mission style/color finish.


Homestead Finishing Products

Re: Recently Completed Work(long) *LINK*

#7

Long, but oh so good

Stephen Kirk in Quakertown, PA

>Always good to read an article with some good work shown. I love how that oak browns up when fumed. But boy, that figure on the cabinet is real pretty to look at.

Hope that vanity comes out as nice!

Re: Recently Completed Work(long) *LINK*

#8

Another Jeff J Mission Finish *LINK*

mdclor

>Here is an older schedule from Jeff. I haven't tried it, but it may have some value for someone. I really like the results from his newer schedules. However, I am tempted to try fuming with household ammonia and finishing with satin Waterlox like Andy did.


http://www.woodcentral.com/bparticles/missionoak.shtml

Re: Recently Completed Work(long) *LINK*

#10

Re: Recently Completed Work(long)

andy rae

>Hey, Andy� I love the work, especially the pegged joints. That curly maple spanks!