Re: Stretchy pallet cling wrap *LINK*
Grant Smith(remove 1 for email)
>I make small boxes often. When it is time to clamp up a mitered box, I first reach for my Frame Clamp, made by hirsch. I have since bookmarked a link to how to make one myself, however (see below). This clamp could be easily modified to work with any shape box... just change the angles of the clamp blocks.
But I also make flag cases (three sides and a right triangle), five and six sided boxes, etc. Here's how you clamp up any shallow box with mitered corners:
Say you are making a shadow box that is 2" deep and ten inches on a side. It could be any number of facets..the process is the same:
-cut your pieces as accurately as you can...ask at WC if you need help making them accurate. Very lightly sand the outside corners of each mitered piece so it won't cut the tape (see below)
-Lay the pieces out end to end and inside up on a flat surface.
-Clamp a straightedge to your bench at least as long as the total lengths of all of the parts
-Lay a piece of clear packing tape longer than your facets by at least 4" or so (or better yet, strapping tape) sticky side up parallel to the straightedge. You may need to hold the ends down by taping them or have an assistant hold it down and taut
-Now, beginning an inch or so from one end of the tape, place your mitered sections end to end tightly against one another on top of the tape and against the straightedge.
-When all of the pieces are in place and pressed to the tape well, apply your glue to the miters and install the box bottom or any captive parts
-starting at one end, roll the box up and use the tail of the tape to secure the last joint. Lay the box bottom on the bench and hold it with one hand while you further smooth the tape and make minor adjustments. If all looks well, move on to the cling wrap clamping below.
Cling wrap clamping:
Depending on the size of your clamping needs, you can use the cling wrap in 2, 4, 6 or wider widths. It is the wrap used at homecenters for binding pallets and bundles of long objects together for customers and overhead storage. Great stuff... stretchy, strong, and stickyness free. They sell it at homecenters, too for about $5 per roll for a handled spool.
Once you have your project glued up with the packing tape trick above, get out the cling wrap and pretend you are a spider. On a four or six sided box, I begin wrapping the wrap around the outside of the box in ever tighter passes. I'd wrap it maybe ten times around and call it good. If you doubt how much force this applies, then just wrap some around your hand in the same way, and you'll become a believer. The packing tape provides alignment, your accurate miters provide the tight joints, and the stretchy wrap provides the clamping force.
I get my stretchy wrap free most times. Whenever I'm at Menards loading up something that requires wrapping, I make sure to mention to the clerk that I SURE COULD USE SOME OF THAT STUFF AT HOME!. Often, they toss it in my truck and say TAKE IT!. It aint stealing if they give it to you.
Also see this link at Fine Woodworking for more clamping tips:
http://www.taunton.com/finewoodworking/pdf/FWW141-044.pdf
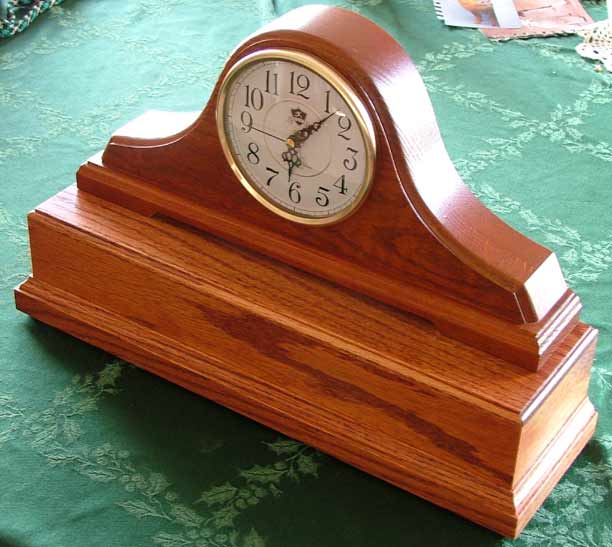
The pet urn (bottom part) I built for a friend pictured below was clamped using the packing tape/stretchy wrap trick.
Regards,
Grant in Iowa
frame clamp