so this is what I'm carving.... never use a sharpie to draw your leaves... have to sand it off...lesson learned... yes.. my shop is messy.
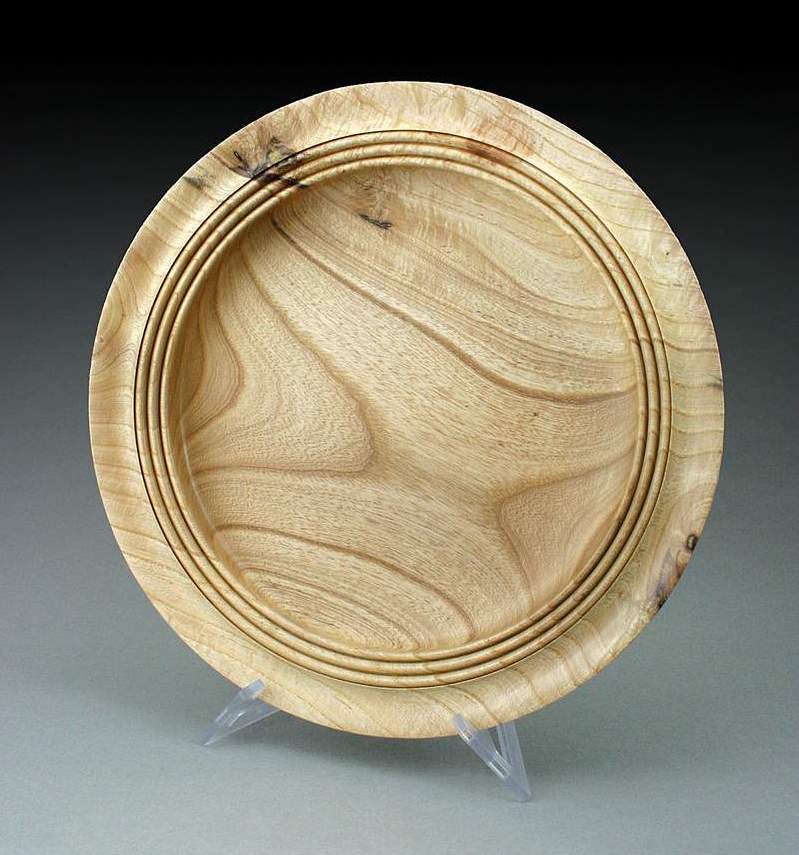
attached is a photo of my hollow form..
next photo is a sanding pad i made for my weecher using a roofing nail, sponge pad from hobby store, a small piece of velcro, and a piece of sand paper..
the next photo is my plug cutter being used on my drill press to cut out micro disks and micro sponge pads for the sand pad... one issue i have is i use CA to stick everything together.. and the heat generated by the friction of sanding melts the CA... even at its slowest setting on the weecher... any ideas?
I've been using all kinds of CA glue since 1975 on all kinds of applications with many different tools, and I have never seen an instance of heat from sanding friction melting CA glue.
CA glue softens at about 150 degrees F. Have used a soldering iron/gun on occasion to get is soft for dis-assembly.
That suggests that you are pressing too hard (building friction heat); or are running it at too fast a speed; or using too fine a grit to remove stock.
I suspect you are trying to get rid of sharpie fast and heating up the glue.
Use courser sandpaper at the start of removing the sharpie. My choice when I have to remove deep scratches or other defects is to turn the lathe off and use a cabinet scraper then go back to sandpaper.
Your method of using plug cutters seems to me an expensive way in the long run to do the job. If you take into account what the cutter cost and the time you'll eat up sharpening them I think you would be better off using the method I use.
My way of doing it isn't new but I use several diameter steel pipe 6" long piece is good for this. Take it to the bench grinder and grind in at one end to look like the cutting part of the plug cutter. Then using a block of hardwood, hammer and the piece of pipe for the size disk I need use it to cut out the disk. If you use a motion that walks the cutter edge around the disk outside edge it goes much quicker. You should be able to get it down to 4 hits on 1" diameter disk. Zinc coated or galvanized pipe is cheaper than the black pipe.
WEAR eye protection when hitting the pipe with a hammer, those little sparks can blind you really.
Here is what you need to do for your small sanding disk.
Switch to sticky back adhesive. Before gluing on the felt pad, I scuff the plastic backer on the shaft with very coarse abrasive, then spray it with high strength contact cement. At the same time, I spray enough to saturate my felt, which is actually punched out of and old polartec sweater.
When it is dry enough, I stick the two together. If the front side looks dry, I may spray it again. Once this is dry, it is a fiber reinforced flexible rubber pad which the adhesive backed disk really bond great to. In fact, you can't peel them off, without holding the dull disk agains a scrap hard enough spinning to heat it up. The adhesives get soft from the heat.
I like the red Diablo disk that I get from HD. They seem to cut fast and cool, and hold up well. Start with the coarsest you can find, 24 or 36, then skip to 120 then on to 180 or 220. You can skip going through all grits.
I repair my 2" sanding disc pads using Goop thinned with toluene. The foam gives out before the Goop does. I also stick the pad in my vise tightened down just enough to keep it together and in place for an hour or so initially then let it sit for 24 hrs before use.
Soft led pencils work wonderful for marking wood for carving or burning. Use a something like a 2B. It marks well, doesn't dent the wood like a #2 will, and you can wipe it off with alcohol when your done if you don't carve it away in the process.
I agree with you on the 2B lead, I've used them for long time and also favor the Black Miranda. I liked them because it was the first brand I found that put the lead in the center of the pencil.
I'm down to my last one of those pencils and local office supply isn't carrying them any more. Cheap pencils don't worry about led being centered it seems.
I'll check out amazon next and see if then got them but I don't want to switch.
BTW: I have 3 pencil sharpeners in shop, one only has 1 cutter barrel, other one has 2 barrels and third one is for oil artist pencils and makes a different shorter cut (steeper angle).