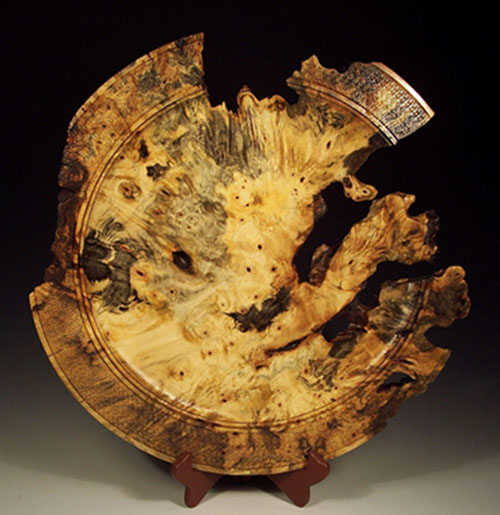
I turn every Thursday and Friday at Frank Penta's house. He was making some plates a while back and I thought it was a great opportunity to use up some 1" lumber I've been hanging on to ever since woodturning took over my flat work. :-)
These are Padauk 8" plates with different laminated woods. The final depth is more like 7/8" due to my non-level laminating techniques.
Amazing how much space can be made in a 1" wide board with some careful chucking and design.
They all seem to have they're own personality and hopefully each person will find their own favorite. I have a bunch more in the works that are quite different.
Some shots show the bottom and the simple black maple stands. The can also be placed diagonally in the stand and each turn creates another personality.
These are simple to make and the laminating wasn't all that bad time wise. Really had fun making these and I'll post some more as they get finished.
These are very nice and the laminations sure are a distinctive touch to each. I particulaly line the subtle transition into the inside bowl and the rounded corners.
I have turned some square blanks but have left hard corners. The softer corners give them a whole new look.
Hi Steve! The finish is Tung Oil and Beall buffed. The actual name is Homer Formsby's Tung Oil Finish (Lowes). This might not even have any real Tung oil in it, but I've been using this for years and it's my standard finish.
Absolutely spectacular!!! I very much like the treatment around the foot recess. Is it done with the "elf" (I think that is what it is called)? All the time spent in glue up was worth it. Thanks for the pix.
You're very observant, Ron. Yes the texturing was done with the Elf tool. Both of the spiral type textures (Elf) are actually set in a cove. The other texture on the the bottom is the Sorby Texturing tool used straight up. Thanks for asking.
Very attractive plates, Don. There have been some great ways posted that demonstrate how to use up all those small pieces, but I can't recall seeing any as beautiful. Well done!
Those are very striking! On a couple, I'm thinking you will have some cross grain construction problems. I have a lot of people tell me they don't have trouble, but with my furniture making background, I would be worried about a couple of those cracking this summer. Time will tell.
They look great! I see a lot of butt joints in some of the lamination. I would think that the end grain to cross grain wouldn't hold. How and with what do you glue those?
Jim, these are 1" thick pieces laminated in long strips (about 24"), then cut on an angle on the table saw and glued back together in smaller strips that book-match each other. Then the thin "framing strips" are glued next to them. Finally, they are glued into your wood of choice, band sawed to shape and sanded on a disc sander. Then turned.
I used Titebond II for gluing. So far, so good with holding together. Many of these have been made and even with the chucking, they've held together. Of coarse, time will tell with the weather. So far, these have been all over the place in different weather and humidity and temperature. Still holding, but wood is wood.
Don, beautiful work and great use of those cut offs and odds and ends. I think this idea is very unique and I love the rounded corners it has a European style to it and contemporary at that. Thanks for sharing.