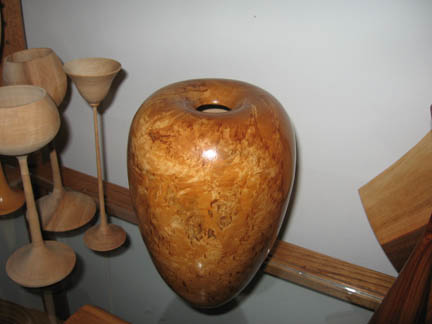
Does anyone remember where the information is regarding making little raised "dimples" on wood by striking it with a round die and then wetting it down with water to make them rise....I know I'm missing a couple steps in the process....any help would be appreciated....thanks...Mac
If I remember correctly, the piece would be struck where "dimples" are desired, then sanded smooth, then wet the surface to raise the dimples proud of the sanded surface.
Tryed it a few minutes ago,works like a charm..need to refine the technique a bit and take a bit more care with the depth of the depressions and I think I'll have it down......thanks guys Mac
Ive only done this technique on a flat board where you can take a belt sander and get down to the bottom of the dimples. Seems to me that it would be hard to sand down that far on a rounded surface of a turned piece. What about using a very fine sheer scraping cut to get the excess wood off in to the controlled depth of the dimple holes?? This assumes you start with a dry true surface of the turned object. My guess is the end grain would act differently from side grain dimples.
I've tried it and as long as you re-mount the piece so it is centered the same as originally(I always make a mark on the #1 jaw location)you can do a shear scrape that works quite well,if you go too deep,you will get a slight flat spot on the top of the dimples.....better to err on the light side when cutting......also,it seems to help if you dampen the surface after making the shear cut to raise the grain,then sand the fuzz off.......that reduces the grain raising when you steam the piece....thats what I have found out so far....I'm sure that I'll find more steps are needed to get it right............also.....it's best to do the dimpling before you hollow the vessel,that way you have more volume to dampen things when you do the dimpling,and you can bring the tail stock up to firm up the vibration....
Ray you can cut or shear scrape. My first ones sucked because the depth of the punches were all over the place. That's fine if you want a surface like the frog they show when you look up Ukibori. I wanted a more even texture so I made a nail with a washer soldered to it at the depth I wanted. that way every bump was the same depth. They didn't all come up exactly the same but it still looked good.
As long as you get the surface down to roughly flush with the bottom of the bumps I'm not sure it matters how you do it. Looking forward to hearing about your experiments as I've only done this a few times myself and would like to learn more.