Why Grinders & Jigs To Sharpen Tools?
charlie belden
This is a follow on to my previous post on the use of jigs and grinders.
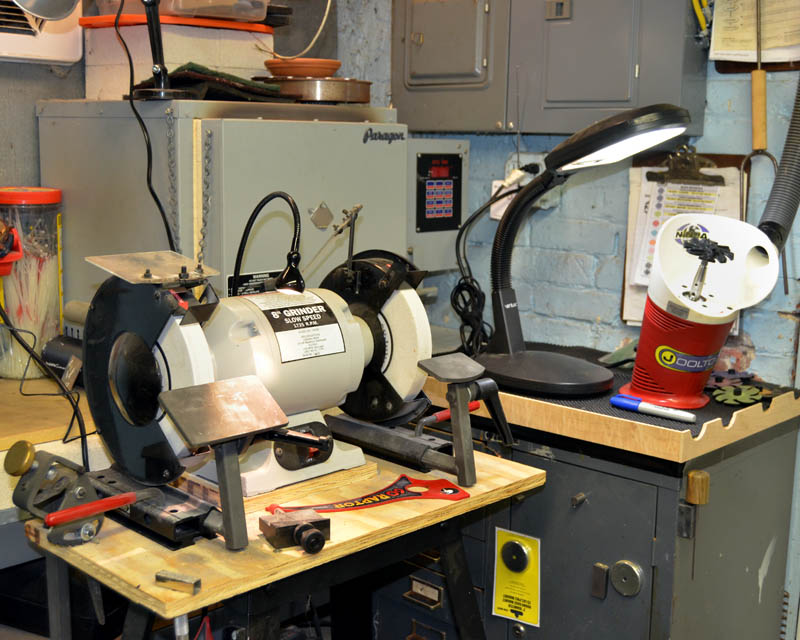
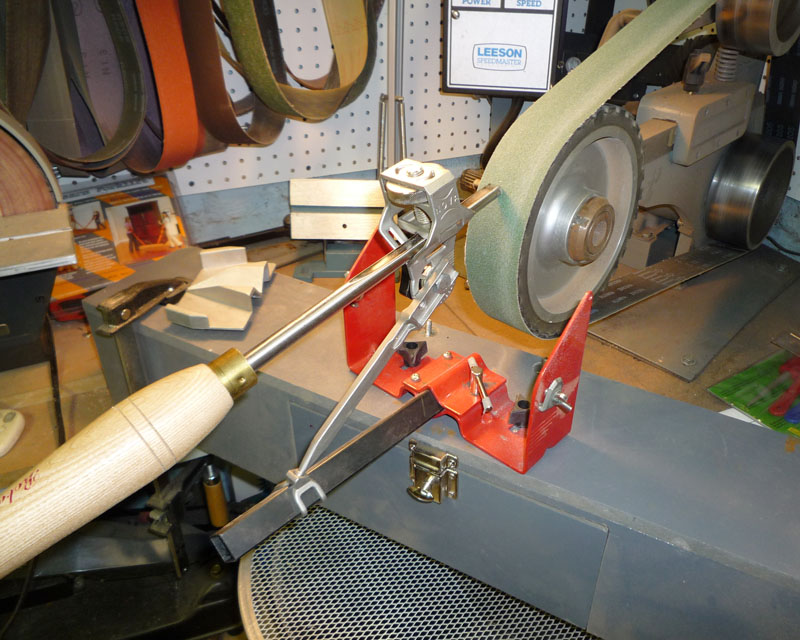
The Tried & True method of sharpening a finger nail grind is to use a grinding wheel and a jig - or two. The benefit of the method is said to produce a consistent grind and minimizes the amount of metal removed from the tool for each sharpening.
However, the Tried & True method has several DISADVANTAGES.
1. You can't SEE what's happening to the bevel - because the tool you're sharping is in the way. Yes, you can look in from the side - but with a finger nail grind - you'd have to keep moving your view from left to right - as you're sharpening. Not very practical in practice. Grind a little, check - and grind some more seems inefficient - one of the reasons for using jigs in the first place.
2. Because setting up a finger nail grind jig involves four variables
- the amount of the tool extending out in front of the jig
- the angle of the jig's "leg"
- the distance from the front of the grinding wheel to the "heel" of the horizontal support for the jig
- the grinding wheel's diameter
the jig is typically only set up ONCE - for ONE bevel angle.
The obvious compromise of the grinder and jigs sharpening method is the single bevel angle. But in actual use, One Size DOES NOT Fit All. With bowl gouges for example, wide shallow sloped bowls require a different bevel angle than a tall narrow bowl - or box. With grinder and jigs it's typically Go With The Middle Of The Road - and get a grind that works adequately for both types of bowls, but not as well as a pair of bowl gouge each ground for a specific function.
This assumes of course that you can't afford two, three or more jigs, each set up at different bevel angles.
BUT - other, better ways, are now available - for sharpening. Two come to mind - the JoolTool and the WorkSharp. With both tools, the tool being sharpened is held UNDER the sharpening wheel, bevel UP - where you can see it - because the sharpening material is on the underside of the abbrassive device. With the JoolTool, the abbrassive is on what looks like a NInja throwing star - basically a wheel - with abbrassive on the "spokes". The WorkSharp uses a slotted disk with slotted abbrassive stick ons. Neither requires using any jig or jigs.
search for JoolTool and WorkSharp on YouTube to see these systems and how to use them.
Once you HAVE the grind you want, you merely blacken the bevel you want to sharpen with a black Sharpe pen, bring it up to the abbrassive from below - as you watch where it is through the spinning abbrassive device - then remove all the BLACK. When the black is gone - you're done - and almost no metal is removed from the gouge. Both sharpening systems have much smaller foot prints than a bench grinder and jigs, don't generate near as much dust and storing all the stuff for the system doesn't take hardly any room.
Ironically, turners who are accustomed to and quite adept at moving a gouge around during a cut, find "free hand" sharpening a daunting challenge - even when seeing exactly where they're sharping. If the surface is still black - you haven't sharpened that area. If it's not black - you have.
So why aren't most turners sharpening From Below and seeing what they're doing?