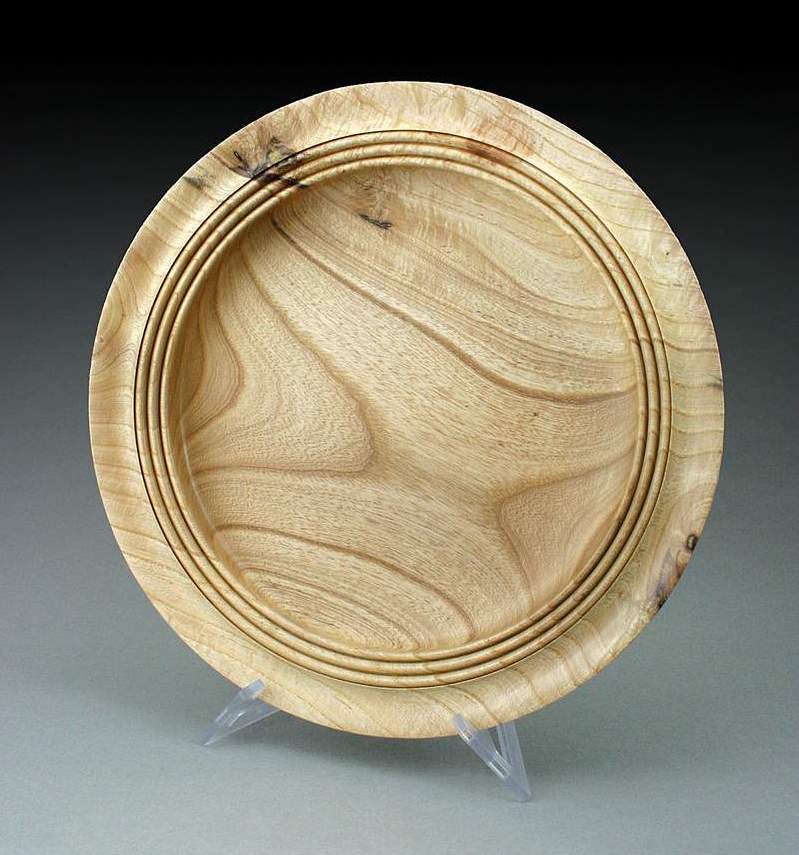
combining images in Photoshop (xLong)
John K Jordan
>As requested, here are some basic steps to combine two flat images (i.e., JPGs) in Photoshop.
The steps vary depending on the effect I'm after, but I can list the basic steps and clarify if necessary. Note that I work with large dual monitors and use the second monitor for the layers palette and various dialogs to keep them out of the way.
NOTES:
- There are often MANY ways to do each thing in Photoshop - the key is understanding what needs to be done, finding the options, and learning what works most efficiently for you.
- These steps require a basic familiarity with the commands and nomenclature of Photoshop, for example it is helpful to know what things are like the layers palette, move tool, levels command, etc. If new to Photoshop and unfamilar with a term, I recommend to stop and look it up in the Help file.
- This is with Photoshop 7 but most versions have the same basic functionality.
- The steps below assume Windows - Mac keystrokes may be different.
OK, I might do something close to this:
To combine two images
- open both images in Photoshop
- consider the placement, i.e., what might be overlapped or juxtaposed
- rotate each image if not straight (I use the Measure Tool/Rotate Canvas:Arbitrary trick)
- crop the primary image keeping the intended overall composition in mind (the primary image will become the composite)
- double-click on the thumbnail in the layers palette to turn it into a layer (don't skip this!)
- increase the canvas size to give plenty of working room (Image/Canvas Size)
- double-click the Hand Tool in the toolbar to fit the entire image to the screen
- drag with the Move tool to position the major image within the canvas
- select the secondary image and crop as needed
- drag the thumbnail for the secondary image from the layers palette and drop it anywhere on the composite canvas
- select the primary image (the composite)
- drag a thumbnail in the layers palette if necessary to put the correct layer on top
- make sure the layer for the secondary image is selected (I turn on Auto Select Layer for the move/select tool and just click on the image)
- press Ctrl-T to activate Free Transform for the secondary image
- while holding the Shift key to preserve the image aspect ratio, drag any corner to resize that image
- drag anywhere in the image to position it, readjust the size as needed
- press Enter to set the changes
- add a background: add an empty layer (Create New Layer button at bottom of the layers palette), drag this new layer to the bottom of the layers palette
- pick a color for the background layer - I generally use the eyedropper, pick some color on the images - this sets the Photoshop "foreground" color
- make sure the background layer is selected in the layers palette
- press Alt-Backspace to fill the background layer with the "foreground" color (confusing, perhaps!)
- click the foreground color swatch and bump the color as needed, Alt-Backspace to refill (I tend to desaturate the color a little by dragging the marker in the color picker to the left)
- you can adjust color balance and brightness for the images at this time or after resizing the entire image - I'll list some steps separately below
- resize the entire image to fit comfortably on WoodCentral, say something like 640 or 700 or 800 pixels across, being sure Constrain Proportions is set
- double-click the Zoom Tool in the toolbar to display the image at actual size to double check what it will look like, undo and redo the sizing if necessary (avoid resizing a resized image)
- for borders, set the foreground color swatch to some contrasting color, right click on each thumbnail in the layers palette one at a time and choose Select Layer Transparency, and choose Edit/Stroke (I prefer the Outside option, usually 2 pixels wide)
- NOTE: if you want to use a drop shadow, it is important to resize the total image as mentioned BEFORE adding the drop shadow since the shadow doesn't get resized unless you first flatten the image (which you don't want to do at this point)
- for a drop shadow, double-click to the right of the thumbnail in the layers palette to open the Layer Style (effects) dialog, select Drop Shadow, adjust position, transparency, distance, spread and size as desired - click OK
- if setting a drop shadow, right click on the Effects entry you just added in the layers palette, Copy the layer style, then Paste it onto the secondary image
- if you didn't adjust the color balance and brightness of each photo in the composite, do it now (separate steps below)
- edit any dust, dirt on the photo backdrop, etc
- apply any sharping desired (Filters/Unsharp mask)
- save the composite image: I choose File/Save for web, Optimize, Optimize to file size, set to 80K, then save the file with a new name.
- I generally don't save the composite PSD file since all this is quick to repeat if necessary
To adjust color balance and brightness
I like to do this after the two images are composited so I can see what they look like next to each other. A calibrated monitor helps. Note there are two basic organizational ways to adjust photos and many different procedures. For difficult or complicated adjustments, I may add a levels Adjustment Layer (Layer menu) and set it to "Group with previous layer" - this allows you to easily go back and tweak each image as necessary. The quicker way is to simply use the image adjustment command - this applies the adjustment to the layer itself and shouldn't be used repeated to tweak an image. That's the method I'll describe here. Also, I tend to do most adjustment with the Levels command so that's the one I'll describe below, but the other adjustment methods such as Curves can also be used.
- select one image layer in the layer palette
- press Ctrl-L to bring up the Levels dialog
- if the color balance needs to be adjusted, press Ctrl-1, 2, and 3 and adjust the levels for each RGB color channel as needed (this can be a tutorial by itself)
- press Ctrl-' to pick the combined RGB channels and adjust the overall brightness and contrast as desired. Sliding the little right triangle arrow to the left will make highlights (and the entire image) brighter, sliding the left arrow affects the shadows but will make the whole image darker, sliding the central arrow will adjust the midtones
- no need to adjust the Output Levels sliders unless you want to decrease the contrast for some special reason
- you can click Preview on and off to see the effect
- if things get fouled up, at any point click Alt-Cancel to reset
- select the second image and repeat, balancing to the first
-----end of steps-----
Note that all of this can be done far, far, quicker than even reading through it. After a few times, it becomes second nature and like I said before, can usually be done in just a couple of minutes. Remember, there are many other way to achieve the same thing. There are also many other effects to exercise your creativity! What I try to do is imagine what I want to achieve, then figure out what it takes to make it work. Doing it the other way, playing with the functions to see what you get, can lead down new paths but it can also be a big waste of time!
Note also that I wrote all these steps from memory, but with reasonable care, so if something doesn't make sense just holler. I could refine this for hours, but I'm headed out to move some dirt with the tractor now!
JKJ