Home Articles Forums Gallery Marketplace Videos

WoodCentral Forums

Knowledge You Can Build On — Est. 1998

VPS-Level Performance. Fully Managed. No Hassle.

Turning elm: what I learned

Posts

Turning elm: what I learned

#1

Aage Rendalen

Turning elm: what I learned

Aage Rendalen

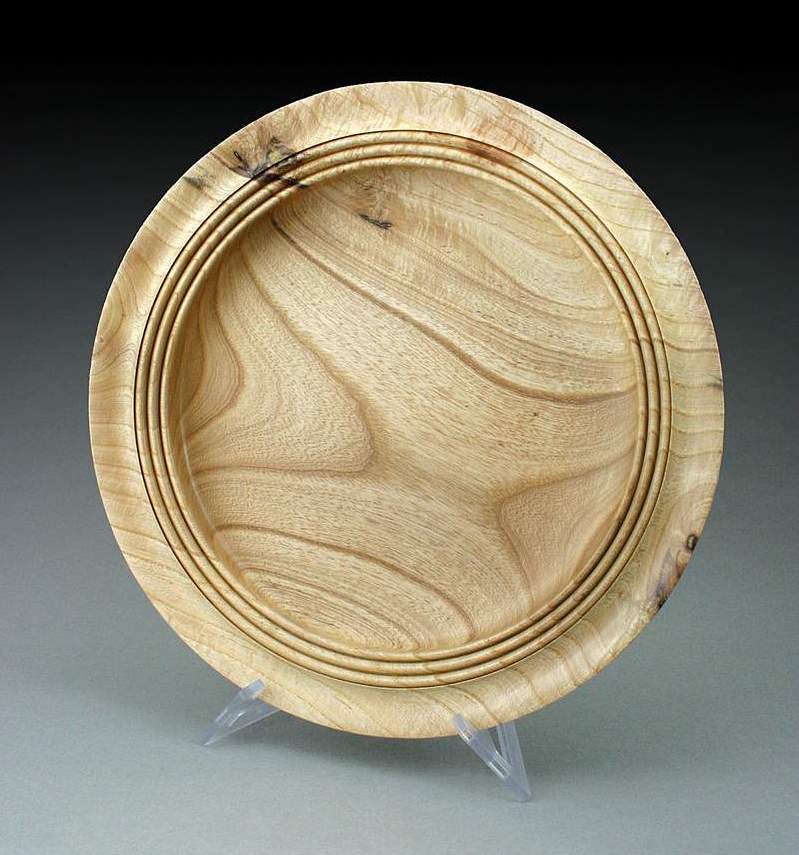
>Around December last year I acquired some big trunk pieces of elm and asked you all for your experience with it. I remember one of you saying that elm was well worth the extra effort I could be expected to encounter. And that sums up my experience as well. I've finished turned some large elm bowls and platters and like the results. Here is what I learned:

1. Wide rimmed bowls twist so much after being roughed out that you can easily lose two inches or more of your original diameter.

2. Your typical salad bowl shape does not warp nearly as much.

3. The zig-zag grain pattern is not easy to deal with. At my skill level, I struggled to avoid tear-outs that manifested themselves in the shape of deep pits. While finish-turning the outside of the bowls, I seemed to achieve a better result at times going against the grain (from larger to smaller diameter). The inside represented no problem, except that you need really sharp tools as you approach the center of the bowl.

4. On some of the bowls I ended up with some blotches (spalting?)in the sapwood. On one bowl with a lot of sapwood it pretty much ruined the looks of it. I finished it with tung oil, but it was still ugly, so I thought, what the heck and poured some blue (cyan) computer ink into it (from one of these messy refill kits that don't work)and brushed it on. Much to my surprise I gave the bowl a beautiful, glassy blue look. Even my wife who hates colored bowls fell for it. I finished it off with sprayed on polyutherane. What surprised me was that the color would take, on top of tung oil.
Re: Turning elm: what I learned

#2

Re: Turning elm: what I learned

Carole Valentine

>Well let's see a picture! Never heard of using printer ink, but considering the way it stains your hands permanently, it should stick to just about anything! LOL

I am curious about your statement regarding cutting against the grain. How did you have the blank oriented? Pith at the top of the bowl or pith towards the chuck. Normally cutting larger to smaller (downhill) means you are cutting WITH the grain. I think ... shoot I do it automatically and when I stop to think about it I forget. LOL

Re: Turning elm: what I learned

#3

Re: Turning elm: what I learned

Lan Brady

>Aage,

I like the colors in the Dollar Tree printer ink.Plus the refill needle goes good as a cap for your CA glue bottle. AND, you get an eye hook for midsize bird houses. What more could you expect for a buck!!!!!

Keep up the good work, experience will grow with every piece.

Lan

Re: Turning elm: what I learned

#4

Re: Turning elm: what I learned

GaryG in MD

>Carole, If you think about the length of the fibers you're cutting into, you want to cut from shorter fibers into longer fibers so the ones you are cutting into are supported by yet longer ones underneath the cut. For a side-grain bowl, regardless of the orientation of the pith, this means that on the bottom of the bowl, you want to cut from the center to the edge (from a smaller diameter to a larger diameter). If you are on centers, this is more awkward, but it is supposed to give the best cut. In my experience, this is almost always true. The opposite is true when hollowing side grain -- you want to go from a larger diameter to a smaller diameter, for the same reason -- the longer fibers are under the cut and supporting it. For end grain, reverse all the above directions, but for exactly the same reason. The simple way to remember, regardless of orientation, is to just think about the fibers you're cutting, and always go from shorter into longer. ...Gary

Re: Turning elm: what I learned

#5

Re: Turning elm: what I learned

Carole Valentine

>LOL Gary, I am going to have to read that again in the morning when I am not so tired! I do mostly end grain hollow forms which, when shaping the outside, is basically spindle turning.

Re: Turning elm: what I learned

#6

Ric Taylor

Re: Turning elm: what I learned

Ric Taylor

>Aage,

There are many different varieties of elm and they have very different characteristics.. In my area of southeast Texas, one of the more common trees is Cedar Elm. I have turned quite a lot of it, and there has never been an issue with warping or wood movement. The wood is quite stable with a very nice grain pattern.

Ric

Re: Turning elm: what I learned

#7

Re: Turning elm: what I learned

Cyril Griesbach

>Aage,

How did you store your Elm bowls for drying between rough turning and finish turning and did you treat them with any sealer such as Anchorseal? Are you sure your drying methods are such as to minimize the warping?

Re: Turning elm: what I learned

#8

Aage Rendalen

Shape affects warp

Aage Rendalen

>I sealed the bowls with Anchorseal and left them alone from early January to July and August before finish-turning them. I may be wrong but my experience is that shape affects warp. My bowls with a wide drooping platter-like lip warped (twisted) much more so than those with a conventional shape. I was planning on uploading pictures of them but the lowest setting on my camera (480x640) is deemed to large by this web site.

In two cases the warp was so extreme that I put these widerimmed bowls in my fish pond for two days so see if I could reverse some of the warp. (I got the idea from this forum, where somebody had reswollen a cracked bowl and sealed the crack with CA glue--which works beautifully) I can't swear to it, since I didn't do any exact measurements, but it did seem to work. I was able to finish turn these two bowls which I at one point threw away because the warp was so bad that there would have been no rim left. I have another one floating out in the pond right now. I put it in yesterday and will try turning it tomorrow.

Re: Turning elm: what I learned

#9

Re: Shape affects warp

Cyril Griesbach

>Aage,

I never thought of resoaking them. Thanks for that bit of info. Now I just hope I don't need it.

Re: Turning elm: what I learned

#10

resizing pix

GaryG in MD

>Aage,

There are many simple photo programs for your computer that will resize photos as you like. I personally use Irfanview -- it is free, small, and very flexible. Just click on "image" and then "resize/resample". It makes a great viewer too.

You can also go to the Montgomery County Woodturners web site for a link to an elementary resizer. You can do a photo yourself online with no software of your own, but it is a very limited facility. The MCW address is:

http://montgomerycountywoodturners.org/PictureHelp.aspx

There is a further recommendation there for getting Picasa. There are many simple, free utilities -- you don't need to do these things in your camera.

...Gary