Japanese chisels (and converting bench chisel to dovetail chisels).
I have long been a fan of Japanese oire nomi (bench chisels) since I started out with relatively inexpensive ones about 25+ years ago. What became apparent was that even these took a fantastic edge and held it better than premium Western chisels.
Along the journey I fell in love with chisels made by Kiyohisa. These are rather simple looking, but with delicate, clean lines. Nothing remarkable to look at, but oh so wonderful to use.
About 18 years or more ago I purchased a set of Usu-style slicks (paring chisels) from So Yamashita in Oz. At that time there was a 3 year waiting list. Then it became a 6 year wait, and now these chisels are no longer available as Mr Kiyohisa is very frail.
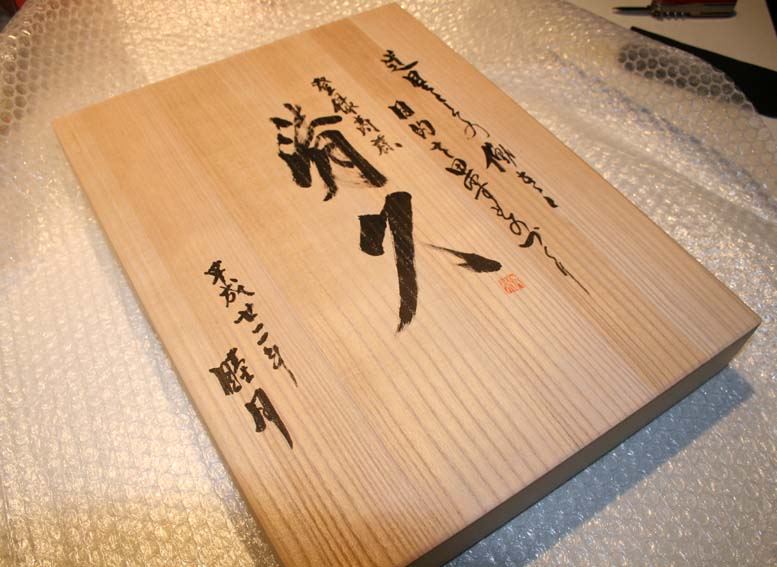
They came in a specially signed box ...

The next great purchase was inspired by David Charlesworth, who had written about Koyamaichi chisels in one of his first books. I searched for years and finally I managed to pick up a few NOS (circa 1980) dovetail chisels on eBay at what I considered to be a bargain price. Note that this was about 18 years ago, long before they were available on Lee Valley.
In 2010 I was contacted by Stu Tierney (who ran Tools from Japan, now closed) to say that he could get Mr Koyama to make me some custom chisels. Note that Japanese dovetail chisels are really only called "dovetail chisels" because of their shape, and not because they are designed to chop out dovetails. They do not have narrow shoulders (lands), but really are just bench chisels (oire nomi).
To the point - but Mr Koyama would custom grind the shoulders to my specs. Well, I could not pass up the opportunity (the three smaller chisels) ...

Interestingly, Mr Koyama was very puzzled about my request for minimal lands. This was not standard.
The final chapter began a couple of years ago. Over several years I had been collecting individual Kiyohisa oire nomi (bench chisels) - what I could find and afford. As mentioned earlier, these are no longer available, and very expensive in a matched set. The ones I found had different handles, which made them look looked a little rag-tag. This inspired me to replace the handles and create a matched set of my dreams.

Wait, there is more! I decided that these chisels should also be capable of chopping dovetails - as mentioned earlier, oire nomi come with high, wide lands which could bruise the front edge of a dovetail socket. I came up with a solution to alter the lands without it being apparent to anyone (unless they were specifically looking for this). The next edition of Fine Woodworking Magazine will carry this as a shop tip.
Below is an extract from my website article:
http://www.inthewoodshop.com/ShopMadeTools/BenchChiselsintoDovetailChisels.html
Those familiar with oire nomi are aware that they are not suited to dovetailing as the sides are square and the lands are thick. Essentially, they are firmer-style chisels.

Dovetail angles are typically spoken of as ratios. The slimmest are 1:8, followed by 1:7, 1:6 and 1:5.
Draw a line 1” across and 6” vertical, and this creates an angle with a 1:6 ratio …

My preferred ratios are 1:7 for most hardwoods, and 1:6 for softer woods or where the angles are to be accentuated. If we have a chisel which can fit inside a 1:6 ratio angle, then the 1:7 will fit as well.
An easier way of creating this angle on a sliding bevel is to set it at 9.5 degrees (which is 1:6).

Now transfer this to a length of MDF or plywood (8” x ½” in this example) …

… and sandwich it between two leaves (here, 8” wide). This will create a jig with a 9.5 degree angle …

While one could use a bench grinder, my preference is a vertical belt sander with a 120-grit belt …

Ensure that the platform is at right angles to the face, and then attach the jig …

Belt sanders grind without much heat, unlike bench grinders. Keep your fingers on the blade and dunk it in cool water if it heats up.
Simply place the side of the chisel against the belt, and pull it across the face. Keeping it moving will reduce the chance of heat focussing on one spot.

The side of the blade will grind from the upper side down, and this makes it quite easy to keep track of where the grinding is taking place. The process is far easier than one might expect, and a side of the blade may be completed in just several light runs across the belt. It is possible to vary pressure if one end is grinding faster than the other end.
Eventually, you will reach this stage …

For Japanese chisels, which are blackened, it is possible to return the colour using black oxide. This is one I sourced in Australia ..
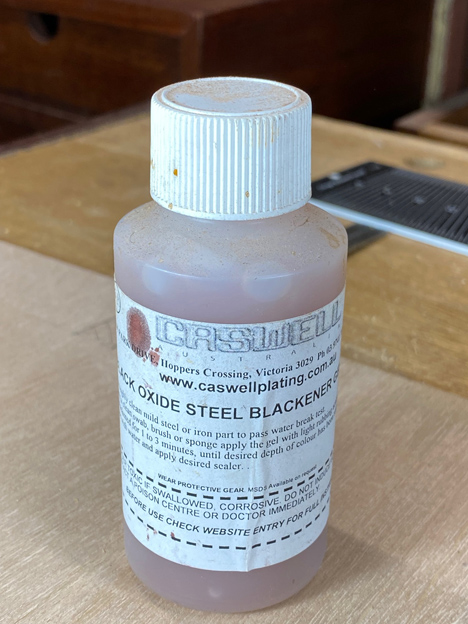
The result, after just a few minutes, looks like it was never modified. I like that – it looks original.
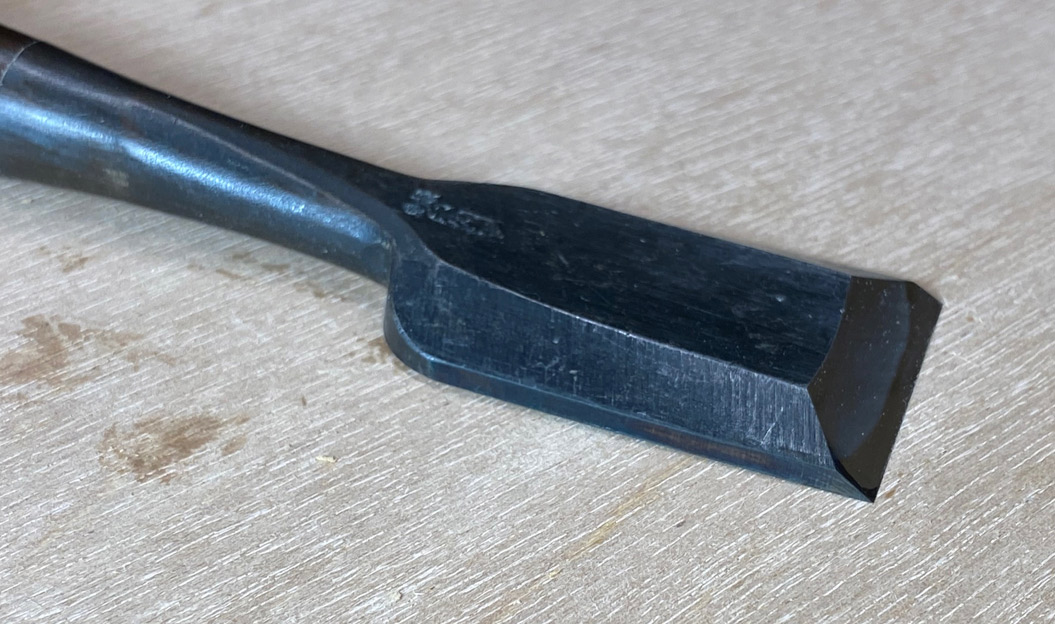
This is how I modified all the Kiyohisa oire nomi. However, it should not be viewed as a method for this type of chisel alone, but for all chisels with high sides and thick lands.
Regards from Perth
Derek





