Home Articles Forums Gallery Marketplace Videos

WoodCentral Forums

Knowledge You Can Build On — Est. 1998

Underbench cabinet: Dovetailing for Blood (Part 2)

Posts

Underbench cabinet: Dovetailing for Blood (Part 2)

#1

Underbench cabinet: Dovetailing for Blood (Part 2)

Derek Cohen (in Perth, Australia)

Perhaps I need to explain the title, "Dovetailing for Blood". In part, the description comes from a book, "Backgammon for Blood", by Peter Becker I read about 4 decades ago. It's about taking the game to the most competitive level. This series of articles is not a how-to about dovetailing; it is about the strategies I use when building drawers. I offer them for discussion and your interest.
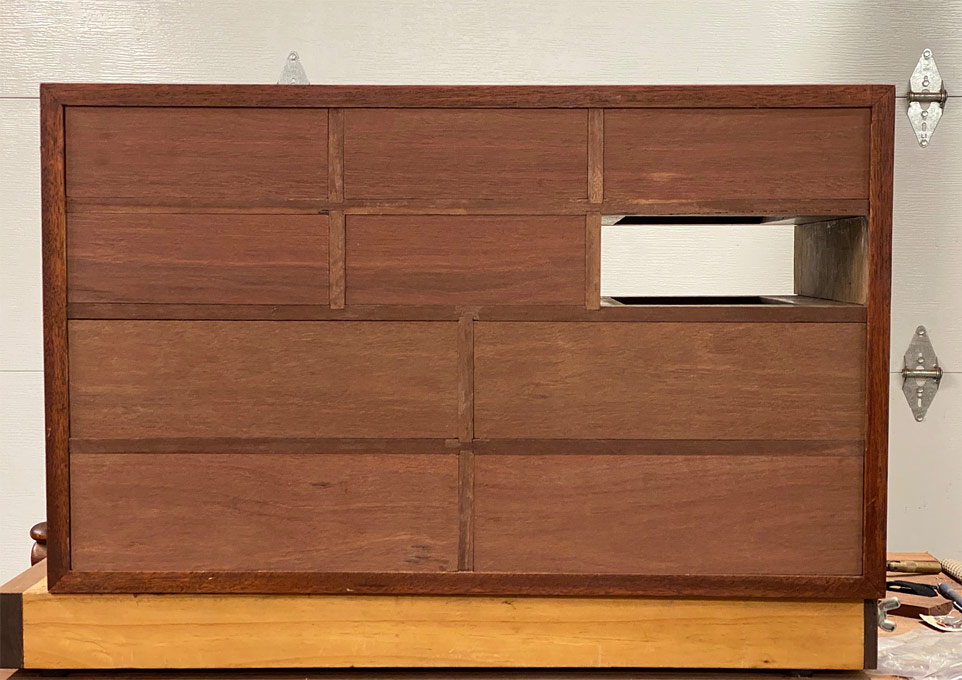

This is the drawer in question.

In the previous article, the focus was on strategies for connecting the drawer front and drawer sides via half-blind dovetails. The aim there - and continued here - is to complete the dovetailing in such as way that the drawer may be glued up, and dry inside the drawer case. The advantage of drying inside the drawer case is that a good fit is assured.

Today the drawer back needs to be attached with through dovetails.
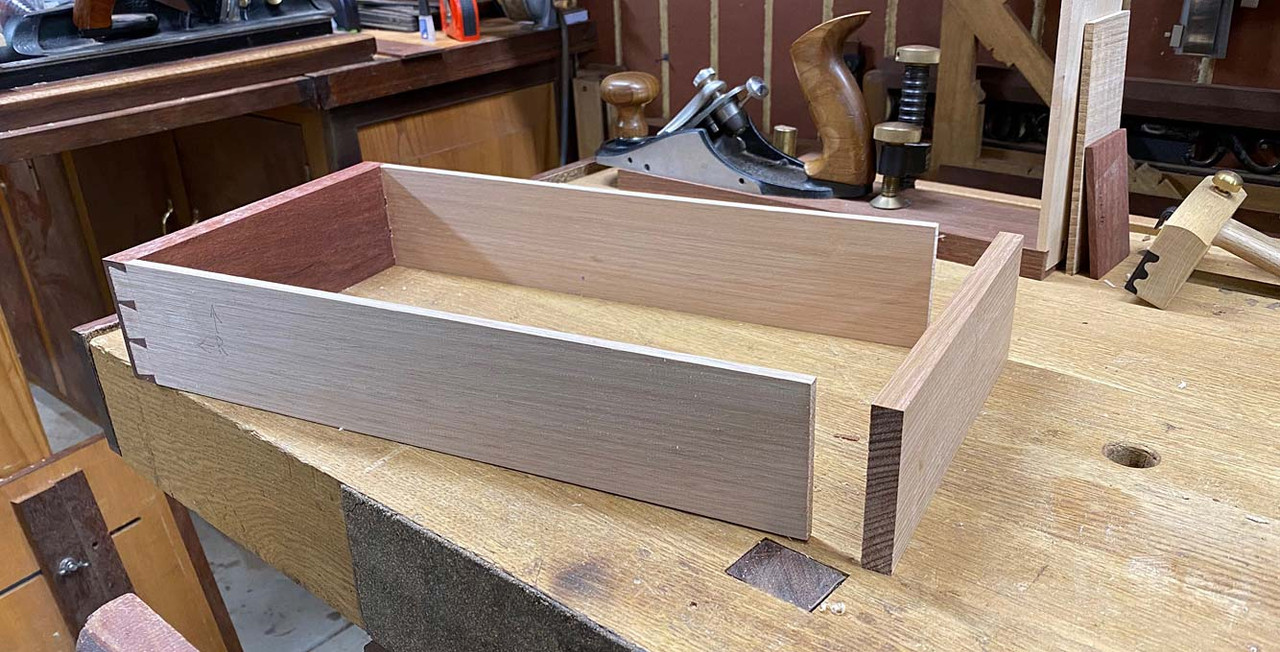

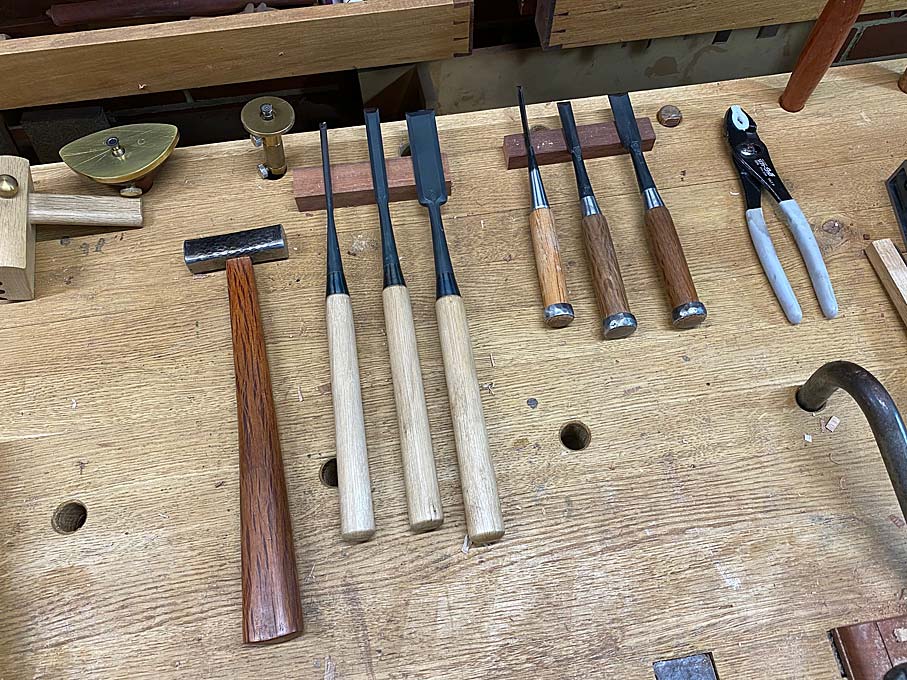
For interest, here are the chisels I used: Kiyohisa slicks and Koyamaichi dovetail.

Noticeable in the drawer above is that there are no grooves for the drawer bottom. These will now be added using a plough plane and a sticking board to hold the work...
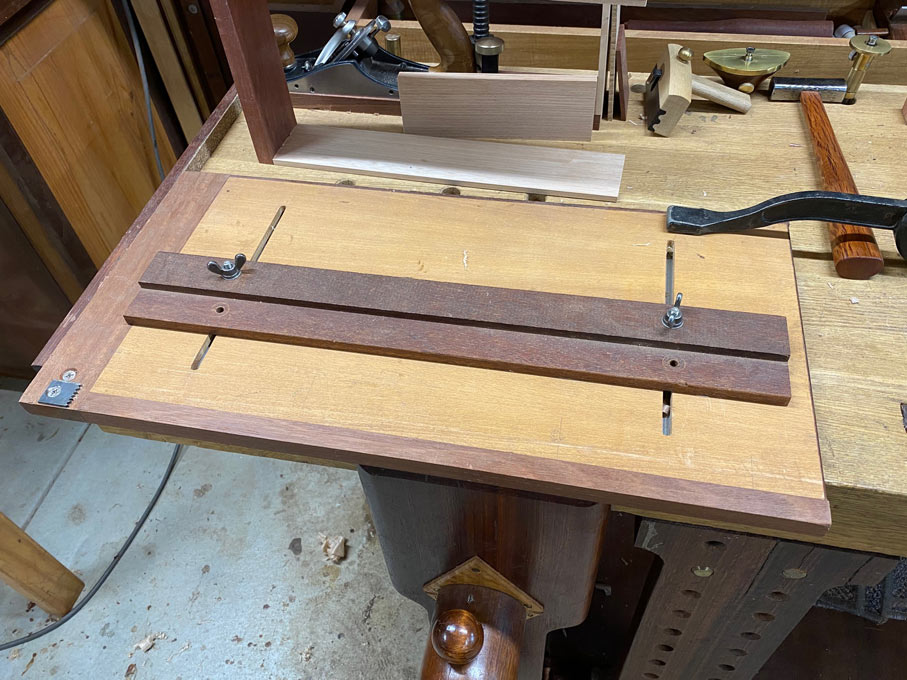
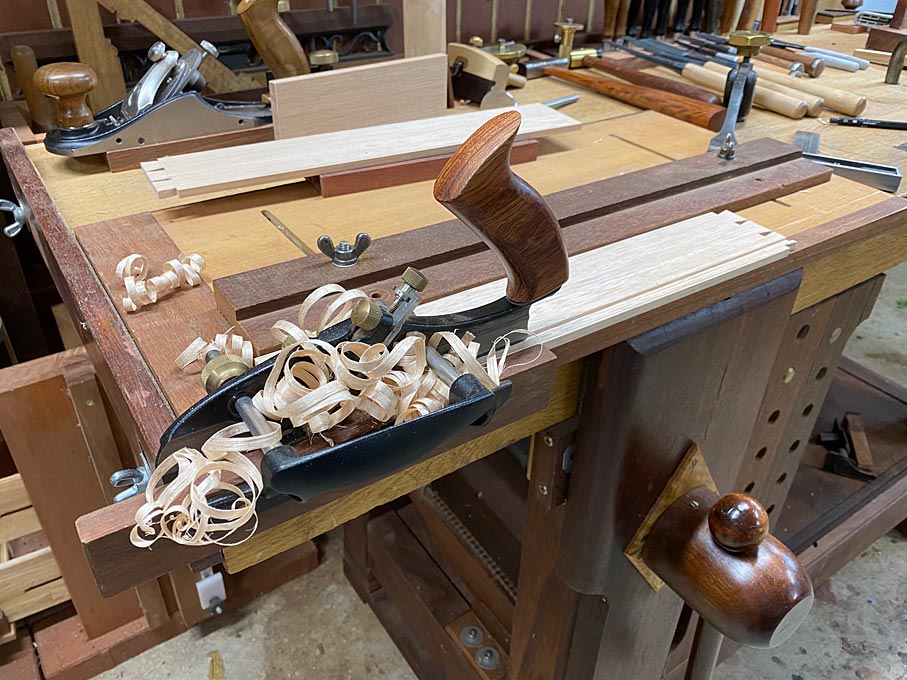

The drawer sides are around 7mm at this stage, with the expectation that they will end up at 6mm. The inside and outside faces have been planed. The groove is 3mm deep ...
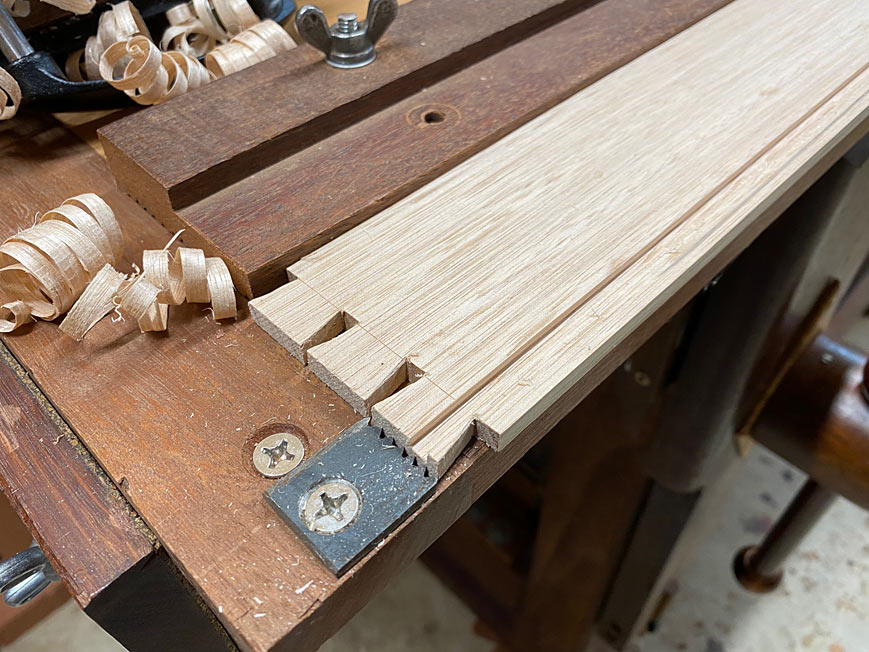

The groove in the 18mm thick drawer front is 6mm deep ...
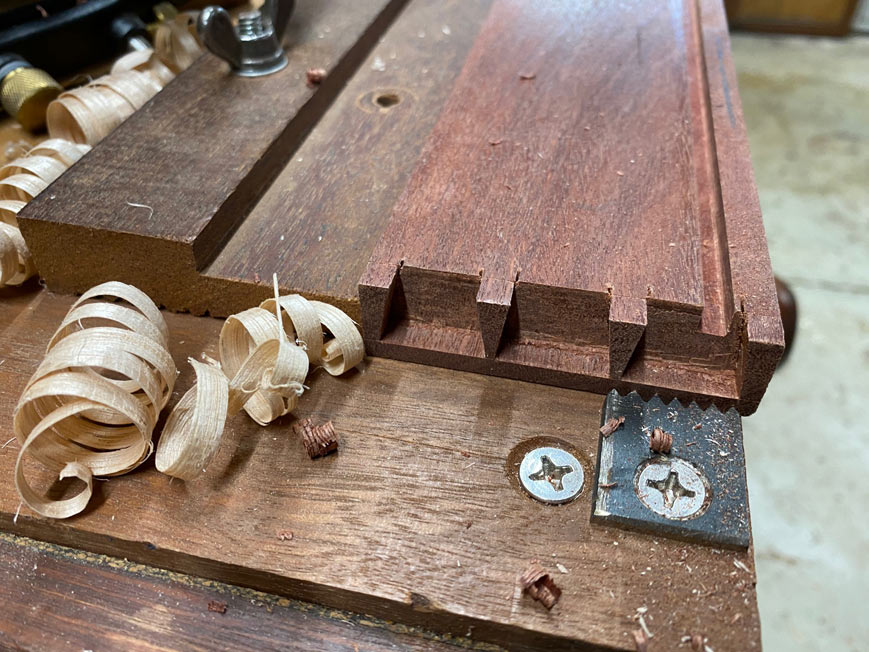

The drawer back receives a shallow groove ...
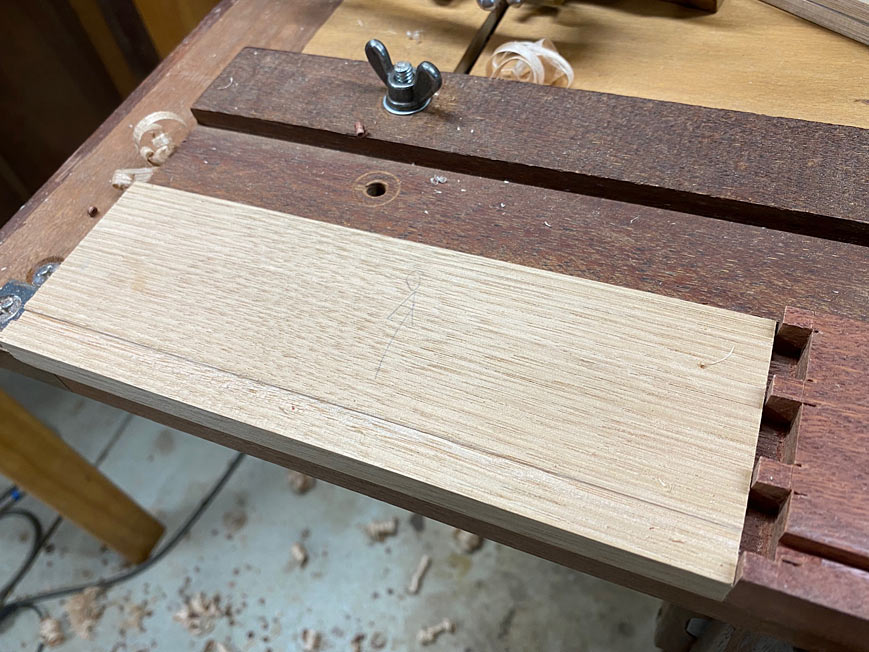

Reason?

The drawers are designed for a tool cabinet. Unlike drawers for the home, where the backs are lowered, these drawers will have a full rear, in height, ending at the drawer bottom. We start with drawer backs exactly the same dimensions as the drawer front. The lower section needs to be removed. The top of the groove marks this position.

The waste is removed on the table saw, a smidgeon grace ...
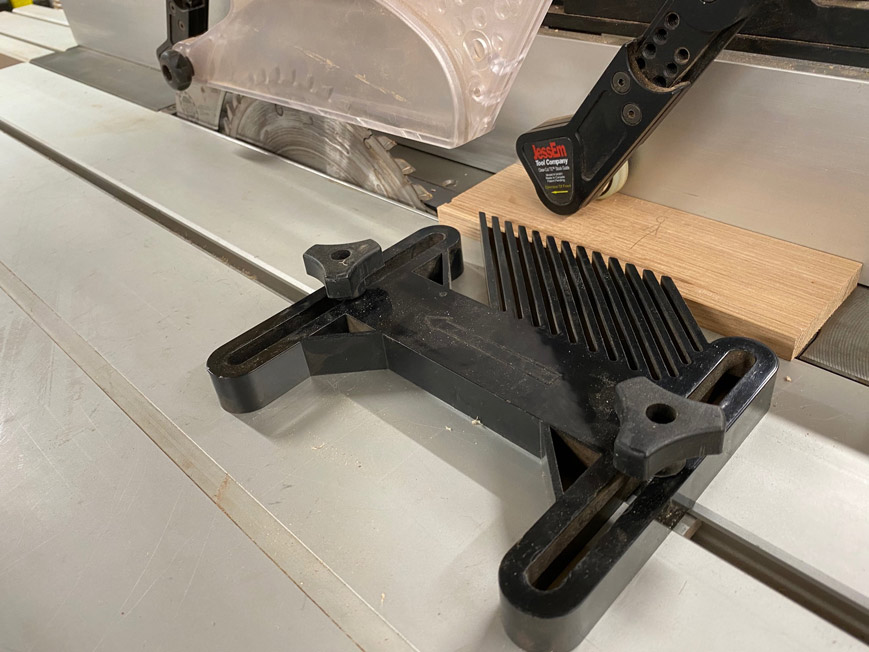

... and the machine marks then planed away.

It needs to be stated that drawers are not the same as boxes. While they may both be dovetailed, the drawer width is determined by width of the drawer case. It cannot be larger or be smaller. The drawer front and back are made as a pair, and their dimensions are not permitted to be altered.

With boxes, one can leave dovetails proud, and then level them to the sides. Or one may level the sides to the dovetails. You cannot do this with drawers, especially if the game plan is to aim for the glued up drawer drying in the drawer case. Consequently, the dovetails must end up flush with the surface ....
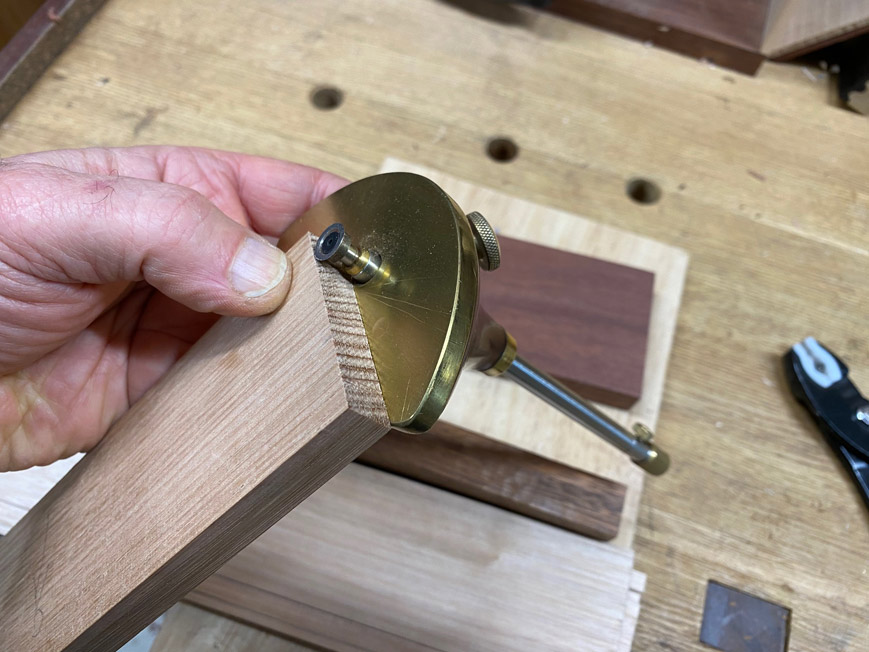

We move over to dovetailing the rear:

The first step, with 6 drawers of the same height and width, is to make a template for the spacing of the dovetails.
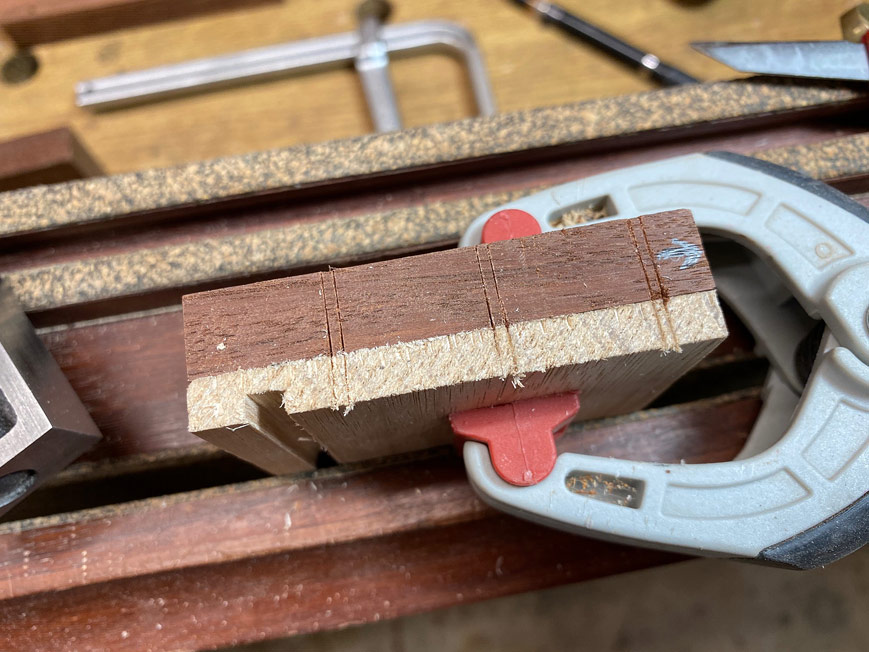

While the template stretches across the board, the area of importance is above the drawer bottom.

Mark out the tails, as usual, but then flip the board so that you are sawing from the inside of the drawer ...
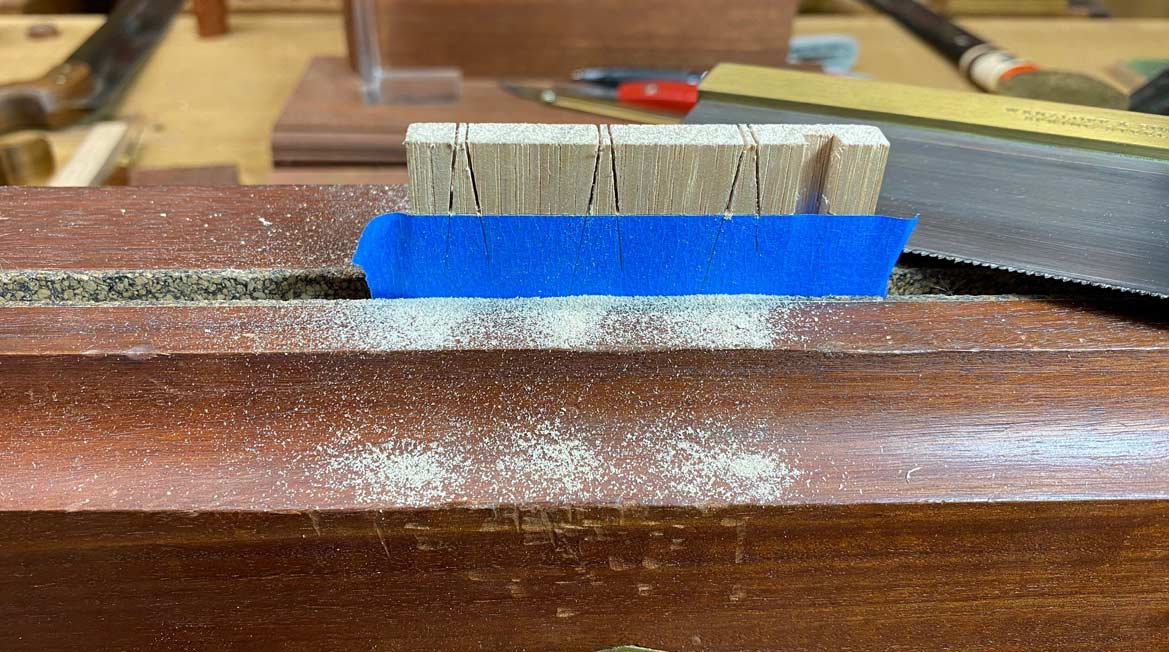

Again, this is not a box. The inside of a drawer is seen, and it is important to keep the baseline as clean as possible, that is, no over-sawing.

Similarly, when removing the waste with a chisel, start with the outside face of the drawer, and finish with the inside. That way there is less danger of inadvertently chiseling over the baseline.
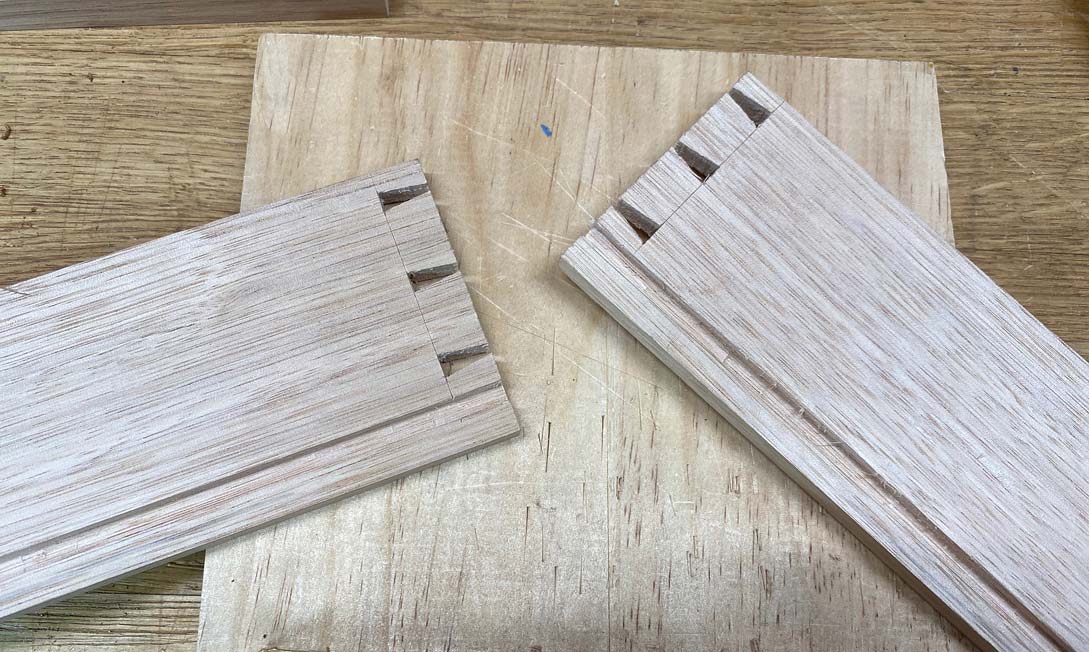

Now ... the interesting part comes with transferring tails to pins. This can make-or-break the drawer.
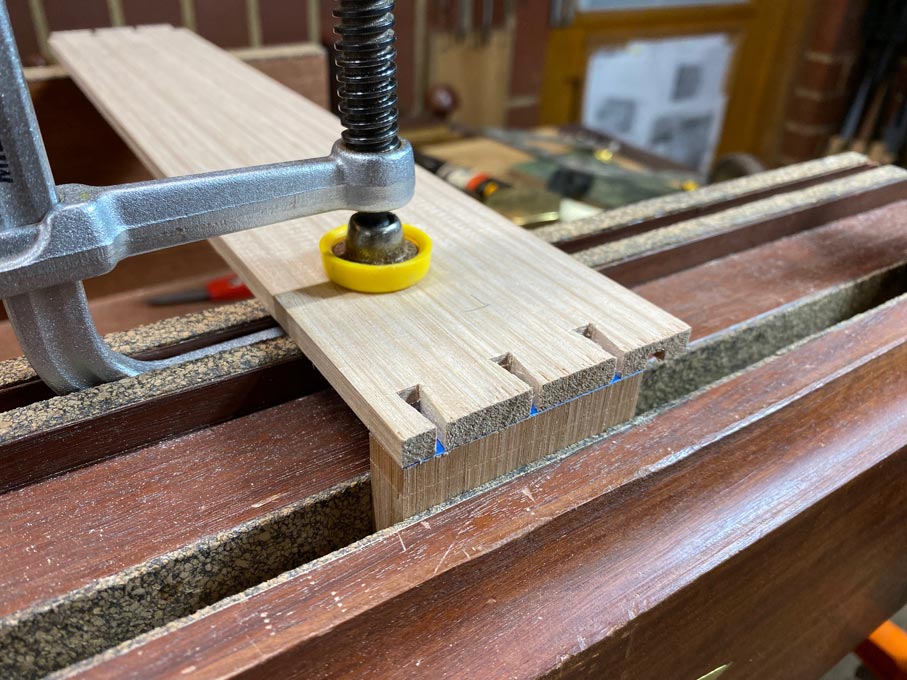

Here we see the tail and pin boards aligned. But are they?
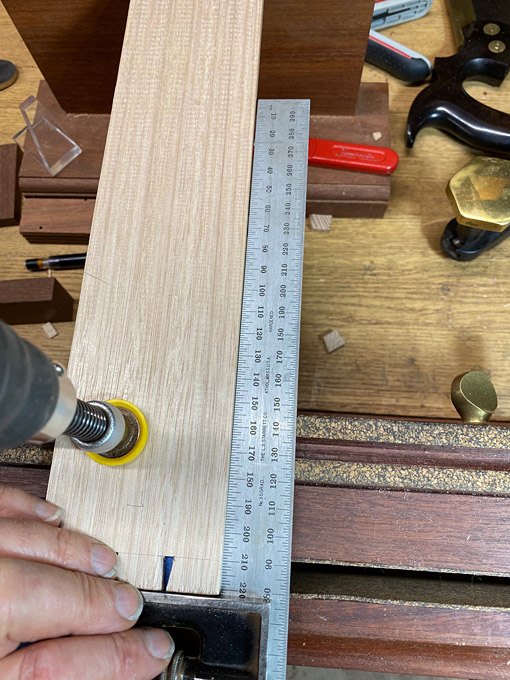

A square shows that the side is out at least 1-2mm at 300mm (12").
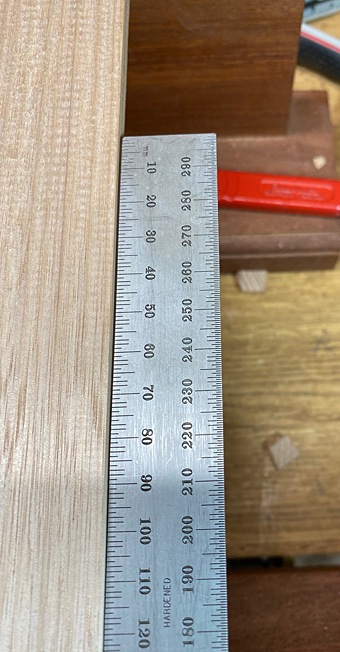

Left like this, the drawer will not sit flat. It will act as if it has a twist. Significant efforts will need to be made to align the drawer in the case. It becomes essential that the side is aligned accurately. This can be a little fiddly, but a long square helps considerably ...
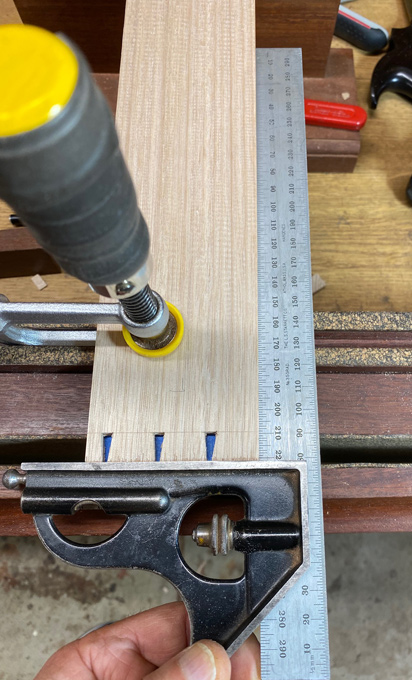

At some point, someone will mention the side-alignment fixture designed by David Barron. This is a wonderful concept, however it excels at making boxes and not drawers. Look here ...

The tail and pin boards are not aligned at the square ends (which would enable David's fixture to be used). They are aligned on the reference side, which is the lower edge of the drawer sides. You are aligning from the left side of these boards ...
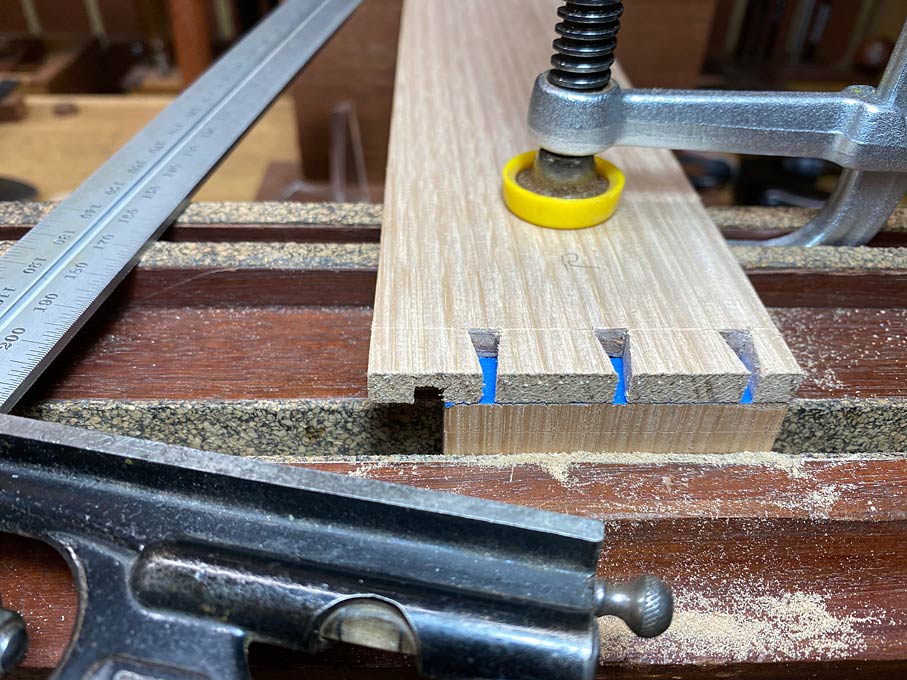

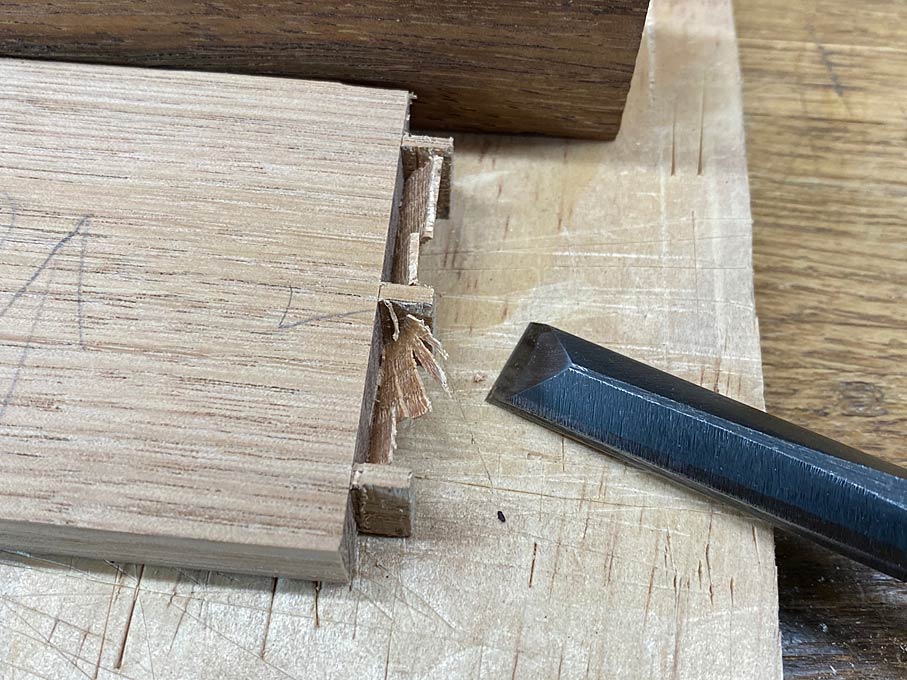
Having transferred and sawn the tails, the bulk of the waste is removed with a fretsaw (as detailed before). Here is a reminder - first chop out the waste from the outside face, half way down ...

... and then complete from the show-inside face.

My preference is to angle the chisel slightly away and create a "tent" ...
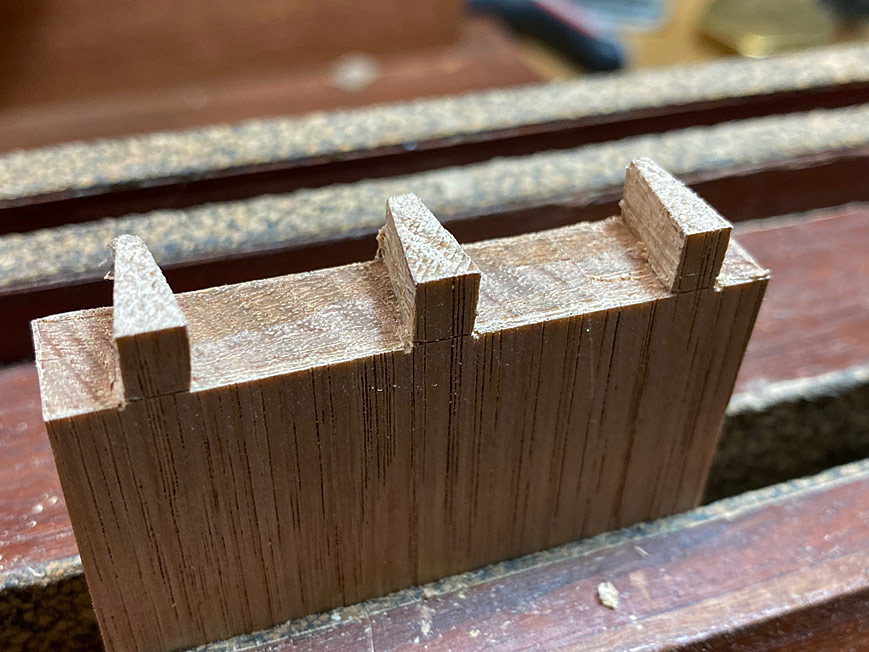

This is then removed with a slicing paring action, again form each side to the centre ...
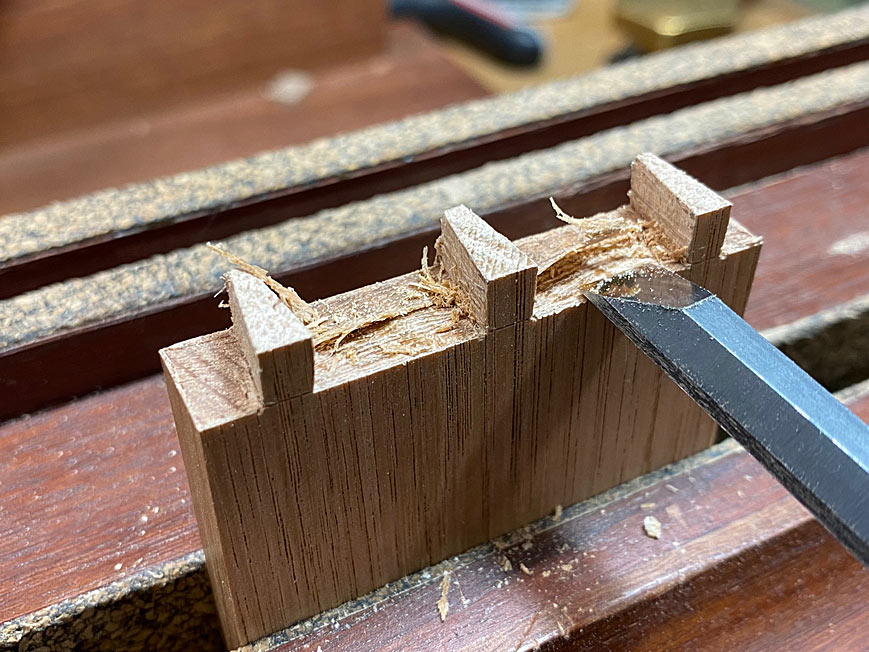

Use a narrow chisel to pare the ends: having first sawn these away, the remnants for paring lie above the chisel walls (again discussed in a previous article) ..
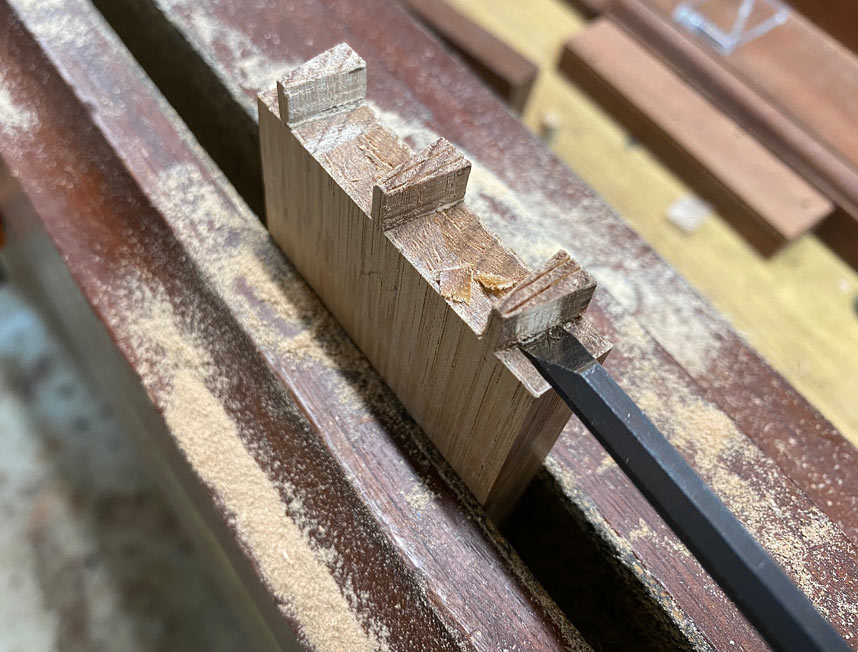

This is what we are after: flat ...
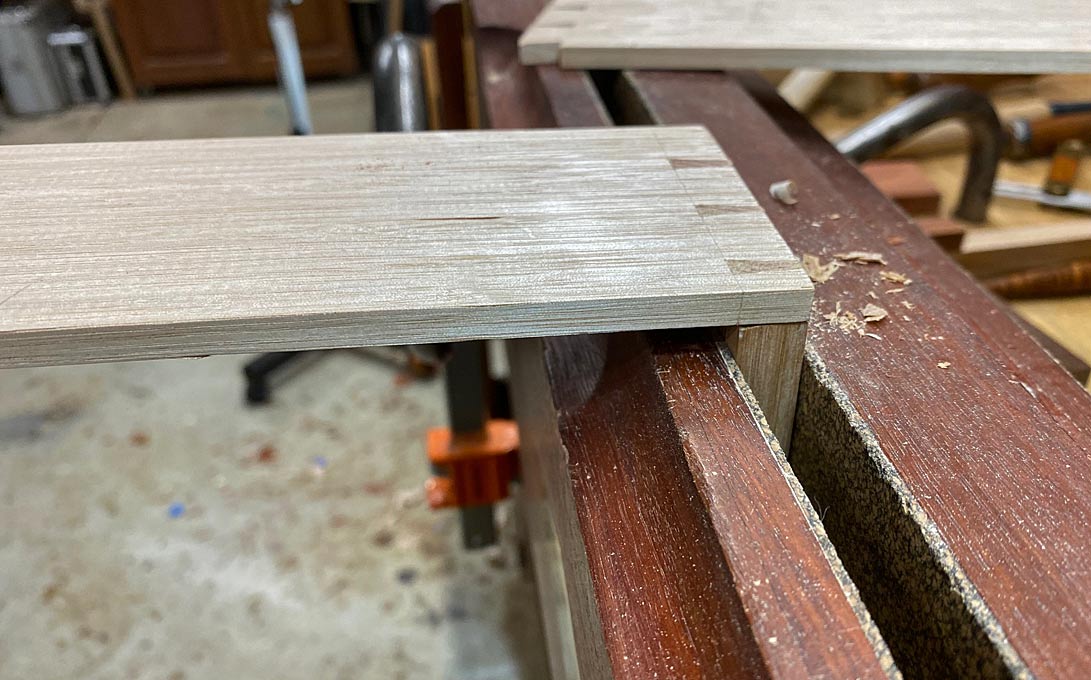

Dry fit ...
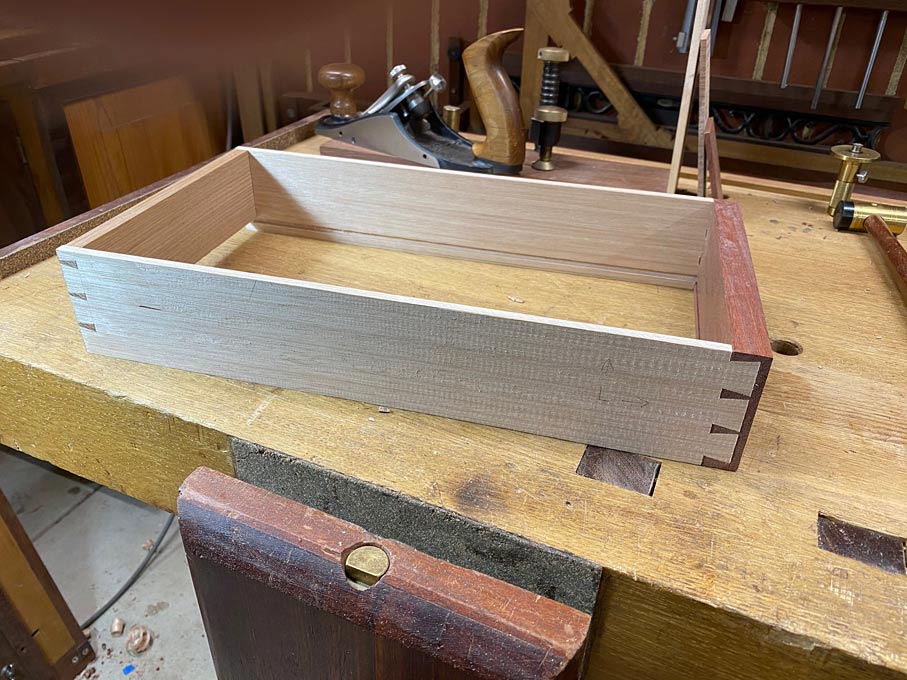

The drawer must fit the drawer case ...
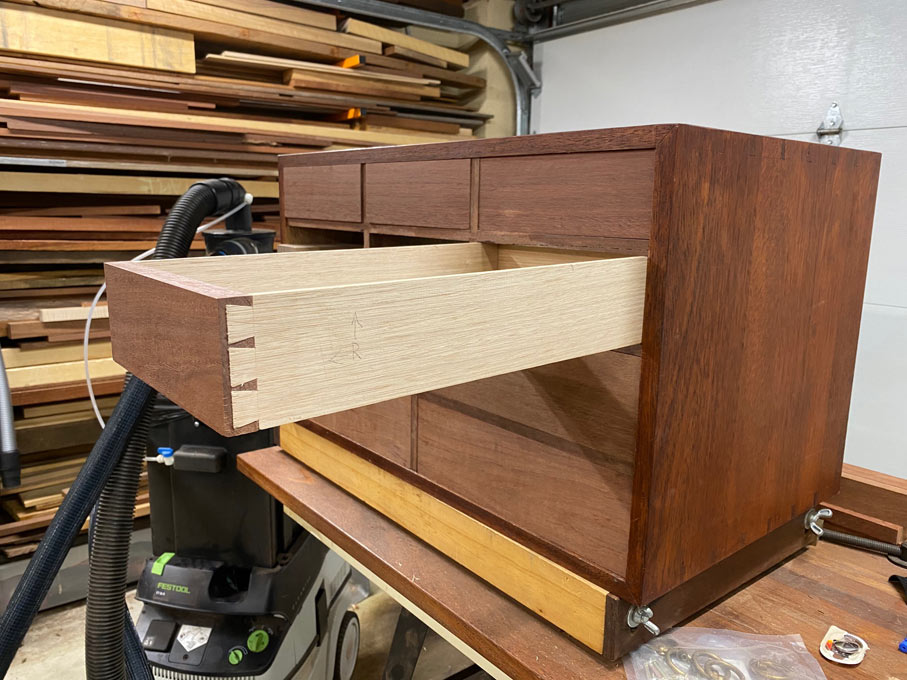


It does, but we are not finished. More in a while ..

Regards from Perth

Derek

Re: Underbench cabinet: Dovetailing for Blood (Part 2)

#2

Re: Underbench cabinet: Dovetailing for Blood (Par

Bruce McCrory

Very nice, mostly clear construction process. Thank you Derek! You may find your wife to be jealous and "in need of more sewing storage".

Re: Underbench cabinet: Dovetailing for Blood (Part 2)

#3

Re: Underbench cabinet: Dovetailing for Blood (Par

Paul in NJ

Hi Derek,

very nice careful work as usual. You say the drawer sides start at 7mm thick and eventually wind up around 6mm. At what point do they change, before or after doing the dovetails? One more question. The drawer backs appear thicker than the drawer sides. Is this normal practice for you? I am wondering if the reason is that it gives the pins a little more strength.

regards,

Paul Dzioba

Re: Underbench cabinet: Dovetailing for Blood (Part 2)

#4

Re: Underbench cabinet: Dovetailing for Blood (Par

Derek Cohen (in Perth, Australia)

You say the drawer sides start at 7mm thick and eventually wind up around 6mm. At what point do they change, before or after doing the dovetails? One more question. The drawer backs appear thicker than the drawer sides. Is this normal practice for you? I am wondering if the reason is that it gives the pins a little more strength.

Paul, the sides start at 7 mm, with pretty stable wood. Nevertheless, I expect to lose a little with final tuning. For example, if there is slight cupping, to achieve a flat board, one side requires being planed along the outer edges, and the other side through the centre. Generally, I estimate a side loses 0.5 - 1mm.

The drawer back needs to be more substantial than the sides, which are thin, to provide increased rigidity and strength. Not as much as the drawer front (18mm), and generally I make them 10-12mm thick for smallish drawers.

Overall, I am looking to find a balance of light but strong with drawers.

Regards from Perth

Derek

Re: Underbench cabinet: Dovetailing for Blood (Part 2)

#5

Re: Underbench cabinet: Dovetailing for Blood (Par

Oskar

Very nice Derek, have been looking forward to the drawer part of this build. Really want to see how you choose to make the sliding trays. (want to make something similar for my shop). Thanks for putting up these detailed posts!

Regarding the drawer backs, what is the reason for a shallower groove? why not make it just as deep as the drawer sides, or even deeper, since the back is substantial?

Re: Underbench cabinet: Dovetailing for Blood (Part 2)

#6

Re: Underbench cabinet: Dovetailing for Blood (Par

Derek Cohen (in Perth, Australia)

Regarding the drawer backs, what is the reason for a shallower groove? why not make it just as deep as the drawer sides, or even deeper, since the back is substantial?

Oscar, it was not intended to become a groove, but simply mark where the underside of the drawer back needed to be sawn away (to make room for the drawer bottom to slide in.

Regards from Perth

Derek

Re: Underbench cabinet: Dovetailing for Blood (Part 2)

#7

Re: Underbench cabinet: Dovetailing for Blood (Par

Oskar

Ah, clever. Thanks!

Re: Underbench cabinet: Dovetailing for Blood (Part 2)

#8

Drawer backs

Bill Tindall, E.Tn.

I don't recall ever seeing a drawer back thicker than the sides, and I just spent a morning studying dozens of them in a gallery (separate post). There is no engineering reason for it to be. In fact it is common in Period furniture for the back to be less robustly dovetailed than the front to cut labor out of drawer making.

All the forces bearing on a drawer are focused on the front joints. The back simply holds the sides together in the back. There is no force on the back joints either pushing or pulling the drawer.

Re: Underbench cabinet: Dovetailing for Blood (Part 2)

#9

Re: Drawer backs

Derek Cohen (in Perth, Australia)

Bill, what thickness are the drawer sides you are looking at?

If your drawer sides are 6mm thick (if you made them that thin), would you really want to have a drawer back the same thickness (thinness)?

While the drawer front takes the stress when pulling the drawer out of the case, what part does the drawer back play when pushing the drawer into the case?

A thicker drawer back would allow the drawer bottom to be screwed together (more support). This would be risky with a thin drawer back.

Note that the thickest panel in these drawers is the front at 18mm. The back is 10-12mm. (I cannot recall which).

Regards from Perth

Derek

Re: Underbench cabinet: Dovetailing for Blood (Part 2)

#10

Re: Drawer backs

Bill Tindall, E.Tn.

If your drawer sides are 6mm thick (if you made them that thin), would you really want to have a drawer back the same thickness (thinness)?

Why not? I poked into about 50 drawers in the Wakefield-Scearce Gallery and several were about 1/4" thickness, and vastly larger than on your small case.

To repeat, I have never seen a drawer back thicker than a side, ever, for there is no engineering reason to make a back thicker. There are no forces acting on this joint. And, it is common to have a minimum of dovetails back there for the same reason.

Some smaller drawers in this Gallery were as thin as 1/8", which had 1/8" backs. In these cases the bottom was simply glued to the bottom of the rabbeted drawer side.

The best drawer in the Gallery was one in a piece made about 1800. It was estimated to be 4' wide and 9" tall. I could close it with one finger of pressure on a corner. It's sides were a bit thicker than 1/4", but not over 3/8".