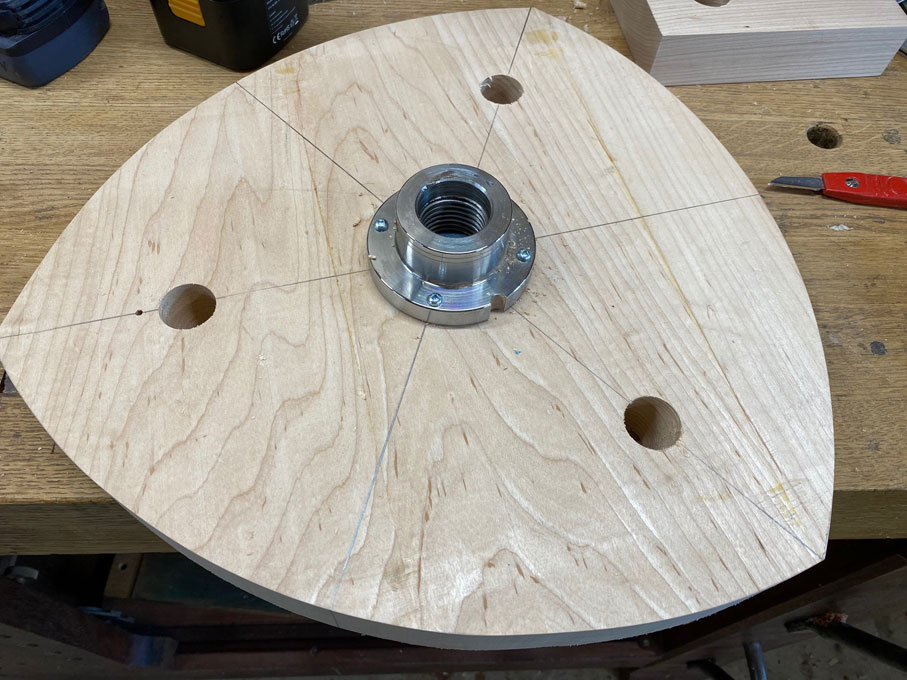
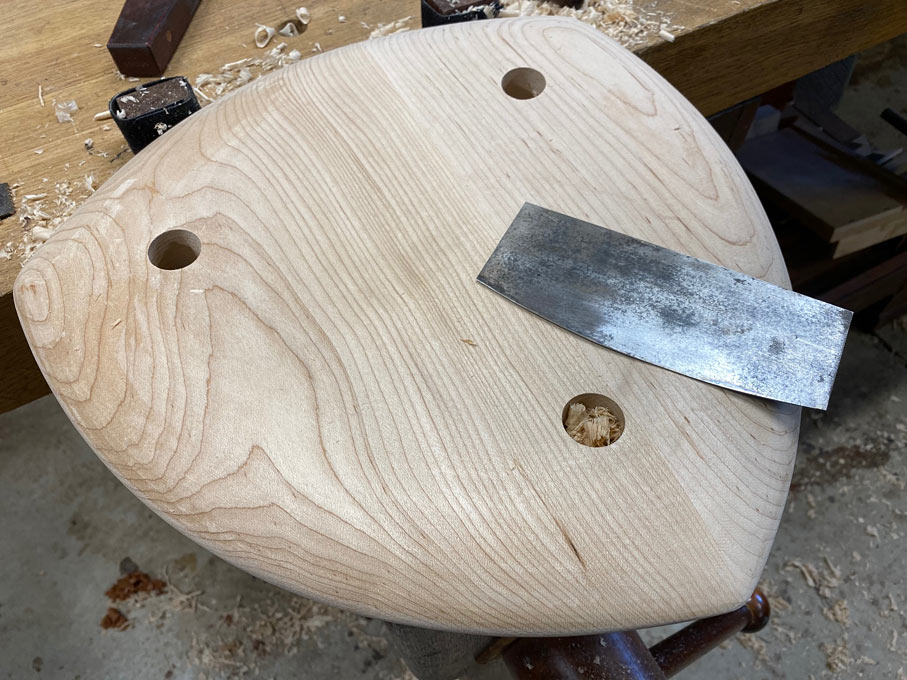
I was carving stool seats today and wondered how others held such awkward shapes.
What I have done here is use the leg vise and two bench dogs ...
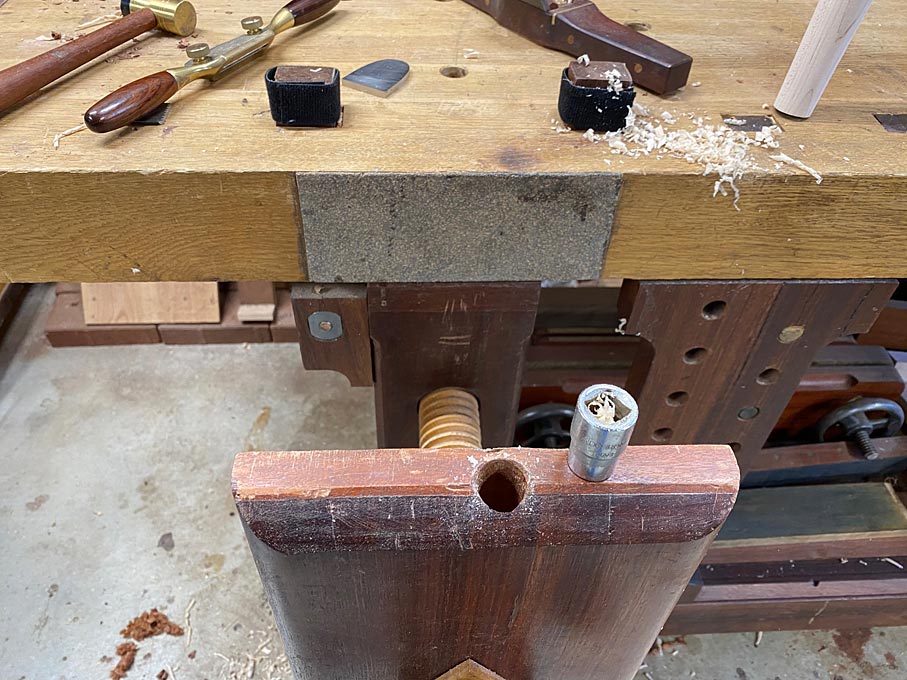
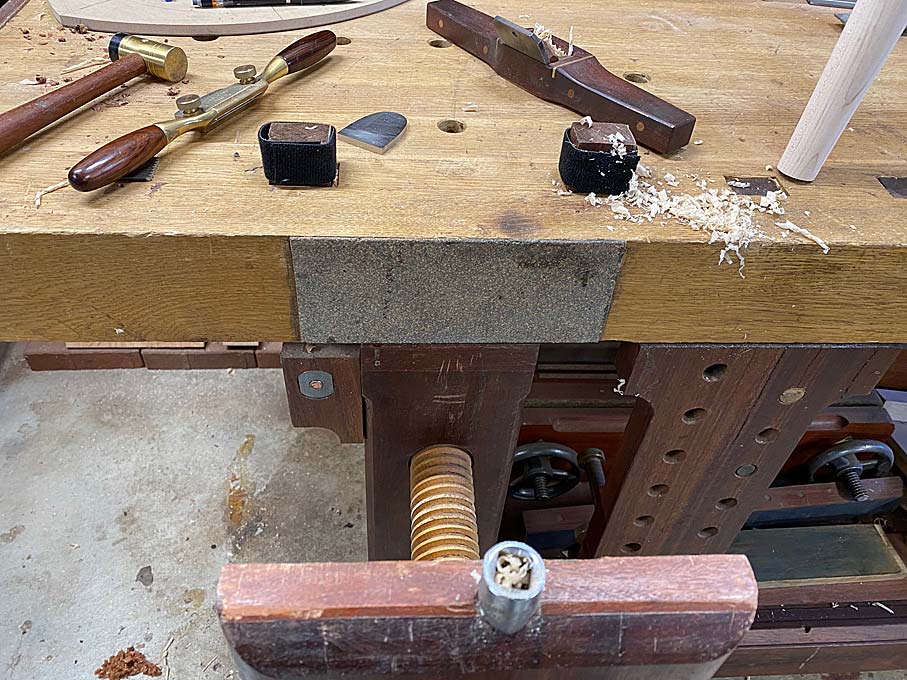
There is a mortice in the chop of the leg vise for a Veritas spring-loaded brass dog. This is too short to work here. So I used a socket (from a socket wrench set).
This pops in the mortice in the leg vise ...
The bench dogs are cushioned with velcro wrap to prevent marring the edges of the seat.
When I carve a stool I do the hollowing while the sides are still unshaped and use a holdfast or two to hold it in place. Once the hollowing is done I hold the seat in my two screw vice at the front of my bench. This vice consists of two wooden screws 24" apart operating a 32" chop against the bench edge.
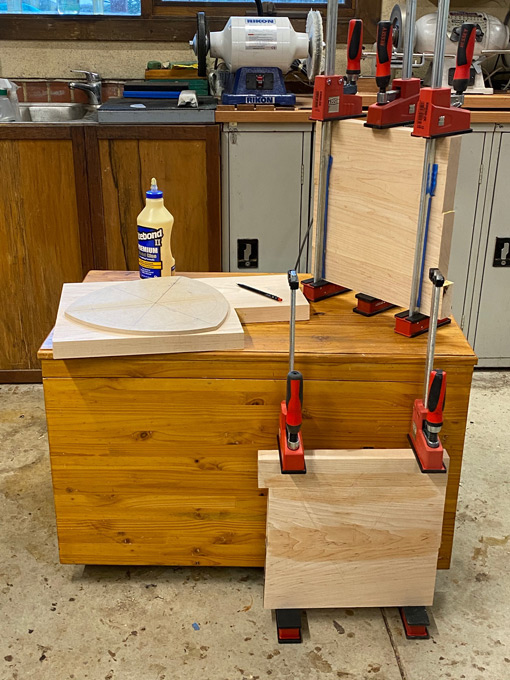
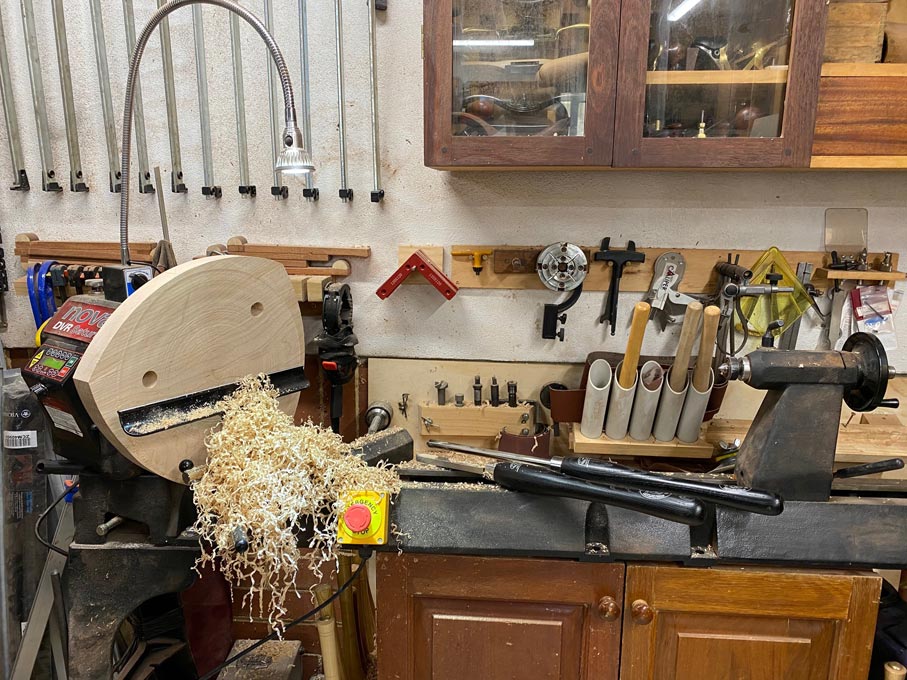
These stools could have been done the same way as you describe - drill legs first, the shape the inside before shaping the outside. However, since the design is a variation of round, I wanted the inside to be circular, and decided to enlist my lathe for that purpose. That required sawing the outline to have some balance on the lathe. (Why a variation of round? These stool seats are a little different in that they are symmetrical, -basically, the idea is that there are three seating positions, to enable stretchers at different heights for people with different leg lengths). ...
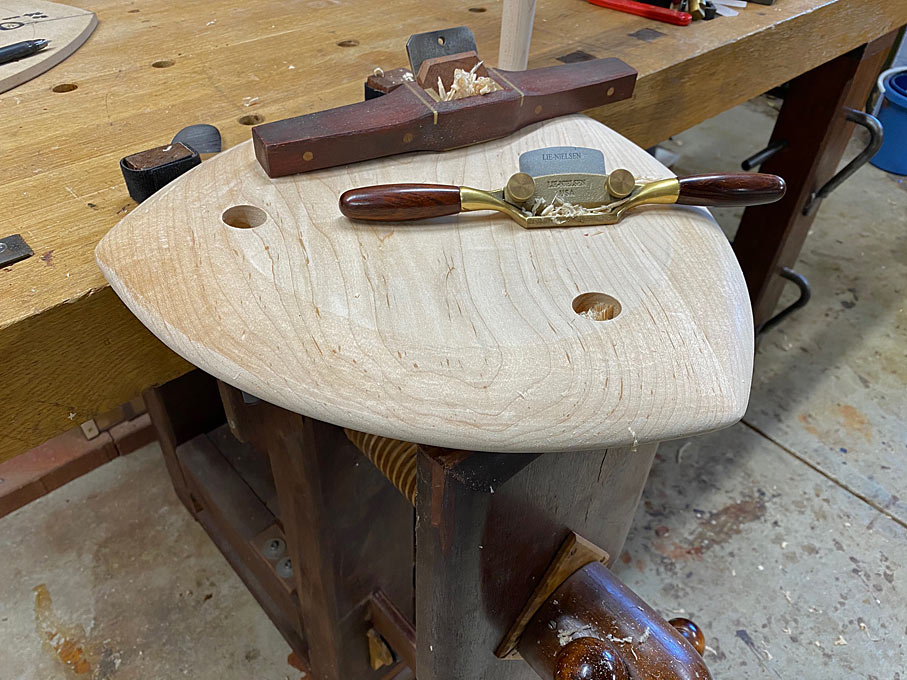
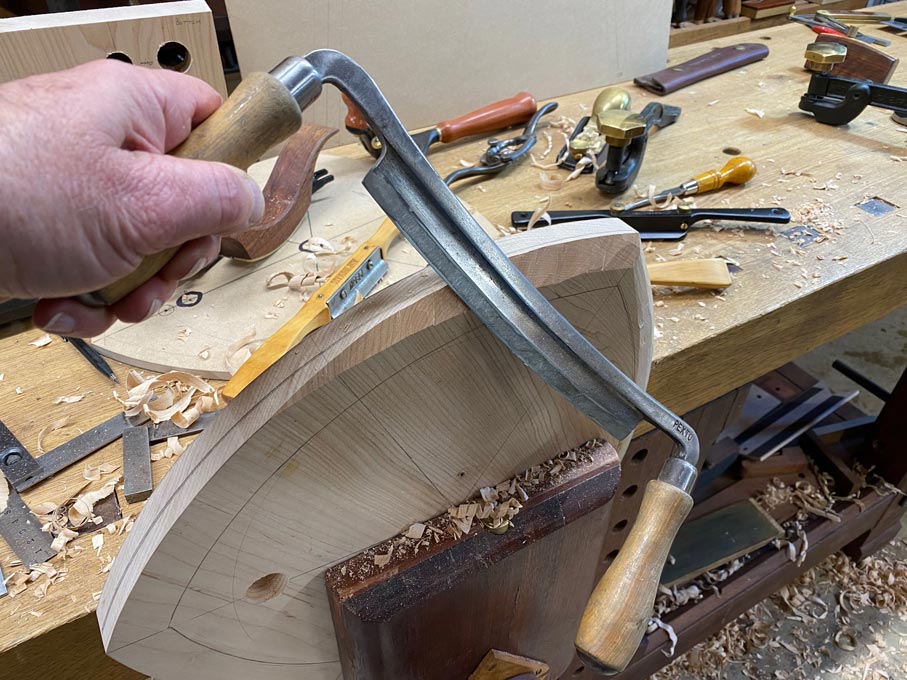
This was followed by a drawknife with the seat held in a leg vise ...
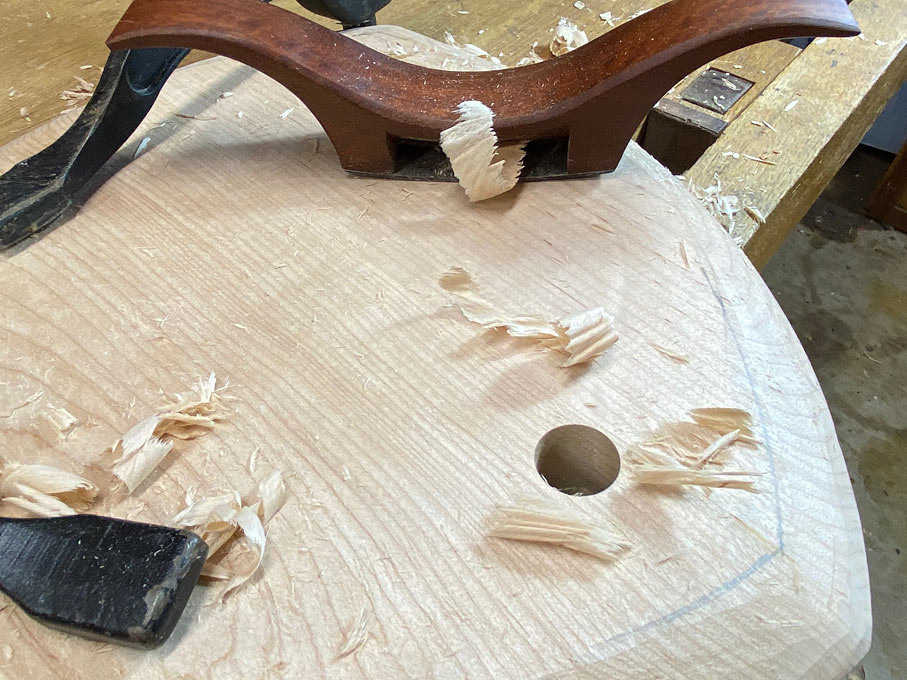
……… and the travisher and spokeshaves, with the seat now needing to be held flat. I tried hold downs, but this was not particularly secure because of the odd shape.
I have had to do alot of improvising to clamp various chair parts for carving. I use a pair of short plastic bench dogs with a wedge against a third to hold seat blanks for planing flat.
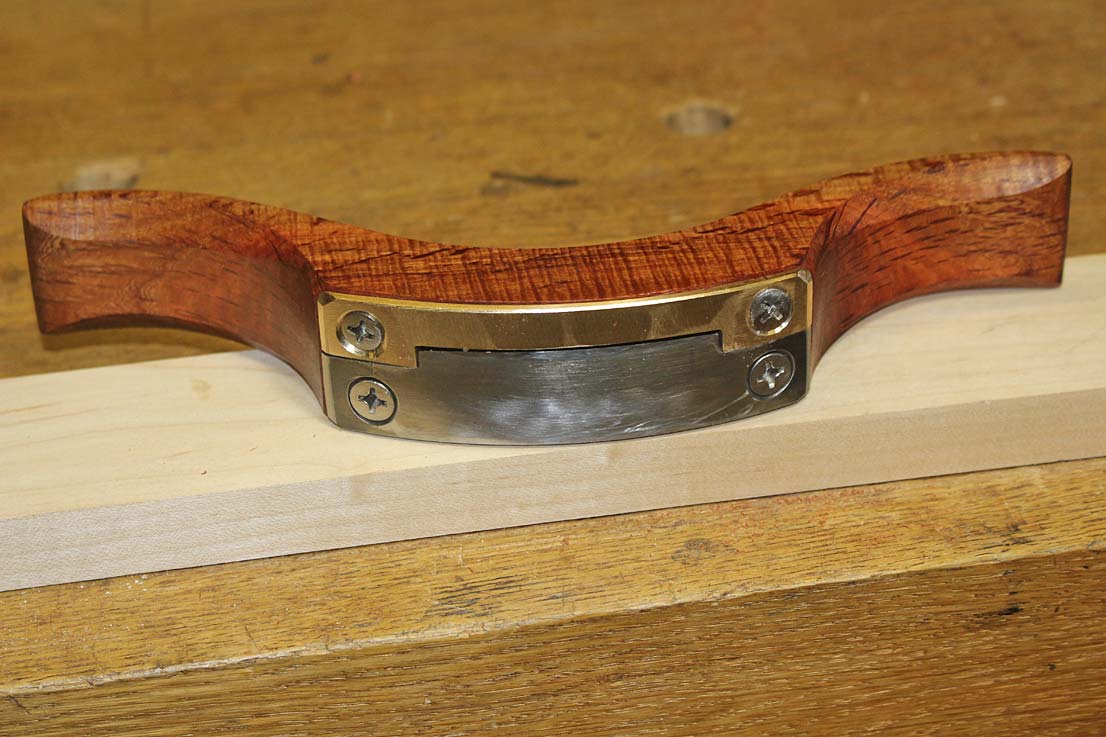
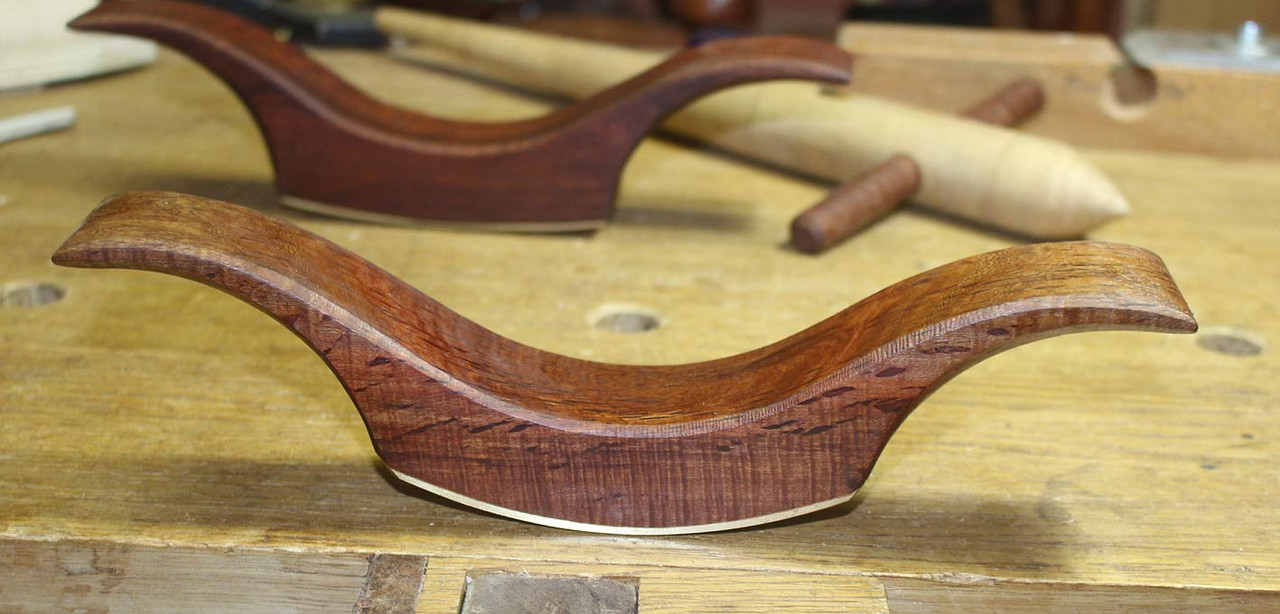
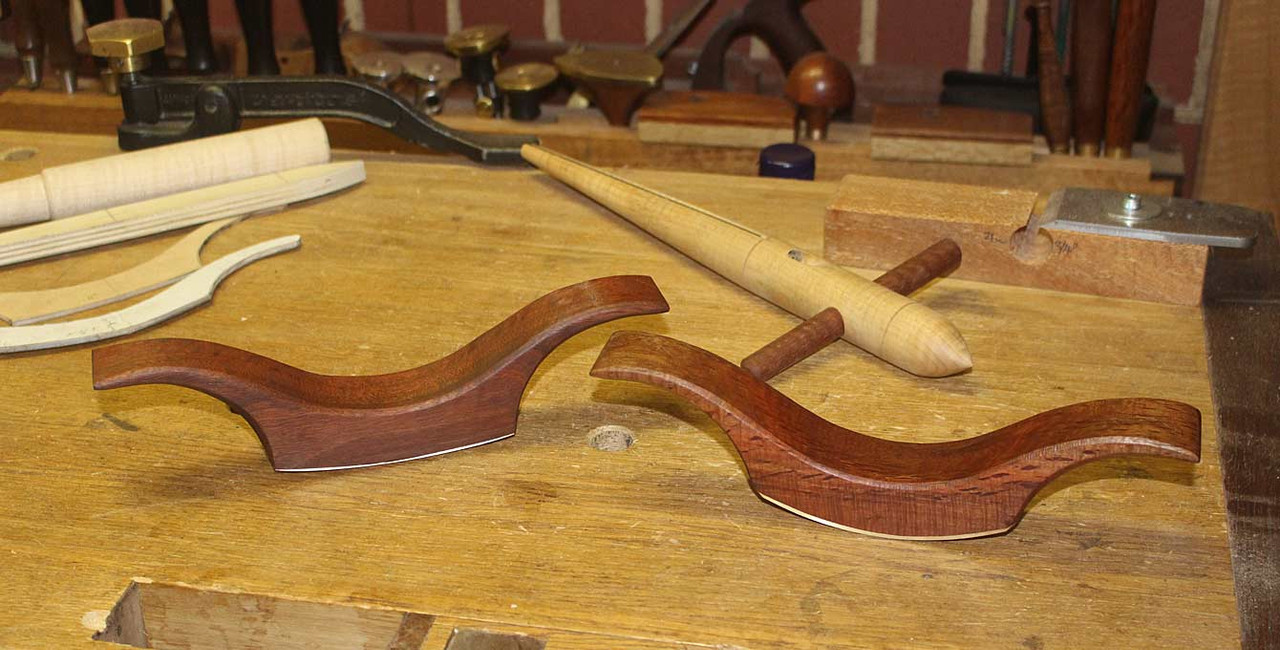
What is the curvature of your travisher? It looks pretty shallow.
I use 3 round wooden dogs with square wooden heads. The rotating dogs allow the flat faces to align (mostly automatically) with the curved faces of the held work. I have two dog holes in the front chop of each of my iron vises and three rows of dog holes in the bench top or rear chop in alignment with them. Most of my iron vises also have a centered rectangular iron dog in the front jaw, but I seldom use it.
Free round bench dogs! That is an ingenious solution to a difficult problem. Do you have problems with your steel round dog wallowing out your mortise, or do you do your carving before you taper your mortise? I think a dog turned from softwood (Do softwoods even grow in Oz? ) would work better than a chromed steel socket, especially since I would be worried that the socket might work loose in a tapered, slanted mortise and jump up in front of my drawknife, plane, scorp, or travisher blade.
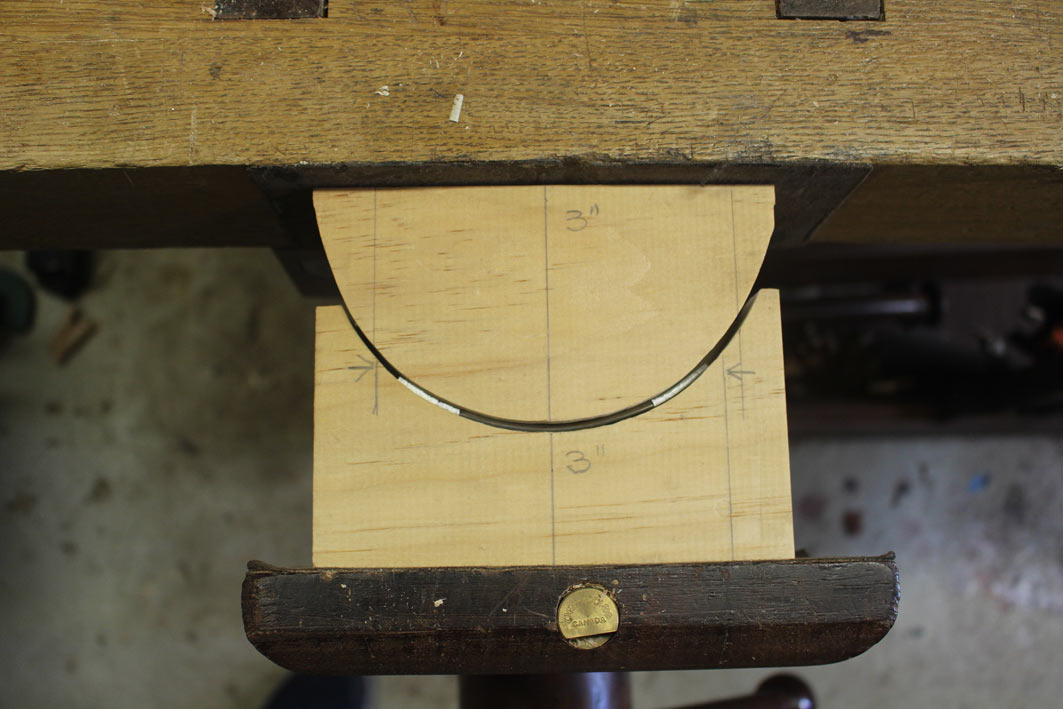
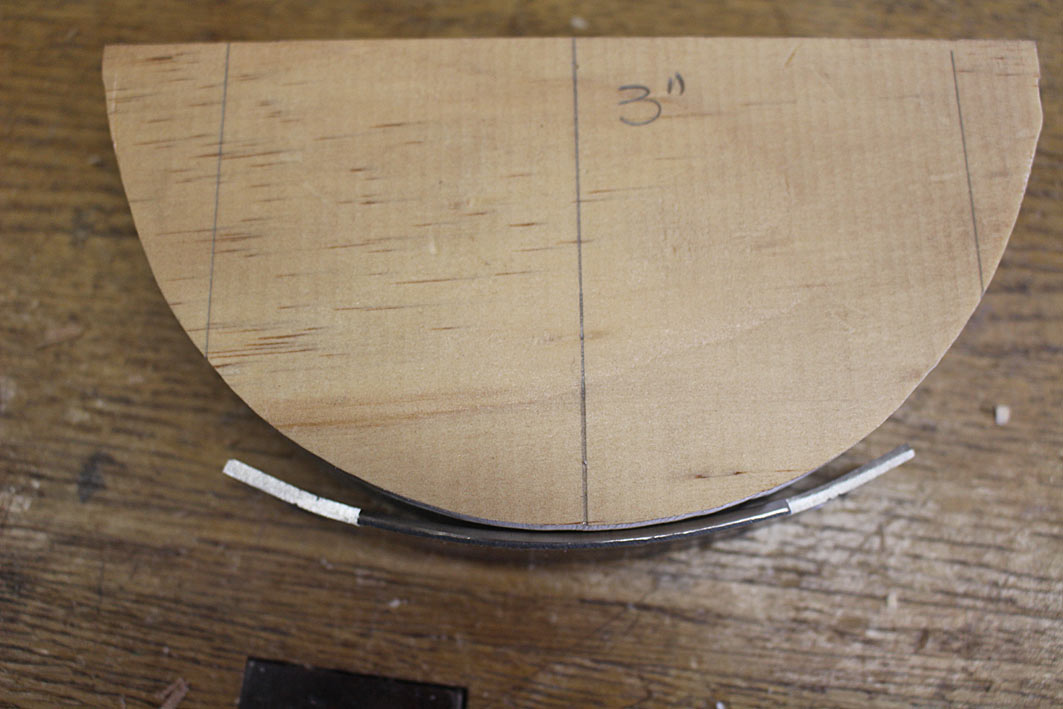
I made the blades as this was before Elia was offering them. It’s not difficult, just something one must do when there is no other option - I think the wait list for one of Pete’s was .. forever.
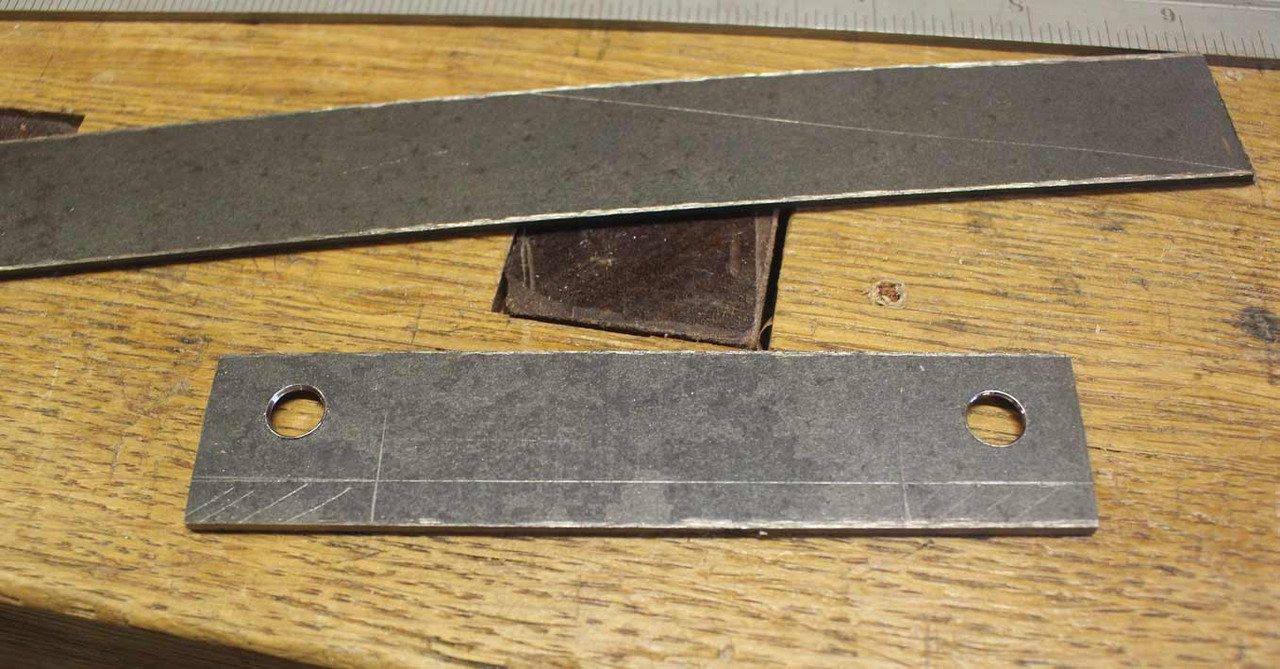
I have a series if photos making one. Here are a few ..
I use 3 round wooden dogs with square wooden heads. The rotating dogs allow the flat faces to align (mostly automatically) with the curved faces of the held work. I have two dog holes in the front chop of each of my iron vises and three rows of dog holes in the bench top or rear chop in alignment with them. Most of my iron vises also have a centered rectangular iron dog in the front jaw, but I seldom use it.
William, I shall have to do the same, or something similar. More holes in the chop? Damn, it is gojng to look liie Swiss Cheese!
Free round bench dogs! That is an ingenious solution to a difficult problem. Do you have problems with your steel round dog wallowing out your mortise, or do you do your carving before you taper your mortise? I think a dog turned from softwood (Do softwoods even grow in Oz? )
Chromed steel is actually softer than the local foliage.
It's a workbench; it's suppposed to look like Swiss cheese. You should be lucky it doesn't look like blue cheese.
I understand that in Oz, Acer saccarum is considered a softwood.
This is a mock-up, for illustrative purposes only!
I'm not currently working on a chair seat, so I substituted this antique steel tractor seat that I'm planning to use some day on a shaving horse. The pic also illustrates how to put a square dog in a round hole. The grip on my front chop is a bit precarious. It would work better if the dogs didn't hang beyond the gripping plane of the front chop, if the seat were flat on the currently down face, and if the seat were of similar thickness to a typical wooden chair seat. A better grip might be had if the dog blocks were taller, especially with this highly contoured seat.
The seat is upside down because I couln't get an effective grip on it right side up with the dogs I have. No, it's not an Oz joke.
There is a DIY solution to your problem, but it amazes me that I can't find any examples of it anywhere on the internet, etc. I haven't built a version myself, because I don't have the welding or metal turning skills or equipment (and my To Do List is too long). There are lots of examples of carving vises made from a ball hitch, or even a duck pin ball or bowling ball, permanently attached to a face plate. A clamping mechanism is built around the ball, so it can move in any direction and rotate, or lock in place. Search for "ball mount carving vise" for examples. Assuming your lathe headstock is configured like mine, you would need to attach a short section of 1-1/4"x8 tpi male threaded stock (with a shoulder plate) to the ball. You could then mount your scroll chuck, face plate, woodworm, Longworth chuck, etc., to the vise the same way you mount them to your lathe headstock.
I have thought seriously about making something like that, but not with a bottle jack and all that steel plate. I would need a design I could make mostly from baltic birch, glue, dominos, nuts, bolts, and a bowling ball I've been kicking around for over 40 years.
The Monster Ball Vise people don't seem to be very interested in selling their product. They don't supply a price that I can easily find, and don't seem to have updated their website in several years.
Here’s what I did but if I was going to do it again I would do it differently. I used a shotput I found in the neighbors trash, not very spherical it turns out. I think maybe a croquet ball but I haven’t tried it. The white stuff is Magic Sculpt epoxy putty, great stuff when you need it. I think the stud is from the main bearings on a motor, cAnt remember but I have a bunch of them.
So, what do you think you might do differently? I like your use of the hand screw. They are about the most versatile holding devises you can find.
I have some thoughts, but no mechanical design as yet.
• I would want to integrate it into the top of a bench, but it could be a small stand-alone carving bench, or the corner of a larger general woodworking bench.
• The grip on the ball would need to be easily but controllably released, so the work could be easily repositioned in three dimensions: pitch, yaw and roll. Control is needed because the weight and balance of the work could vary widely.
• A foot pedal to release the ball would be preferred.
• Stepping off the pedal would lock the ball and work in place, so it would be immobile under the force of a mallet and chisel.
• The amount of metal and complicated linkages in the Monster Ball Vise seems excessive, and I don't have any welding tools or experience.
Just writing down and thinking about a set of proposed requirements has got me to start thinking a little deeper about some design options.
You answered some of what I would do differently in your question. I would put it in the corner of my bench that sticks out into the middle of the room and I wouldn’t use the four studs, I would do this:
Take one of those bessey bar Clutch clamps with the orange-red handle, remove the top jaw and weld a square flange across the top of the bar to make a Tee. Screw that to the bottom of the bench top so I could release the ball by undoing the clamp handle. The foot stuff is cute but too much of a chase for me, maybe someday.
I would want the bar on the clamp to hang down enough to drop the ball all the way out, and maybe embiggen the swivel foot on tHe screw to grip the bottom of the ball better, but it might not need more than just the foot. I was surprised how much the lock depends more on the fit in the spherical joint than on tension, even when the ball is out of round.
I would use a ball more perfectly spherical, but this size seems pretty good for what I do. Maybe a croquet ball.
Incidentally, if you know how to find the center of a pipe for drilling using a steel rule, that’s as good a way to drill and tap a sphere as I know. Trapping the ball between two boards with circles bored in them is a good way to hold it still for drilling.
Gadgets are a way to go but I don’t know how much better any of this will be than using that lathe chuck you showed.
Yes, I know how to mark and drill a hole centered in a cylinder or a sphere. For woodworking purposes, for cylinders, I use a v-block clamped to the DP table, and use a long, small diameter drill bit to find and adjust the center of the block. For spheres, if I'm going to make multiples, I start with a square block of wood for the v-block and cut two v's at 90 degrees to each other. It takes one setup on the table saw and four cuts. There are probably better ways.
I was thinking "I don't need to drill a hole. I'm using a bowling ball. It already has three holes." But then I realized the holes in a bowling ball are not drilled radially, but to match whatever directions your thumb and middle and ring fingers naturally point. Doh!
If you can find one, you can use a duck pin ball. They fit nicely between two toilet flanges.
Duck pin ball looks great, good idea. I’ll probably never get around to improving the one I have since it works, that’s the trouble with a half assed prototype I guess.

 ) would work better than a chromed steel socket, especially since I would be worried that the socket might work loose in a tapered, slanted mortise and jump up in front of my drawknife, plane, scorp, or travisher blade.