Home Articles Forums Gallery Marketplace Videos

WoodCentral Forums

Knowledge You Can Build On — Est. 1998

Bench Hook Supreme

Posts

Bench Hook Supreme

#1

Bench Hook Supreme

Derek Cohen (in Perth, Australia)

Over on the Messages Board, Roger has been posting simple fixtures for power tools. I thought it might be a nice idea to post a few fixtures for hand tools.

This is a bench hook I made. It is made from a few scraps, took all of 10 minutes to put together, and I consider it a consumable. That is, it will get used up and then thrown away. And I'll make another.
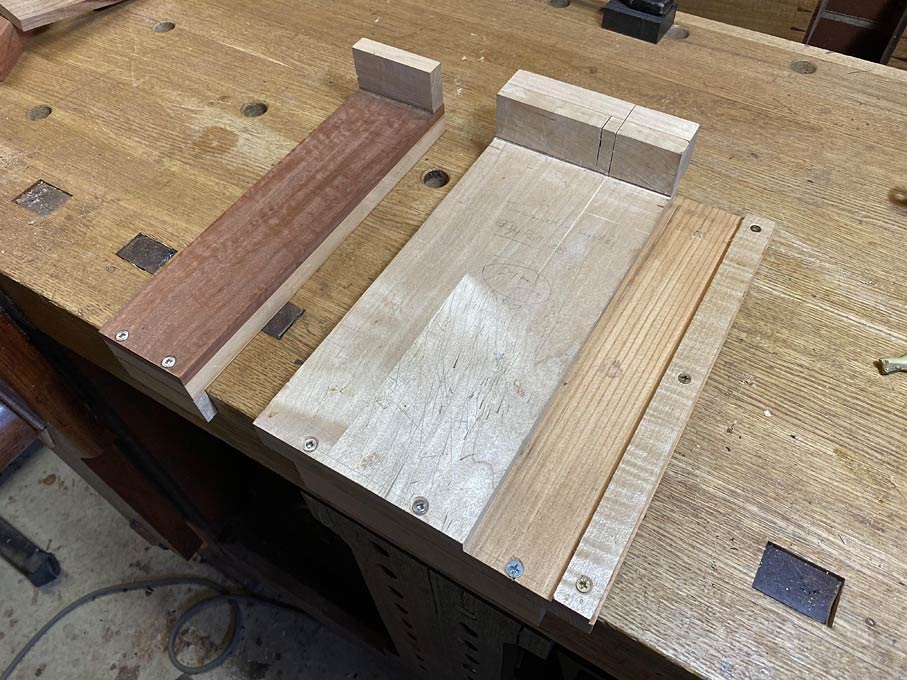

The design for this one occurred to me several months ago, at a time when the bench hook I was then using, needed to be replaced as it was worn out.

What we have is a combination cutting board, chopping block, bench hook and shooting board - with extension ...

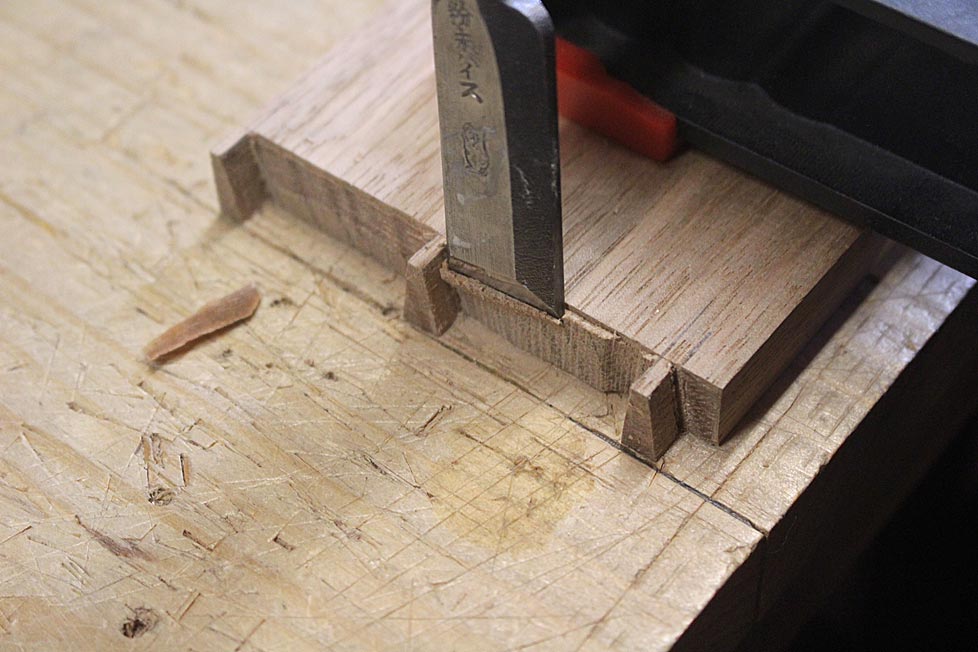
Before this version, the bench hook was available to chop tails ..
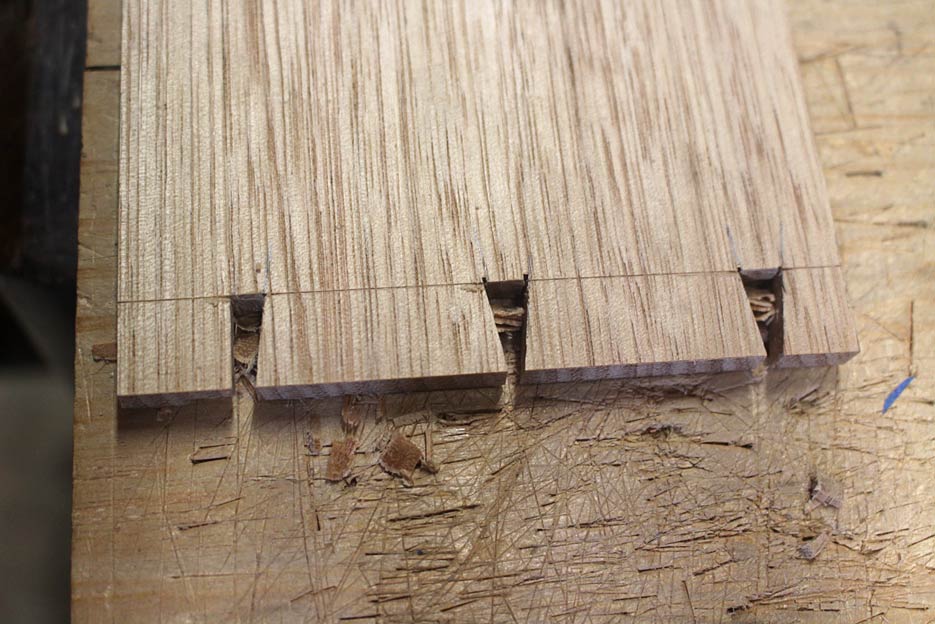

.. and through pins ...

In the recent video I posted, the new one was being cut up trimming blue tape ...
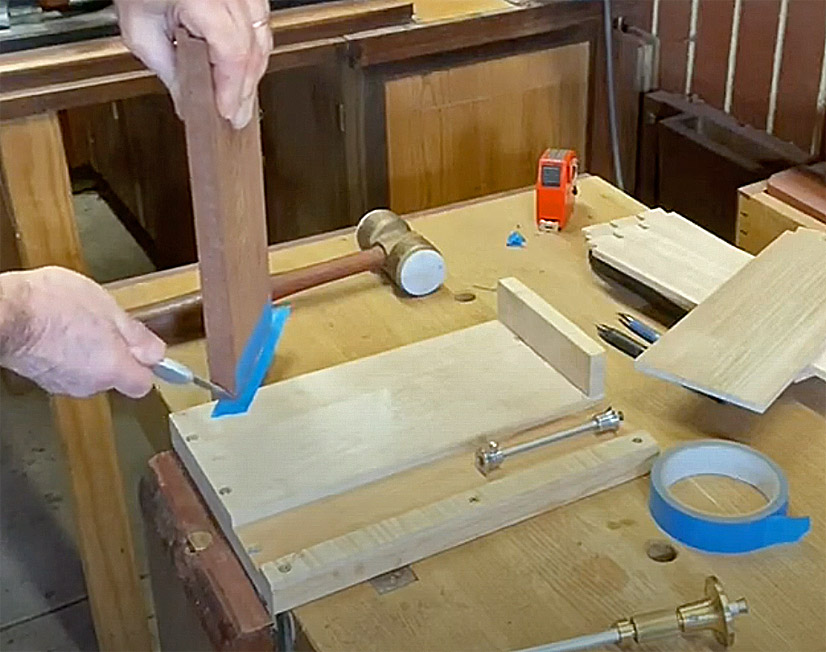

This is not my main shooting board however, as this bench hook is on my bench all the time, it is convenient to use.

The runway with side fence fits the Veritas LA Jack ...
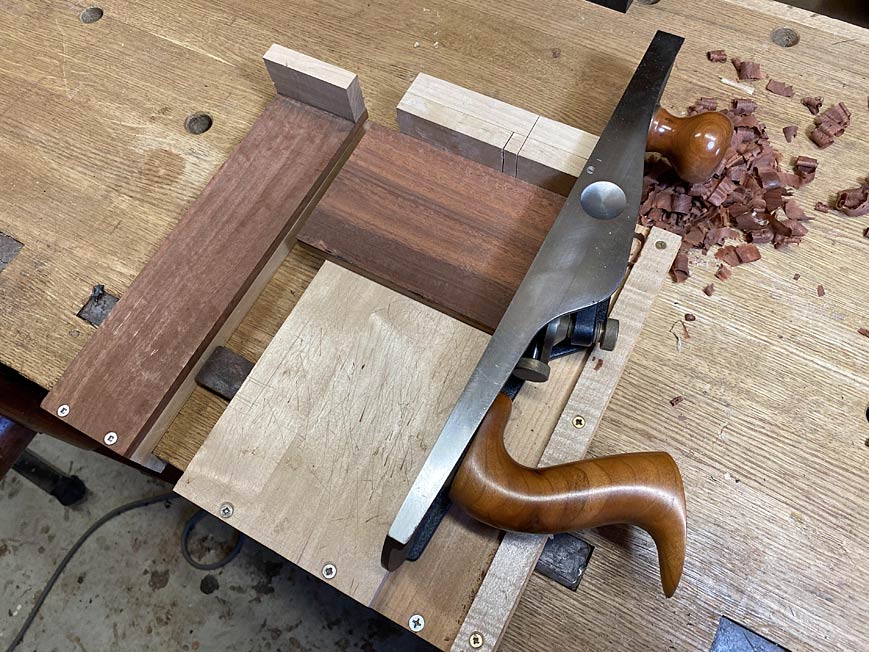

It does not take any extra effort to ensure the fence is square, and so produce square ends ...
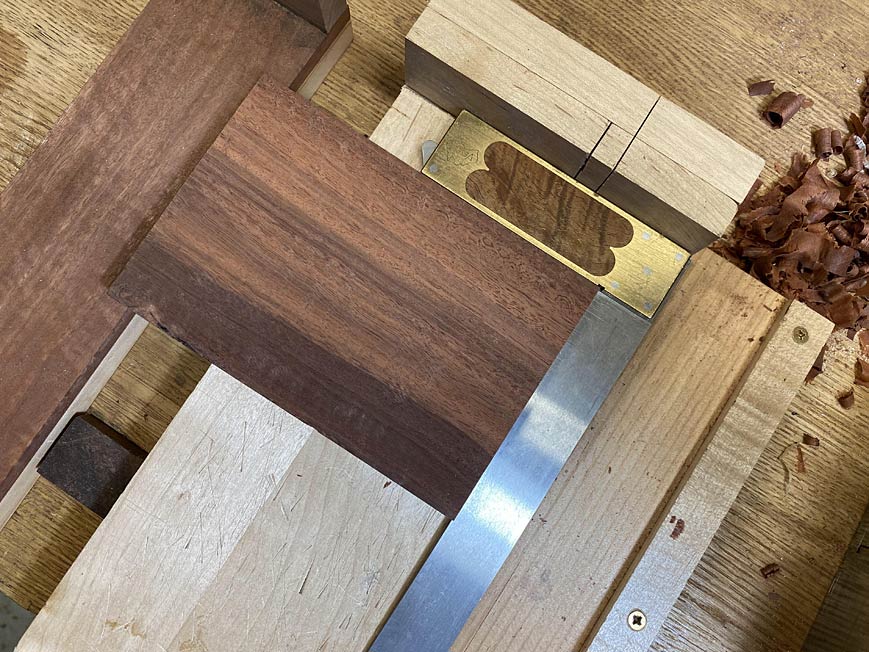

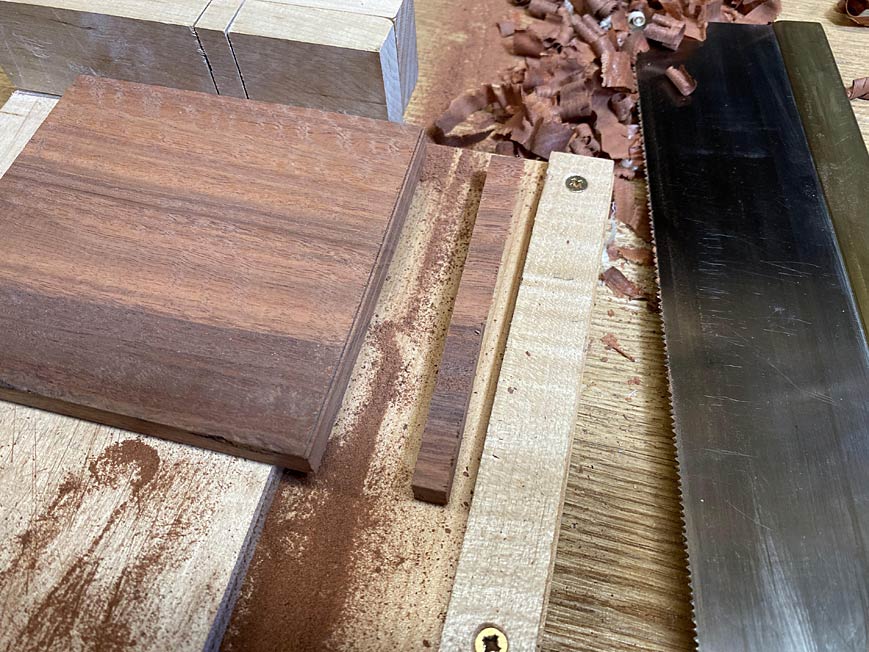
The fence is deepened to ensure that the kerf will guide the saw to perfectly square crosscuts ...
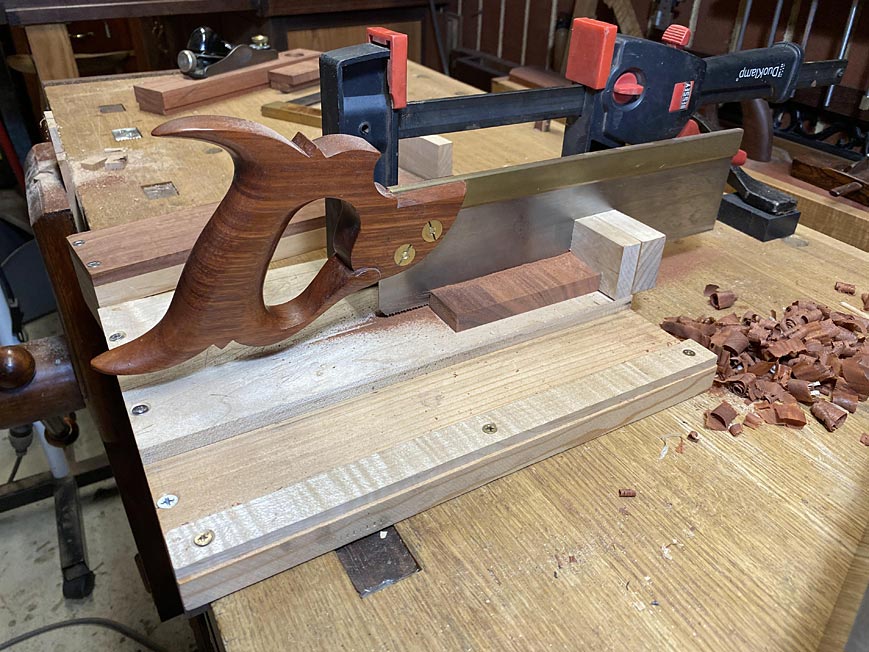

This is an 11" long blade and 14 tpi carcase saw I built. It leaves a good finish ...
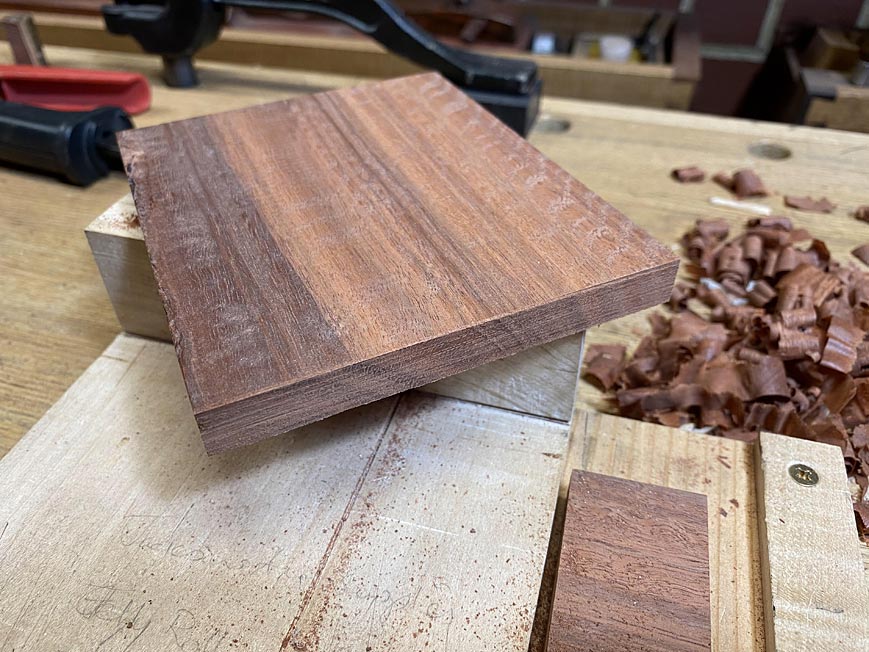

Alternatively, just mark and saw to the line ...
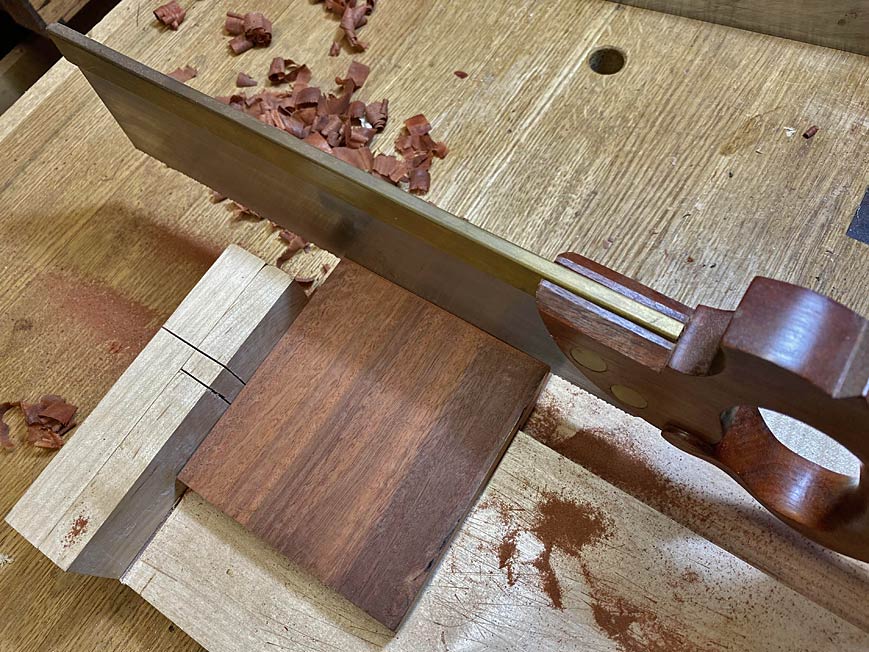


The most useful fixture. It gets used on every build ...
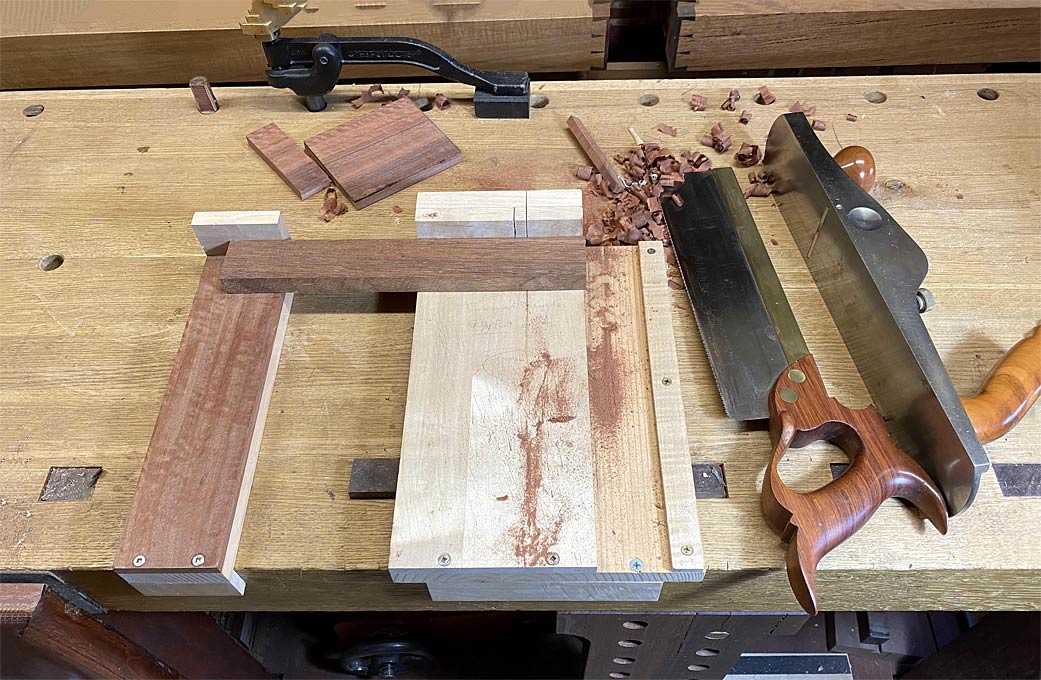

Regards from Perth

Derek

Re: Bench Hook Supreme

#2

Re: Bench Hook Supreme

AZ in Colorado Springs

Derek, very nice. My bench hook is much simpler. This gives me ideas for the next one. Thanks

Re: Bench Hook Supreme

#3

Re: Bench Hook Supreme

Ron in Sterling, CT

Hi Derek,

I can't remember all the bench hooks I have built in my 80 years. As simple as they are, it seems I have made several modifications. over the years. Now I have some new things to add. Thanks for sharing.

Ron

Re: Bench Hook Supreme

#4

Re: Bench Hook Supreme

Frank D. in Montreal

Hi Derek,

A bench hook is neer the top of my to-do list, thanks for posting. Combining it with a shooting board is a great idea. Any advice as to how I can get a perfectly square first cut into the fence? Knowing me, I'll screw it up and be stuck making out-of-square cuts for the next few years.

Thanks!

Re: Bench Hook Supreme

#5

What, no Burger Rings?

Jim Matthews

Your forum posts and website are more valuable than the magazine articles.

That through cut guide in the rear "chop" is like most clever ideas - elegant.

Did you make that flashy saw, too?

Kudos

Re: Bench Hook Supreme

#6

Cross cutting straight

Jim Matthews

If you make the fence separately, you can "shoot" the edges square and mount them afterwards. That way, mistakes are reversible. Also, the side that doubles as the sacrificial stop on the chute could be replaced when it wears.

I can't see DC's version, but two screws would make for simple replacement and allow for alignment. It's a REALLY clever solution I wish I had thought of first.

Re: Bench Hook Supreme

#8

Re: Bench Hook Supreme

Derek Cohen (in Perth, Australia)

A bench hook is neer the top of my to-do list, thanks for posting. Combining it with a shooting board is a great idea. Any advice as to how I can get a perfectly square first cut into the fence? Knowing me, I'll screw it up and be stuck making out-of-square cuts for the next few years.

Frank, the whole idea is to make this bench hook as quickly and as efficiently as possible ... with spot-on accuracy for the shooting board thrown in. It must be cheap - using scraps - otherwise we will not see it as a consumable and feel comfortable chopping on it.

How to make:

1. flat board (pine, MDF, ply). I used a scrap of maple.

2. glue or screw another smaller piece on top to become the main platform. Leave space at one side for the runway.

3. Run the shooting plane down the runway against the platform. This will straighten it and also create a ledge for the sole of the plane to ride against.

4. Add the fence: use a little glue to attach a fence square to the runway. Align

with a square. Keep the square against it until it dries. Once dried, you can add screws if you want. I don't bother. Note that I glued on a second fence section. I just did not have a thick enough piece.

5. Add the side fence: place the shooting plane on the runway at one end and position the side fence against it. Move the plane back-and-forth until the side fence is positioned. I screwed it down, which enables it to be moved, if necessary.

6. Add the kerf for sawing: mark the vertical and horizontal square lines across the fence, and saw this with the saw you plan to use (I saw the two lines at the same time. Or you could also use a knife to scribe the likes deeply to act as a kerf for the saws blade to run in). That will keep the kerf tight and prevent the saw from wandering in the cut. You could also clamp a square block against the fence to act as a guide to get this cut made accurately. It is worth the few extra seconds to get it square.

7. Lastly the extension: Plan ahead - make the board about 3" wider than you need, then take it to the table saw and rip a 3" strip from the side opposite the runway (no, I did not do this here - I wasn't planning ahead enough!). That will become the extension.

All this should take 10-15 minutes, tops. The bench hook should last several months. Don't be afraid to chop on it. Use it up! You can/will make another.

Regards from Perth

Derek

Re: Bench Hook Supreme

#9

Making Burger Rings ...

Derek Cohen (in Perth, Australia)

Did you make that flashy saw, too?

Jim, of course ... everything I do is done with flash! :)

I built this saw about 10 years ago, but I really cannot take credit for the important part, the plate. Essentially, I made the handle .. but what a handle!! :)

The plate was made by Mike Wenzloff. I had a couple of his saws, which are among my most prized tools. Mike was an old friend of mine from way back.

The 11" long and 2 1/4" wide saw blade and brass back at the time was $34 for a blade toothed, sharpened and set 14 ppi crosscut. Cheap as chips! Add in $14 for the slotted brass back, and the basic costs from a world class sawmaker was under $50! Unbelievable!

The handle was more work than it appears. The lamb's tongue is a raised carving ...


It differs from the "traditional" lamb's tongue, such as this mitre saw I made a few years ago ...


To make the carved one, you remove all the wood that is not a lamb's tongue. Simple.

The handle grip is also a design I was exploring at the time, where the lower section thickens (like a wooden plane handle) to force the grip upwards and under the upper horns. In my view, a back saw is balanced by the upper horns. The rear of the handle does not have the bulge one typically sees on back saws, such as this one ...


Even on this one, which is a dovetail saw I restored, I reduced the size of the bump. I find they are too large on many modern saws, almost a caricature of a back saw handle.

Regards from Perth

Derek