Home Articles Forums Gallery Marketplace Videos

WoodCentral Forums

Knowledge You Can Build On — Est. 1998

Entry hall table for a niece: Part 14

Posts

Entry hall table for a niece: Part 14

Edited #1

Entry hall table for a niece: Part 14

Derek Cohen (in Perth, Australia)

This is the last part of the build - completing of the drawer bottoms and pulls.

A panel was prepared some weeks ago. 1/4" thick Tasmanian Oak. This was made up of two, book matched boards. Blue tape was used to pull the jointed edges together. Clamps are unnecessary for this task ...


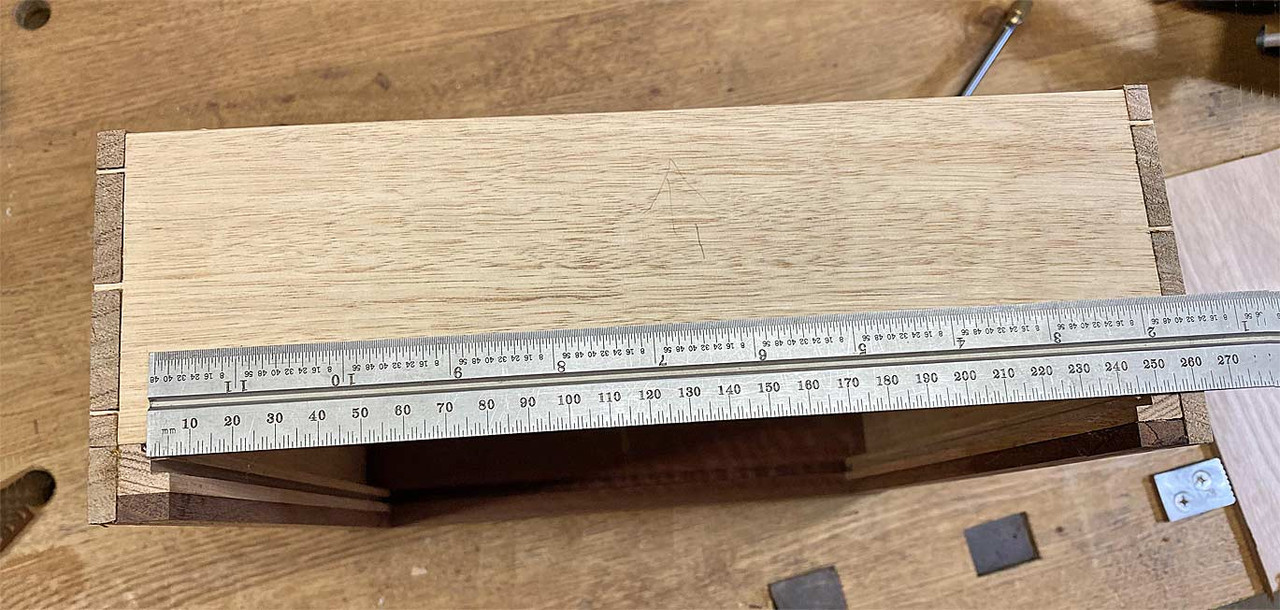
Measure off the full width of the drawer bottom from inside the slips ...

Of possible interest is the work holding for the drawer bottom ...
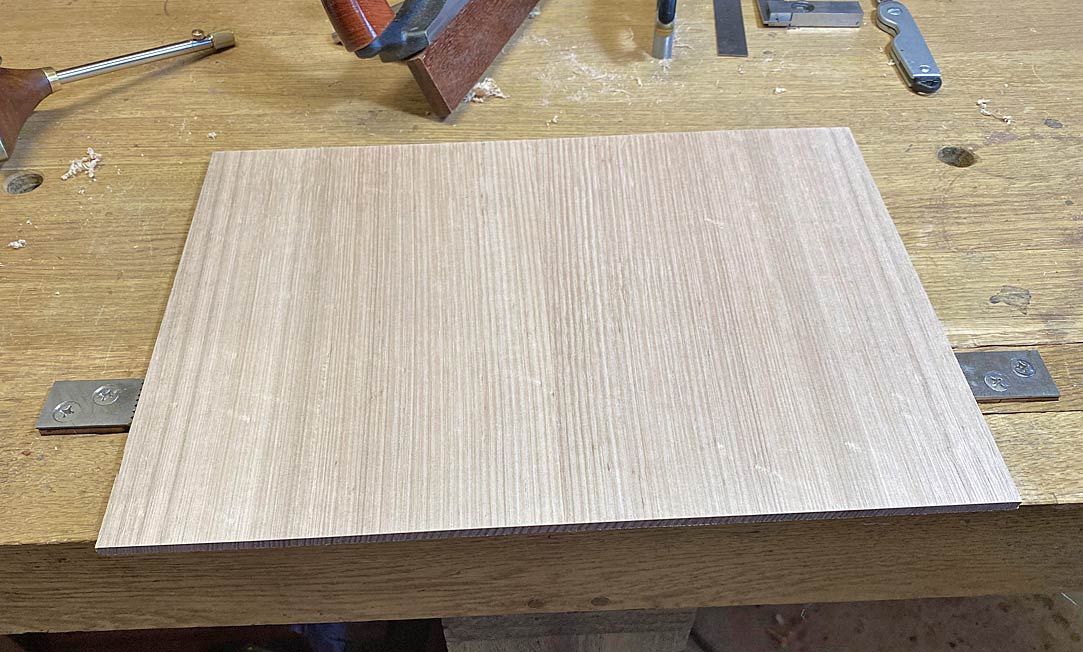

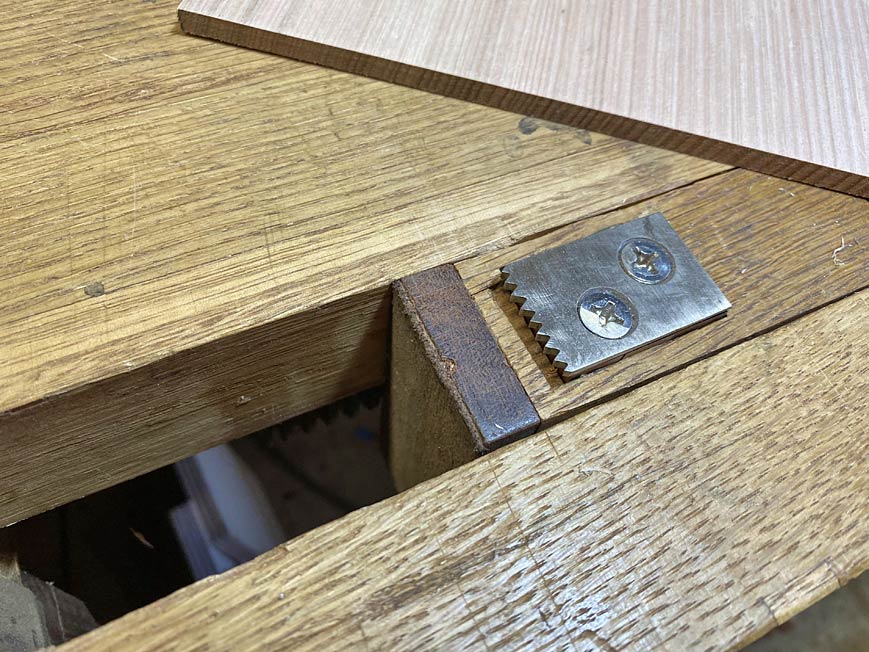
The bench dogs on each side were made from sections of unhardened O1 steel, and filed into teeth.

Another heads-up is the arm for this cutting guard. Some while back, Veritas brought out a gauge with a fine adjuster. They now sell the arms to upgrade existing gauges, which is what I have done here to a wheel gauge I made ...
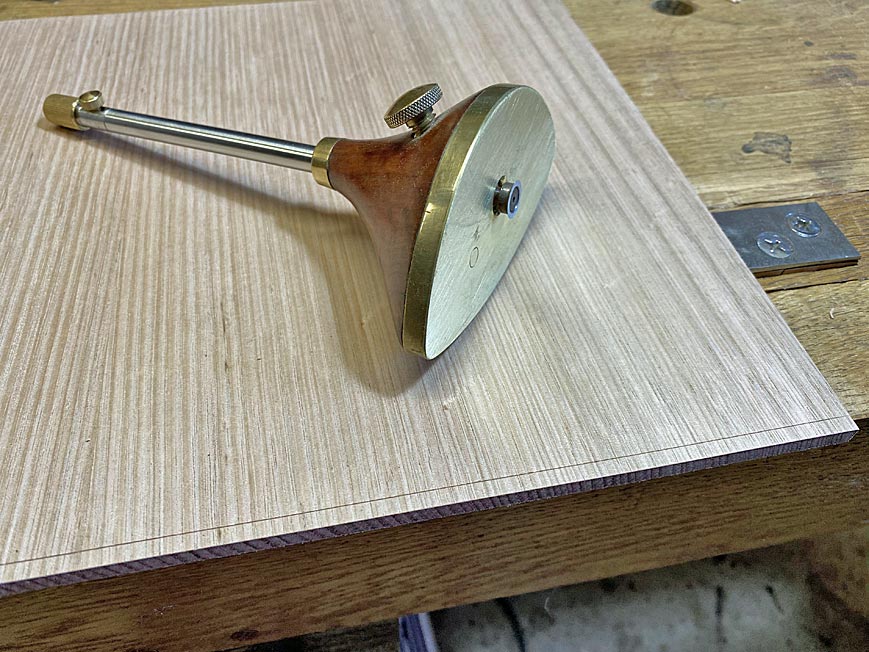

Here the tongue is marked (about 4mm). This will fit into the groove in the slip.

The thickness of the tongue is marked (3mm).
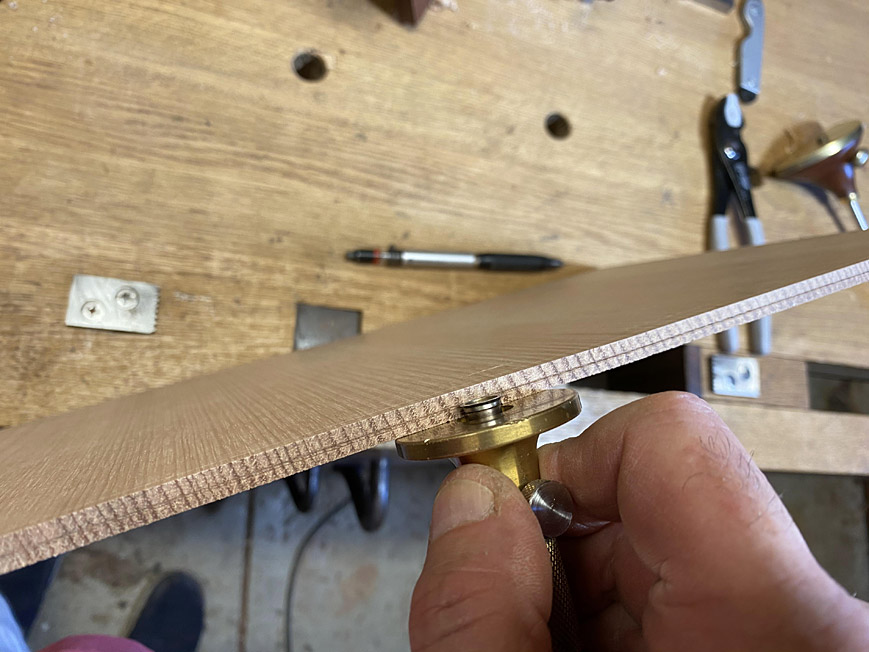

The tongue is planed ...
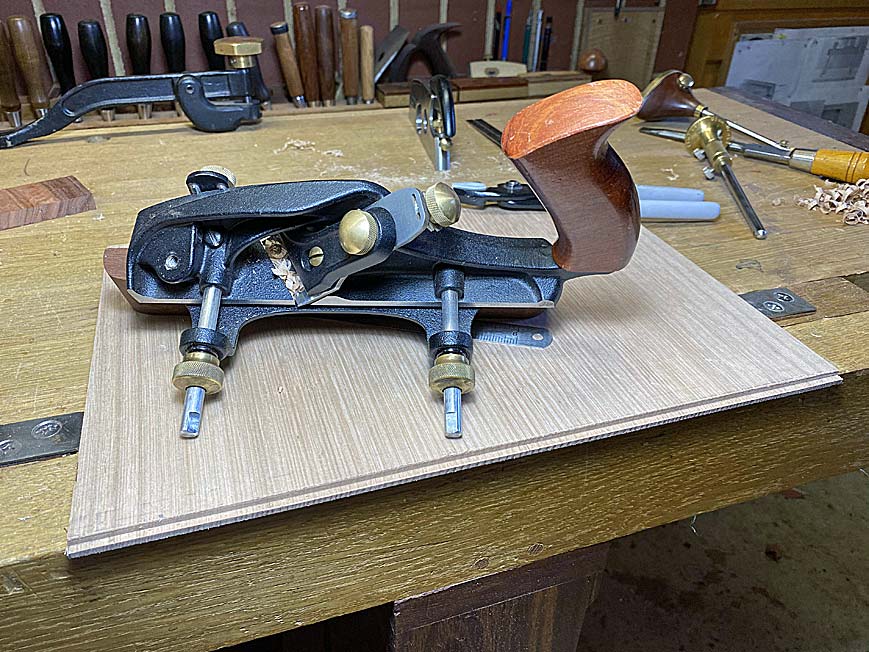

The fit is tested with a spare slip ...
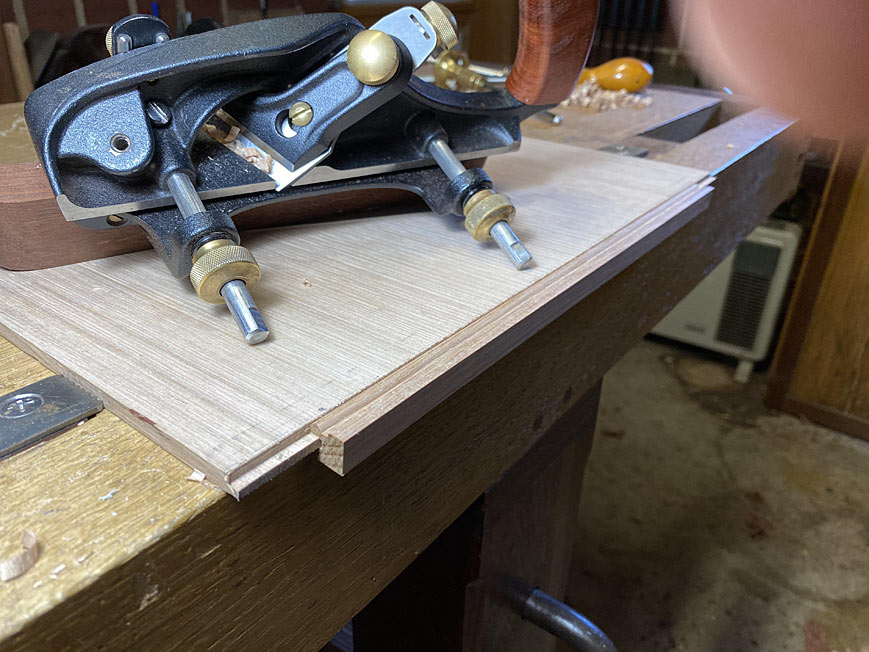

The bottom was about 1mm too wide to fit. A LN edge was perfect to re-joint one side ...
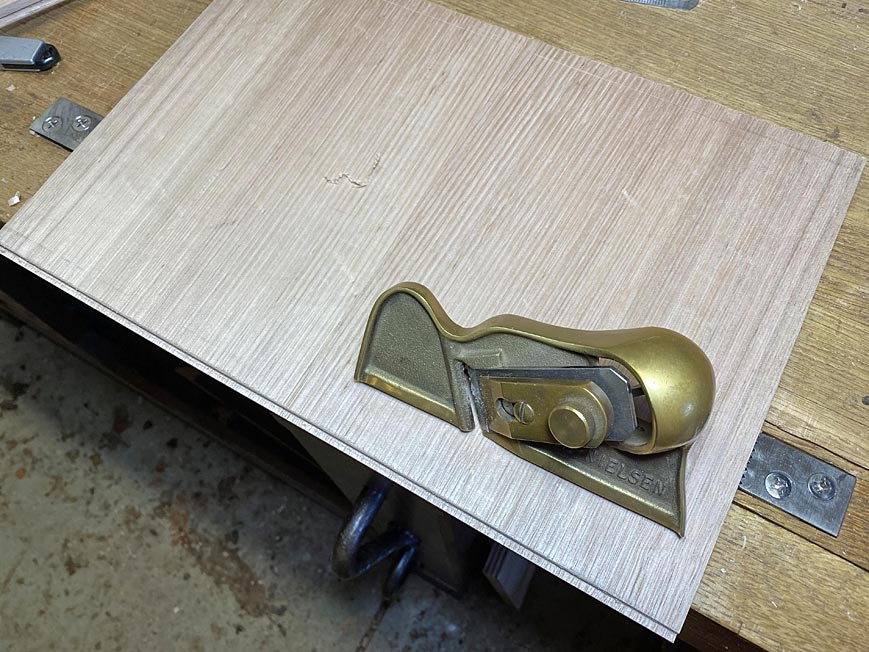

Re-establish the tongue with a shoulder plane ...
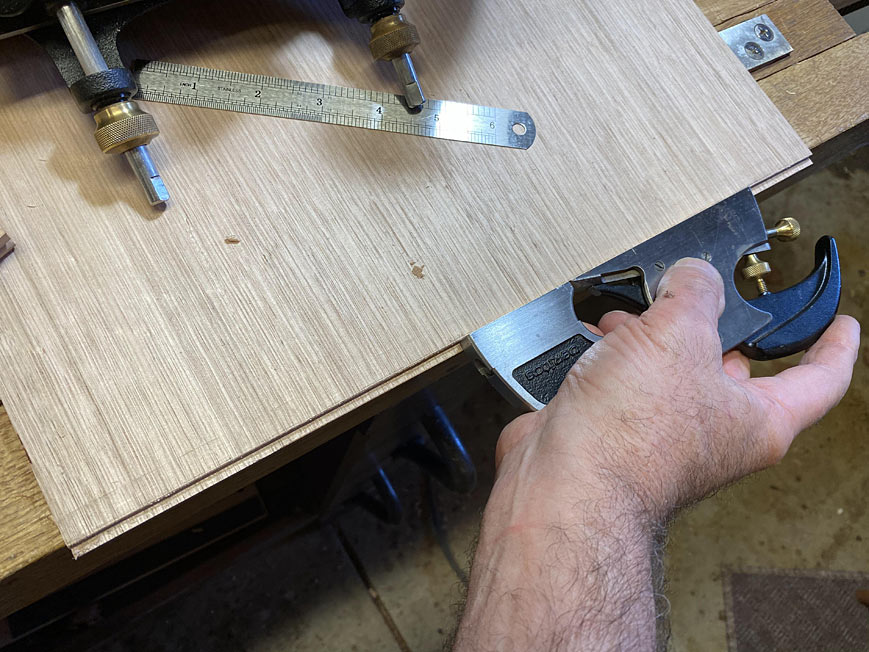

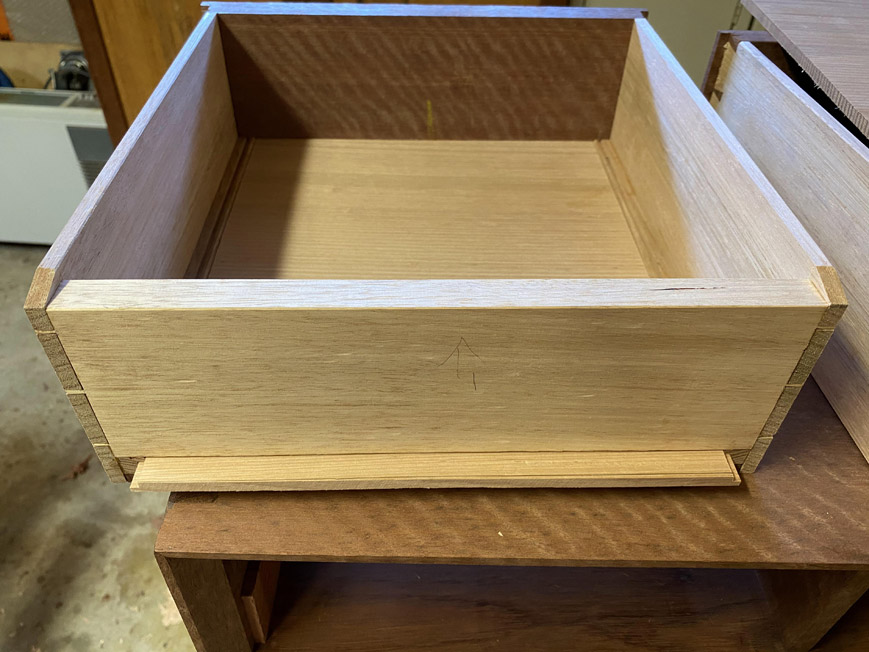
Slide the bottom in. At this time it is just a dry fit. The front, which remains 1/4" thick to fit to 1/4" groove at the rear of the drawer front, is not yet pushed home. The front groove will hold the one end firmly, allowing movement towards the rear of the drawer.

The drawers require pulls. The aim is to make the pulls "vanish" as much as possible. To do this, the shape is kept simple, and the wood is a section from the drawer fronts. Here it is being planed to 1/4" thickness.


Set up to make the pulls ...
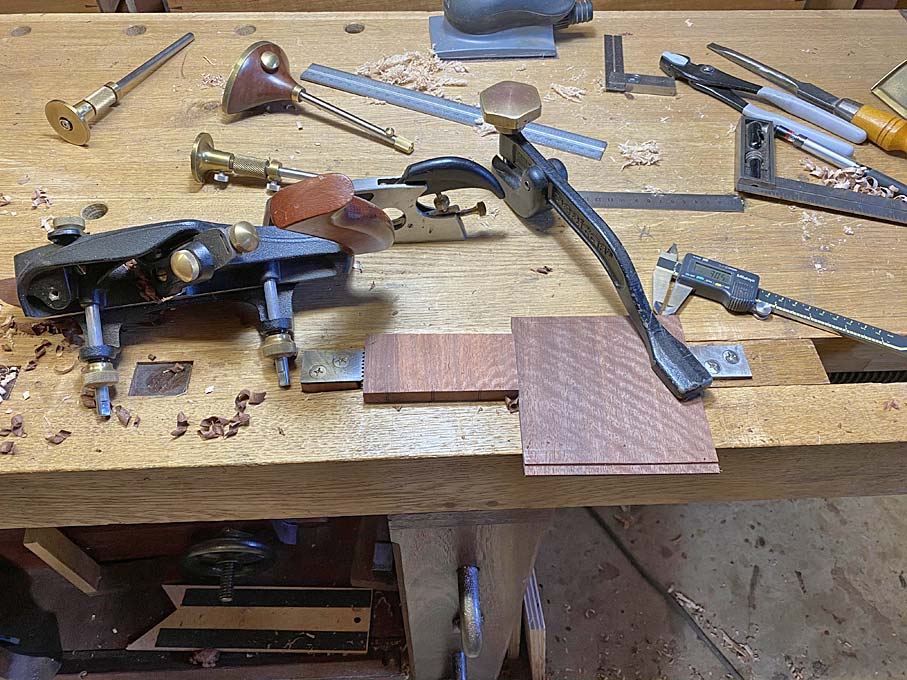

A 10mm wide rebate is planed on both sides. This will be completed on the reverse side as well, to create a tenon 3mm thick.
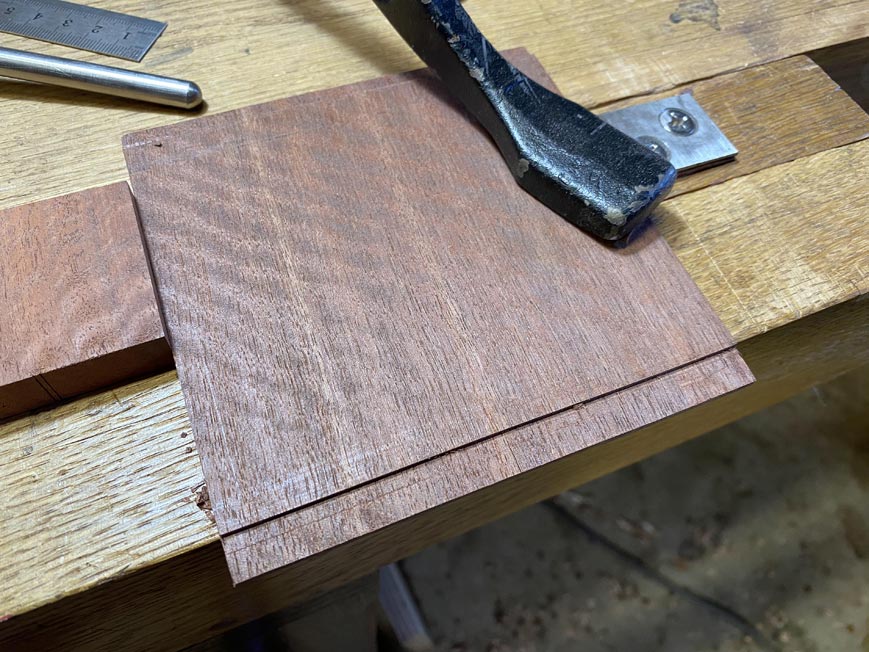

Four sections are marked off for the pulls (only three are needed) ..
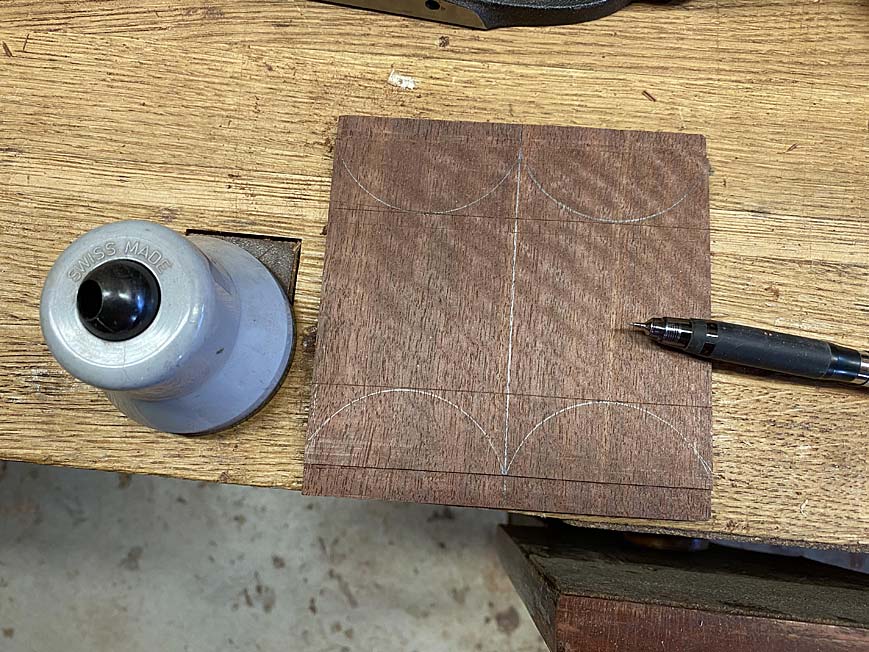

A router is used to create dimples for a finger grip on the underside of the pull (three were needed and were good here; one could be tossed) ...
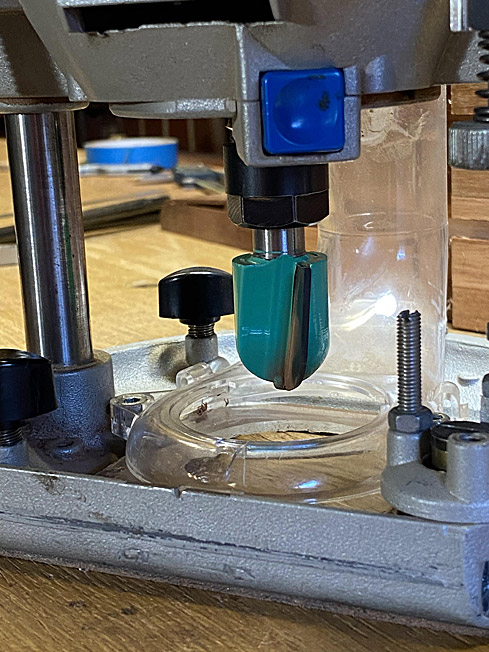
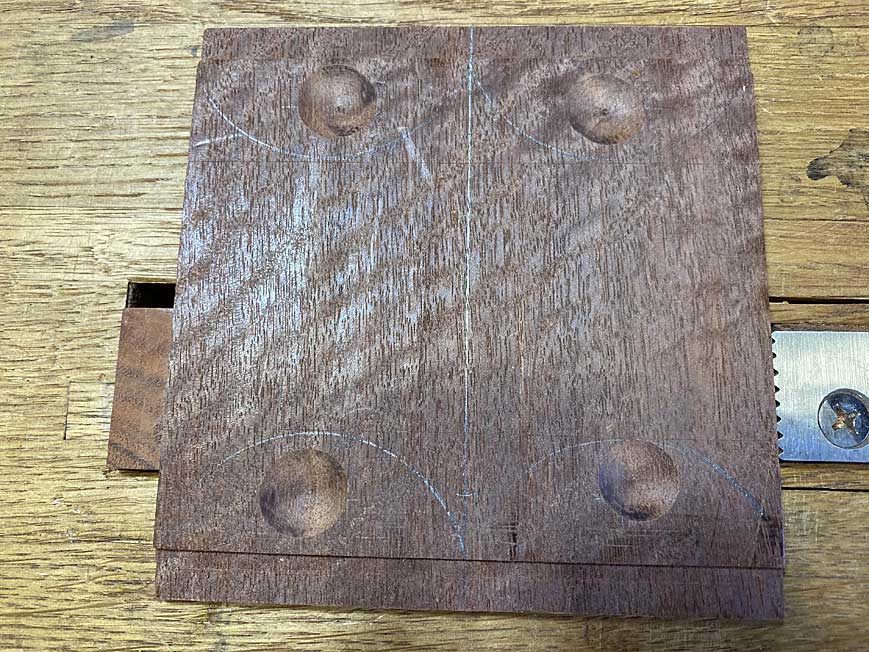

The outlines are cut out ...
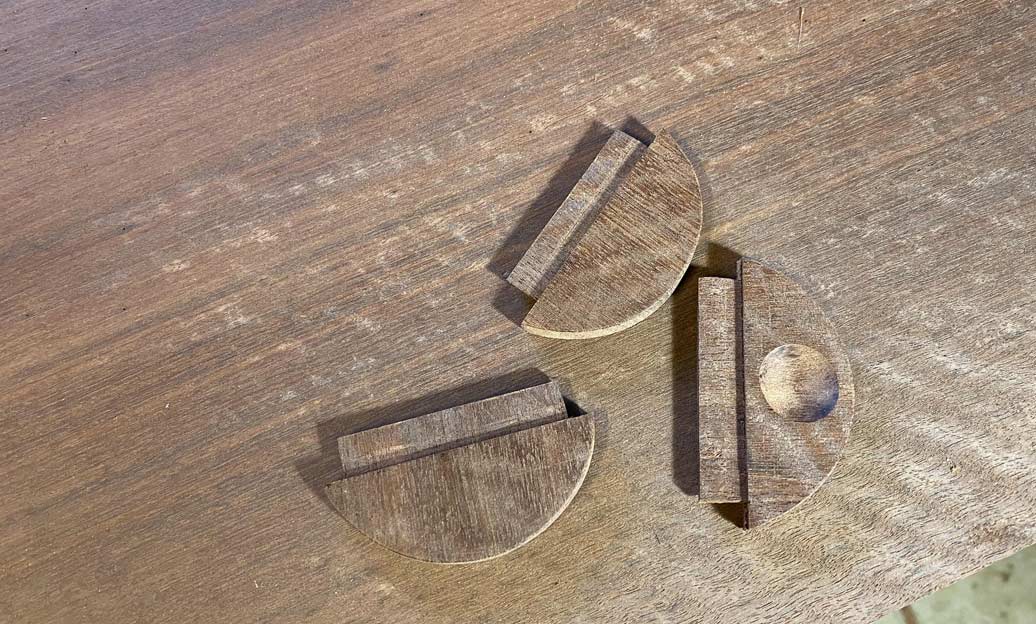

The router is again used, this time to create a 3mm x 50mm mortice in the drawer fronts for the pulls ...
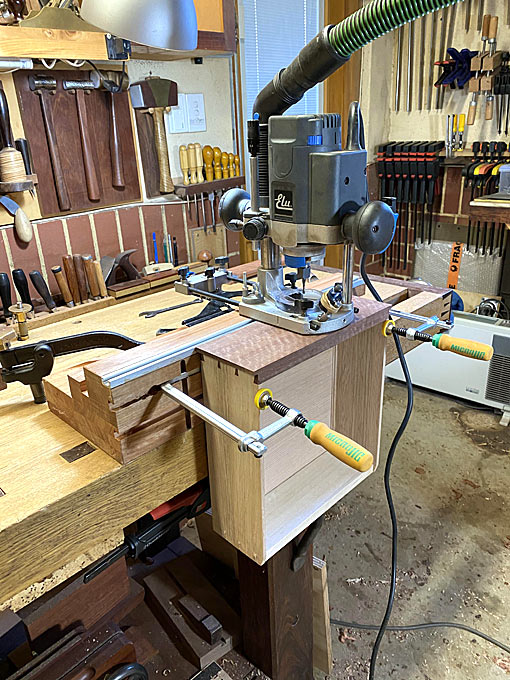

The final section of the build is the drawer back. I decided to use Jarrah to match the rest - one never knows whether the hall table will become a room divider.

The newly-purchased JessEm Clear-Cut TS Stock Guides make a clean, accurate rip that much easier ...
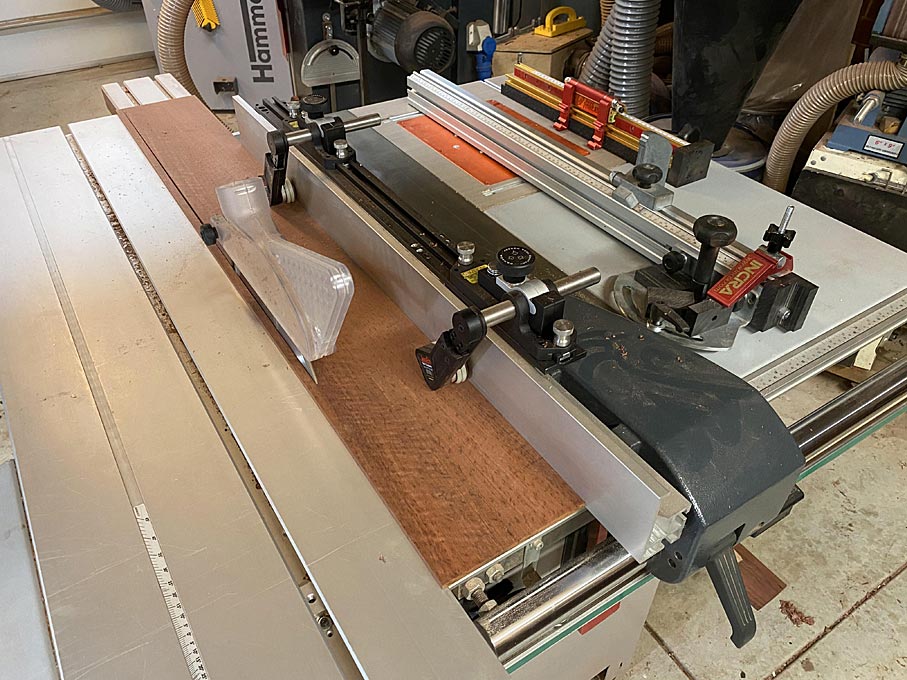

The next post will show the completed hall table.

Regards from Perth

Derek

#EntryHallTable

Re: Entry hall table for a niece: Part 14

#2

Re: Entry hall table for a niece: Part 14

Philip F Duffy

Derek, the beauty of your workmanship can not be overstated! All praise and glory to you for what you have achieved and taught all of us. Thank you. P.

Re: Entry hall table for a niece: Part 14

#3

Gluing drawer bottoms

Bill Tindall, E.Tn.

A beginning woodworker was visiting the shop last week and I put him to work gluing up the 6 drawer bottoms for the bedside dressers. While I have no quibble with assembling thin panels with gobs of tape, I don't find it necessary to accomplish this task any different from any other panel.

The bottoms were 1/4" thick x 16" wide western cedar. They were assembled with a bottom clamp on each end and a top clamp across the middle. I offer this technique for consideration of its simplicity. It works in the coached hands of a beginner.

The bottom clamps at each end are snugged as the panel components are coaxed into alignment. The top clamp is applied tight against the top, and snugged, to prevent the panel from bowing up. Sequentially, the clamps are tightened to bring uniform pressure to the joints.

Panel gluing is all about applying sufficient pressure to squeeze excess glue out of the joint. A firm snug is sufficient for a 1/4" panel, not a tight crank of the clamp screw like for a full thickness panel.

The top clamp is essential. A miscommunication led to the helper removing the top clamp during assembly. The panel bowed up and the joints separated. Not a problem to start over, except add sufficient additional glue to the joint to re-wet the surfaces. This reassembled joint will take substantially longer to cure because the wood adjacent to the joint is now wet from round 1 glue.

Re: Entry hall table for a niece: Part 14

#4

Re: Gluing drawer bottoms

Derek Cohen (in Perth, Australia)


Hi Bill

Lots of different methods. Thank goodness that we have alternatives to consider :)

Thanks for clarifying how you use clamps to do this. That is the same way I do so, when using clamps.

This is how I do the tape method:

1. On the face (good) side, tape is stretched across the join, pulling the boards tightly together. There are likely to be several pieces of tape used this way to keep the tension even down the length of the panel.

2. Stretch a strip of tape lengthwise along the join. The purpose of this is to seal the join.

3. Turn the panel over, and open up the panel like a book. The tape is holding it togther like a hinge.

4. Paint glue along the length of the join.

5. Close the panel/book, and use some blue tape to lock it like this. This is what you see in the picture above.

6. Add cauls/straight edges along the width. These are held with spring clips. You can see them in the photo. Incidentally, the cauls here are 1m lengths of mild steel 1” square section. These are covered in plastic tape to remain glue-free.

The panel above was made over a month ago, and was set aside until needed. The cauls ensured that everything remained flat. It was a simple matter to scrape a slight seam, and sand the panel with 180 grit.


What I like about this method is that it is quick, and getting, keeping it flat takes a minute, and it is completely stress-free. The blue tape I use is cheap.

Regards from Perth

Derek

Re: Entry hall table for a niece: Part 14

#5

Re: Entry hall table for a niece: Part 14

Derek Cohen (in Perth, Australia)

Thanks Philip. I can always count on you for a kind word.

I so pleased it is now done. Another coat of wax to go. Plus building a box for it. Photos on the weekend. Then it get shipped on Monday to Sydney. Everything seems like it goes down to the wire!

Regards from Perth

Derek