Home Articles Forums Gallery Marketplace Videos

WoodCentral Forums

Knowledge You Can Build On — Est. 1998

Entry hall table for a niece: Part 4

Posts

Entry hall table for a niece: Part 4

Edited #1

Entry hall table for a niece: Part 4

Derek Cohen (in Perth, Australia)

Having completed the dovetailing of the case, the next step is to bevel the front face, and rebate the rear for a back panel.

I had been considering a cove in place of a bevel, however when I mocked this up it came across as appearing too busy. So, back to the bevel.

The angle for the bevel was finalised at 55 degrees. This enabled a 6mm (1/4") flat edge and a bevel that ran to roughly 4mm of the first dovetail. A 45 degree bevel would run into the dovetail.

The lines for the bevel were marked and then roughed out on the table saw ...
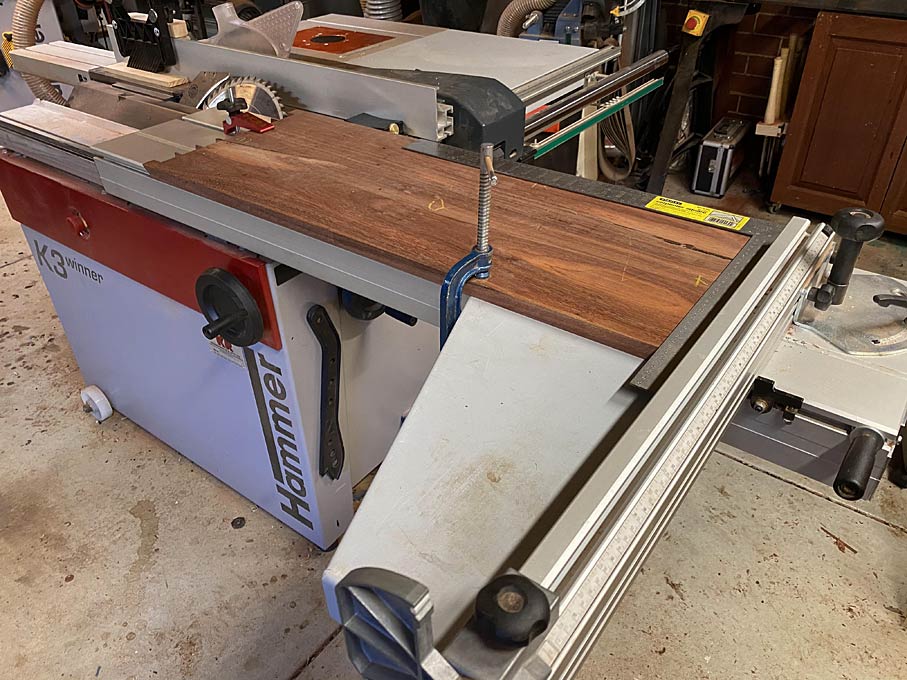

The table saw is a slider, and the rip fence was used to position spacers, before clamping a panel for cutting the bevel.

The bevel was then finished with a hand plane ...
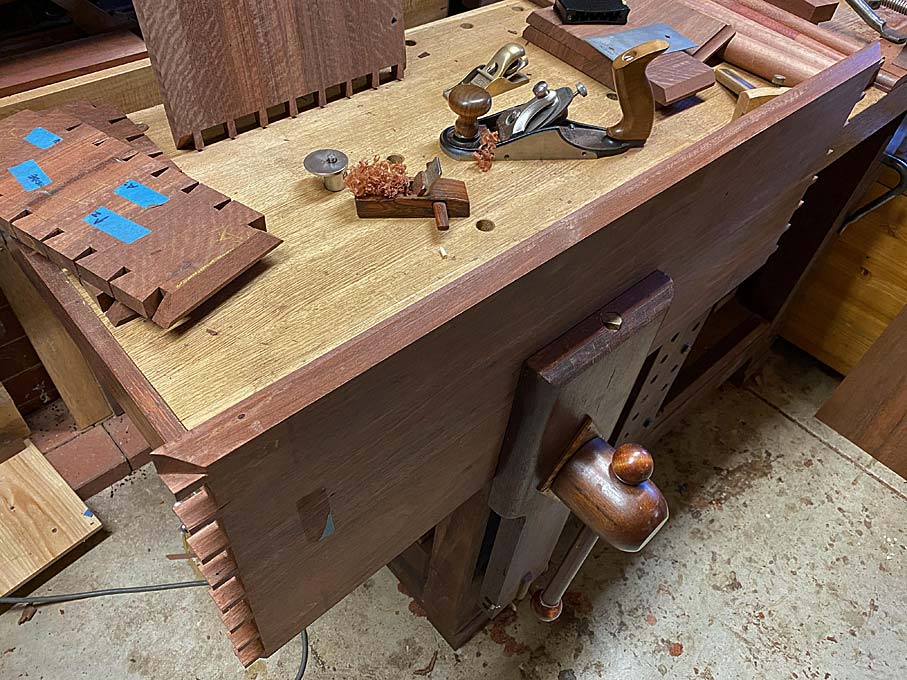

This Jarrah is particularly interlocked but planes well with both a high cutting angle (the little HNT Gordon palm smoother) and a close set chipbreaker (the Veritas Custom #4).

Once the bevels were completed, the rear rebate was ploughed ...
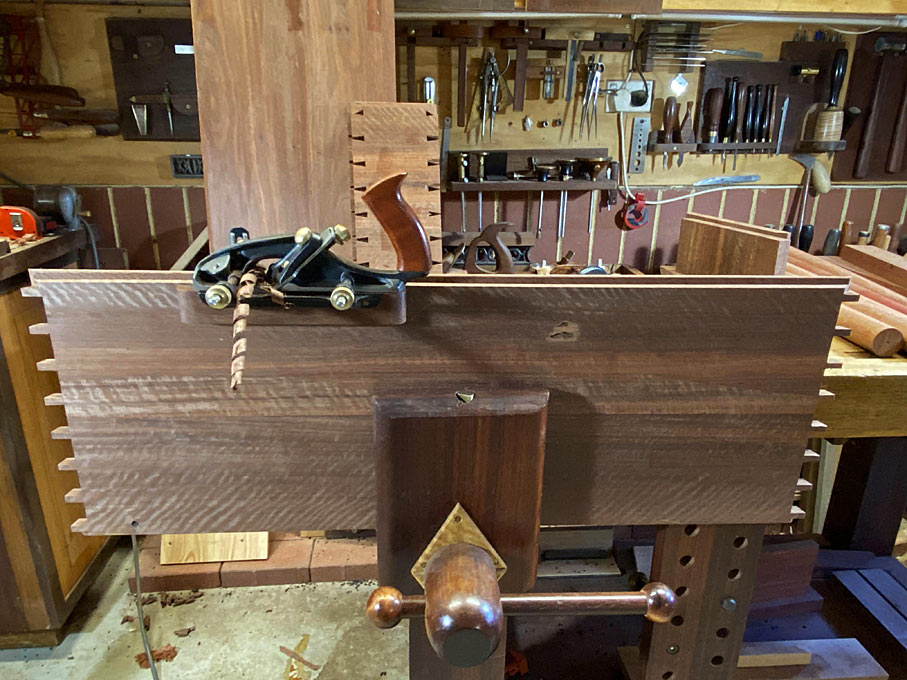


Now the panels could be assembled into a case once again, and the work examined for tuning.

Three of the bevels needed tuning. This ranged from a smidgeon here ...
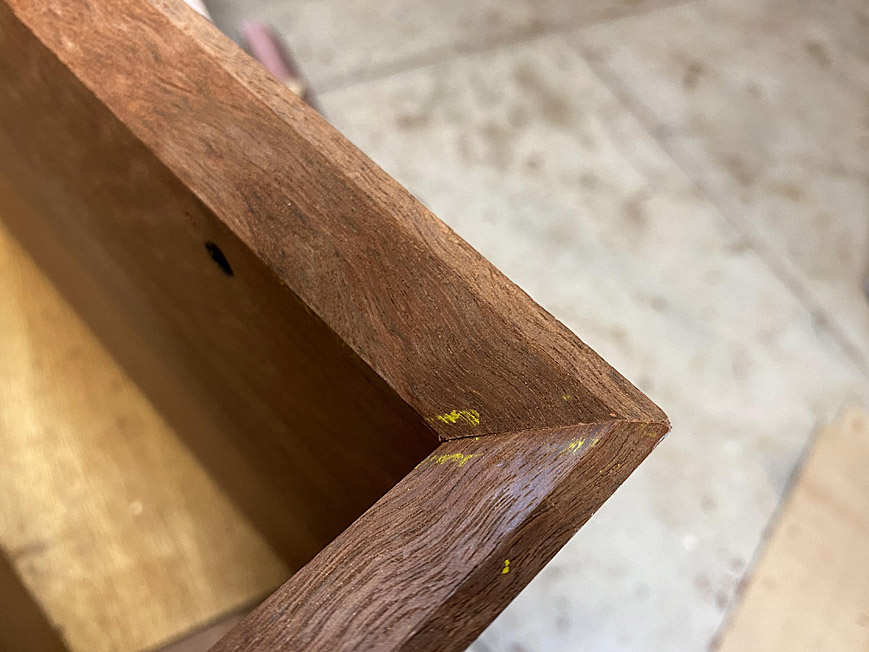

... to a largish amount ...
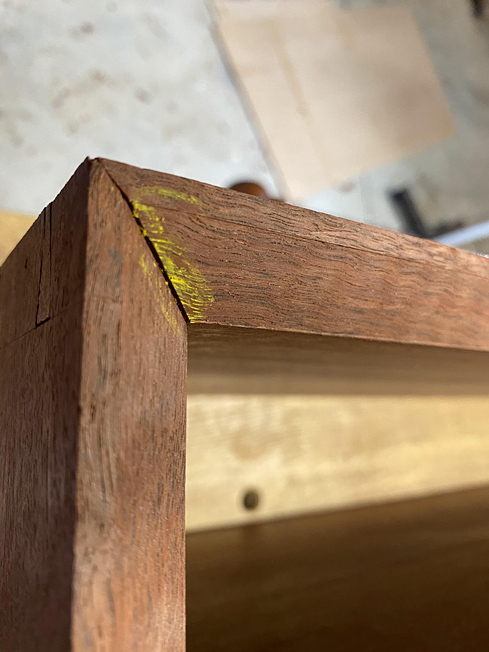

The case was dissembled and the bevelled edged planed down, re-assembled, checked, pulled apart again, planed ...

The rebates at the rear turned out to not require any tuning, with the exception of one corner ...
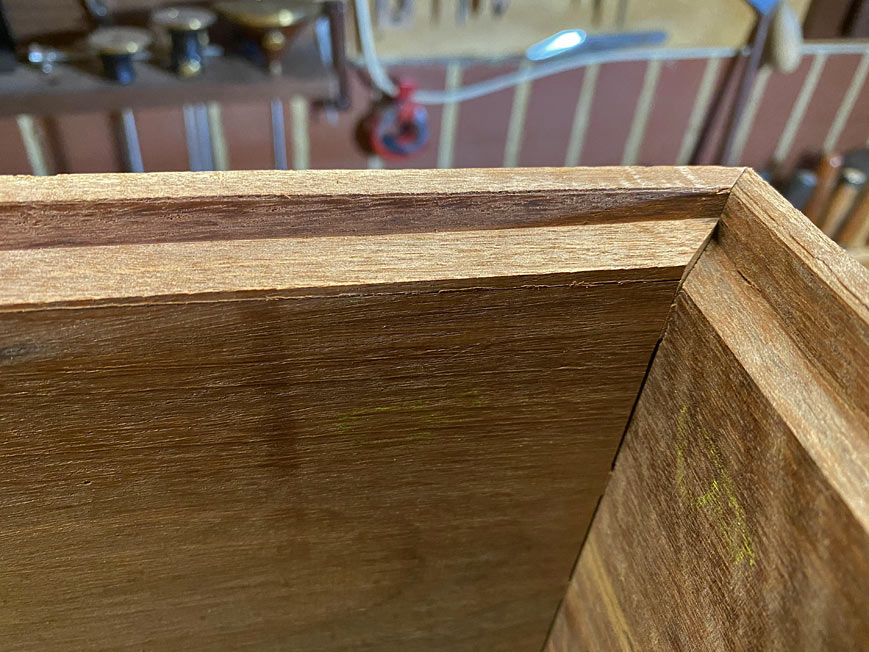

... where I had obviously forgotten to plane! :) :\

That was easily rectified ( ... but the case had to be dissembled again). Finally, this is the rear of the case and the completed rebates ...


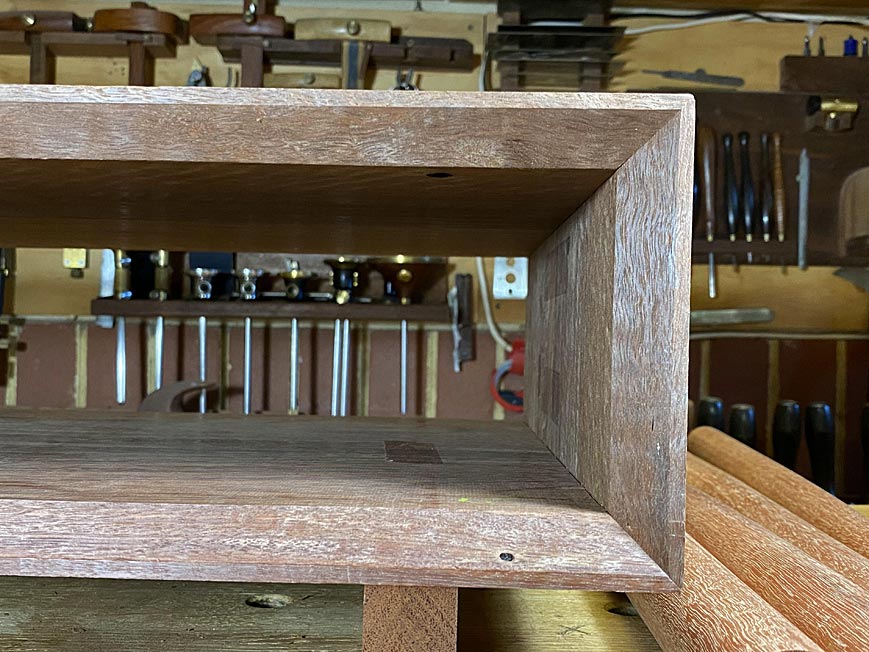
This is a rebated corner ...


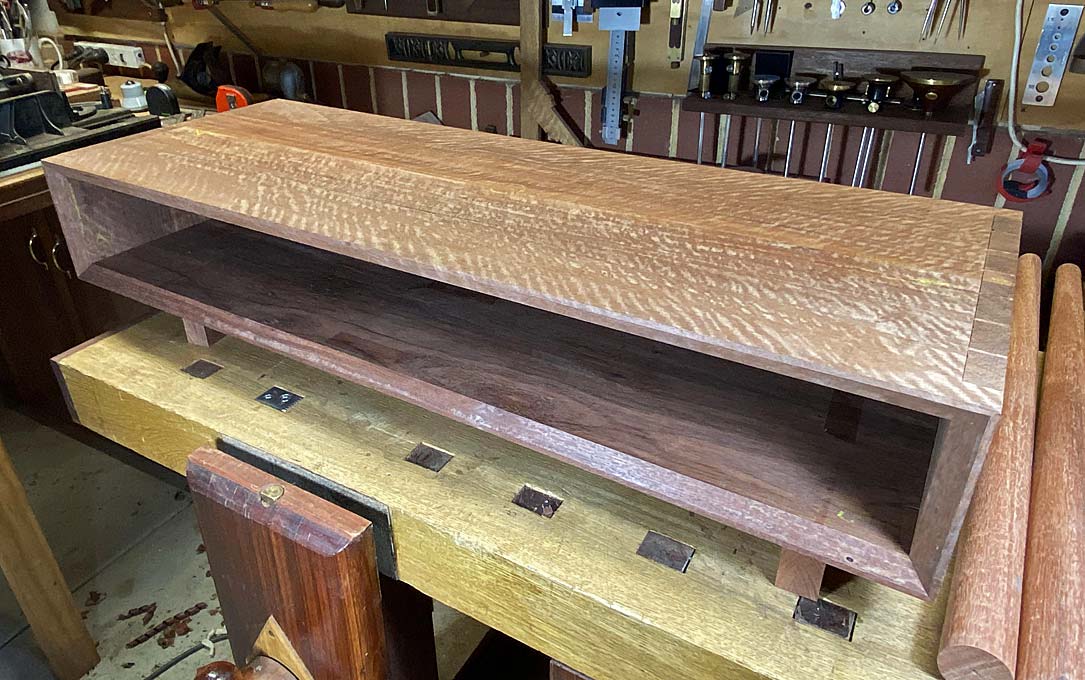
Here are the front bevelled corners ...


This illustrates by the mitres on the corners of the dovetailed case needed to be perfect. Any undercutting would show here.

Next, the drawer dividers need to be done. I'll mention here - since I would appreciate the thoughts of others - that this area has been my biggest headache.

The reason is that my niece would like the drawers to have the appearance of a single board. However, to achieve this, because of the bevels, is quite complicated.

First of all, the table cannot have just two drawers. The width of the drawers will be greater than their depth, and this would likely lead to racking. Consequently, I plan to build three drawers, which will be more favourable for the width vs depth ratio..

Secondly, if the drawers have dividers between them, which they need (since I do not do runners), then there will be a gap between the drawer fronts (which will not flow uninterrupted).

As I see it, there are two choices: the first is to build the drawers with planted fronts. This is not a method I like (but it may be expedient). The second option is to set the dovetailed drawers sides back (recess them) to account for the internal drawer dividers.

Thoughts?

Regards from Perth

Derek

#EntryHallTable
Re: Entry hall table for a niece: Part 4

#2

Re: Entry hall table for a niece: Part 4

Wiley Horne

Hi Derek and all,

Couple of thoughts on maintaining the long horizontal figure lines across three drawer fronts. You discussed two approaches, one with planted fronts; one with integral fronts lipped on the sides to cover the dividers...

Tedious fitting either way. On balance, the planted fronts would have the benefit of sequential fitting—you could fit the drawer boxes and dividers and drawer stops—all before fitting the fronts. The tradeoff is that registration pins would be needed between the planted fronts and the drawer box fronts, to maintain close gaps and continuity of grain lines during glue-up. I think you would also have to leave the case unglued during initial fitting, to allow clamping the planted fronts to the box fronts and inserting registration pins, prior to gluing the planted fronts.

If integral fronts are used, perhaps you could carry the lipped portion very slightly over-sized during the dovetailing, and then trim and doctor them to perfect the final fit. This would also offer some forgiveness against edge dings occurring during the dovetailing and handling. ‘Very slight’ so as not to lose continuity in the grain lines.

It’s a beautiful project. The beveled front is really nice—and the miters stayed tight!

Wiley

Re: Entry hall table for a niece: Part 4

#3

Excellent advise

Derek Cohen (in Perth, Australia)

Thank you, Wiley. That is excellent advice.

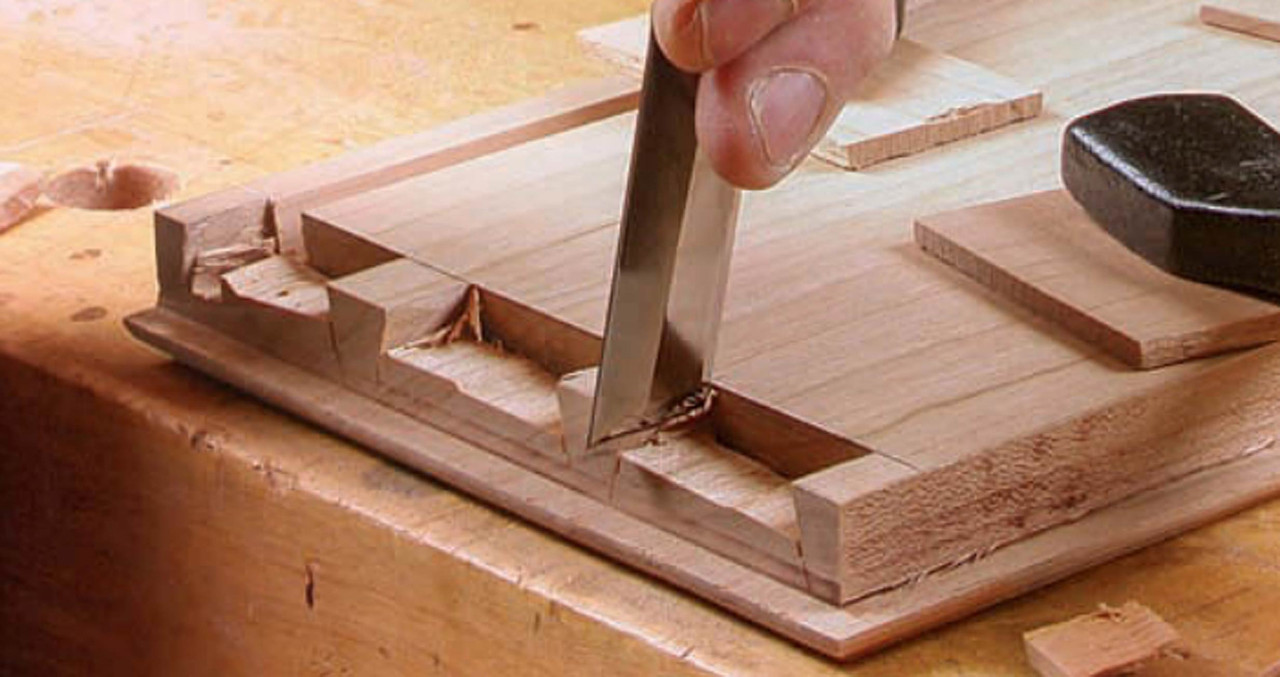
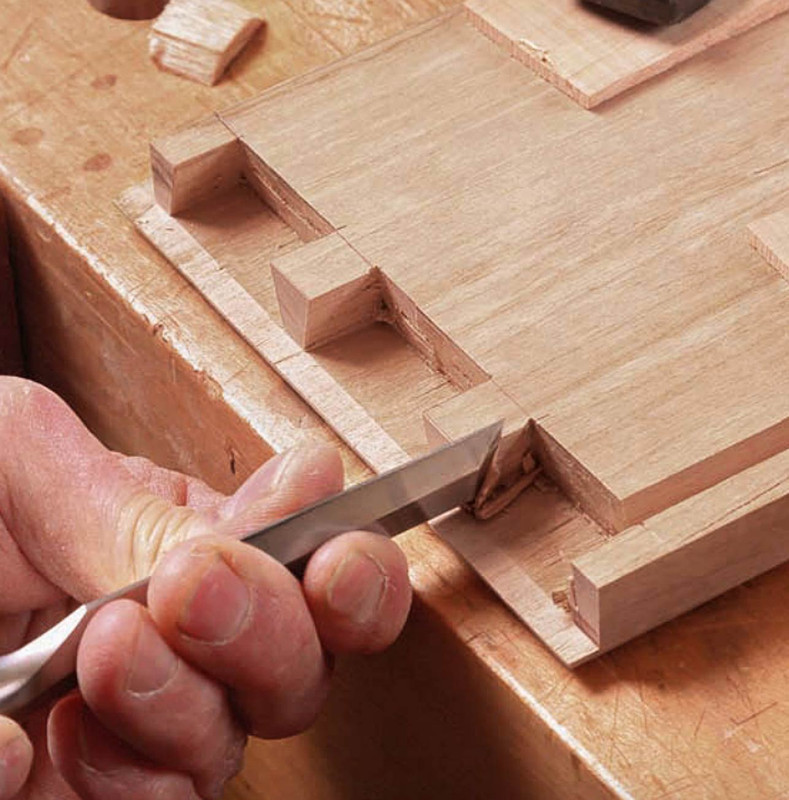
What I need are lipped drawers.The question was whether I make them the easy way, which is by planting (glueing) on fronts. Or, whether I build them out of one piece, which is a lot more work as it requires creating half blind dovetails in a rebate.

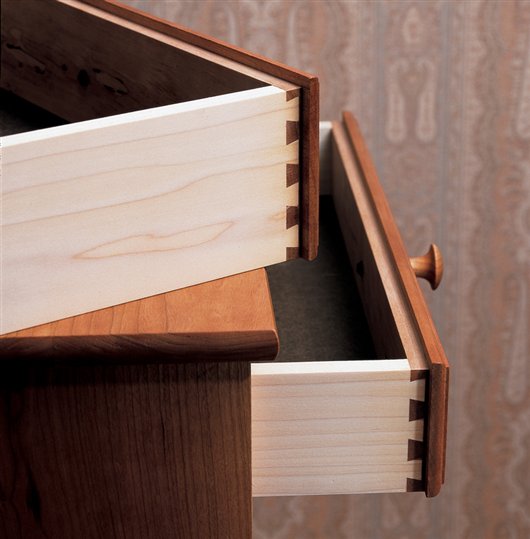
For those unfamiliar with lipped drawers ..


This is the work of Christian Becksvoort ...


At this point, I am going to do it the hard way and make half-blind sockets in a rebated front. This is similar to building a secret dovetail.

To do this for all the drawers, the insides of the case at each end will require a spacer, essentially a 6mm panel glued to the insides. Each side will be half the thickness of the two middle drawer dividers (each 12mm). The centre dividers will be attached in a dado top and bottom.

Regards from Perth

Derek

Re: Entry hall table for a niece: Part 4

#4

Re: Excellent advise

Oskar

what about doing lipped drawers, but not with half blind dovetails but a sliding dovetail, where the drawer sides (male) slides into the lipped front from below?

Re: Entry hall table for a niece: Part 4

#5

Re: Excellent advise

Derek Cohen (in Perth, Australia)

Hi Oskar

That's a great suggestion. A sliding dovetail should work well, and would definitely be quicker. I think I prefer the half-blind route for the traditional look, although it is more work.

Regards from Perth

Derek

Re: Entry hall table for a niece: Part 4

#6

Re: Excellent advise

Brian Holcombe

I’d move to mortise and tenon for the drawer fronts. I know dovetails are nice to see on the sides but being impractical here I would think it best to move toward another solution.