Apothecary chest - part five
Derek Cohen (in Perth, Australia)
The previous weekend had seen the completion of the drawer blades. There were 24 to make - 6 rows with curved faces.
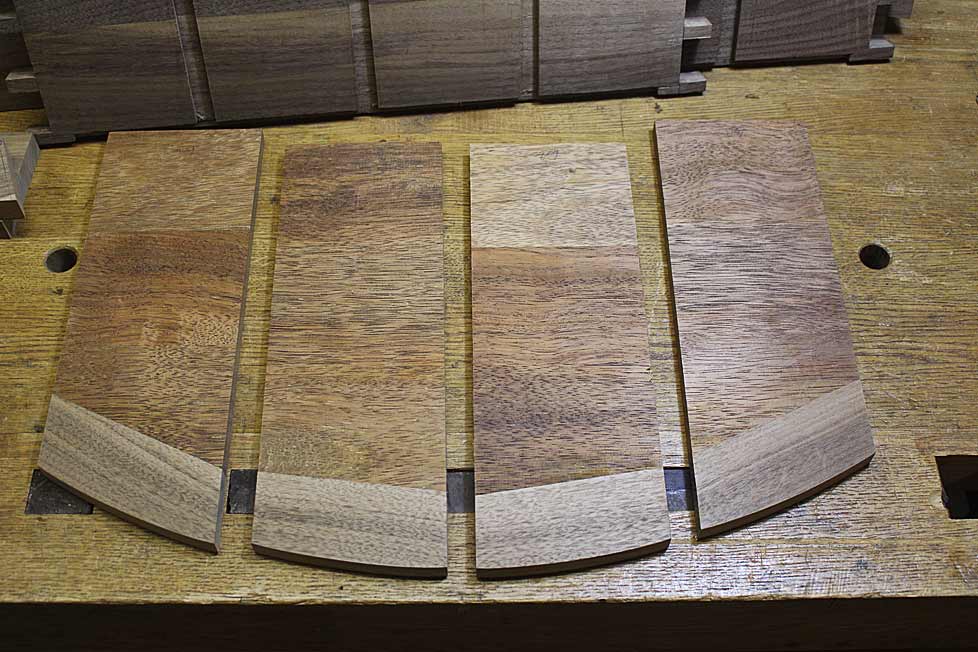
The walnut was flushed ...
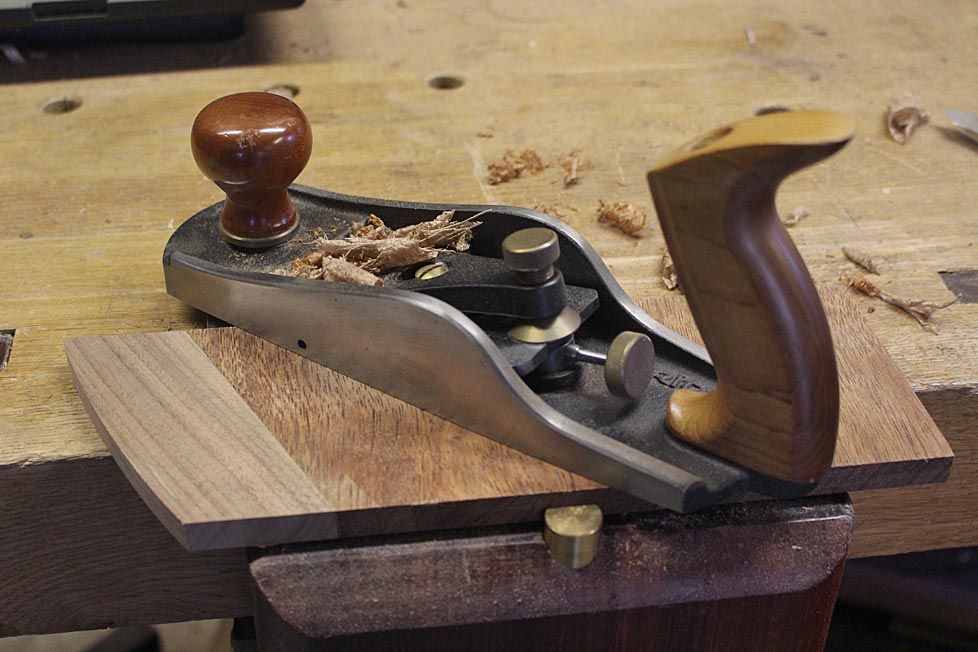
... and then were slid along the dados in the carcase ...
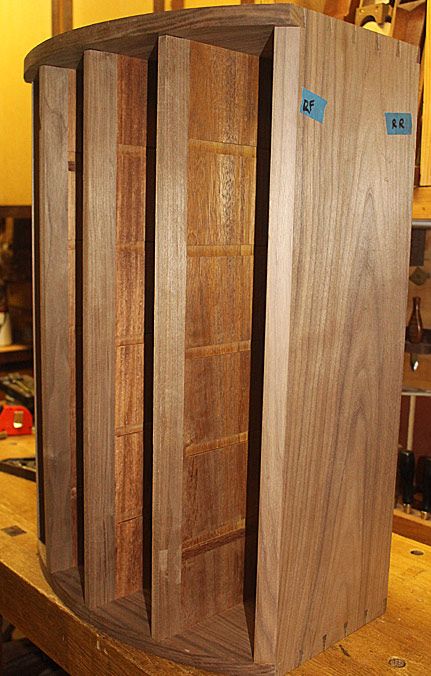
At this point the build came to a grinding halt. The drawer blades ... dados ... were not coplanar ... level ... damn! We are talking a millimetre here-and-there, but the combination looked terrible.
What went wrong?
It was the marking out. I ignored a very simple rule - I failed to use a common reference point. This should have been done with the dividers installed - with the inside base of the carcase as the reference - and not marked outside the carcase.
I could have repaired the dividers, but I decided to scrap the lot and make new ones, and cut new dados.
The carcase was repaired. The dados were filled in ...
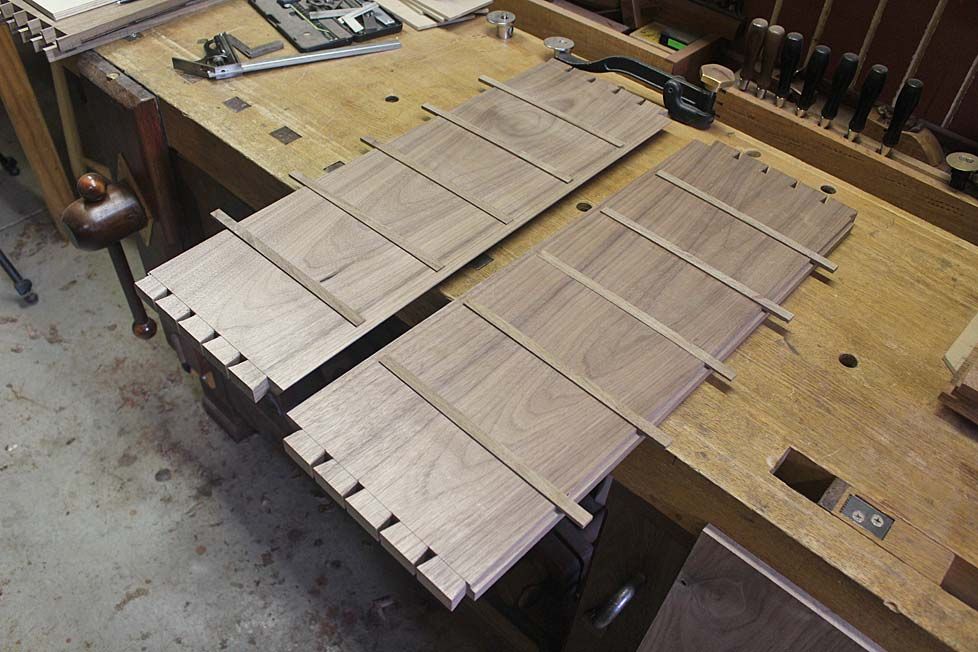
Flushed ...
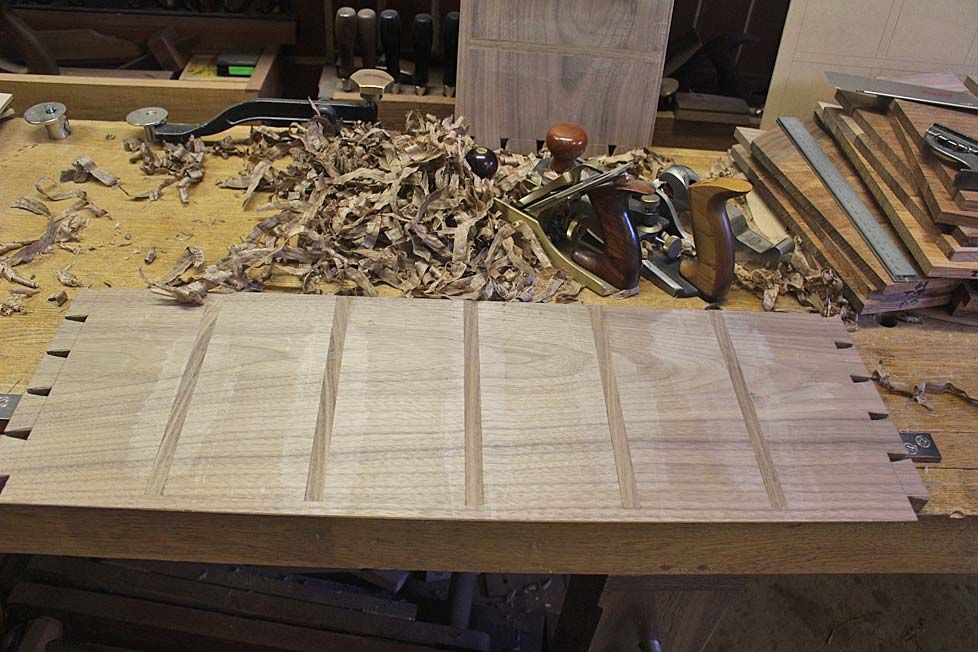
None of this would be visible when the new dados were made.
Then I did what I should have done when marking the positions of the dados - made a series of MDF templates, which could be used as left- and right hands ...

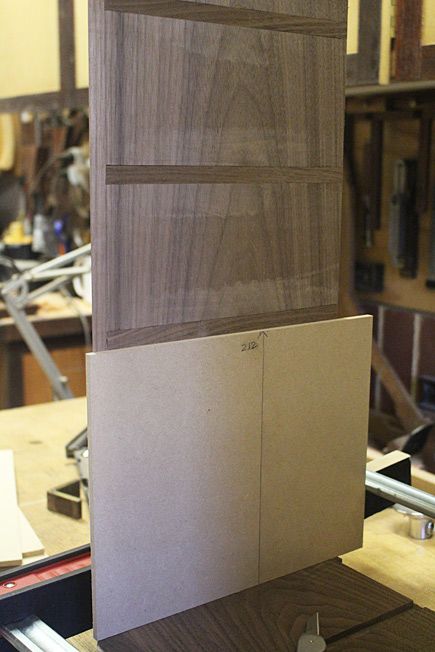
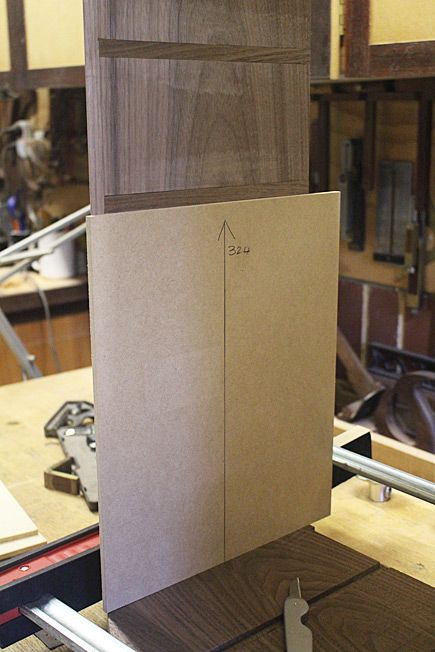
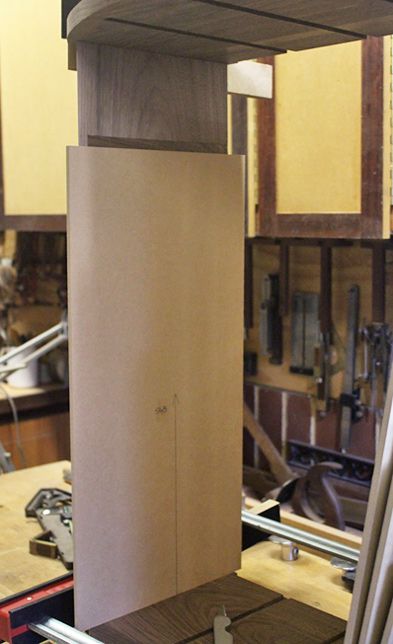
These were used for all dividers, with a line scored by a sharp knife ...
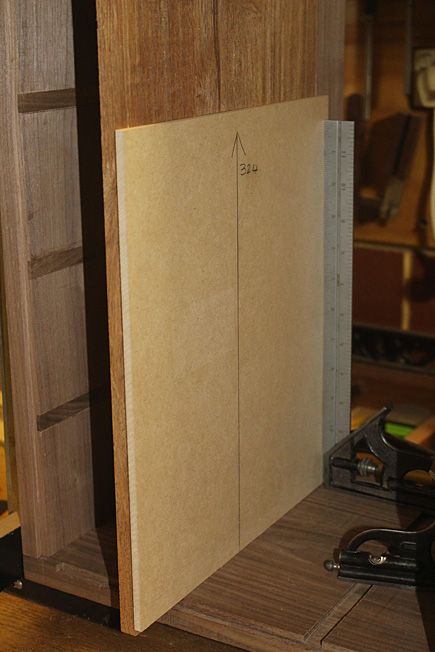
The power router and guide were used again. Tempting fate, perhaps, but I was convinced that the fault lay with the marking out, and not the cutting of the dados. I was tempted to just do the dados by hand - I do feel more in control with hand tools - but 40 needed to be done in all, and in hard merbau, before the weekend was over.
I am not going to bore you with pictures of the dados being made. It was the exact same as before ... except this time I did not cut on the wrong side of the line with one! 
Here is the rear of the chest with the drawer blades inserted ...
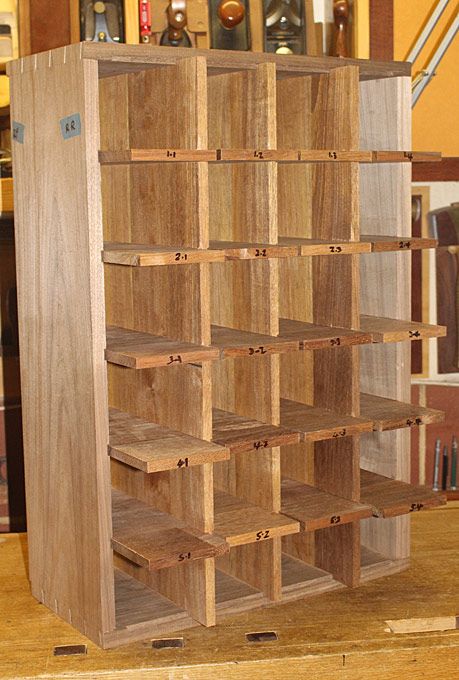
And a couple of the front ...
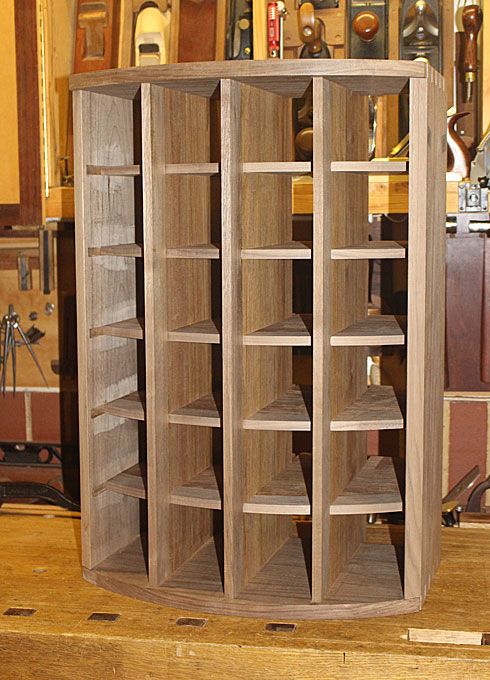
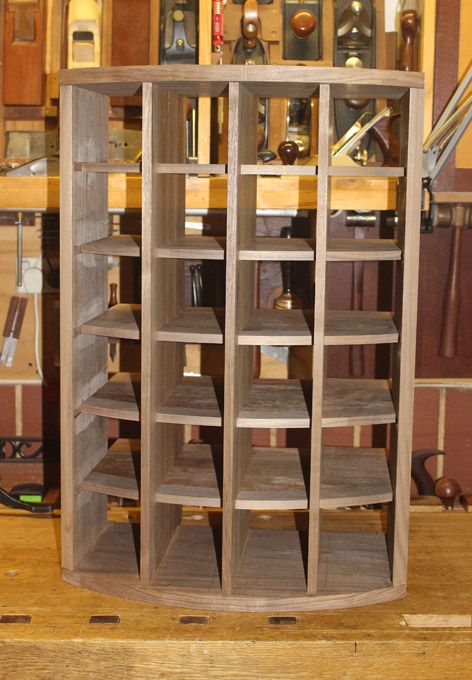
The dividers and the drawer blades have yet to rebated to fit the stopped dados, nevertheless the shape of the chest is becoming more defined.
Regards from Perth
Derek


