New WoodChat!
Home Articles Forums Gallery Marketplace Videos

WoodCentral Forums

Knowledge You Can Build On — Est. 1998

Nearly 100 Exotic Wood Species, Direct-Imported Since 1972. Shop Slabs & Turning Stock.

Hand finishing water-based poly.

Posts

Hand finishing water-based poly.

#1

Hand finishing water-based poly.

Derek Cohen (in Perth, Australia)

The decision was made to use Hard Maple for the kitchen doors and drawer fronts because the wood was light in colour and the figure was gentle. With very little experience in working with this wood (imported from the USA), I decided to use a USA-made finish, since this appeared to be recommended as the best way to retain its light colour. That's where I ran into the first hurdle.

General Finishes water-based poly received the top rating a few years ago in a FWW comparison, however it is best sprayed, and I do not have spray equipment.

I looked into brushing on the finish. General Finishes recommend using a foam brush. However, all the reviews and videos I examined complained of brush marks and streaks in the finish, whether by the best brush or foam. This is partly due to water-based finishes drying rapidly. They set in minutes - sometimes seconds! - and there is no time for the finish to be self-levelling.

To date, my main finishes have been oils and shellac, which I have applied with a rag. I would have liked to have used shellac here, but it is just not durable enough in a kitchen, which will be wiped down frequently. Still, my experience is in wiping a finish, and so I tried this with the GF. It went on well, and it showed promise. The only fly in the ointment was the water-based finish raised the grain, and this would require that the finish was sanded again.

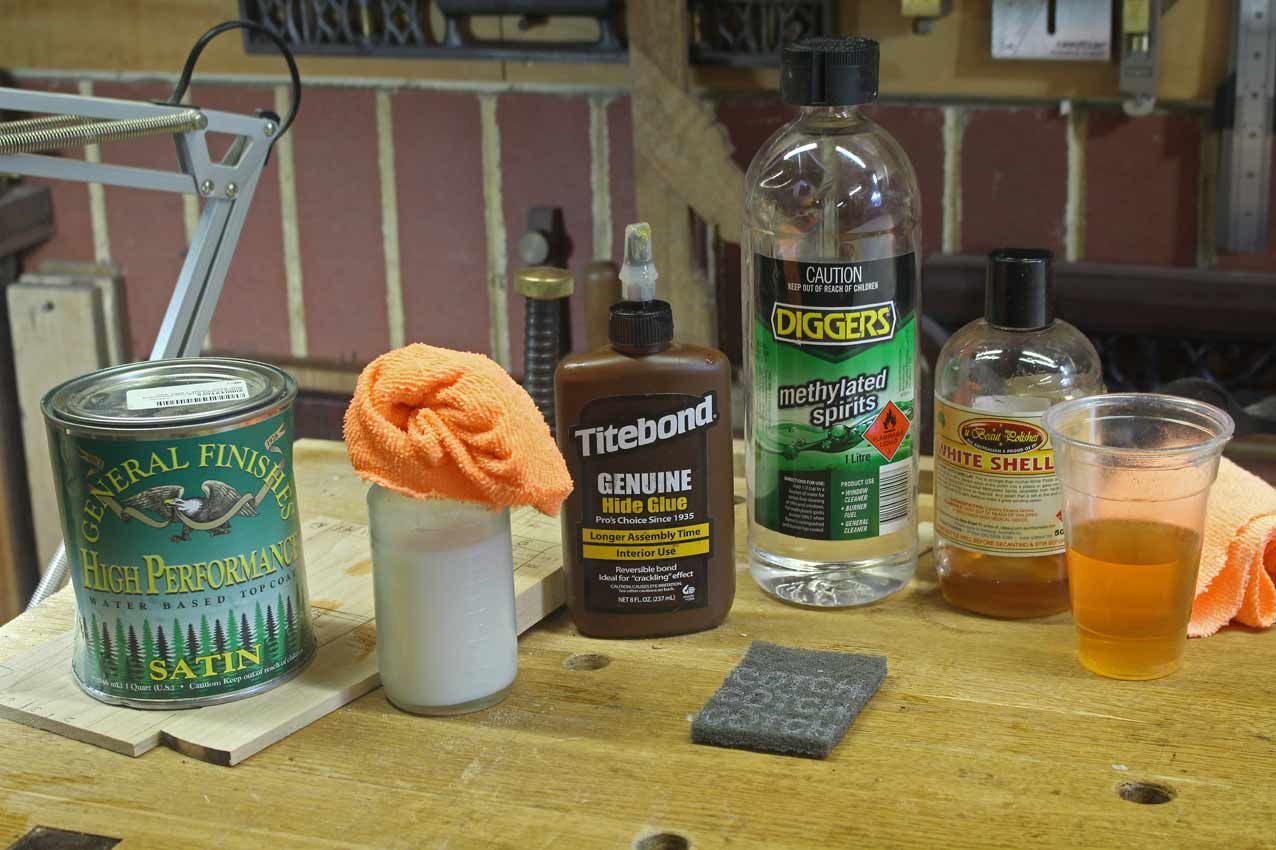
I decided that I would use a dewaxed, white shellac as a sealer prior to wiping on the poly. My choice here is Ubeaut White Shellac, which is concentrated. It was diluted 50-50 with alcohol (methylated spirits).

For rags I used microfibre, and grey Scotch mesh smoothed the surface between coats.

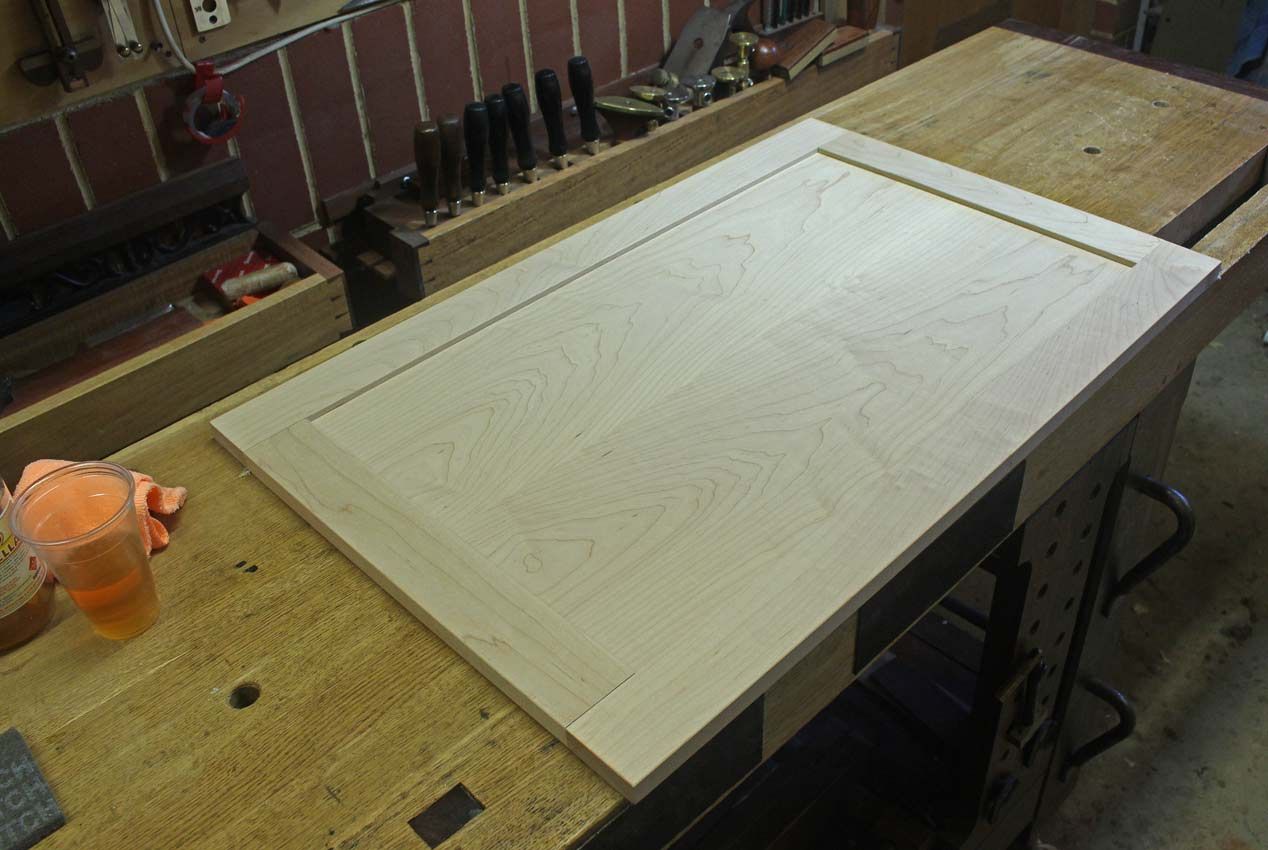
This is a door pre-finish ...

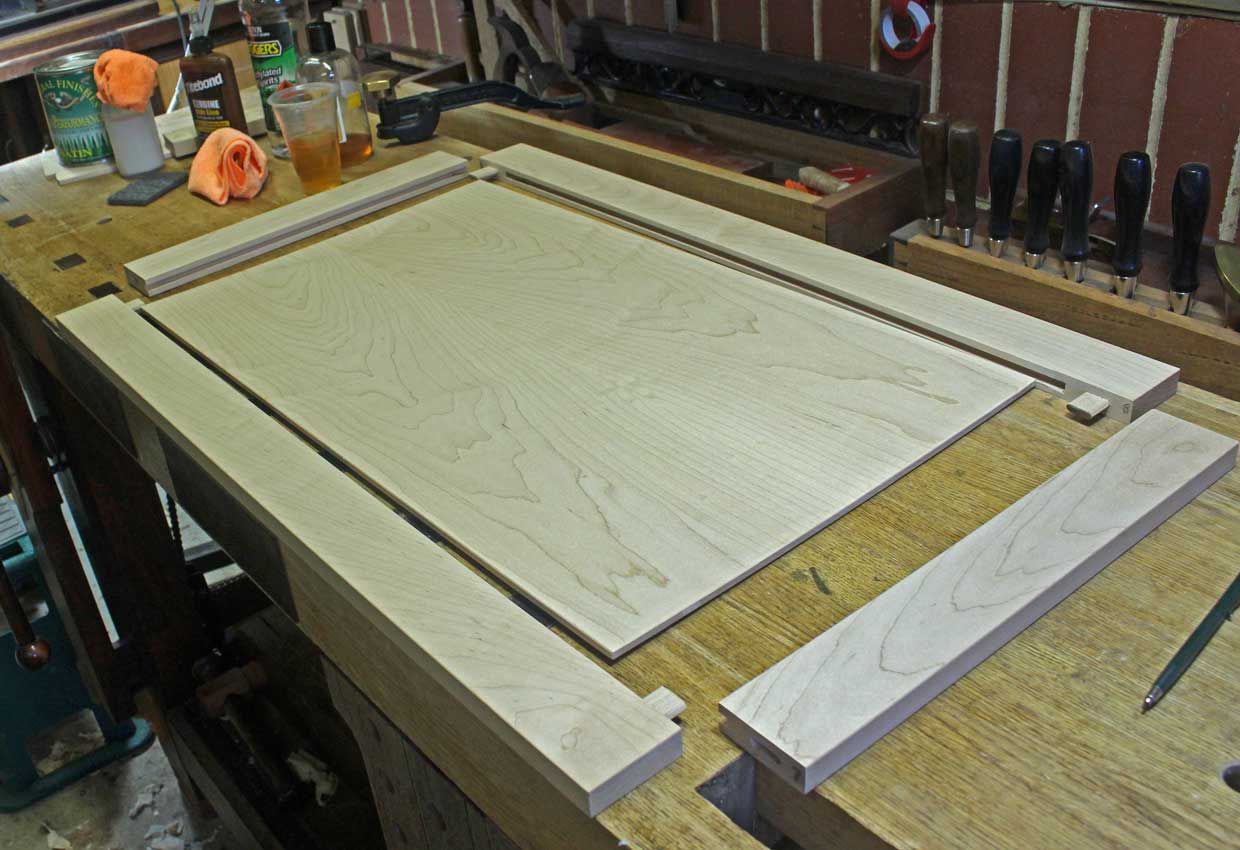
Pulled apart. Every piece is carefully marked for mating and orientation ...

Each surface was given two coats of shellac (with the grain) ...
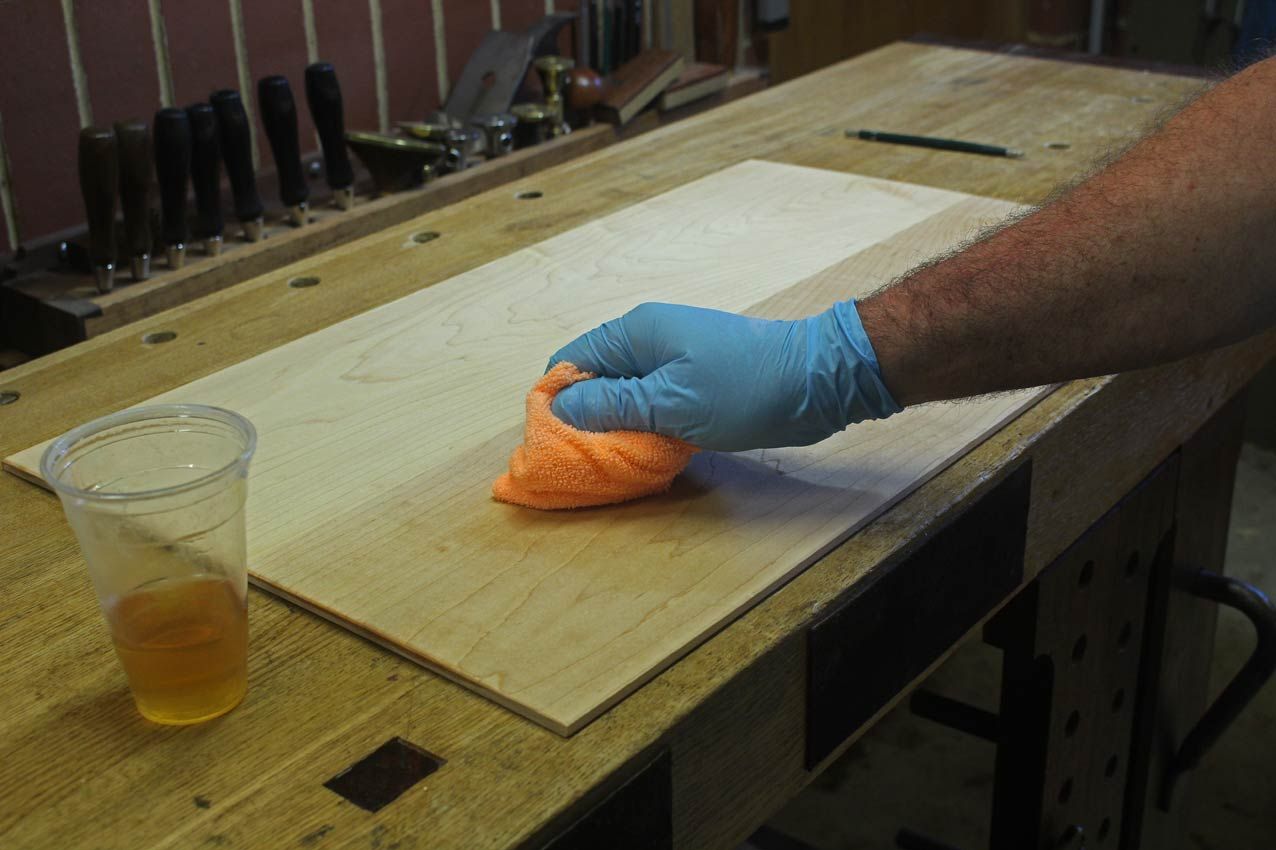

.. followed with a rub down (with the grain) ...
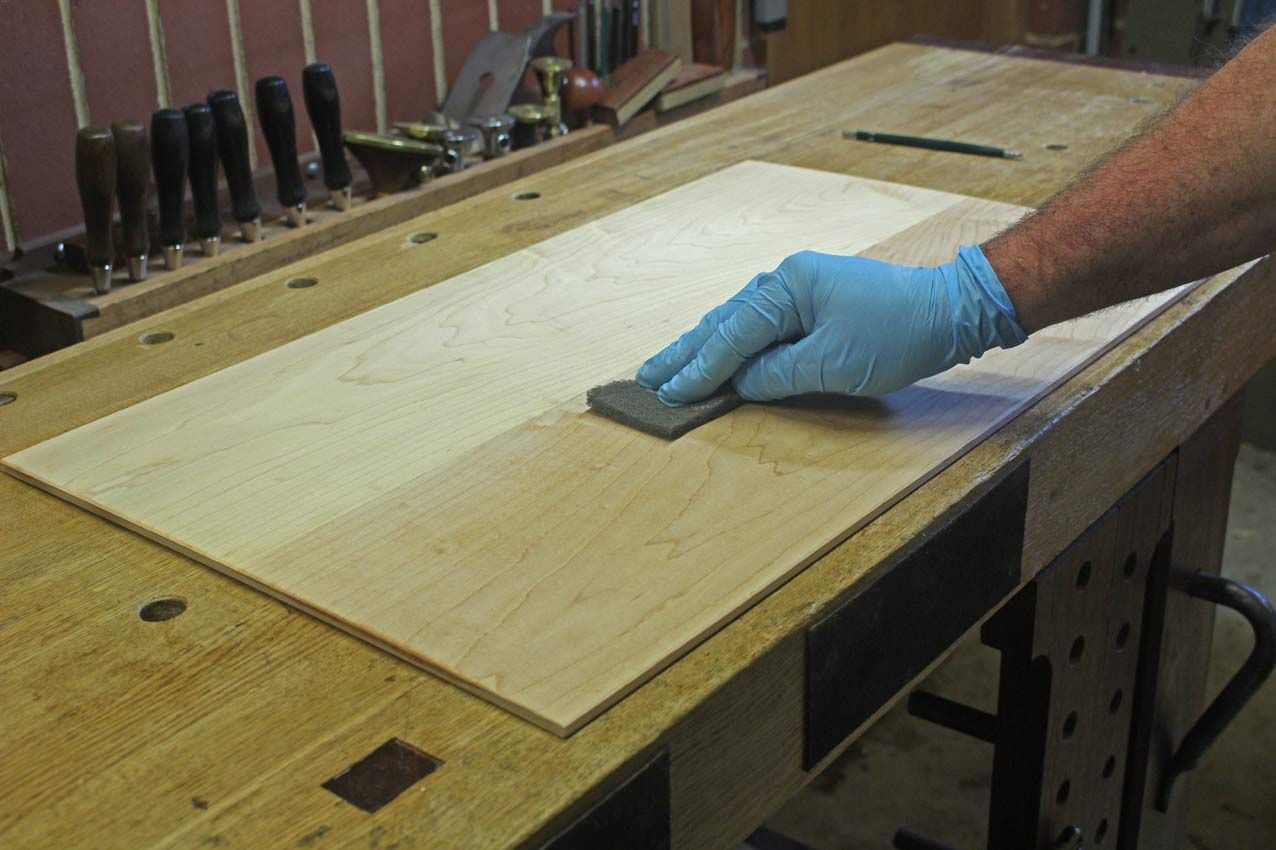


The shellac does colour the wood, but very slightly - far less than expected from its darkish amber. It dries quickly, and within minutes of each coat one can move onto the next.

Now it is the turn of the poly. It is white in the decanted bottle. but goes on clear.
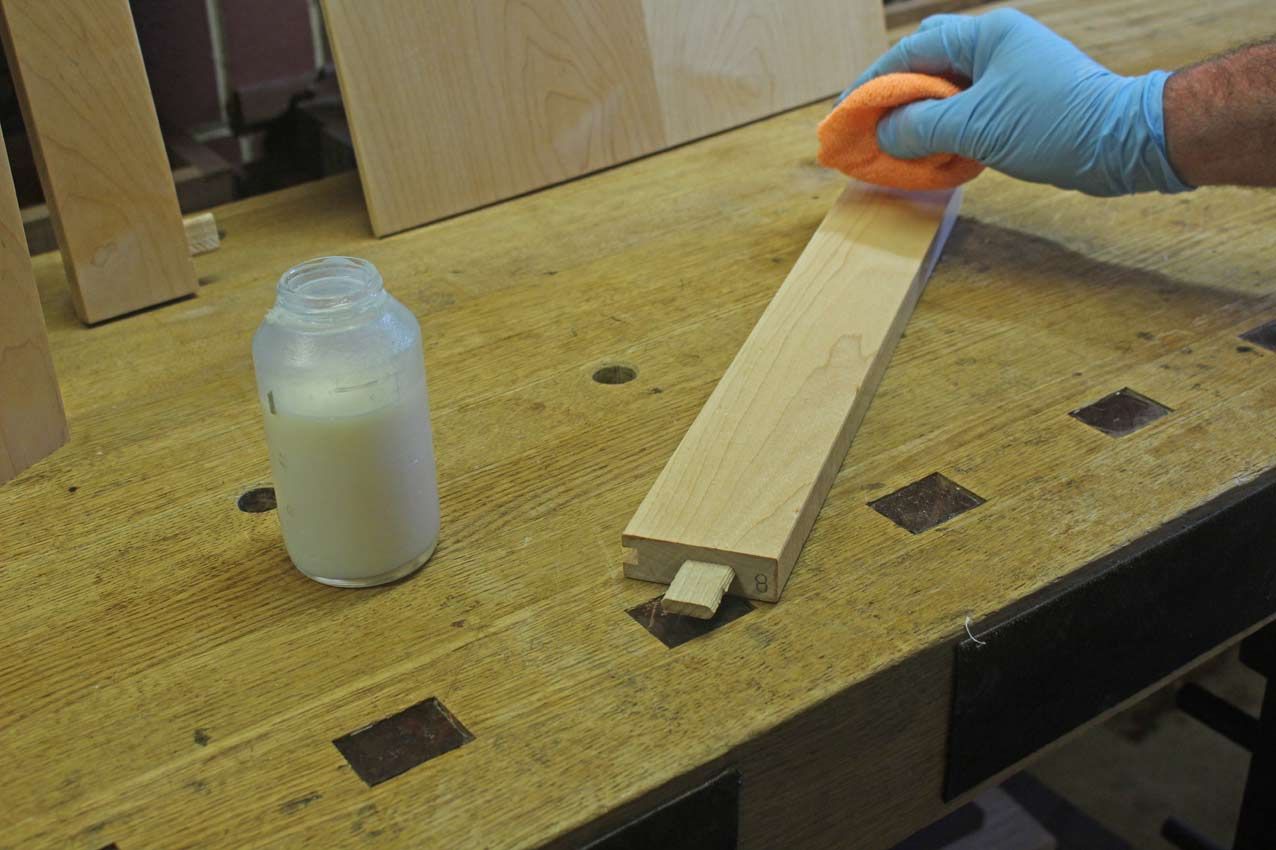

The finish is a little sticky, and it is drying fast. I apply it as if it were polish and I was polishing the surface of the wood. You can do so in small circles, but you must finish (as it dries) by only rubbing along the grain. Using raking light, look for any streaks. Simply rub them out.

Once dry, use the grey mesh to rub the surface with the grain. It not only removes any streaks, which it blends all together, but it seems to raise a shine.

It takes at least 2-3 layers before the shine becomes apparent. The poly slowly builds in thickness. Polishing it as done here only adds a thin coating on each occasion. Then suddenly it is there ..
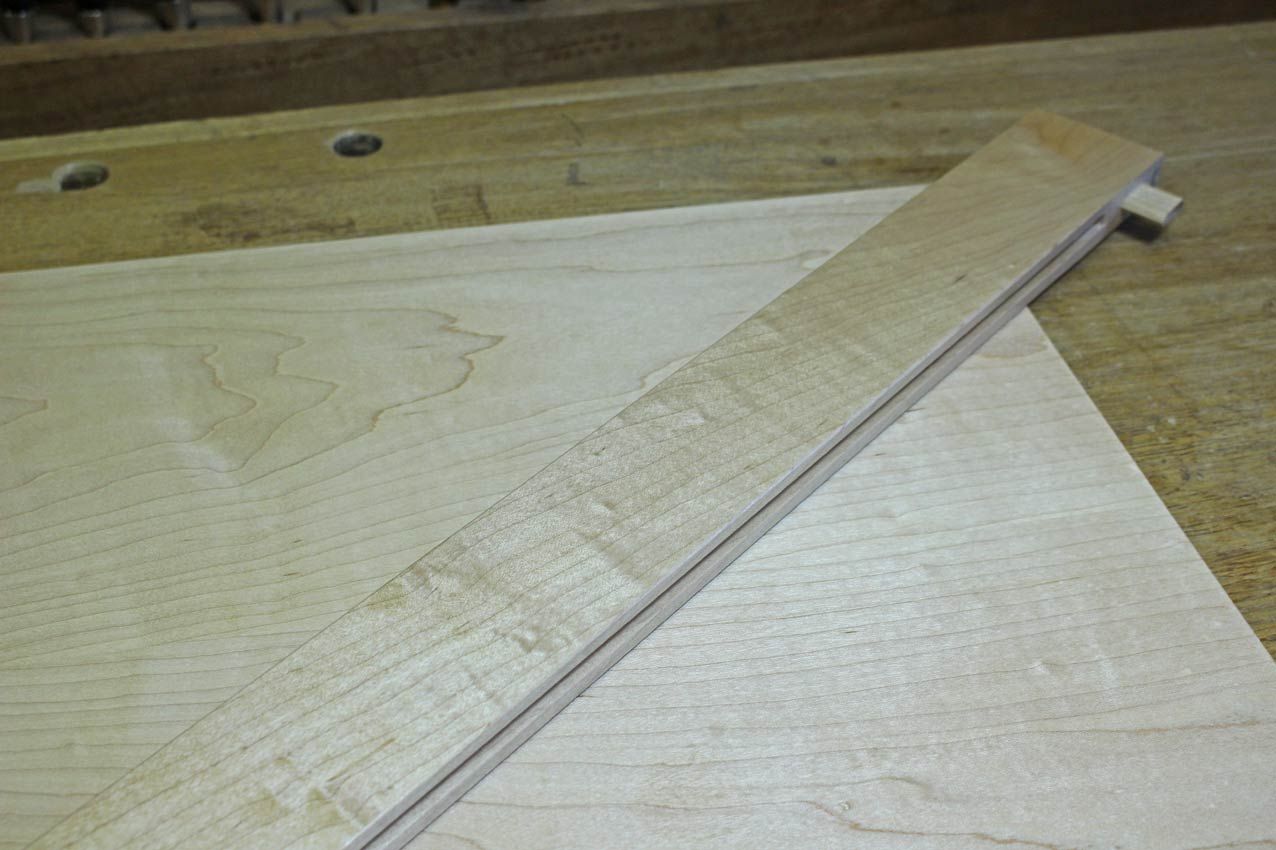

I stop after 5 coats.
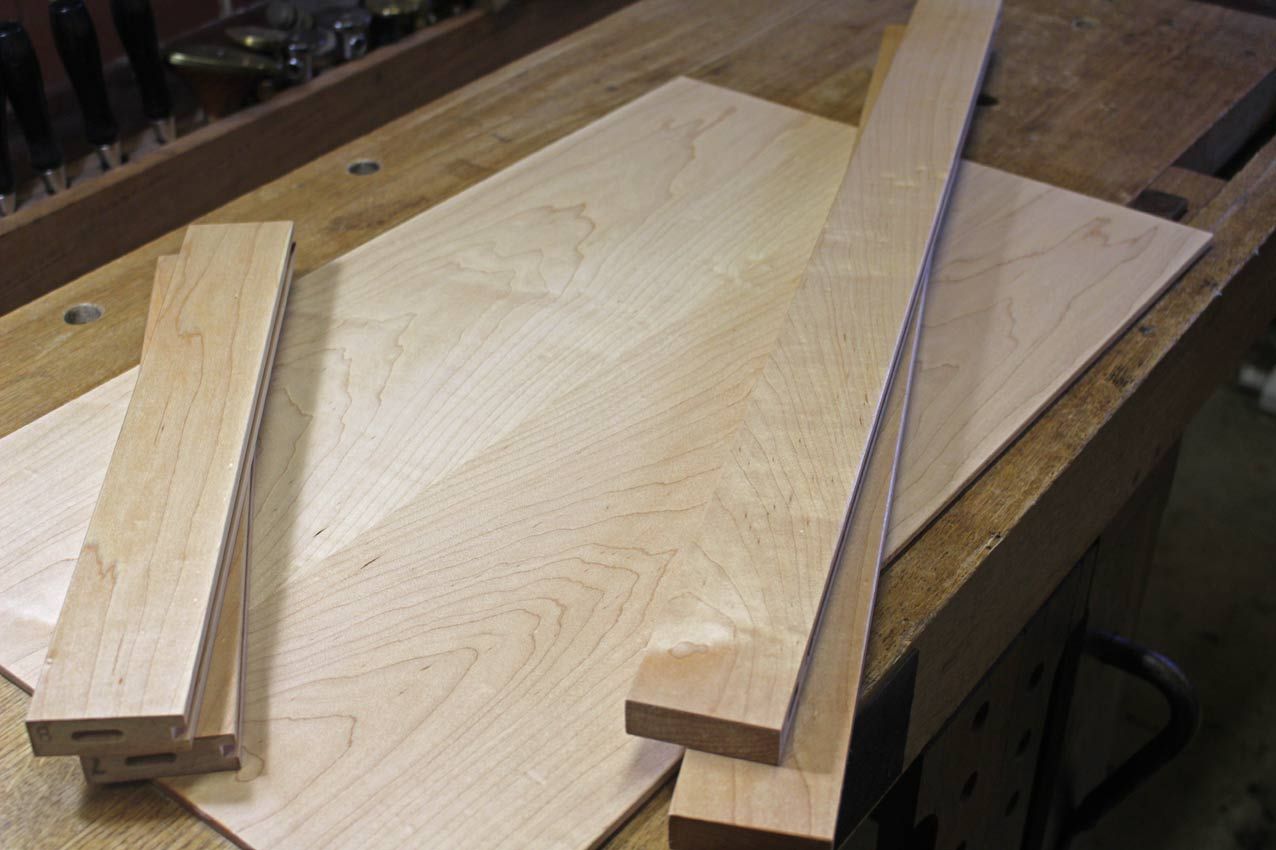

Now it is time to glue the frame together. The panel floats inside the frame ...

A note on the glues: I used Titebond lll for the bookmatched panel as it is water resistant. I used Titebond Liquid Hide Glue on the Domino mortice-and-tenon joints as this is reversible and unlikely to affect the finish.
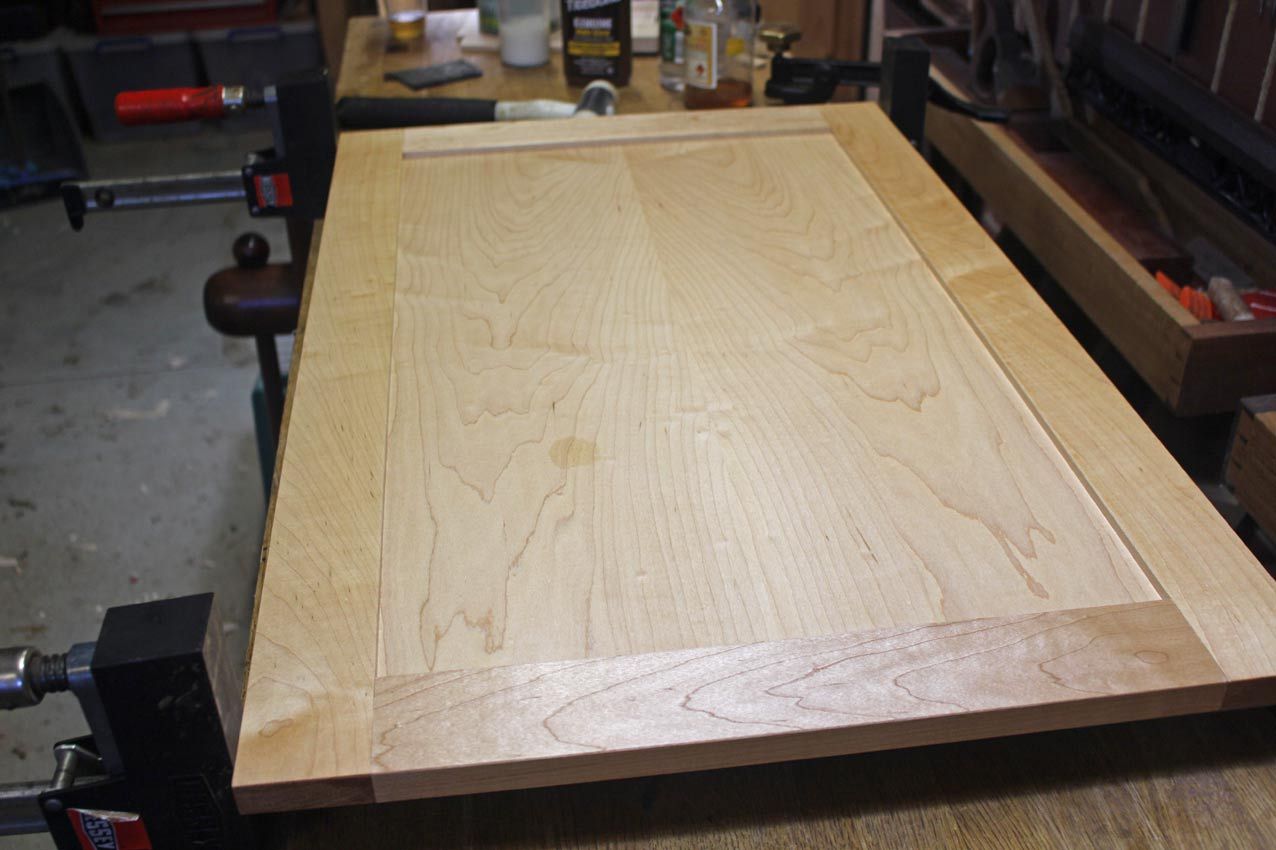

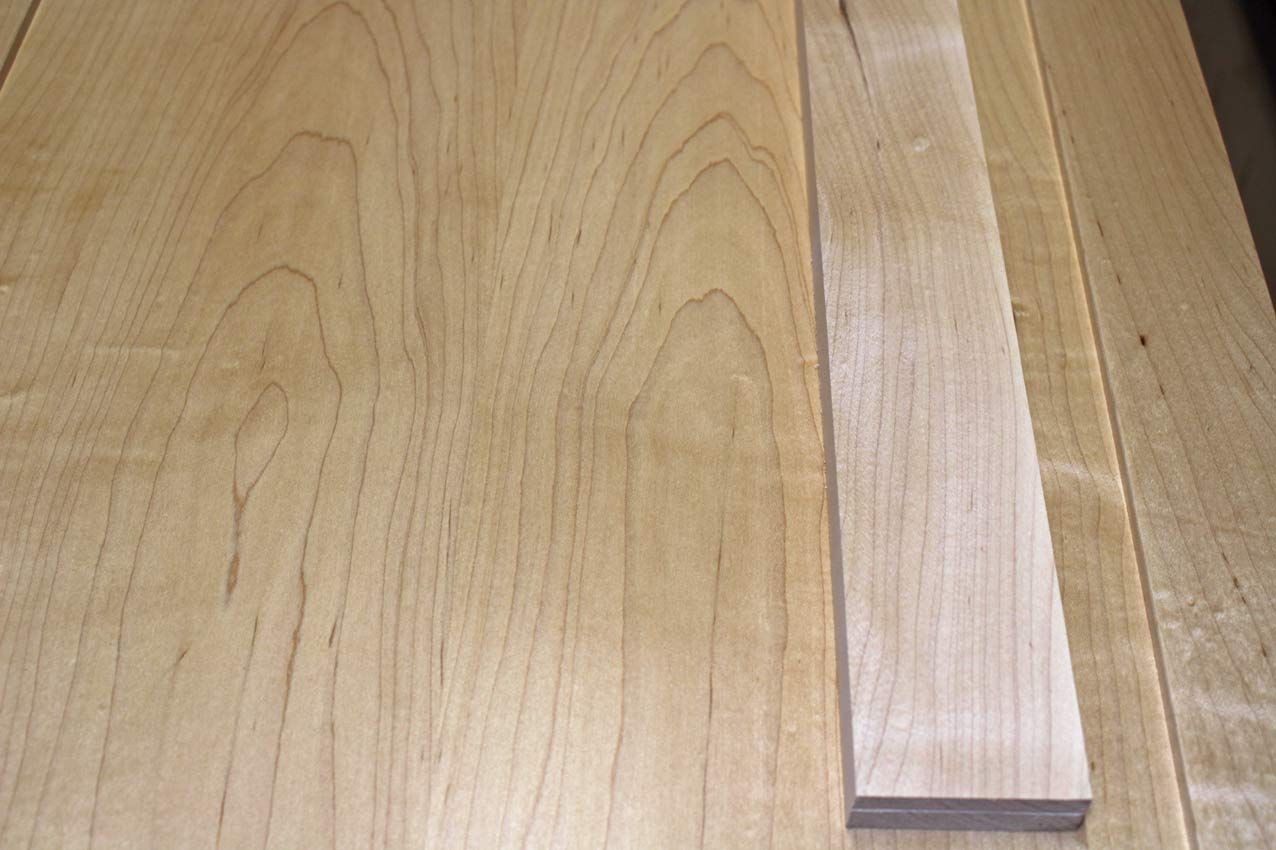
How much colour change did the finishes add? Here is the completed panel along with a planed but otherwise unfinished board ...

Regards from Perth

Derek

Re: Hand finishing water-based poly.

#2

Re: Hand finishing water-based poly.

Howard Pollack

Nice, Derek. I would sure like to find a finish that did not darken maple at all...!

-Howard

Re: Hand finishing water-based poly.

#3

Re: Hand finishing water-based poly.

TomD

Some of those milky white finishes are pretty much clear, though I prefer to amber them with a little dye because sometimes they come off as blue.

Nice process there Derek. Do you know something about the weather that we don't relative to making cabinet doors with waterproof glue?

Have you ever tried the brush LV sells for water based poly. I bought one, but it is so expensive I am still waiting for the perfect project.

Can't you cut that poly so it doesn't dry so fast. If it is sprayed presumably there is a reducer?


Re: Hand finishing water-based poly.

#4

Re: Hand finishing water-based poly.

Derek Cohen (in Perth, Australia)

Some of those milky white finishes are pretty much clear, though I prefer to amber them with a little dye because sometimes they come off as blue.

Nice process there Derek. Do you know something about the weather that we don't relative to making cabinet doors with waterproof glue?

Have you ever tried the brush LV sells for water based poly. I bought one, but it is so expensive I am still waiting for the perfect project.

Can't you cut that poly so it doesn't dry so fast. If it is sprayed presumably there is a reducer?

Thanks Tom.

No, I have not used the brushes from LV. The reviews of brushing made it clear that one of the issues with doing so was air temperature - higher temps made the poly dry faster, and here I am in Perth summer! It just wasn't looking good.

There are reducers available for spraying. This was not going to be an option.

Jim Waldron on SMC posted a really interesting reply, which I think will interest you as well. He called the method "tipping" ....

"You have found a technique that is common in the boat building and maintenance community but seems largely unknown to woodworkers: apply and tip/bush and tip/roll and tip and sometimes (but very very rarely) spray and tip.

The gist of the technique is to apply by whatever method is best for you, followed IMMEDIATELY by tipping. Tipping is to lightly brush over the surface with a dry brush, either a fine bristle brush or a foam brush. By lightly, the brushing is only enough to level any brush marks/roller pimples/spray orange peel and NOT A BIT MORE. Even the full weight of the dry brush may be too much pressure, so a very light touch indeed is required.

For an extremely fast drying medium like the aqueous polyurethanes, a bit more is required, since the coating is too fast to permit the customary tipping action. On the other hand, the stuff doesn't fully cure for several days and remains fairly soft for a short time. The (almost equivalent) prompt rubdown with a non-abrasive non-woven pad (Scotchbrite white or equivalent) will do much the same job, with one exception: there will be less gloss in the finished coating. Since very high gloss is rarely wanted by furniture makers and cabinet makers, in the end it comes out just fine. After about a week the polyurethane will be fully hard and the Scotchbrite white won't do anything more than dust off the surface.

If you ever truly want a coating with no color, you can use the polyurethane without the shellac sealer, rub the raised grain down after about half and hour (or more) with very fine paper (say 320 grit) or a fine Scotchbrite pad and go ahead with second coat with no more grain raising. In this case, I - like everyone else - prefer the tone added by the shellac. But since you started looking for no color, I thought I'd mention it. (Sort of a "be careful what you ask for moment?")"

Regards from Perth

Derek

Re: Hand finishing water-based poly.

#5

question

Bill Tindall, E.Tn.

what temperature did you try "brushing" and did you try a foam "brush"?

I had no problem leveling a Target urethane kitchen finish using a foam brush at room temperature, probably around 75-78 F. I was finishing the frames in place in the summer, but air conditioned house and probably humidity in the 50-70 range. They came out glass smooth.

I did have to work quick and no going back once brushed. The successful technique was to load up the brush (3") enough to coat a stile or rail with one pass and work quick enough that the intersections of rails and stiles didn't dry till both were coated.

Re: Hand finishing water-based poly.

#6

Re: question

Derek Cohen (in Perth, Australia)

Hi Bill

The temp in my shop will generally run from a low of 80 degrees to around 95 degrees. Low to negligible humidity.

I did not try brushing (anticipating that it would be a problem), but did experience how easy it was to create streaks with a rag. The finish dried within around 30 seconds.

Regards from Perth

Derek

Re: Hand finishing water-based poly.

#7

Re: Hand finishing water-based poly.

Warren in Lancaster, PA

Derek, you wrote:

I would have liked to have used shellac here, but it is just not durable enough in a kitchen

How did you determine that shellac was not durable enough?

Re: Hand finishing water-based poly.

#8

Re: Hand finishing water-based poly.

Derek Cohen (in Perth, Australia)

Warren, shellac is not recommended where detergents are used. Did I test out the shellac finish with kitchen detergents? No - the information was enough to make me reluctant to pursue shellac alone.

Regards from Perth

Derek

Re: Hand finishing water-based poly.

#9

Re: Hand finishing water-based poly.

TomD

Yeah I use tipping all the time on boats, and other products. It comes out almost as nicely as a spray finish. One of the reasons we do it is because there can be lethal consequences (or so they used to say) from spraying some of the isocyanate finishes like Awlgrip, but when rolled on the release of solvents was manageable. The theory was you needed forced air breathing systems to spray those, that filters wouldn't work.

Where possible our tippying system was to apply with a roller with a 3mm foam cover, and tip off with sections of the roller gripped with a handle like squeegees, or a high quality foam brush. In some cases one can tip off with the roller itself, merely extending a finger to stop it rolling and then dragging it over the surface. This works OK with epoxies, but with lighter media normally a dry brush or cover is better.

Re: Hand finishing water-based poly.

#10

Certified finishes

Bill Tindall, E.Tn.

Depending on one's life style and expectations any finish might be suitable for kitchen cabinetry. However, if you want the most durable finish and don't care to do your own testing the Kitchen Cabinet Manufacturing Association certifies finishes that pass their stringent testing for kitchen cabinetry. (they certify hardware, construction, etc. too) If a finish is certified this fact will be stated on the finish manufacturer's technical data sheet for the finish in question.

In general the finish must be tolerant of water, heat, cleaning and food types. These factors may or may not be important to an individual. It is assumed that the home owner will not be refinishing the cabinets so this factor if not tested.

Personally, I sprayed a certified conversion varnish. After 19 years it looked shabby in the high use and exposure areas. I sanded it and recoated and hope it lasts another 10. Needless to say, the "furniture grade" constructed cabinets will last for as long as anyone wants to live with them.

Re: Hand finishing water-based poly.

#11

Re: Hand finishing water-based poly.

Frank D. in Montreal

Hi Derek,

One of my favorite finishes for maple is two coats of dewaxed shellac followed by two coats of water-based varnish. The shellac brings out the depth of grain and some of the golden color in the maple, while the varnish provides additional protection and wear-resistance.

Re: Hand finishing water-based poly.

#12

Re: Hand finishing water-based poly.

Frank D. in Montreal

BTW,

I'va always applied this finish by hand (padding the shellac and brushing the varnish). I sand lightly (by hand) between each coat to smooth out the surface (P400 or P600), eliminating dust and any uneven spots or runs. By the time I get to the last coat, I apply it very thin, just wetting the surface. The resulting surface is glass smooth.

Re: Hand finishing water-based poly.

#13

claify please

Bill Tindall, E.Tn.

" I apply it very thin" You apply thinned water based varnish or you brush it out thin? I am imagining brushing it out thinly at 90 F and no humidity would not be possible.

Re: Hand finishing water-based poly.

#14

Re: claify please

Frank D. in Montreal

I apply a very thin coat, just enough to wet the surface (not a lot of finish in my brush). I admit that I have probably never been faced with your conditions (90 degrees and low humidity). I'd thin it out (water it down) 10% if I had trouble applying a thin coat, so it would be a thinned coat. The goal of the last coat is just to get rid of the sanding marks while not leaving new brush marks.

Re: Hand finishing water-based poly.

#15

Re: Hand finishing water-based poly.

Derek Cohen (in Perth, Australia)

One of my favorite finishes for maple is two coats of dewaxed shellac followed by two coats of water-based varnish. The shellac brings out the depth of grain and some of the golden color in the maple, while the varnish provides additional protection and wear-resistance.

Hi Frank

The question I have is whether the varnish you applied changed the colour at all? That has been as important to me as achieving a smooth and durable finish.

The reason I have not used an oil-based poly - which would have been so much easier to apply - was that it is known to darken the finished appearance.

Regards from Perth

Derek

Re: Hand finishing water-based poly.

#16

Re: Hand finishing water-based poly.

Frank D. in Montreal

Hi Derek,

No, the main reason I have never gone with water-based poly (what I called "varnish") alone is that it doesn't change the colour at all, and it brings out no depth of grain whatsoever. I find it looks almost the same as freshly milled wood, which is nice enough but still a bit boring on a finished piece. I've seen some water-based varnishes that promise more of an an oil-like finish, but I've never tried them (they are few and far between). I agree that oil-based varnish often gives a darker amber colour to maple, not to mention the yellowing over time that looks bad on such a pale wood.

What changes the colour the most is the shellac. I used to use Seal Coat (Zinsser), but it's discontinued now. It was quite clear and only gave a slight amber tone to the maple, something which usually comes with age anyways. Now I use the clearest possible grade (like super-blonde).

Unfortunately I don't have any decent pics of stuff that I've finished that way. I think that if you like the shellac finish on maple, most water-based varnishes that I've tried (Minwax, Varathane or better stuff like Target or Saman) won't change the tones much at all when they're on top.

Re: Hand finishing water-based poly.

#17

Re: Hand finishing water-based poly.

Mark Salomon

I use both oil based and water based General Finishes as my primary finishes. I often apply finish when the temperature is 90 degrees or higher--in fact I welcome the higher temperatures because the finish dries more quickly. First in terms of application. I always use a foam brush for water based poly on the panels and also on the frame parts as well if I'm finishing them separately (I usually finish the panel, assemble the door and then finish the frame). What I'm after is to build the finish as quickly as possible and nothing works as quickly as a brush (same for oil based but with a bristle brush). The converse is also true. Keep in mind that both of these General Finishes sand amazingly well. This is not like the bad old days of poly finishes. If I'm looking for the lightest finish possible I'll skip the shellac seal coat and simply let the first coat of poly dry and then sand. For example, I brush a coat to the panel, sand the next day with 400, apply a second coat and sand with 600 and then wipe on a coat or two rubbing with a gray pad between. OK, if the wood is especially porous I may need another coat sanded with 400. It's easiest to get a perfect final topcoat with the GF oil finishes by using their wipe on gel topcoat, with a water based poly I finish with either steel wool or the gray pad for a nice slightly subdued satin. With respect to color, keep in mind that maple will darken naturally over time to a light tan no matter what finish you use unless you first use a bleach. I personally don't care for the look of honeyed maple and find it a bit blah, perhaps it's because of all of the 1950's American furniture that featured this look that i was subjected to! I have no direct experience with bleaching and have to wonder about how even the the appearance would be bleaching both a solid wood frame and a ply panel-- not to mention what might happen to the ply with an application of a two part bleach. There are pickling stains--general finishes sells both a water based and an oil based stain that mimics bleaching or pickling if you want to ensure that the cabinets will remain light over time.

Re: Hand finishing water-based poly.

#18

pickling

Bill Tindall, E.Tn.

I believe the "white" maple kitchen cabinetry popular some decades ago was made and kept white with pigment. At this time I saw finishing schedules from finish manufacturers that included the white pigment and clear acrylic top coat.

Mark, you write like someone that has done a lot of finishing. Surprised you don't spray.

Re: Hand finishing water-based poly.

#20

Re: pickling

Mark Salomon

I have used the pickling stain. It works reasonably well but like most staining there is a certain amount of splotching so I don't particularly like this approach. However, I also don't like the look of natural/aged plain sawn maple so I was "forced" to use this approach. I really would like to play around with two part bleach though, I might be interesting. I don't have room for spray equipment nor do I have a way of spraying cleanly. It's true that my method may take a bit longer than spraying but with careful prep it results in a really perfect finish--the proverbial "smooth as a baby's bottom".

Re: Hand finishing water-based poly.

#21

Re: Great post Mark. Thanks!

Mark Salomon

It seems to me, Derek, that using a neutral wood like maple gives a woodworker an opportunity to incorporate other details in the project to make the piece stand out since he can't make it "pop" with dramatic grain. Your ultimate choice of handles, a kitchen backsplash, ceiling/lighting fixtures, or of course the flooring will have a very important visual effect. In some cases the details of a kitchen are so striking visually that they demand a relatively neutral cabinet treatment to balance the kitchen and not make it too "busy". I'll be interested to see your kitchen project progress! Good luck.

Re: Hand finishing water-based poly.

#22

Re: Hand finishing water-based poly.

Derek Cohen (in Perth, Australia)

I often apply finish when the temperature is 90 degrees or higher--in fact I welcome the higher temperatures because the finish dries more quickly.

Yesterday I completed a few more doors. It takes me about 1 hour for each door.

The notable feature was that it was 41 degrees Centigrade (106 F) outside my shop - perhaps a few degrees cooler inside (no aircon). The air was very dry.

I was concerned that the poly would dry too quickly and leave streaks. What I discovered was that a large percentage for success in rubbing water-based poly is due to the grey mesh. I think that this is about 600 grit.

Using it with some down force, it is more like buffing out a finish. All marks disappear, and one is left with a smooth-ish surface (smoother and glossier as the layers build).

The end result was as close to a sprayed finish as I could imagine.

Regards from Perth

Derek

Re: Hand finishing water-based poly.

#23

Re: Hand finishing water-based poly.

Mark Salomon

Don't be afraid of the streaks, etc. (but don't get runs if possible). It sands so easily that you can put on a fairly heavy coat with a brush and then spend a couple of minutes knocking it down with 400 or 600 the next day. I'd save the gray pad until you're close and want to start "buffing" it. It will give you an unbelievably nice finish.