C. Nurse Dovetail Saw restoration
Derek Cohen (in Perth, Australia)
Seeing other similar posts, here is one of mine that was completed a few weeks ago.
I am a sucker for dovetail saws as I enjoy the joinery area of woodworking the most. I visited the Perth Wood Show about a month back, where the Old Tools Society have a pretty decent range for sale. I always look out for something that may be a little special. The Show started on the Friday and I got there on Saturday. I was told that a bunch of brass backed dovetail saws had been snapped up the day before (isn't that always the case!), and there was this fledgling left. I was surprised because it looked the type of saw I search for (I have a 14" Nurse tenon saw in my collection) - I suspected that this saw may be pre- or around 1900 owing to the split nuts and the details on the handle. The other saw maker I usually look out for is Groves, and I consider that these two makes are on a par. Not many of each out there.
Anyway, the saw was left because it looked in a far worse state than my pictures below. The back was dinged and the teeth were crooked and misshapen. I think that the tapered plate also looked to some to be worn! So I got lucky.
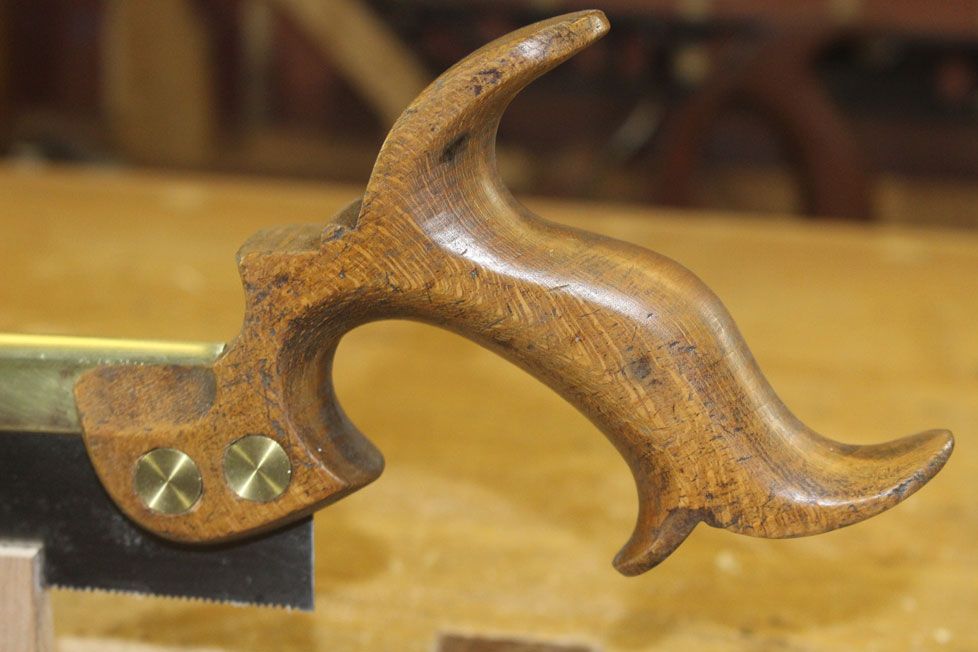
What stood out about this saw was the handle. Beautifully shaped. One of the best I have seen.
From what I can gather C.Nurse & Co were a London-based firm that primarily made handplanes. From backsaw.net, "Nurse never made saws but sold saws of very high quality", and that "at least some Charles Nurse saws were made by Thomas Turner". Saws by Nurse & Co were "expensive and high end".
One piece of information I received came from a 1914 catalogue ...
No. 1268 Best cast steel Brass Back Saws, heavy backs 9in. 5/-.
I have since deduced that the original would have had a depth of 2" under the back.
I apologise for not having a photo of the saw as it came from the Show - it really only occurred to me to take photos after the saw was apart.
The plate was mildly pitted and the teeth misshapen.
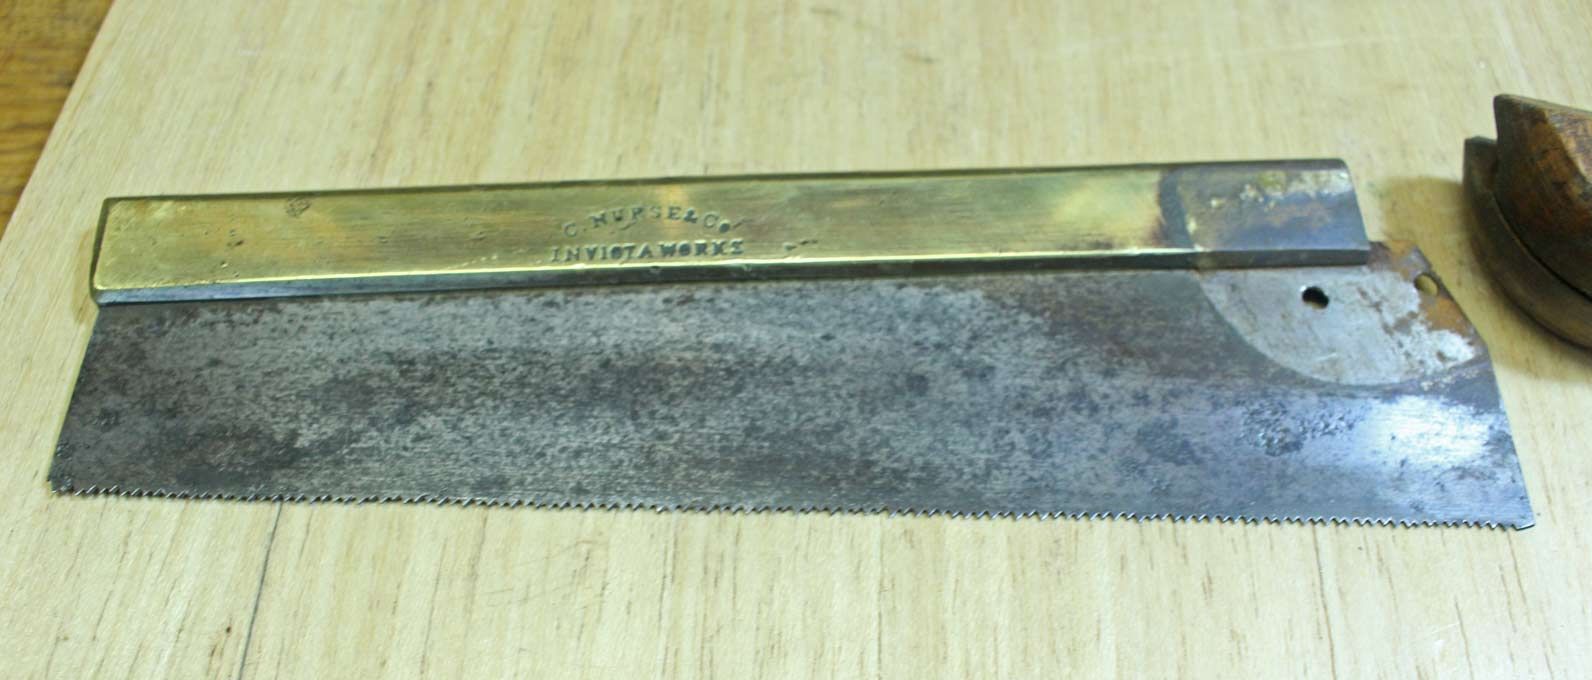
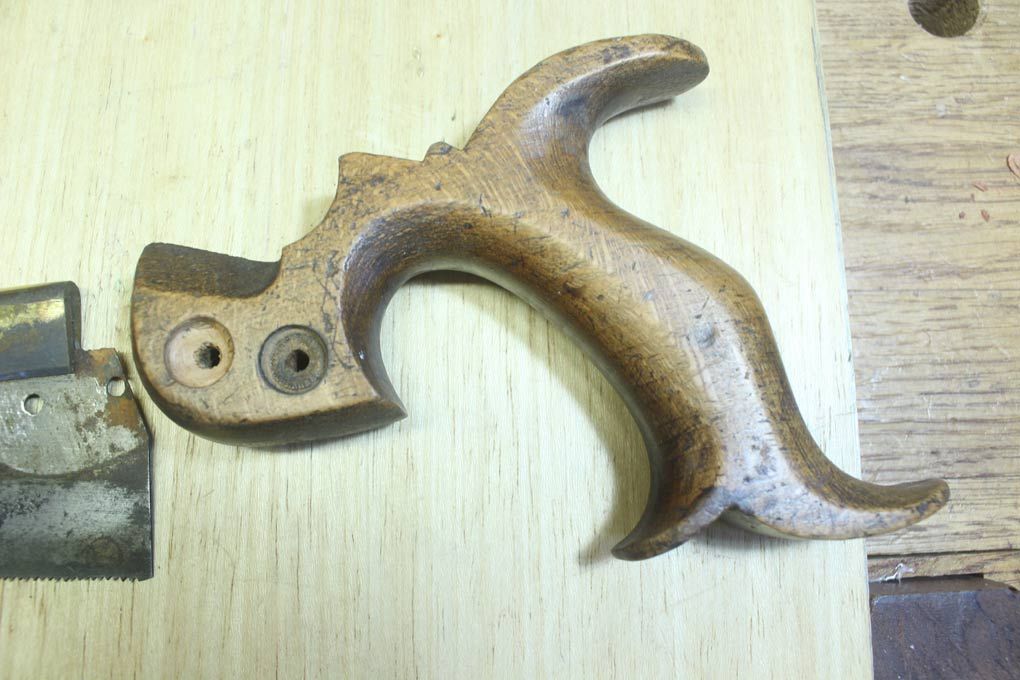
The handle was in decent condition. A bit rough here-and-there, but the only area I thought needed some work was the heel curve that registered in the palm. The projection here extended too far and was painful to hold for long. I really wanted to preserve the patina as best as possible and carefully considered any work I did. You can later judge for yourself whether I was successful or not.
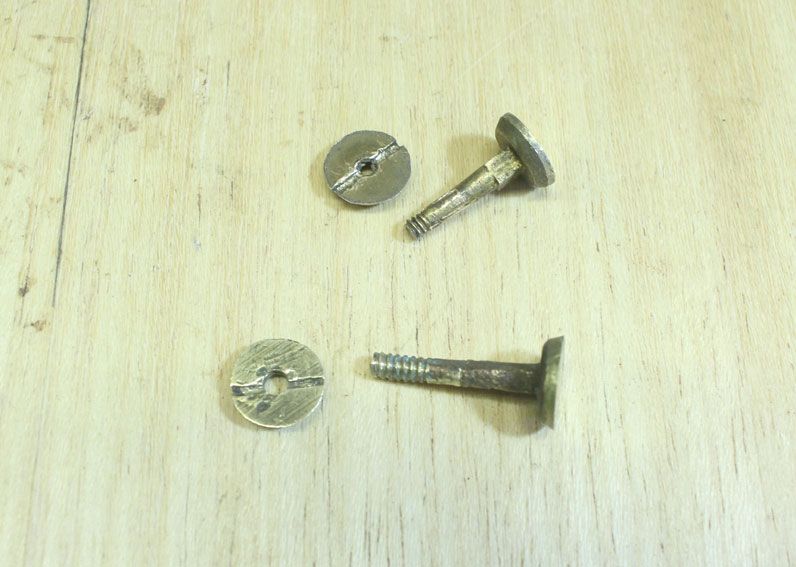
The nuts were buggered and needed replacing ..
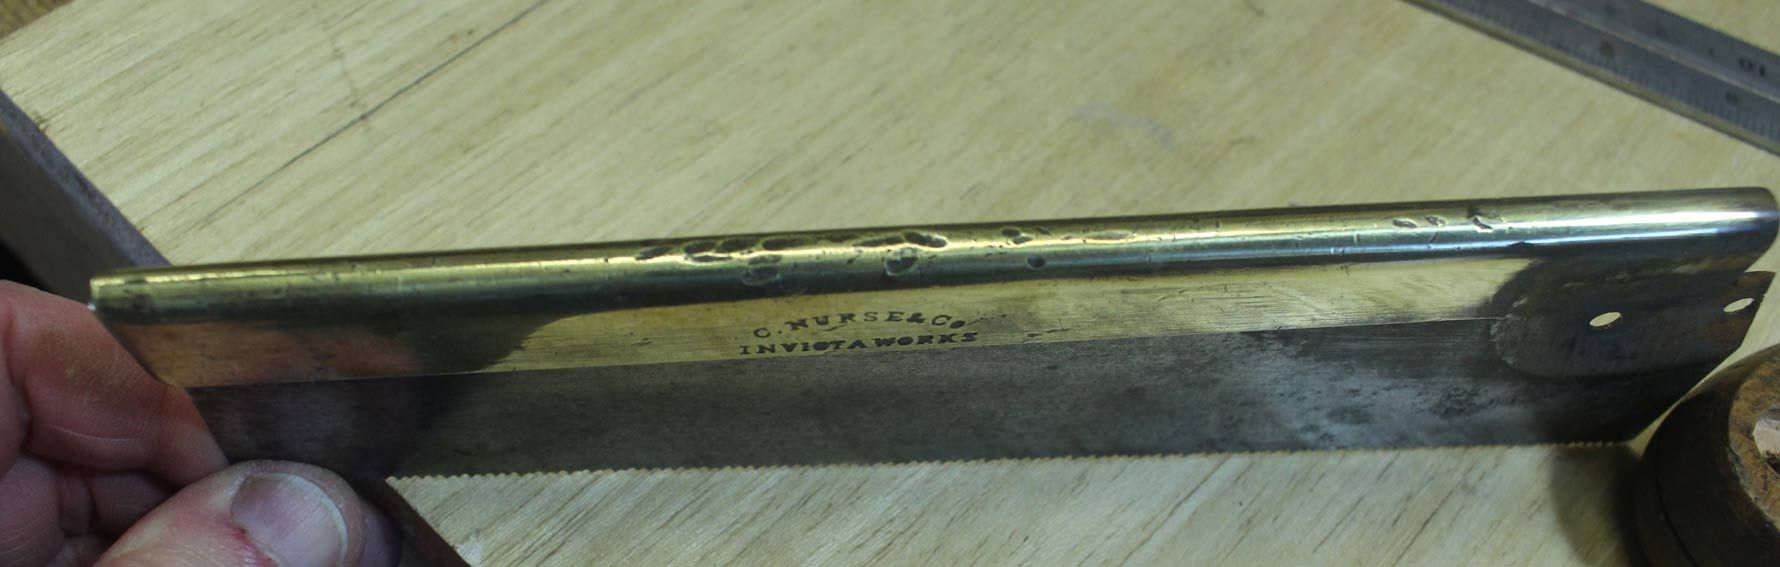
.. and the brass back looked like it had been hammered on ..
The restoration involved sanding the plate with 120/240/400 grit (sandpaper on a hard backing), sharpening the teeth (19 tpi at 5 degrees rake - my eyes hurt!), and replacing the saw nuts. The hump on the handle was reduced until the saw felt comfortable ..
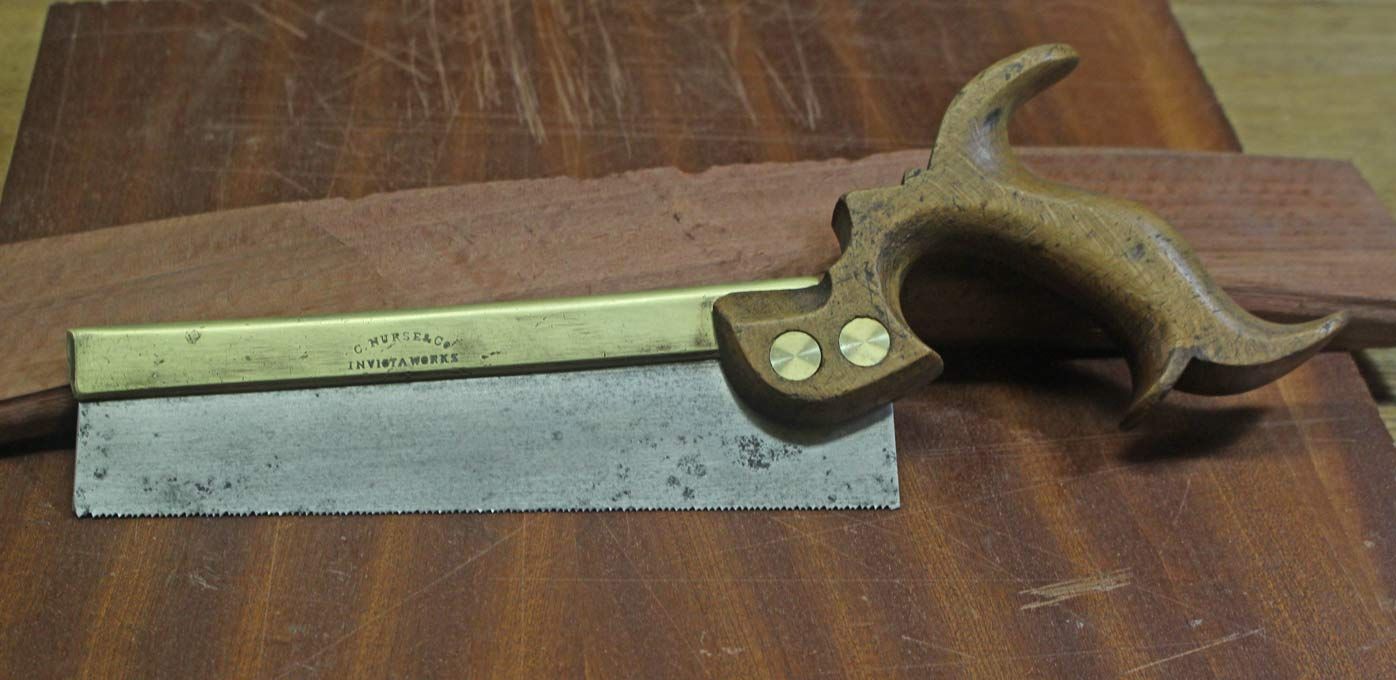
On reflection and in discussion with some others, the saw plate did not look right - the taper was exaggerated and this affected the hang.
I spend part of a Sunday afternoon pulling apart the saw and completing the restoration. I had been reluctant to mess with the brass back at the start, since I did not wish to alter the vintage appearance of the saw. However, with their urging, I returned to deal with the curved and skewed back.
After wrestling the brass back off the plate, this is what was uncovered ...
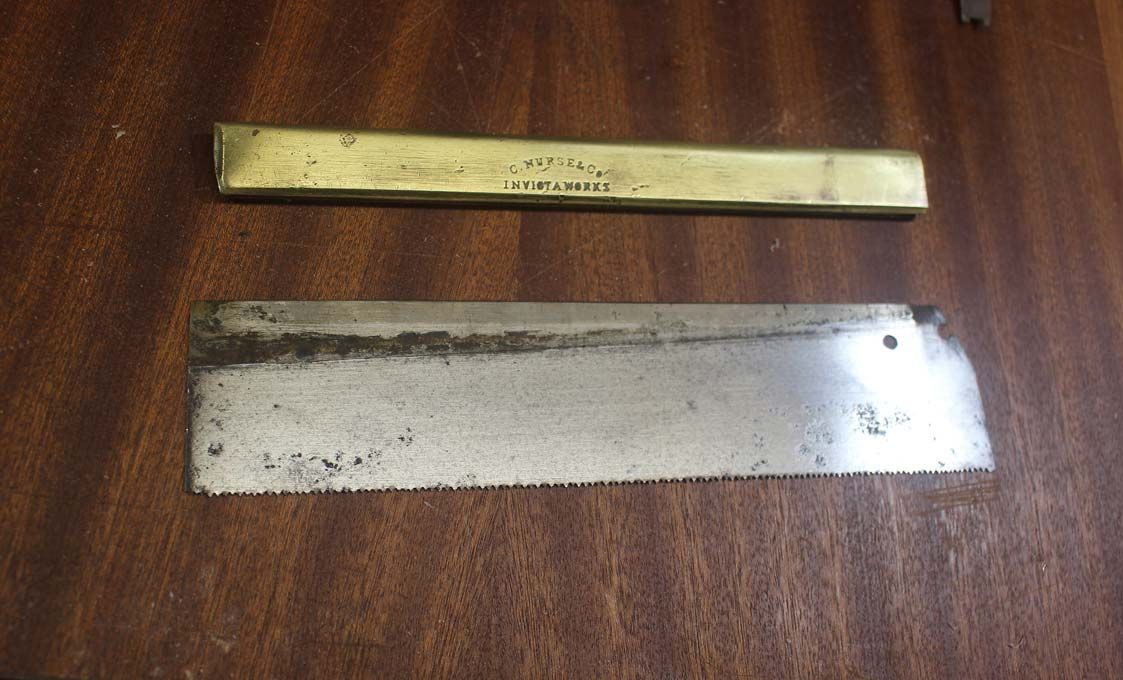
The brass back appeared to have dropped from the original position. There is an even line in the steel (seen in the photo) that appears to be where the brass held the plate. It looked like the plate was not originally tapered. The bolt holes are original but if the plate is pushed higher into the back, then the handle cannot be bolted back. Something has moved/changed/altered and the original position cannot be duplicated.
The brass back was straightened as much as possible by placing it curved side down, and wacking the centre with a hard rubber faced Thor hammer. The ends remained a touch high (less than 1mm), and I carefully sanded some of this down. A very slight sway remains. Interestingly, David (Weaver) later mentioned that he had a very similar saw (same maker), and it had a slight sway back. So perhaps this is meant to be.
The plate was returned to the back, and adjusted to match the hang of my Independence Tools dovetail saw (for those who have not heard of this one, it is the forerunner of the LN dovetail saw - manufactured by Pete Taran and Patrick Leach in the mid 90s - so it is the same size) ..
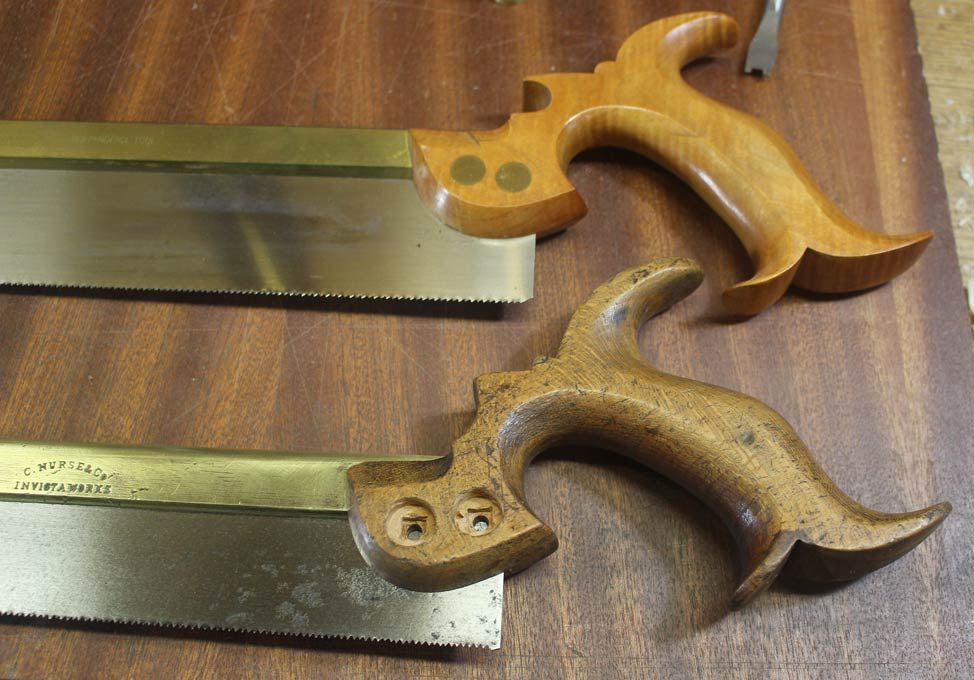
To facilitate this, a sliver of plate needed to be removed (on the diagonal), and then new holes drilled (use a carbide drill bit for this) ..
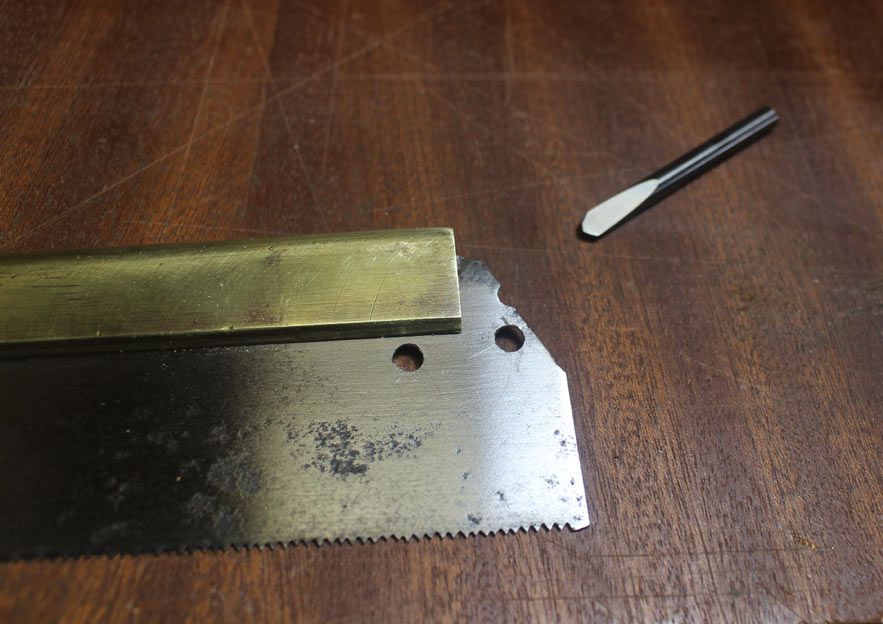
The plate was then re-jointed and re-filed (still 19 tpi, with 5 degrees rake), and all bolted up.
The rear of the saw plate has 1 1/4" to the back, and there is 1 1/8" at the front (i.e. a taper of 1/8" along the length). The plate measured as 0.02" thick.
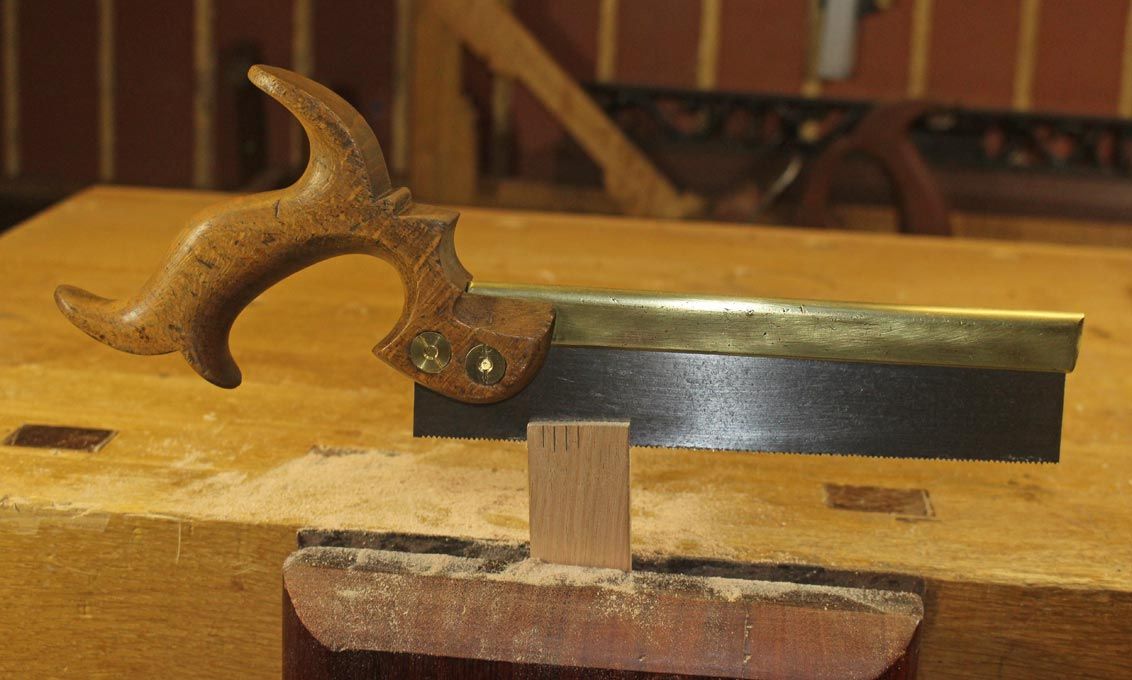
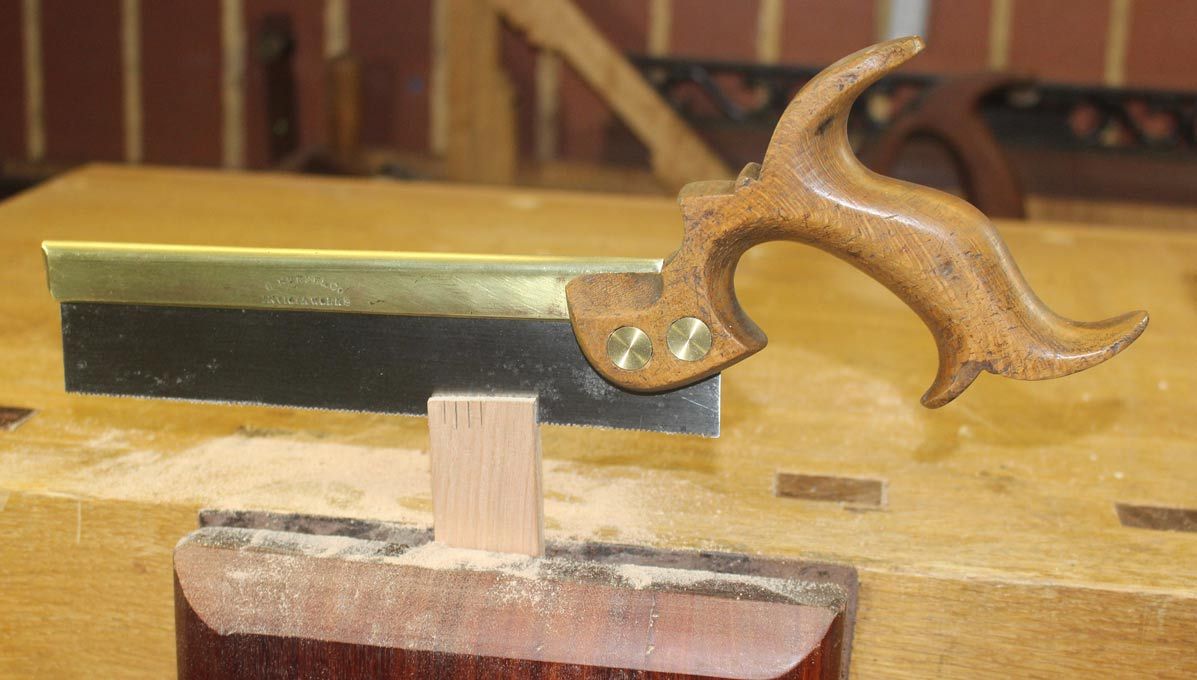
The handle is just gorgeous, and it is difficult to see the reduction I made to the "hump". It is really comfortable now ...
A few test cuts ..

Something more meaningful ...
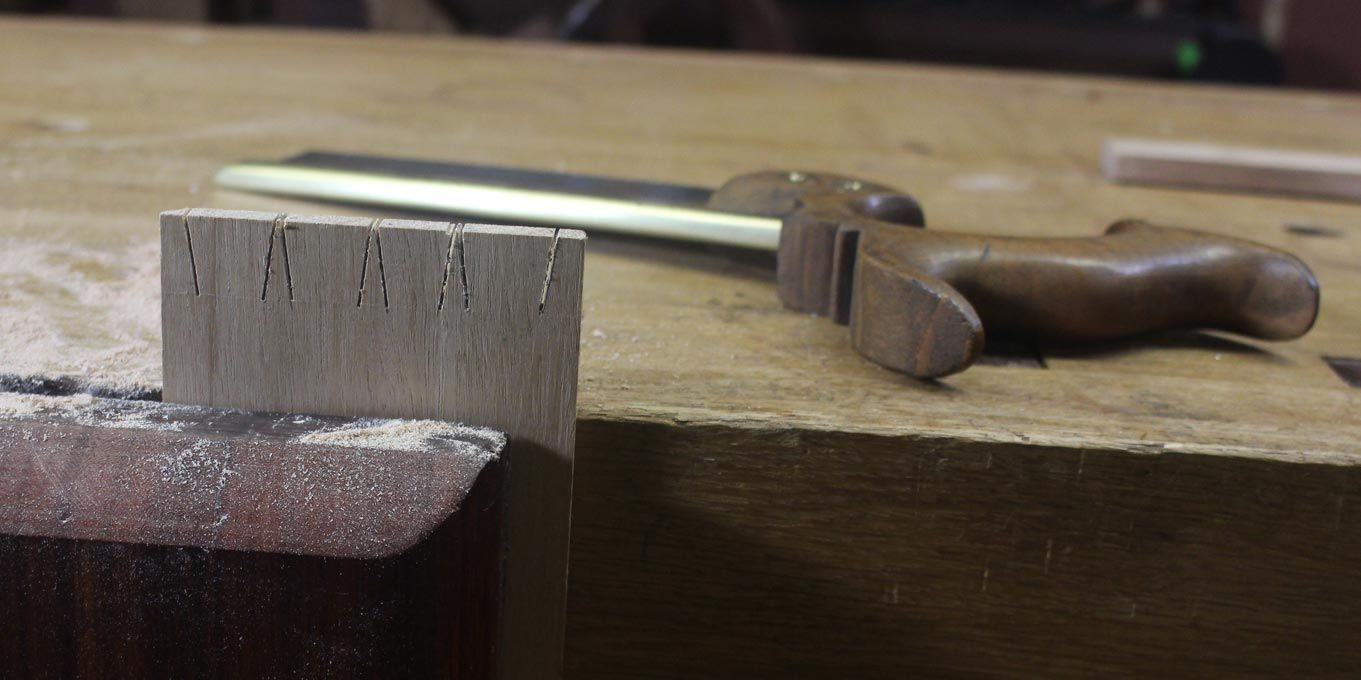
It is cutting beautifully. This is now a go to dovetail saw.
Regards from Perth
Derek


