New WoodChat!
Home Articles Forums Gallery Marketplace Videos

WoodCentral Forums

Knowledge You Can Build On — Est. 1998

Want Better Milling & Firewood Knowledge?

Continuation of the Cabinet build

Posts

Continuation of the Cabinet build

#1

Continuation of the Cabinet build

Brian Holcombe

Sorry for taking my time on this update. My doors are now both attached, but still need a bit of tweaking and tuning along with catches on the right side. I'm strongly considering ditching the plan for handles and installing a keyed lock with a threaded escutcheon.

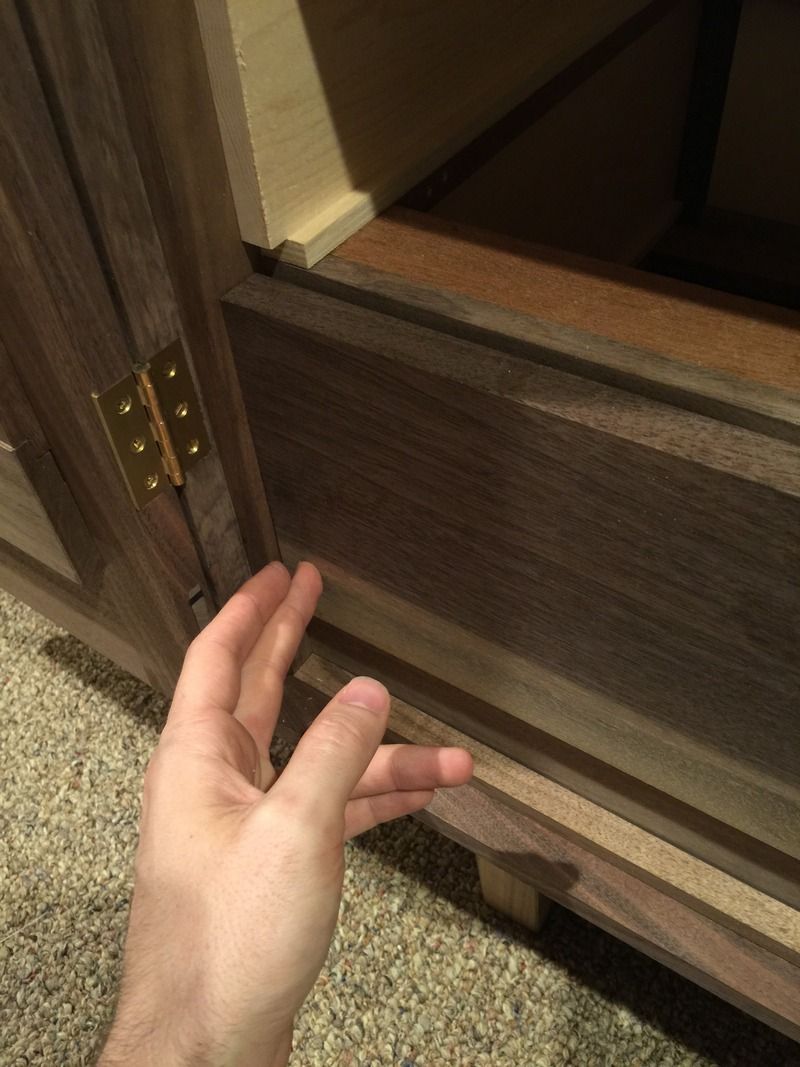
In the interim and before the dry winter arrives I've decided to get a move on with the drawers. These are lipped top and bottom (i'm a glutton for punishment I suppose).

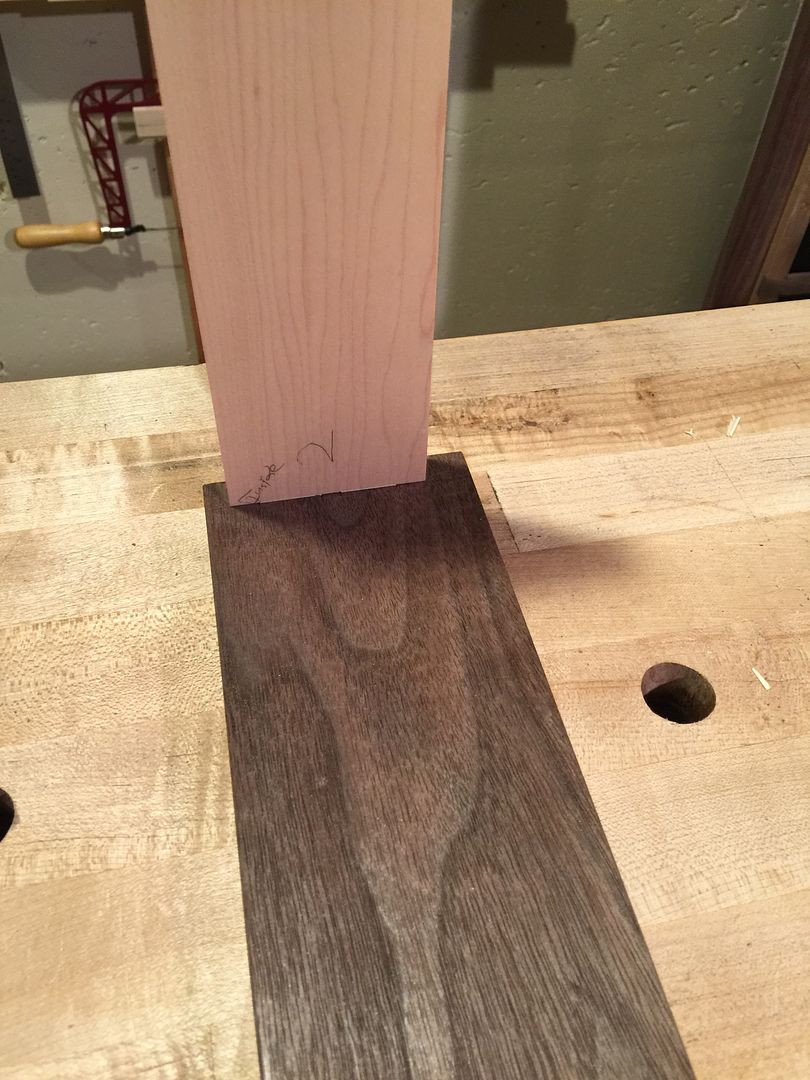
These may be unnecessary but considering the amount of daily use this cabinet will get I've decided to build sacrificial drawer runners.
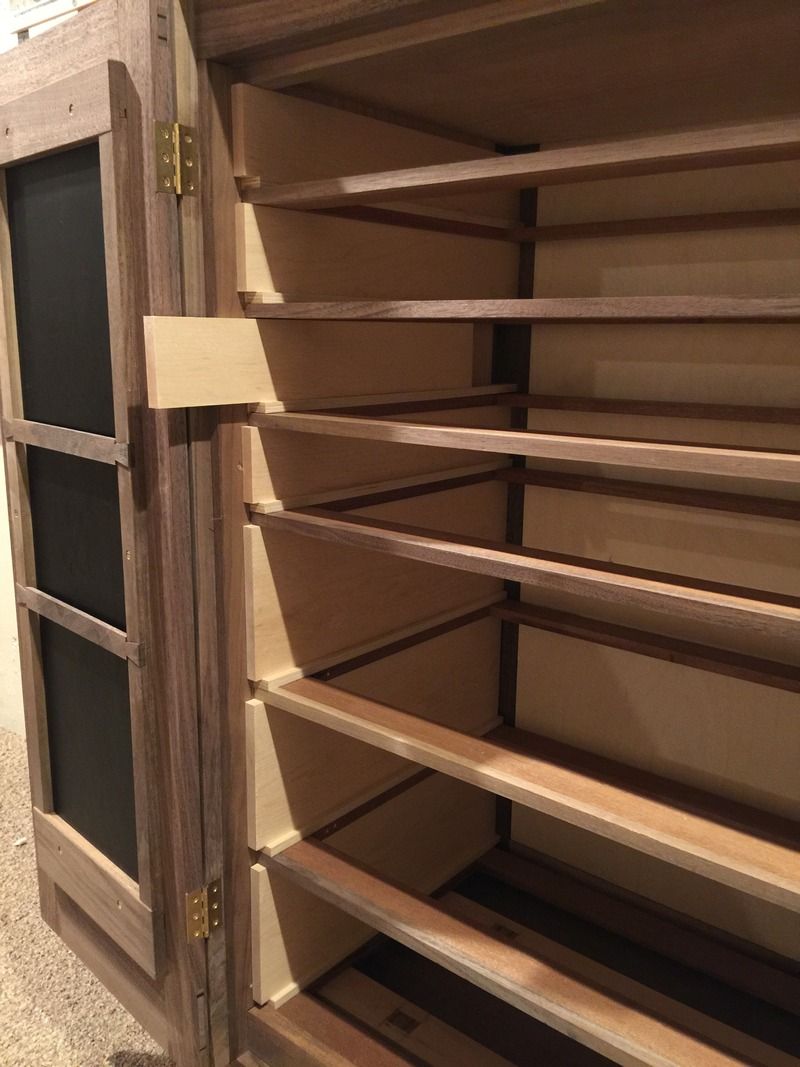
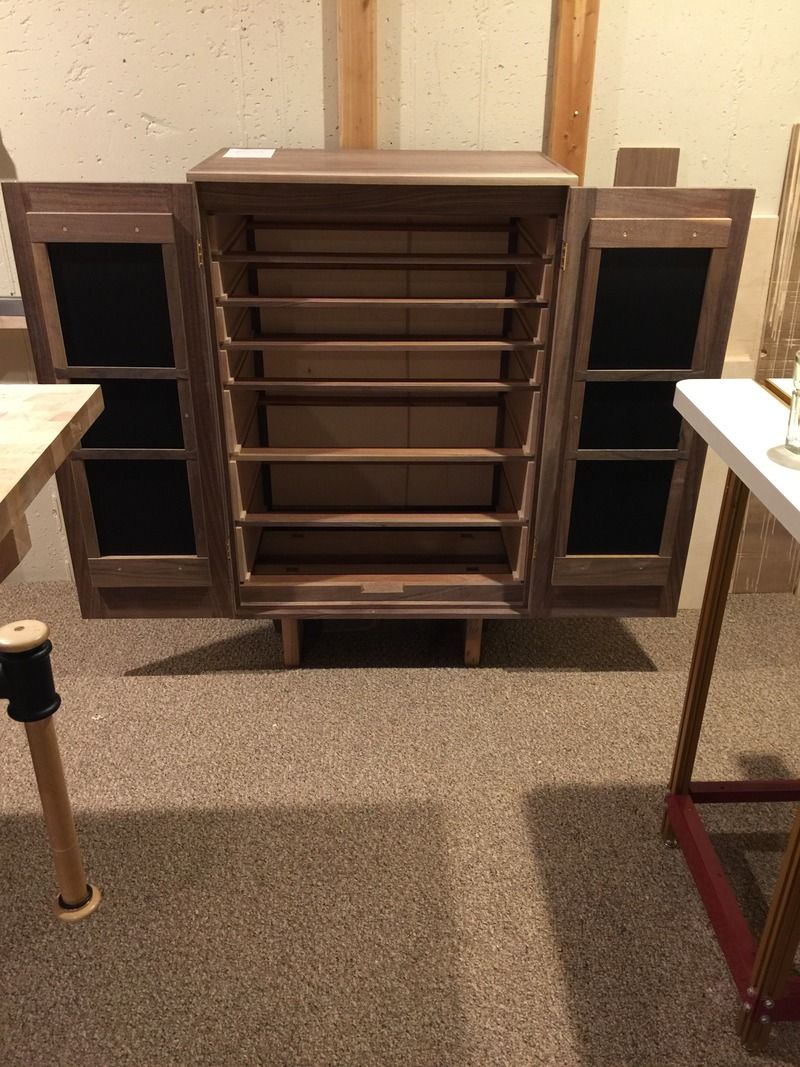


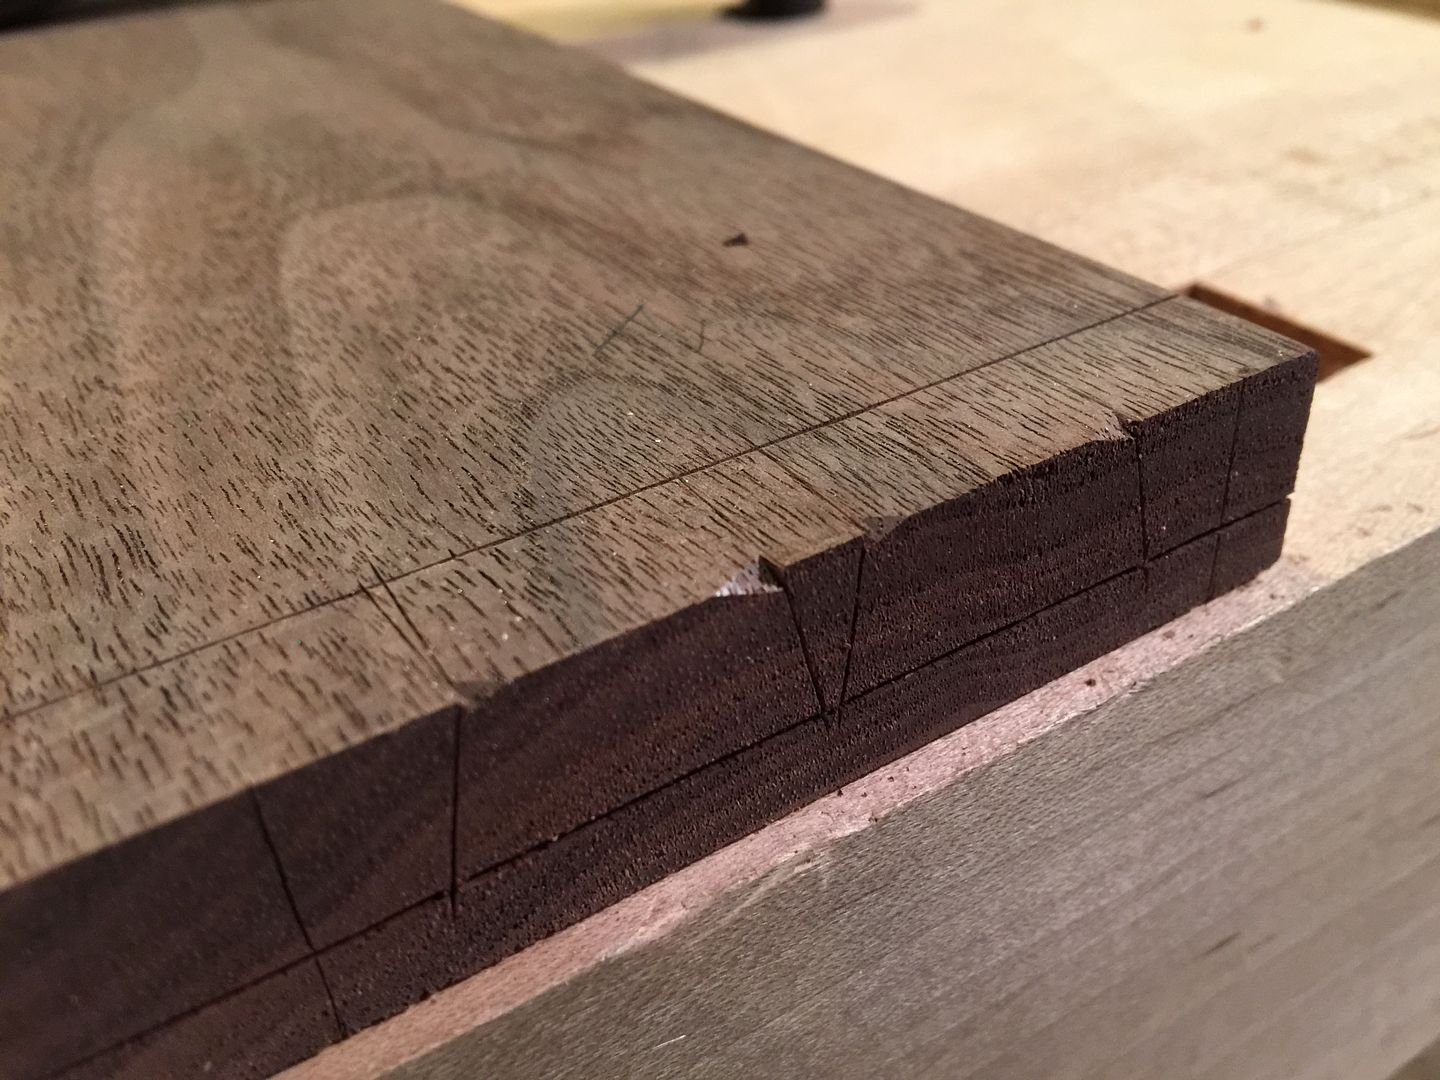
Prepping for dovetail layout
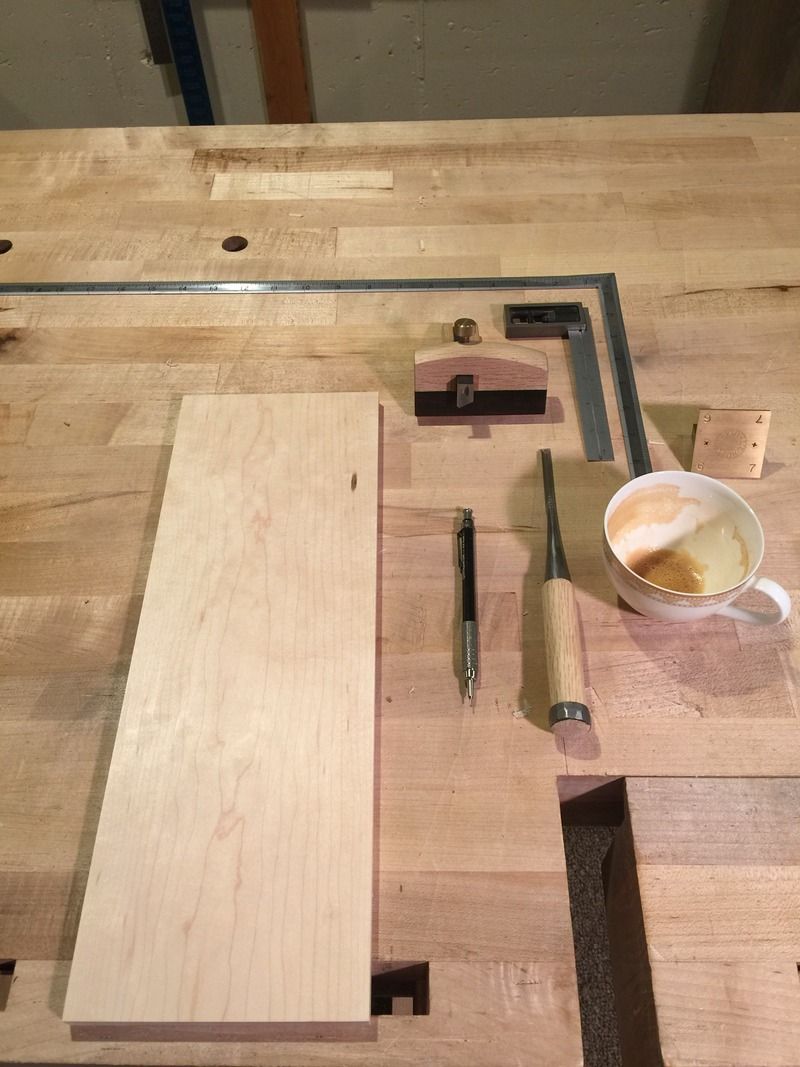

Initially laid out on a 1/7 (8 degrees~);
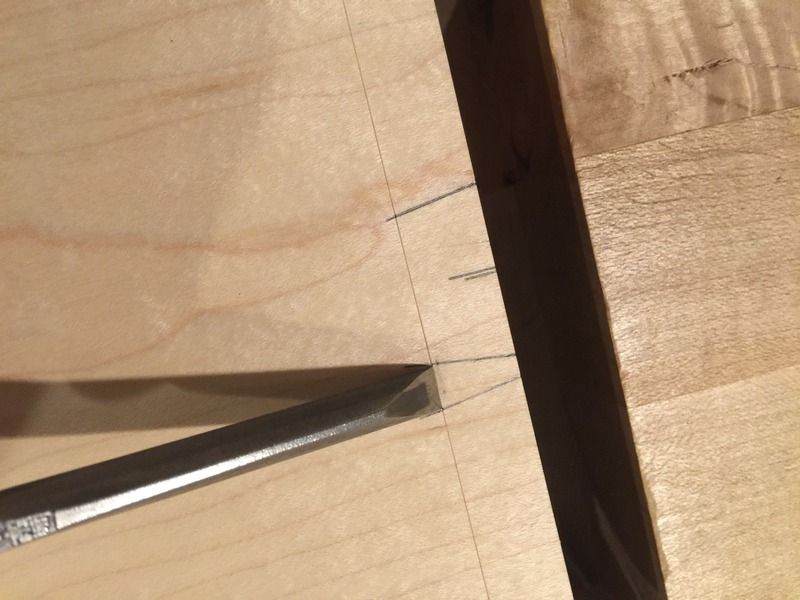

Later changed to 10 degrees
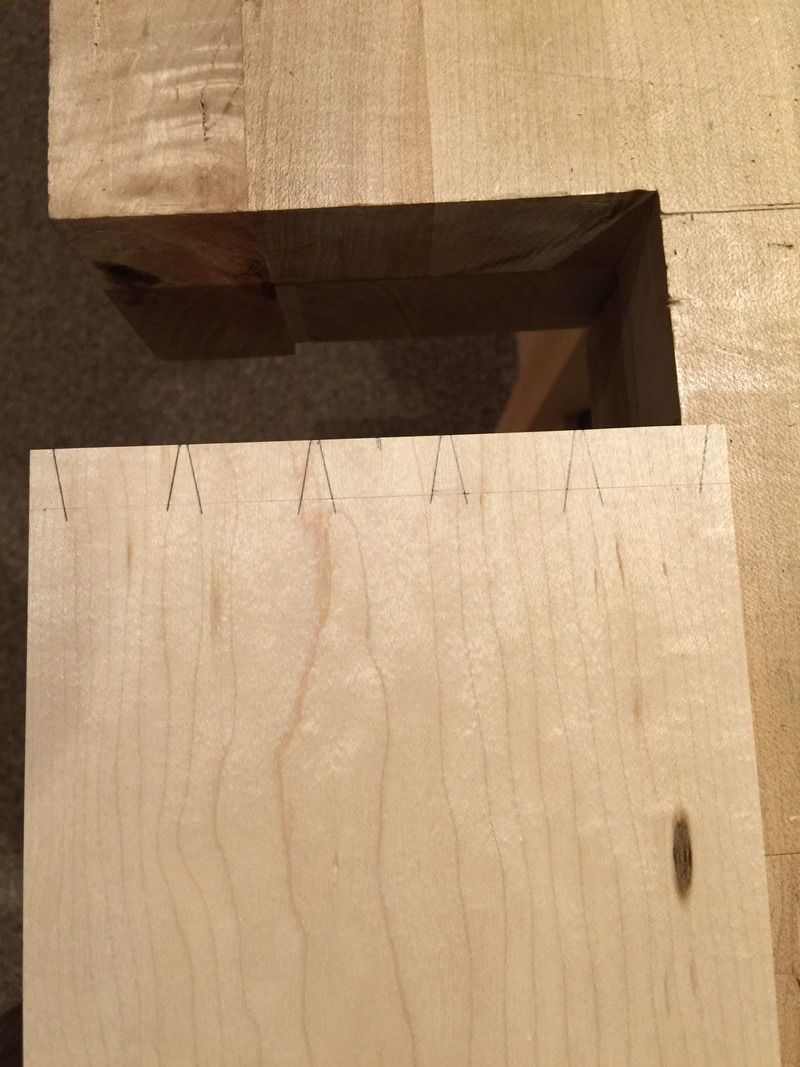

There is some practicality here, since my next shinogi chisel is very small, I decided to stick with this chisel, but also have thinner pins.

Testing for squareness at the drawer front, easier to do now than later. I found a little tiny bit of twist in the drawer front (they've been sitting for a few weeks), and a little bit the squareness of the drawer sides. After some tweaking there is no rocking, and so a greater chance that my drawers will fit without much work after assembly.
Re: Continuation of the Cabinet build

#2

drawer wear

Bill Tindall, E.Tn.

These tiny drawers are not going to produce significant wear. I would have opted for more drawer height.

The traditional way to handle drawer wear is to make the runners from something hard and the drawer sides from something softer. The idea is to put the wear on the drawer which is trivial to fix.

Re: Continuation of the Cabinet build

#3

Re: drawer wear

Brian Holcombe

Thanks Bill.

This is one area I plan to change to be more inline with a classical approach on future builds. I feel I added a bit of unnecessary work by planning top and bottom lips. I tend to remain true to my original drawings as the plan unfolds and so I decided to stick with this for the project.

Re: Continuation of the Cabinet build

#4

Re: Continuation of the Cabinet build

Brian Holcombe

And on we go; The drawer backs were 1/4"~ overside....too much to plane too little to saw....and definitely too little to Karate chop....or so it seems;


These about .020"


And back to more dovetailing;


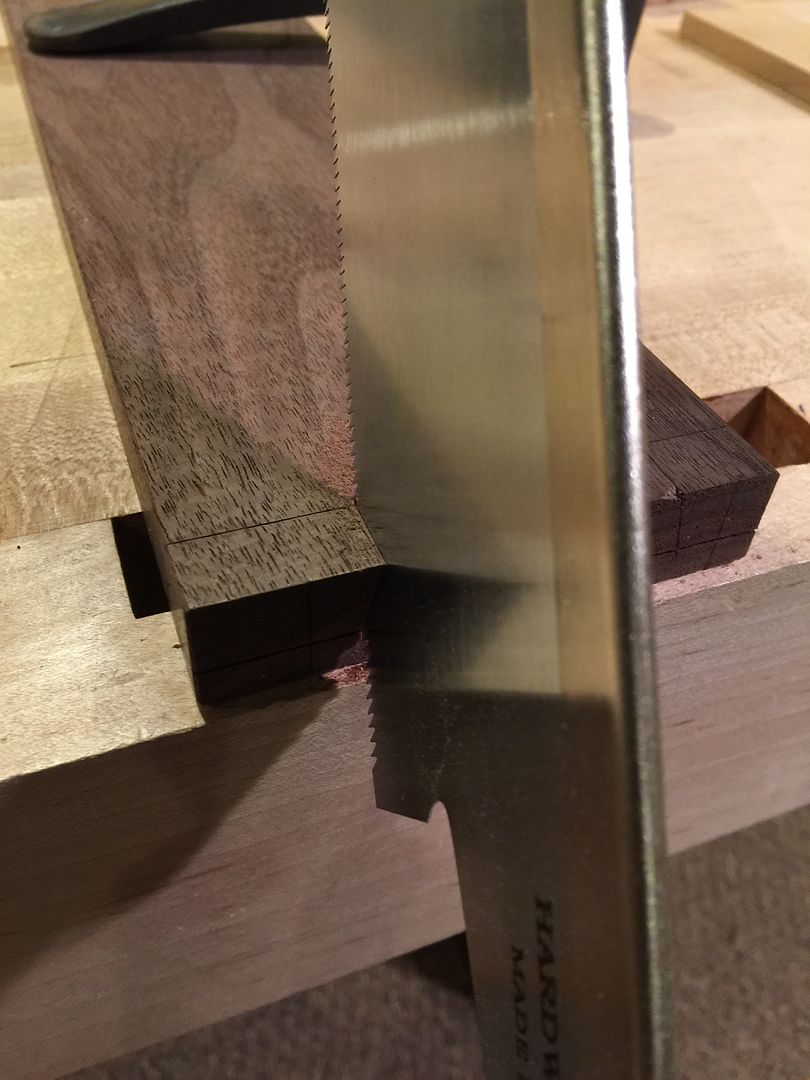
I've seen this floating around, I believe it was Jim Matthews who mentioned this to me, notching out the corners makes it really easy for the saw to fall right into the knife line. You may notice that I'm well off my knife line....Its an illusion, that knife life was an oopsie.


Fishtail!


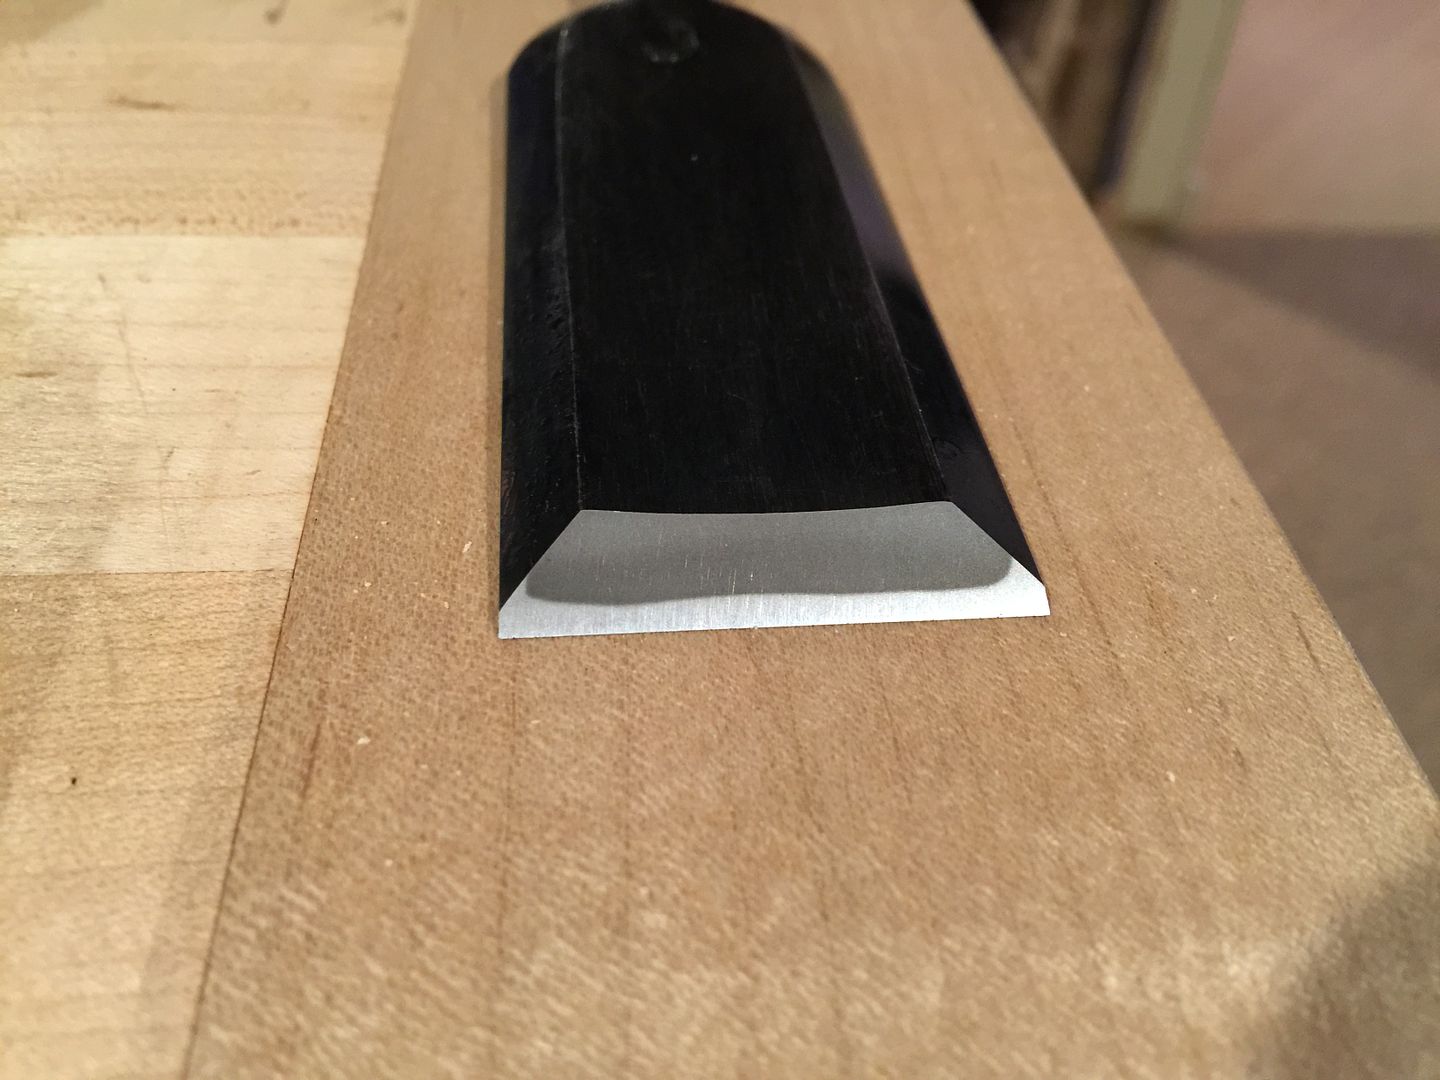
I'm particularly proud of this bevel, finished on a Nakayama Asagi. Showing my wife did not get the appreciation I was hoping for...so now I show you folks :)


Re: Continuation of the Cabinet build

#5

Re: Continuation of the Cabinet build

Bill Houghton, Sebastopol, CA

"I'm particularly proud of this bevel, finished on a Nakayama Asagi. Showing my wife did not get the appreciation I was hoping for...so now I show you folks."

Nice bevel, Brian :D :D

I'm enjoying this build-along. Thanks for taking the time to take photos and explain what you're doing. Very inspiring.

Re: Continuation of the Cabinet build

#6

Re: Continuation of the Cabinet build

Brian Holcombe

:D hehe, thank you for the kind words!

Re: Continuation of the Cabinet build

#7

more questions...as usual

Bill Tindall, E.Tn.

BTW, those are some kind of shaving!

Did you find that making the notch to start the saw was beneficial? Will you continue to use this aide?

Your knife lines are deeper than I can get them. What are you using?

Re: Continuation of the Cabinet build

#9

Re: PS

Brian Holcombe

Hahaha, thank you both for playing along with my humor.

Bill, the notch helps, I'll continue to use it, I find otherwise that my saw will split the line and the dovetails can be a little looser than I would prefer. This seems to bias it in the right direction for a minor friction fit.

I use a blue spruce marking knife, and I've rounded the tip more than how Dave has them set initially.

Re: Continuation of the Cabinet build

#10

Your work should be an inspiration....

Bill Tindall, E.Tn.

.....to those that aspire to an all or mostly all hand tool shop. As far as I can remember this is the first all hand tool project we have seen documented here. If I aspired to an all hand tool shop your success at a fairly complex project with lots of parts would provide me great encouragement. And you are doing it in a small space with a modest arsenal of tools...... and carpet :) . Keep up the progress posting.

Re: Continuation of the Cabinet build

#11

Re: Your work should be an inspiration....

Brian Holcombe

Thank you Bill! I appreciate the encouragement.

I'm about 95% hand tools on this project, I had the drawer sides thicknessed for me locally then finished them by hand.

Re: Continuation of the Cabinet build

#12

Re: Your work should be an inspiration....

TomD

As you know, that would be typically done by others than the master, and in many cases the wood was sawn to close dimensions. In those days there was no IKEA, so it made sense that materials were available sawn to various purposes, as they are today, except we do not have very many purposes. We have a limited number of things like 2x, shelving, siding, panelling, and so forth.

Re: Continuation of the Cabinet build

#13

Re: Your work should be an inspiration....

Bill Tindall, E.Tn.

"I'm about 95% hand tools "

Of course that is the problem with things that have drawers and framing. These things have lots of parts. To do all six sides of say 50 cabinet parts by hand becomes a tedious task few have the time or fortitude to begin. I started adding up the dimensioned parts in some of my ordinary builds and got numbers approaching 100 parts. No doubt there were accommodations in design and technique that enabled Period furniture makers to crank out affordable furniture for the masses. In one case I saw an example of shingle stock being used for drawer sides and no doubt there are many other short cuts that were made to get the parts made. It would make an interesting book or PhD thesis for someone to research the details that were employed to speed the work flow for a country chest of drawers in 1780.

Re: Continuation of the Cabinet build

#14

Curious about ..

Derek Cohen (in Perth, Australia)

I'm about 95% hand tools on this project, I had the drawer sides thicknessed for me locally then finished them by hand.

Brian, how much thicknessing are you doing by hand?

As I recall, you have young kids and machines are out of bounds. But does this mean that you get the boards sized close to thickness by the mill beforehand?

The wood I get is either rough sawn often with twists, or ex-roofing timbers (amazing what they were building with until a decade ago). Up until about 7 years ago I was thicknessing all by hand, but with the aid of a bandsaw thrown in. I'm now 65 and no longer have the desire to thickness West Australian hardwoods by hand. One of the best investments I made about 2 years ago was Hammer A3-31 jointer-thicknesser with spiral cutters. What an apprentice! :) The good hand stuff lies with all shaping and joinery. But I would argue that this is in truth about 40% of the work. The hard yakka (Oz slang for work) - 60% - lies with preparing and dimensioning the boards.

Regards from Perth

Derek

Re: Continuation of the Cabinet build

#15

Re: Curious about ..

Brian Holcombe

I had a feeling that was the case, I assume back in those days a furniture maker would have a very close relationship with his sawyer and so they would likely be able to spec out material rough saw to closer tolerances than what we can get.

Derek,

Most often I just buy regular stock sizes and thickness by hand, it's easier than the run-around associated with small batch purchases/mill work. My local yard will no longer thickness on the spot, so that has actually been my driving force behind doing more and more of this entirely by hand.

For certain projects, like the bed I made or the drawer sides, I can plan well ahead and have them joint/thickness. For this cabinet I was able to take my time for the most part and so I would source stock, let it rest for a time, then work with it.

For big wide stock I can saw with a festool, for parts it's not usually possible.

I'm 30 years old, so this is a good workout for me. You look great, so it's safe to assume it's done well for you. :D

Machine tools are out of bounds for me for so many reasons. Best case I'll eventually be able to use a bandsaw and collect dust off of it with the festool and a mini cyclone in line. Outside of that I would have to buy another house.

David has spoiled me with some planes that make the job so much less of a chore and more an enjoyment, so on my next project my aim is to work 100% by hand....save for a few saw cuts.

Re: Continuation of the Cabinet build

#16

Re: Curious about ..

TomD

"As I recall, you have young kids and machines are out of bounds."

I get it, I gave up guitar, classical guitar...

Traditionally though, getting the kids involved was one of the multipliers for production.

Re: Continuation of the Cabinet build

#17

Re: Curious about ..

TomD

"Machine tools are out of bounds for me for so many reasons. Best case I'll eventually be able to use a bandsaw and collect dust off of it with the festool and a mini cyclone in line. Outside of that I would have to buy another house. "

I find bandsaws are pretty clean, and use mine a lot, it also has the most reasonable footprint of any machine, I find. I sold a 16 inch stationary and replaced it with the first mini Delta. I sold that when I got a shop on grade. For one thing, at the time one could get in and out of tools for almost no cost, I find these days with the internet that one can only do that with deeply discounted internet second hand tools, so that part is tougher. But I can't imagine not being able to house a 12" portable, I then do my planing around good weather out of doors. One needs pretty phenomenal tools and extraction to beat planing out of doors. But when I was your age I did a lot of it for the exercise, and still do.

Re: Continuation of the Cabinet build

#18

Re: Curious about ..

Brian Holcombe

That's true, I wonder how soon before he can start planing. :D

Good points on the bandsaw.

Re: Continuation of the Cabinet build

#19

Re: Curious about ..

William Duffield

they would likely be able to spec out material rough saw to closer tolerances

Yes they could. That's why rough sawn lumber is still measured in x/4, or to the nearest quarter inch.

Re: Continuation of the Cabinet build

#20

Re: Continuation of the Cabinet build

Brian Holcombe

And the cabinet continues;


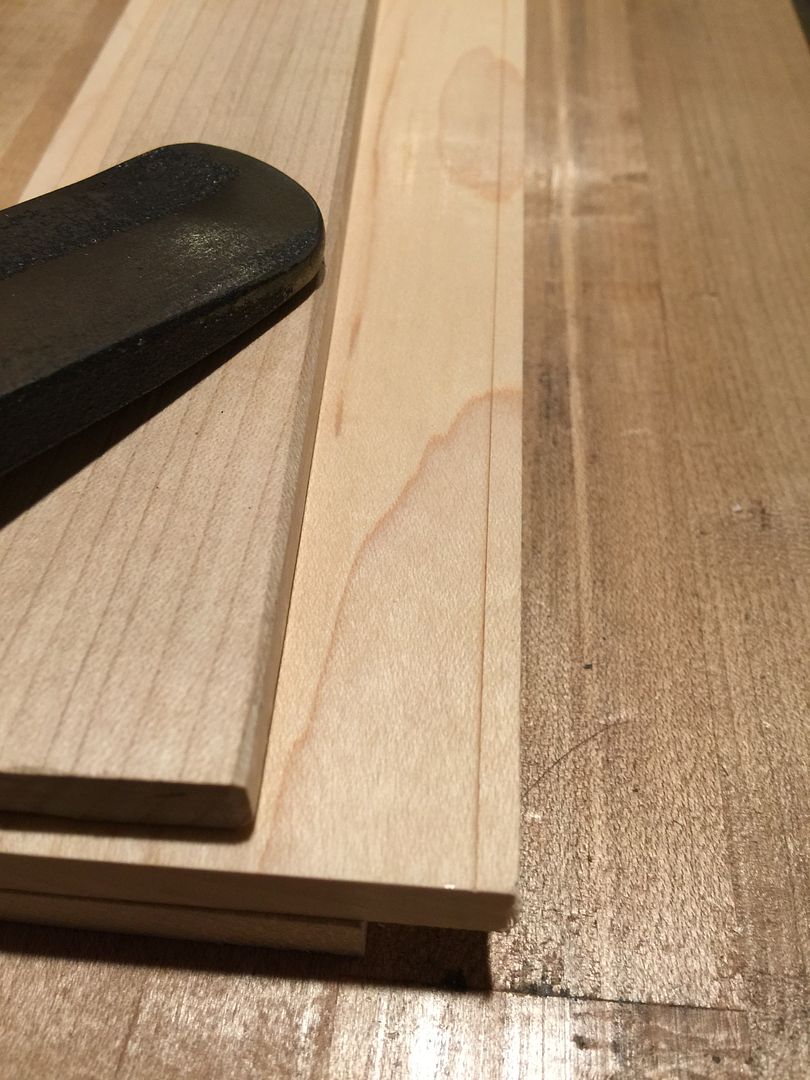
And onto more parts....drawer slips (iPhone corrected slips to skis, lol).


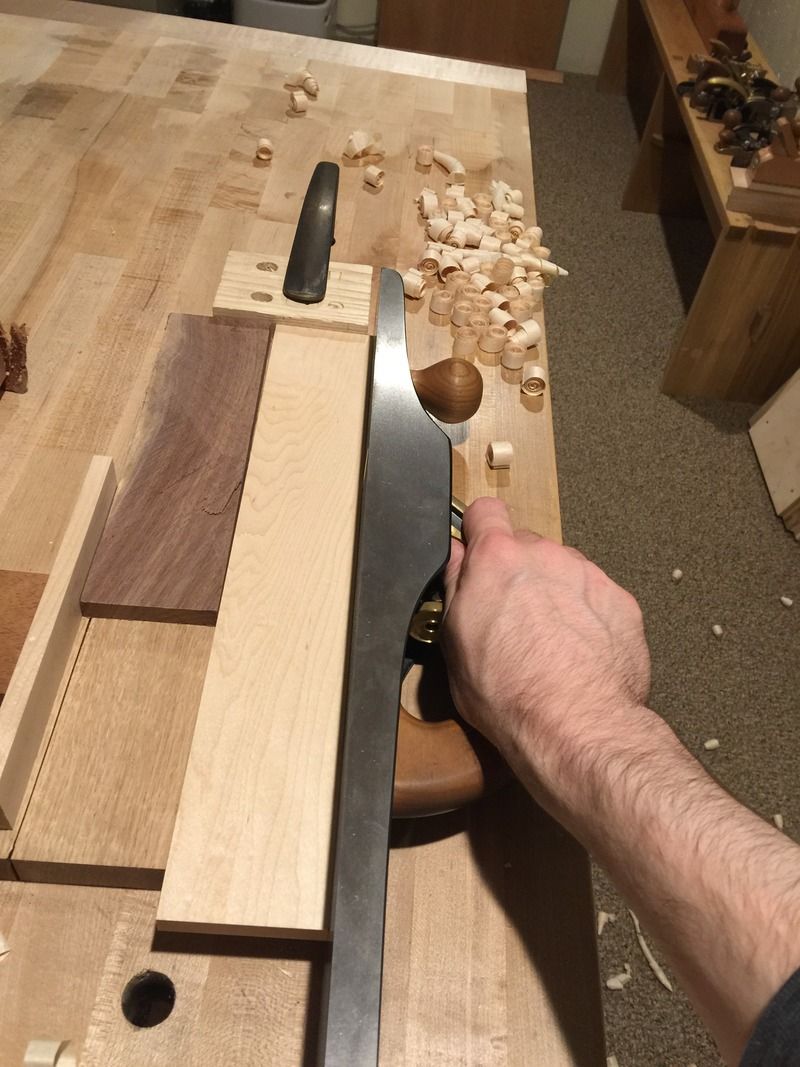
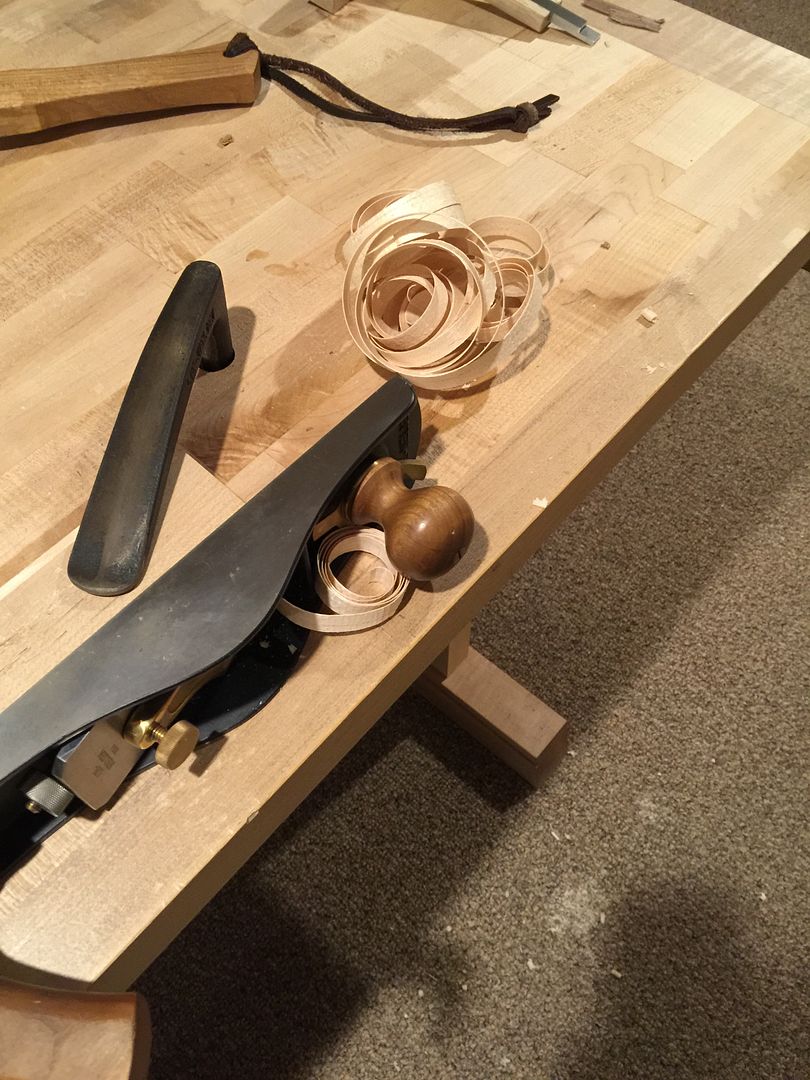
Getting a sweeeet finish off the try plane


Re: Continuation of the Cabinet build

#21

Re: Curious about ..

TomD

Bad writing there, what's new. The part from I sold a sixteen incher on, refers to my planer, not my bandsaw.

Re: Continuation of the Cabinet build

#22

Question

Bill Tindall, E.Tn.

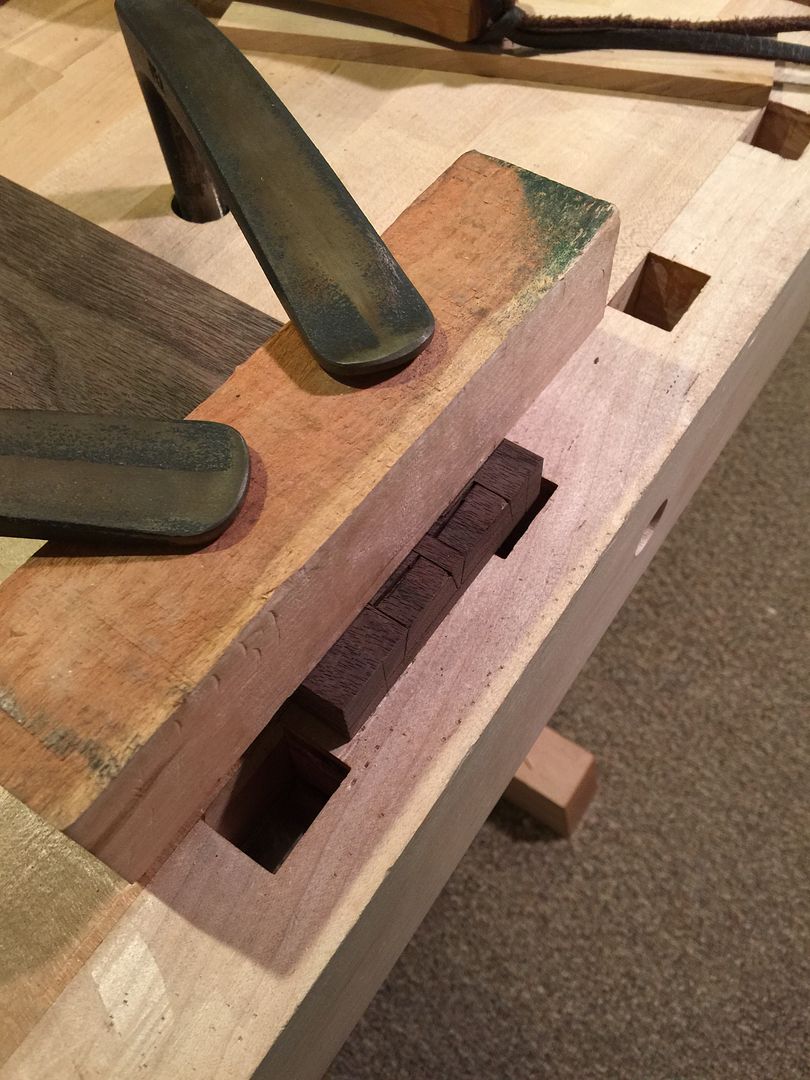
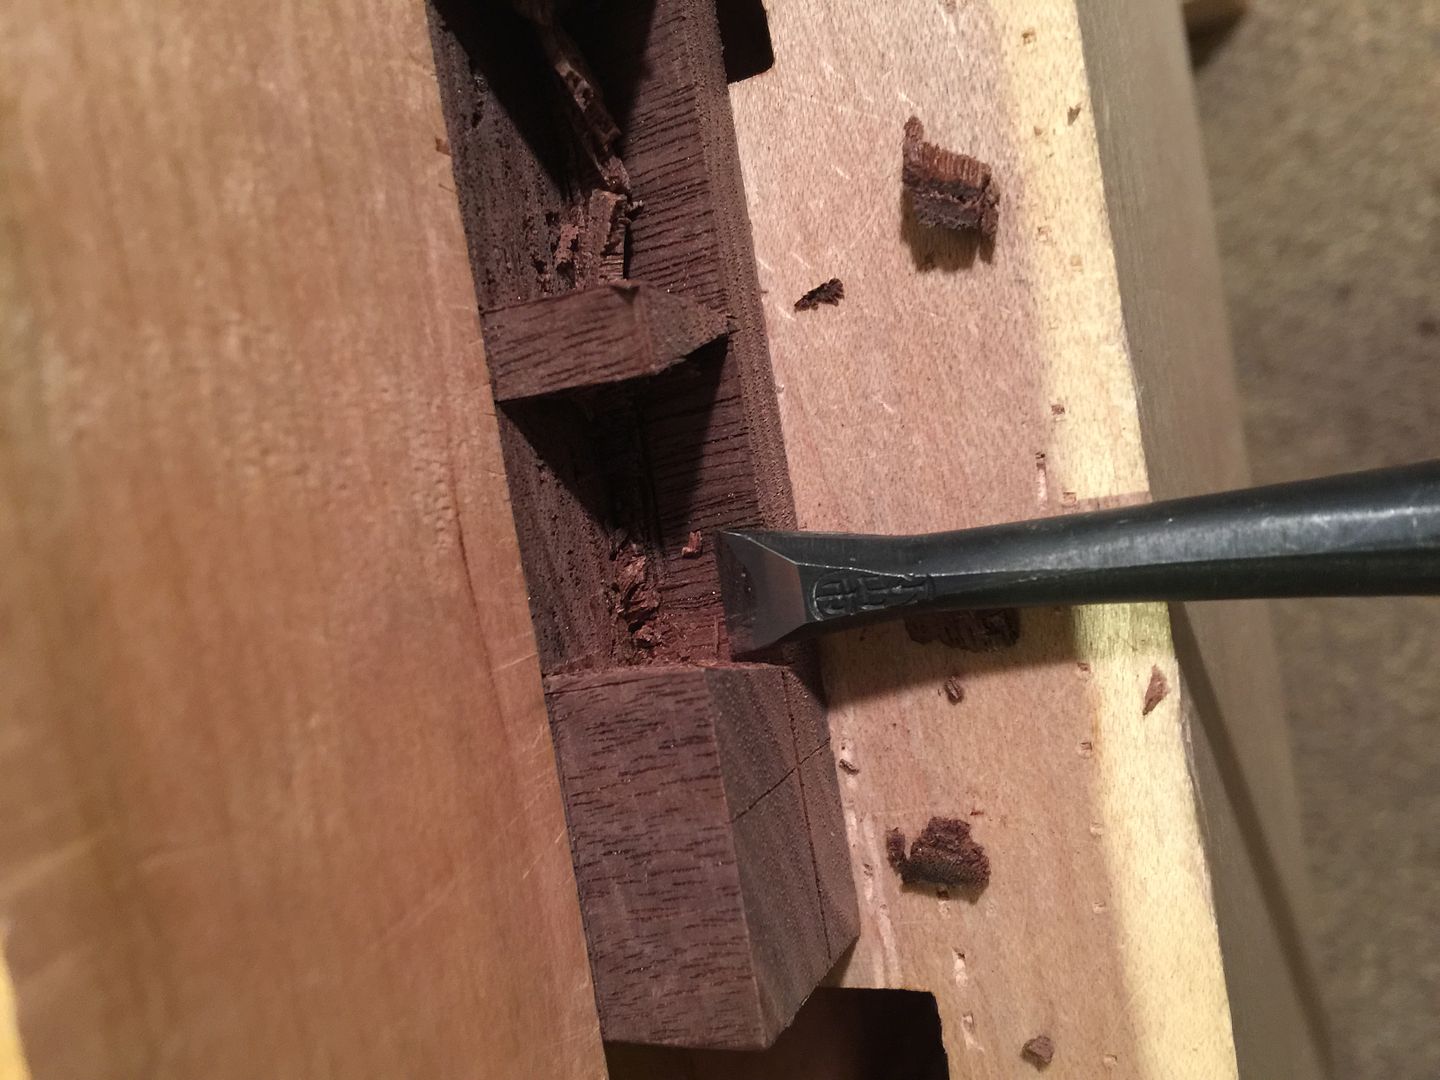
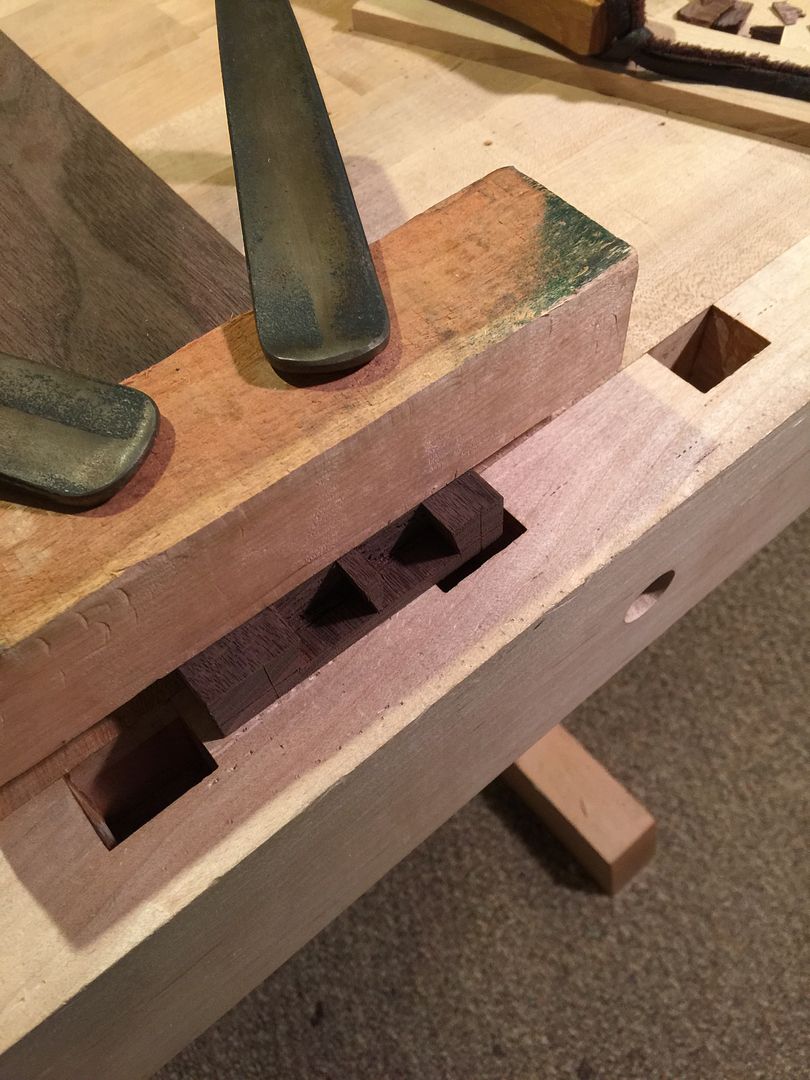
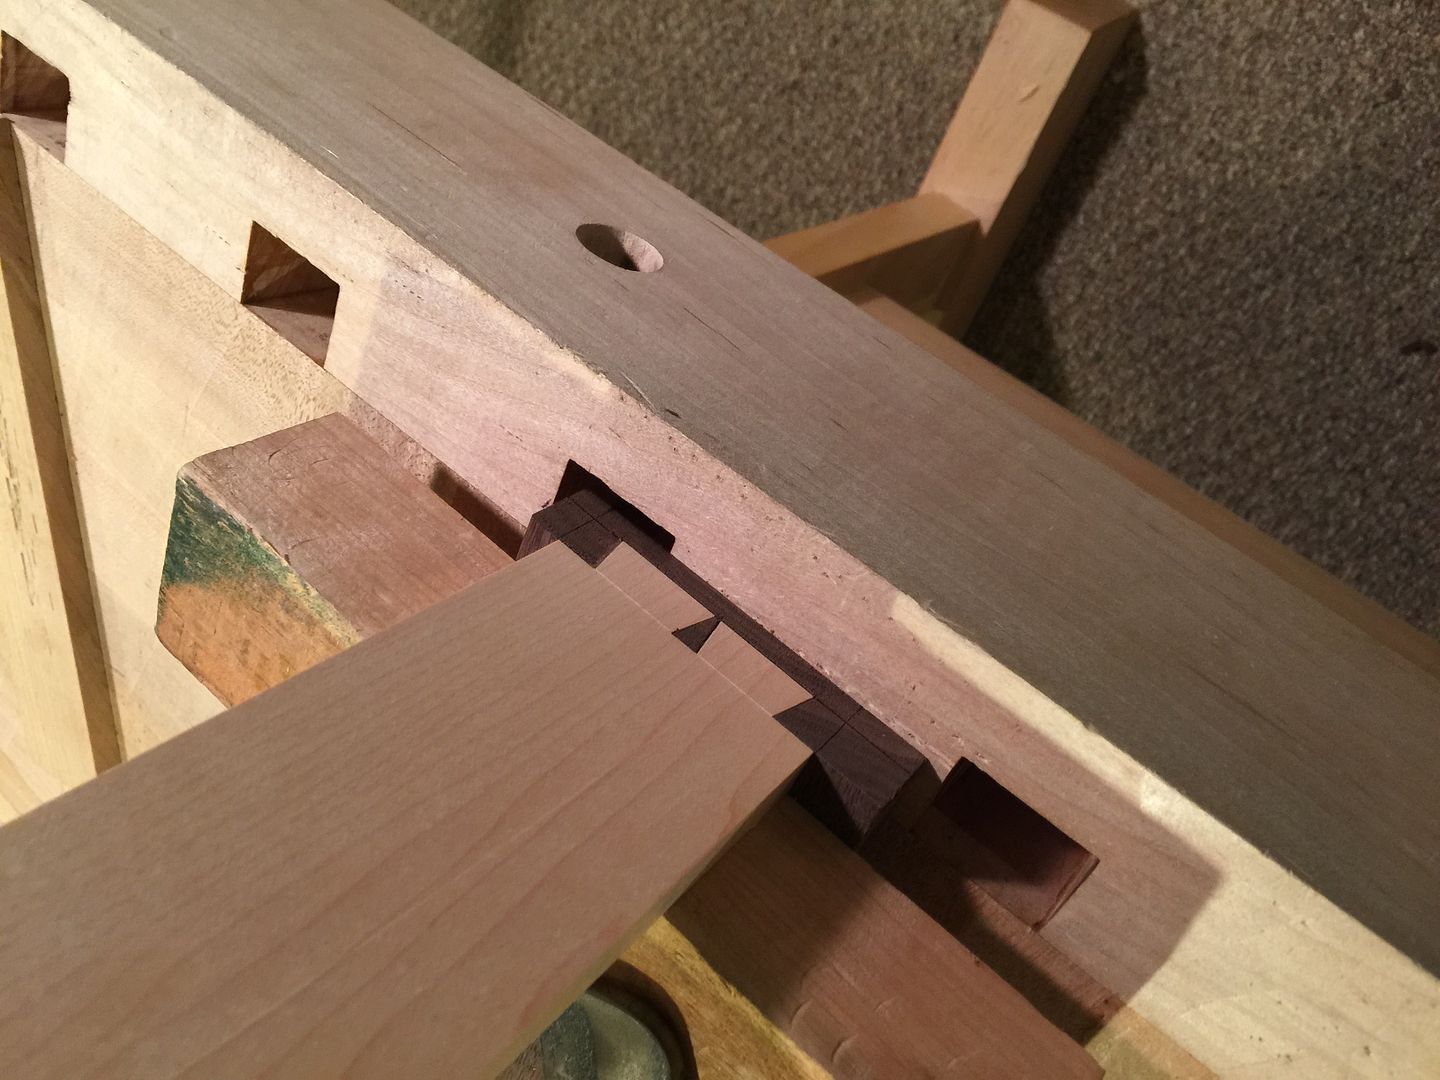
What is the angle on the wedge in the bench stretcher?

Neat visual effect on the dovetails. You build drawers faster than I do.

How are you going to finish the cabinet?

Re: Continuation of the Cabinet build

#23

Re: Question

Brian Holcombe

Hmmm, I'd say about 5 degrees on the wedges, I've noticed on those big wedges that a pretty shallow angle is good, infact they may be less than 5 degrees.

Thank you! It's a sigh of relief to get all of those dovetails finished, now onto more small parts, lol.

Re: Continuation of the Cabinet build

#24

Re: Continuation of the Cabinet build

William Duffield

The second photo looks like a classic FWW cover shot. It looks like the editor turned the bench around, insisted all the shavings were the same size, and then individually placed them. :D My shop is at the other end of the spectrum of organization and neatness.

Do you work with that arrangement? It seems inefficient to not place the vises and the tool racks on the same side of the bench.

Re: Continuation of the Cabinet build

#25

Re: Continuation of the Cabinet build

Brian Holcombe

Thanks William!

The other side of my 'studio' (basement) is actually just storage shelves and other stuff, so I decided I would like to face my tools and look at them while I work.

I never thought of it in terms of workflow, but your comment makes a lot of sense.

Cheers