New WoodChat!
Home Articles Forums Gallery Marketplace Videos

WoodCentral Forums

Knowledge You Can Build On — Est. 1998

Abingdon, VA – Tree Cutting & Portable Sawmill

Shaping the cove moulding

Posts

Shaping the cove moulding

#1

Shaping the cove moulding

Derek Cohen (in Perth, Australia)

Here are pictures of shaping the cove.

A couple of points first, I ran a revised cove past Lynndy, who gave her approval. Secondly, I reduced the thickness of the rails from 30mm to 25mm. I thought the original was too chunky once the pieces were shaped. So I bandsawed/planed away 5mm. This definitely looks better.

It was easier to test out the moulding process on the upper- and lower straight rails, so this is where I began.

The first step was to mark out the groove for the panel. This was done with a knife gauge - even though I would be ploughing with the grain, I did not want any chip out at the shoulders.


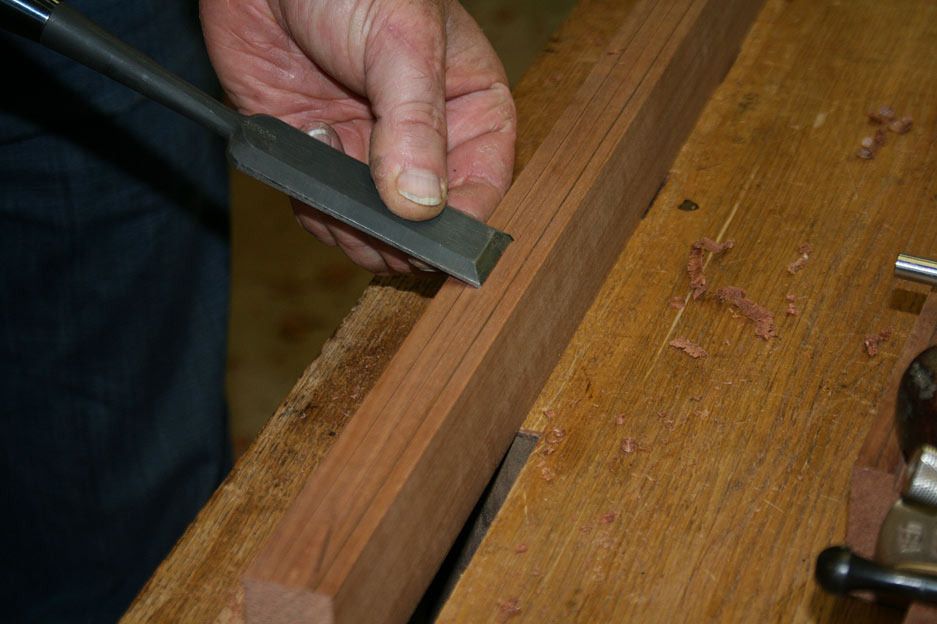
The lines were chisels to remove material at the walls ..

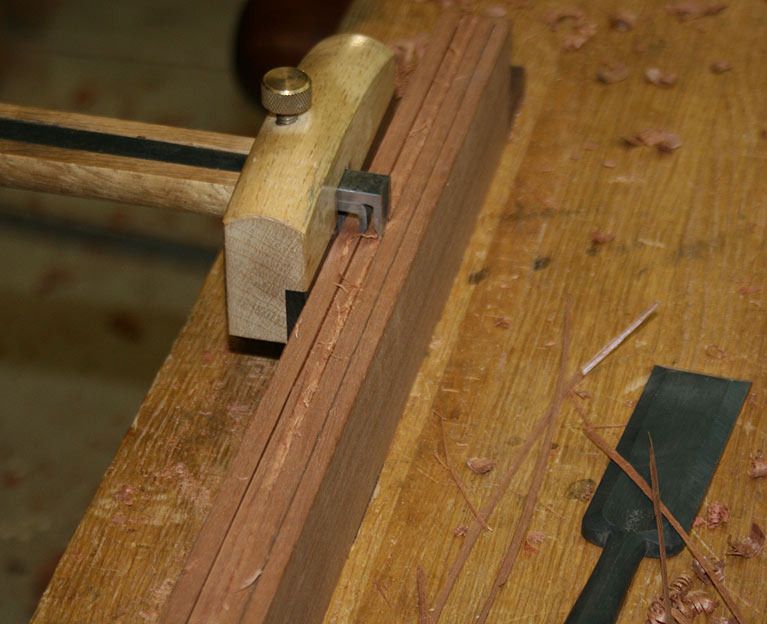
.. and then knifed again to remove the waste ...

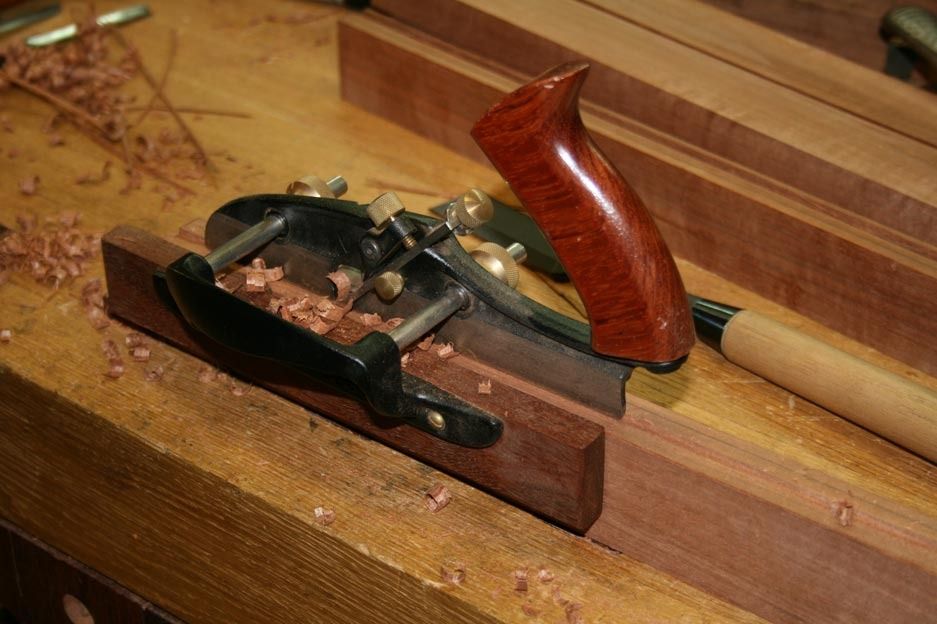
It was then a simple matter of ploughing to the depth of 1/4".

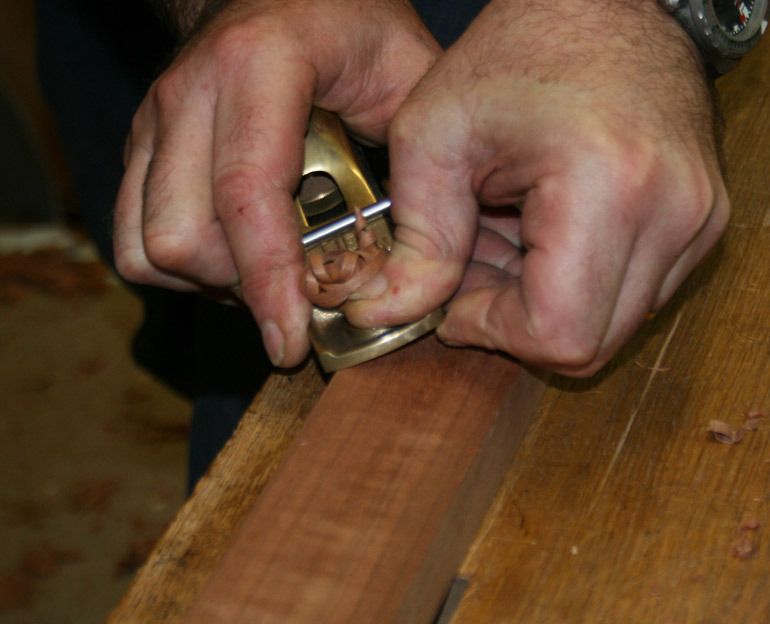
The boundaries of the cove were scored on each side with a cutting gauge, 1/4" wide on the upper side and 1/8" deep (which is half way to the groove). Then the waste was block planed away close to the lines. On the curved side rails it was easier to use a spokeshave to do this) ...
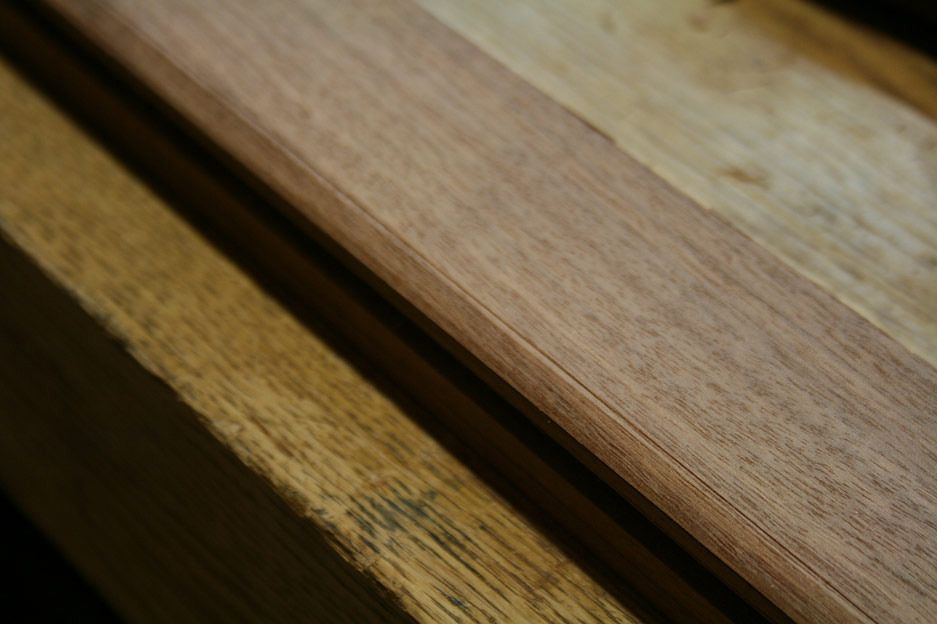

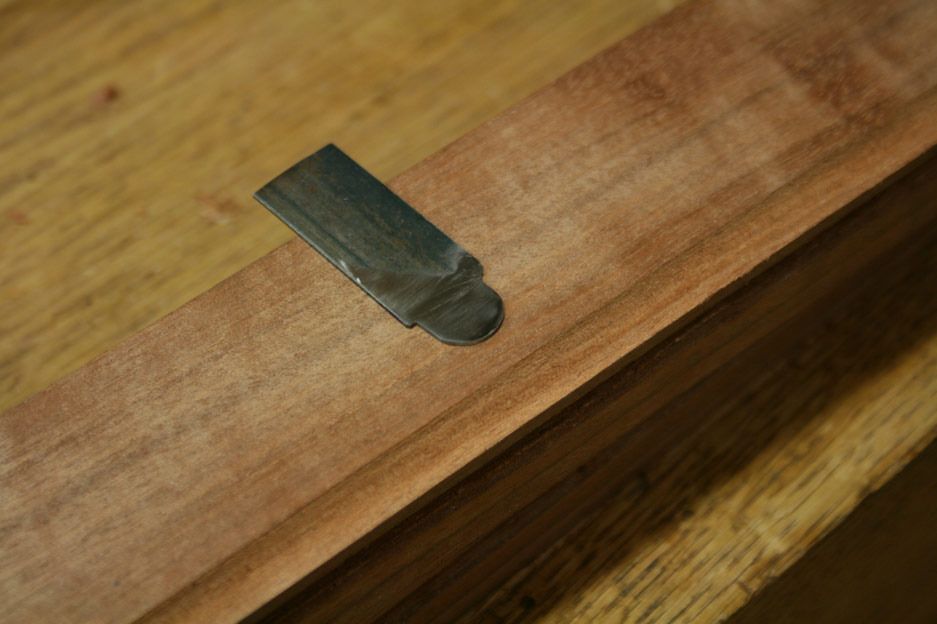
I shaped a scraper blade from a 3/4" wide scrap of bandsaw blade ...

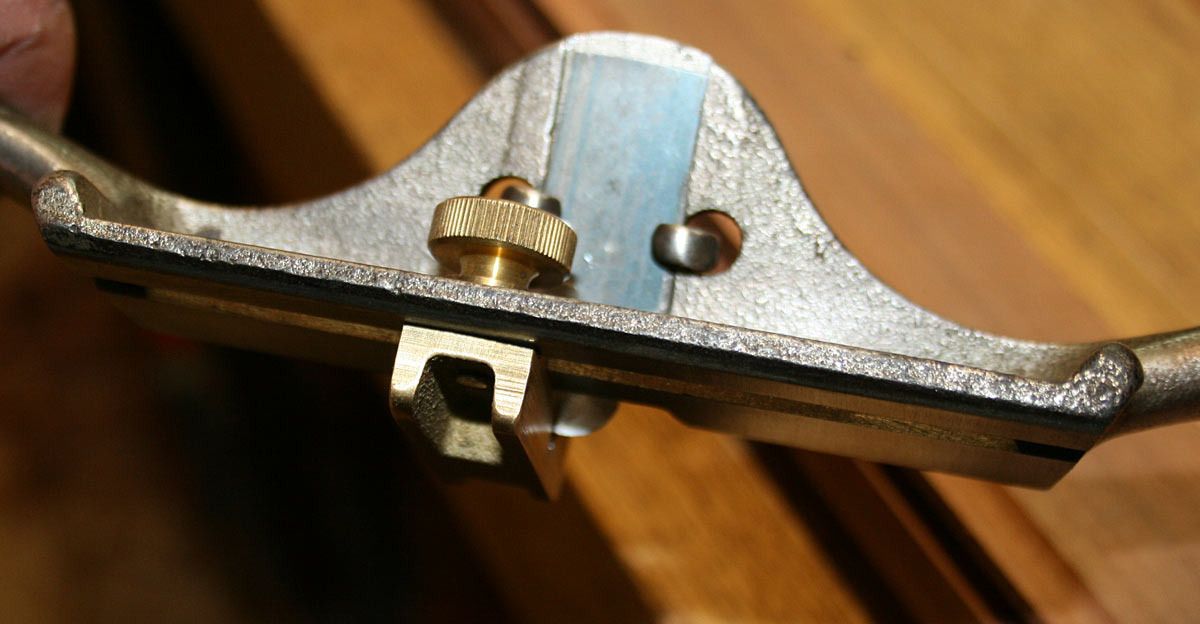
This fitted so in a Stanley #66 hand header ...

Working to the lines ...
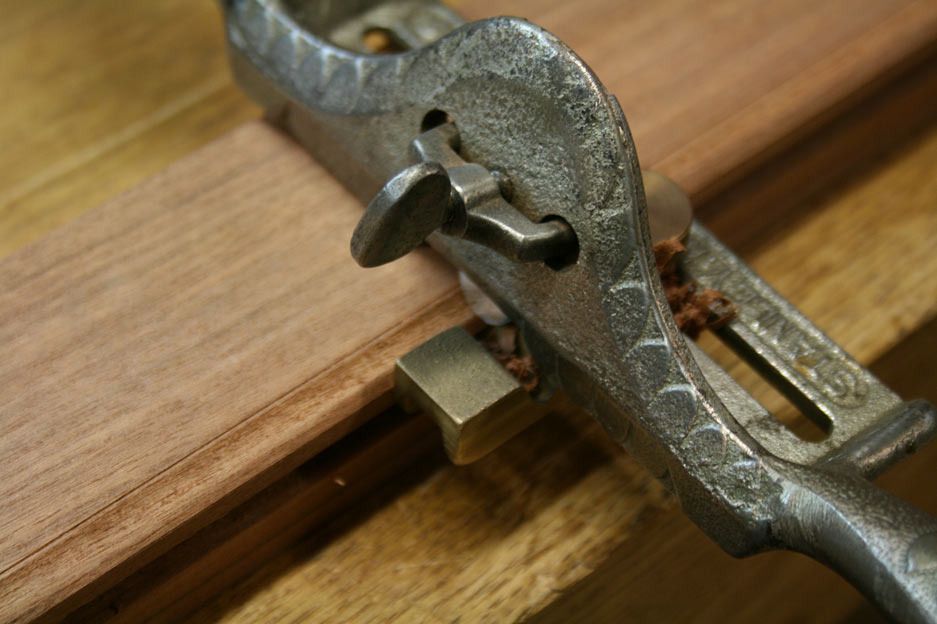

Shavings ...


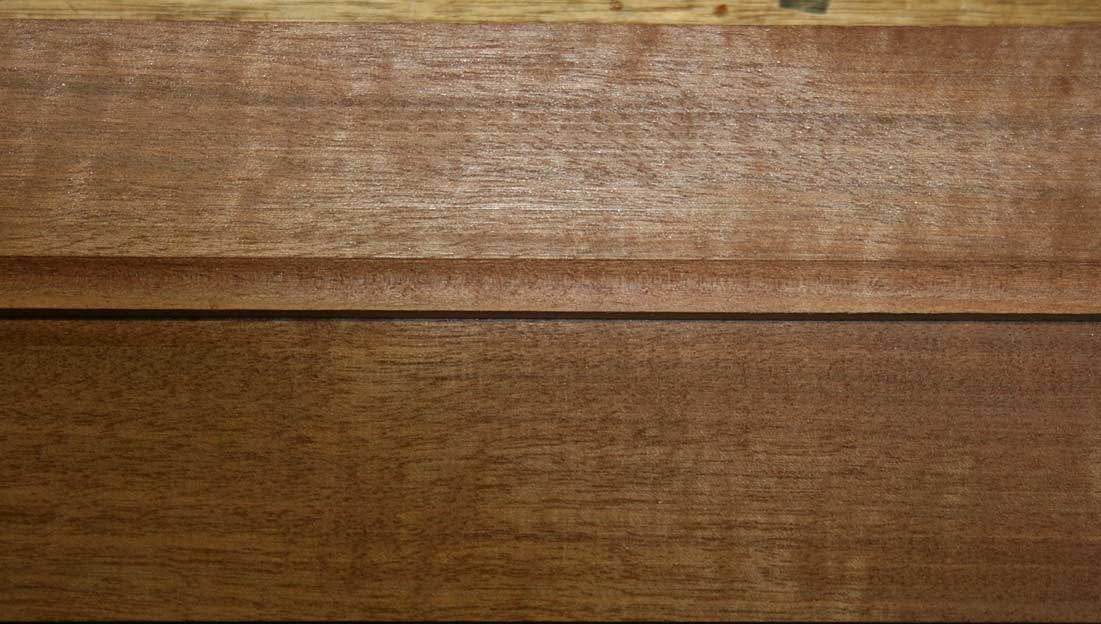
The result on the straight sections (with some scrap fitted to the groove to show the transition) ..

Differences when shaping the curved rails ...

The first was to use a gauge with a small fence as it needed to run inside the curve ...


The other was to use a router plane (with fence) in place of the plough plane ...
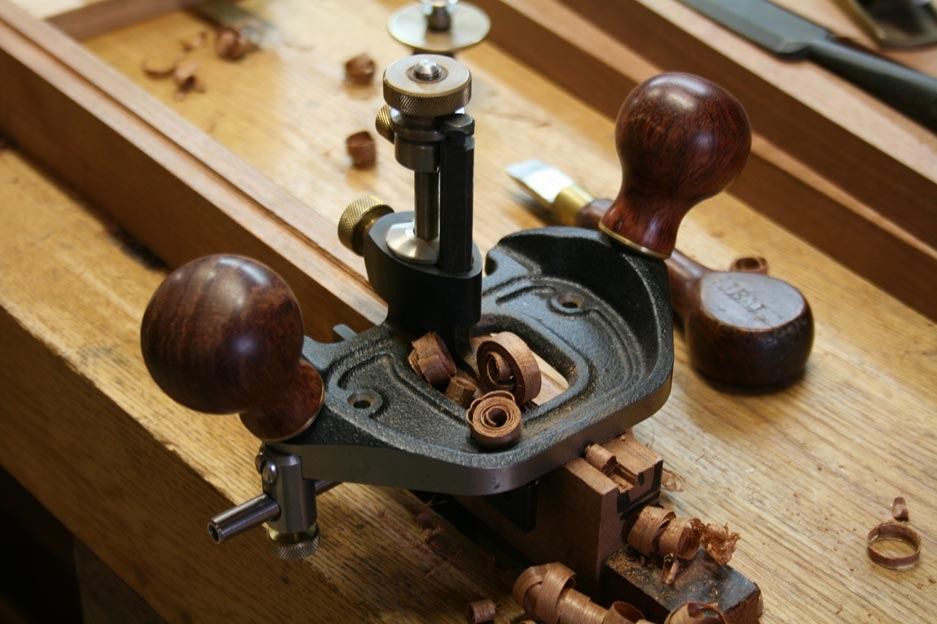

The results were the same ...
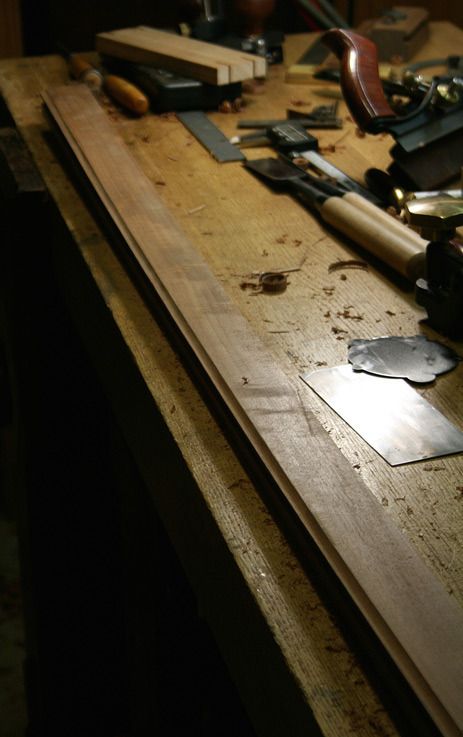


Back next time after the side panels are completed.

Regards from Perth

Derek
Re: Shaping the cove moulding

#2

Re: Shaping the cove moulding

RK near Boston

Nice approach.

Do you think LV asian hollows would have worked as well? They are pretty short.

Re: Shaping the cove moulding

#3

Re: Shaping the cove moulding

Derek Cohen (in Perth, Australia)

Hi RK

They may or may not be short enough to form the cove on the shallow curve here, however there is also the need for the depth of cut to remain uniform. I could not see how this could be done without a fence and depth stop.

One of the advantages of the #66 over a simple wooden scratch stock, such as popularised by Garrett Hack, is that it (the #66) has both these features. When it stops cutting, it starts polishing. To some extent, this creates a finish a little closer to that of a plane.

The edge of the bandsaw cutter needed renewing three times for the longer curved rail. I sharpened it without adding a hook, just polished both sides. The fence also needed to be switched over to the other side when the grain reversed. The trick was to reset it exactly the same way it had been, another reason for using the #66. To reset it I used the original cove as depth gauge and fence stop

Regards from Perth

Derek

Re: Shaping the cove moulding

#4

Re: Shaping the cove moulding

Warren in Lancaster, PA

I use a round moulding plane for this work. I think it is much easier than scraping. The surface a plane leaves is finer also.

It is baffling to me that someone with a few dozen bench planes and multiple sets of chisels does not think to buy moulding planes. It is not like Derek is the only one. Lots of guys seem to have enough bench planes for a five man shop, but don't seem to take advantage of the capacity that moulding planes bring.

Re: Shaping the cove moulding

#5

Re: Shaping the cove moulding

Derek Cohen (in Perth, Australia)

It is baffling to me that someone with a few dozen bench planes and multiple sets of chisels does not think to buy moulding planes. It is not like Derek is the only one.

Hi Warren

It is interesting speculation. Actually, I do have a half set of H&R, which I use, and I do have a full set of beading planes, which I also use. Note that I predominantly work with designs that do not favour mouldings.

I could not use the Round to form a cove since the legs are curved (or could not see how they could be use in this situation). What you mainly saw were the top/bottom rails being shaped, which are straight.

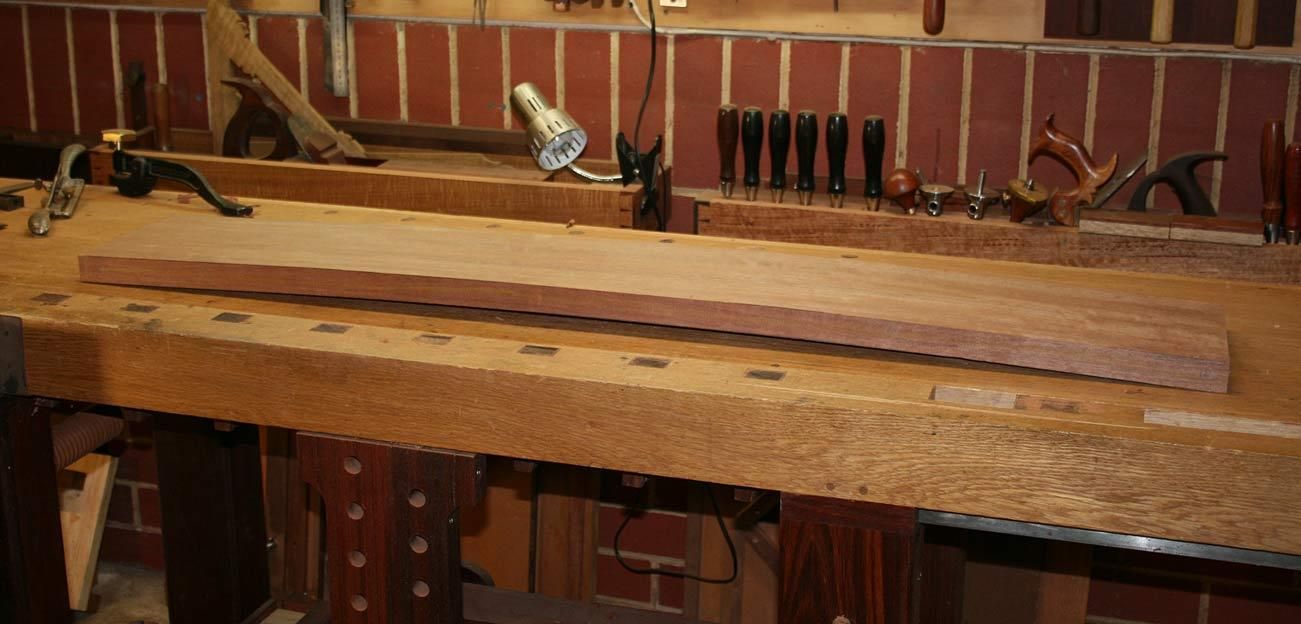
Four legs came out of this curve ...


The bend is also illustrated below.


How would you shape the cove on a curved leg?

Regards from Perth

Derek

Re: Shaping the cove moulding

#6

Re: Shaping the cove moulding

Warren in Lancaster, PA

Usually when we have straight mouldings and curved in the same piece we use the round plane for the straight portion and then either a scratch stock for the curved area or carve the curved area. The scratch stock works in a limited range, like a small moulding and a gentle curve and not very well on softwoods. So I would say a lot of this work is carving work.

Re: Shaping the cove moulding

#7

Re: Shaping the cove moulding

JDK

Would it have been possible to shape the leg after shaping the cove?

Re: Shaping the cove moulding

#8

Re: Shaping the cove moulding

Derek Cohen (in Perth, Australia)

Would it have been possible to shape the leg after shaping the cove?

If you mean, shape the cove on a straight leg, and then curve the leg, the answer is no. The cove follows the contours of the curved leg.

I may have misunderstood you. Did you have something else in mind?

Regards from Perth

Derek

Re: Shaping the cove moulding

#9

Re: Shaping the cove moulding

JDK

No, it was my misunderstanding. When I first looked at the photo I failed to see that you contoured the leg on both sides.

It's clear now that the only way you could use a moulding plane would be if the plane had a contoured base.