Continuing the WIP: Curving and grooving the frame
Derek Cohen (in Perth, Australia)
OK next installment. If you do not recall the first, go here: http://www.inthewoodshop.com/Furniture/Sideboard-EntertainmentCentre.html
This is heavy on pictures. Well I was reinventing the wheel as I went along. Hopefully there will be others, more experienced, who can offer alternate methods. As always, please critique anything and everything, ask question ... the fun and learning is in the discussion.
When we left off last time the door panels had been coopered. Now I need to build the frames. I'm suspect that the wood for the panels was Karri rather than Jarrah. They are very hard to tell apart. One local method is to burn a piece of each. Apparently the Karri will leave a white ash while the Jarrah leaves a black ash. All I knew was that the boards I had for the frames were Jarrah, very dry and brittle.
The frames were to be built out of solid wood. I decided that it would be too hit-and-miss to try and create a lamination to match the curve of the panels. I have built curved panels out of laminations before and know that there would be some springback. So solid wood it would be. Luckily I had a couple of boards that were wide enough for the slimline design I had in mind. The frames were to be 30mm (1 3/16") high and 20mm deep.
First step was to size the panels so that they would fit squarely in a frame. They were about 2" too wide, which created too much of a curve. The excess was removed on the tablesaw.
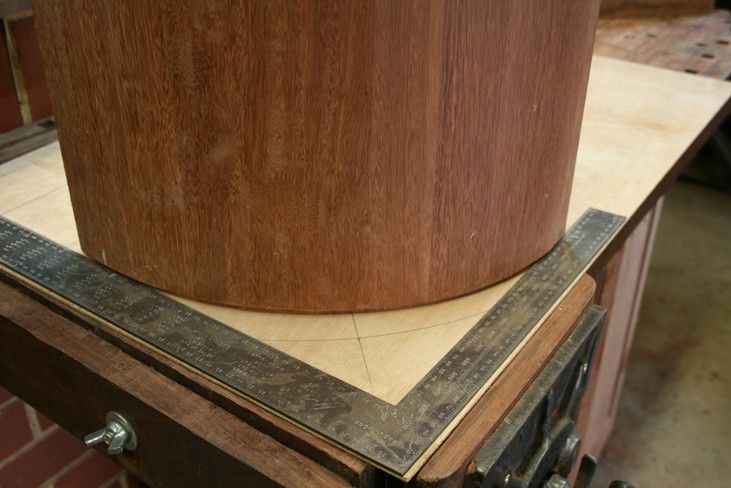
This left one edge on each panel that required a 1/4" tongue to be added. This was first marked ...
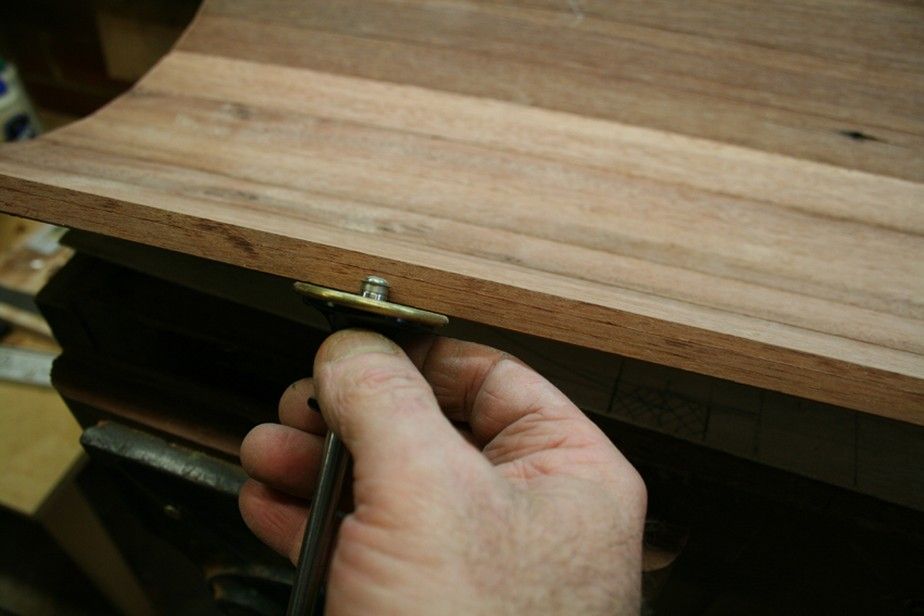
... and then planed. I used a Record #043 on one side ...
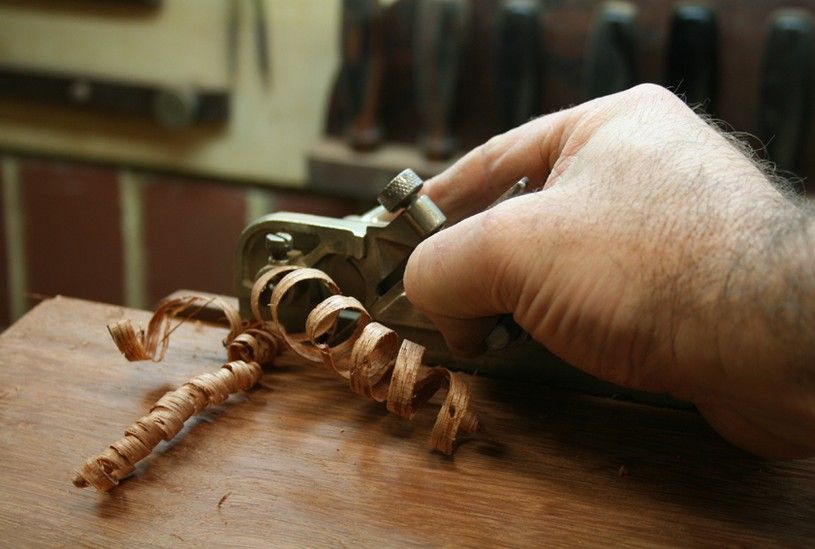
... cleaned it up with a shoulder plane ..
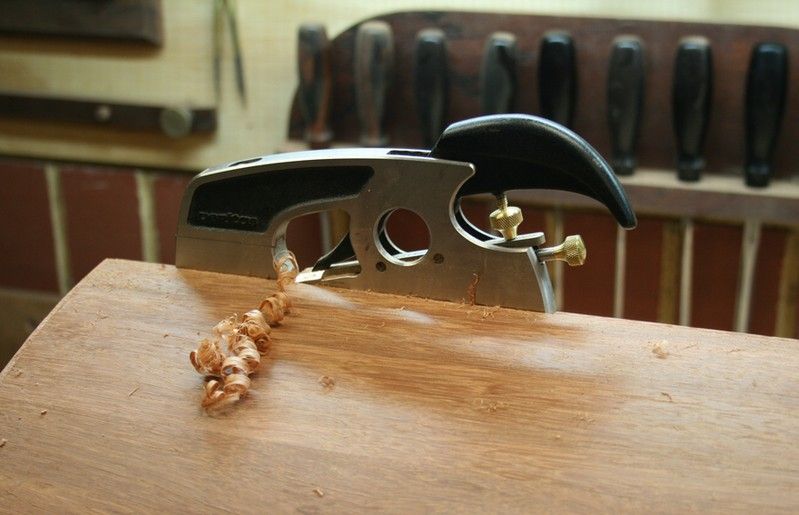
And then a Veritas Plow Plane on the other side.
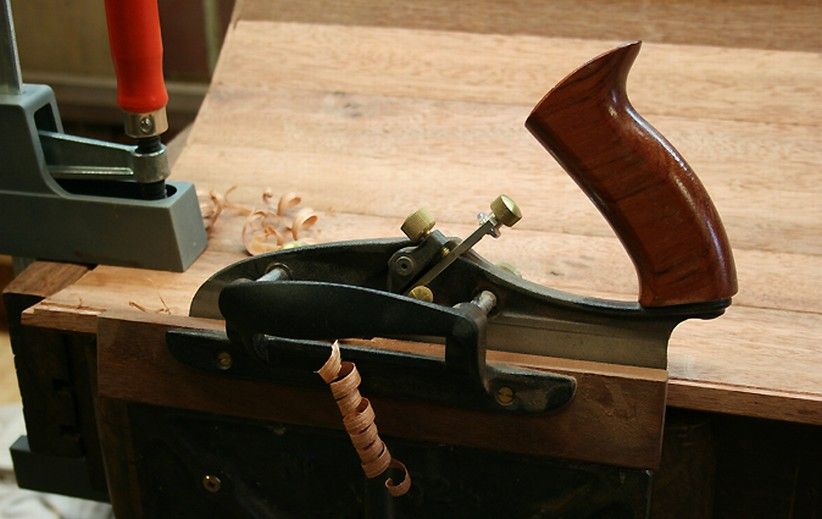
The reason for different planes was due to grain direction and the side of the plane that a fence may be used.
Here is the end result ...
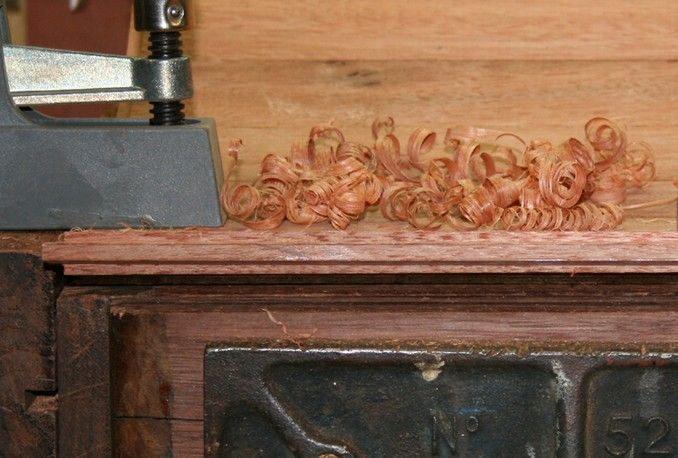
Now we can get to the top and bottom curved frames.
I traced the panel on ply, adding to both sides to increase the thickness to 20mm (a tad over 3/4").
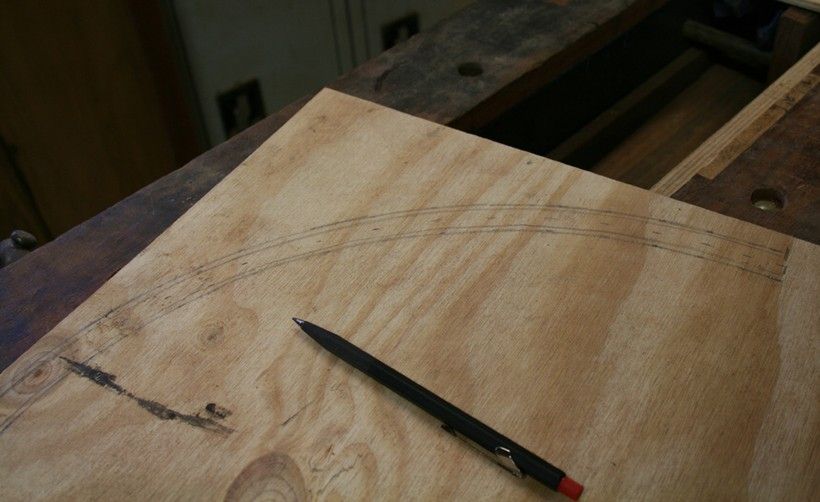
This was bandsawn and filed into a template ..
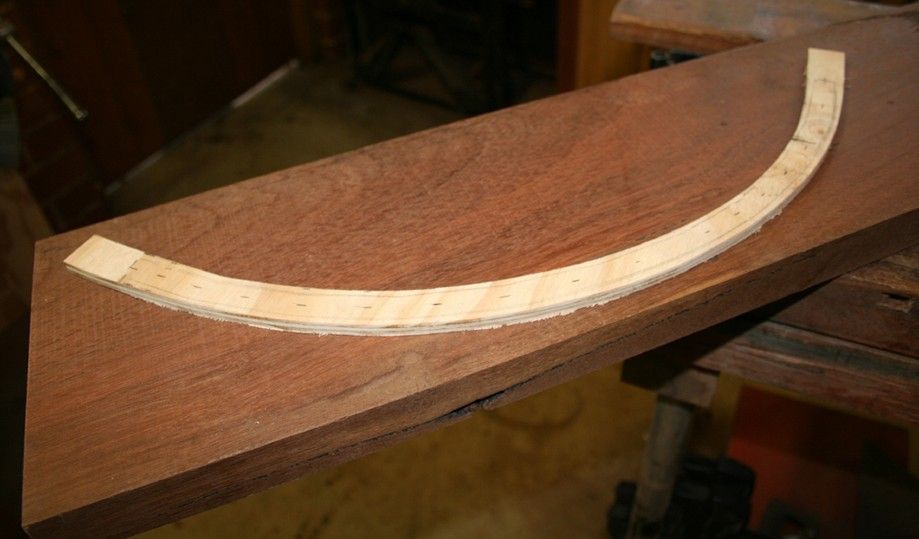
The board was marked and bandsawn, and clamped in a vise for shaping.
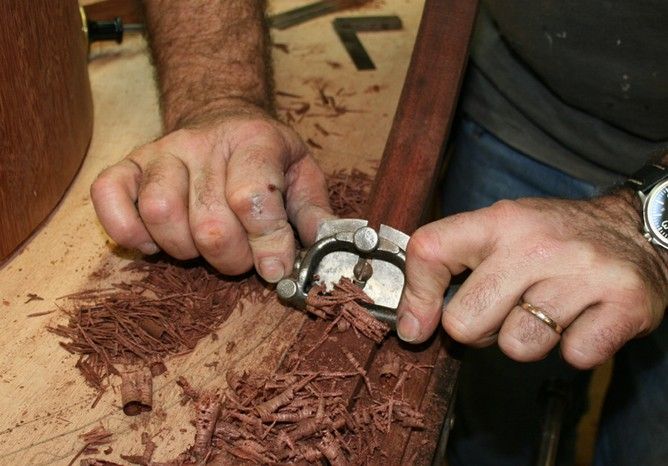
I used a Stanley #53 to rough out the shape (using this spokeshave as a jack).
Be sure to check for square as you work ...
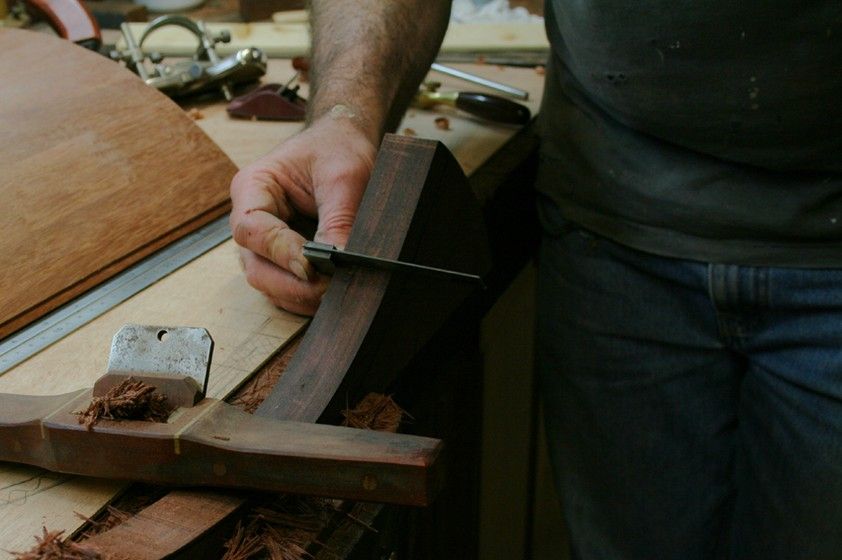
I thought I would use a Record #020, but it was a limited success ..
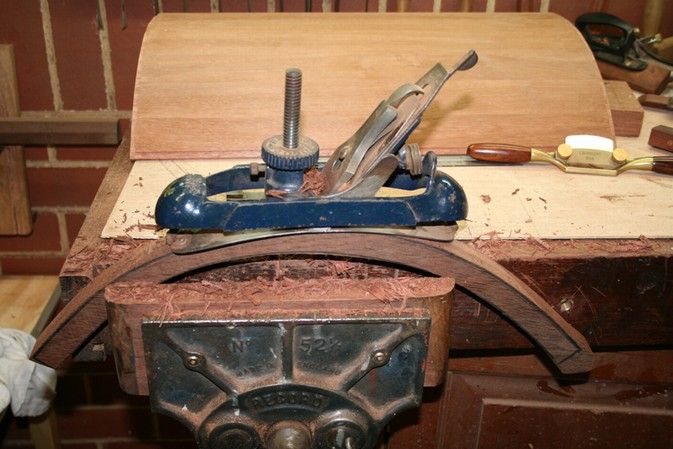
In the end I relied on spokeshaves for the entire process.
I was looking forward to using the Boggs - great balance - but it really did not cope well enough with the hard Jarrah, and tended to chatter excessively ..
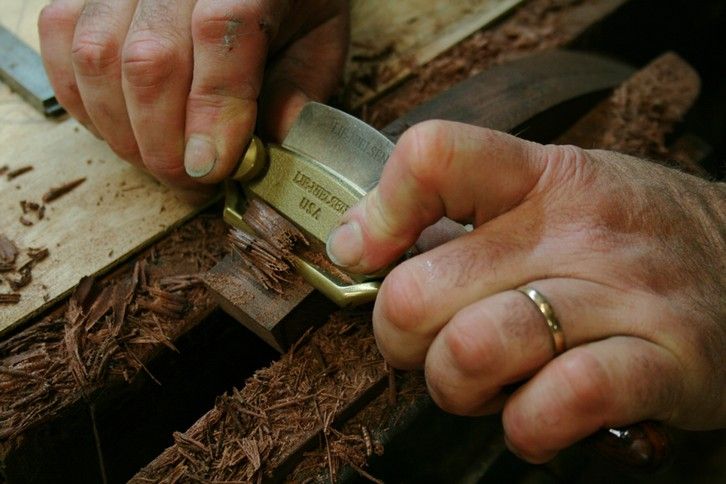
So I relied on the HNT Gordon shaves, both round and flat versions ...
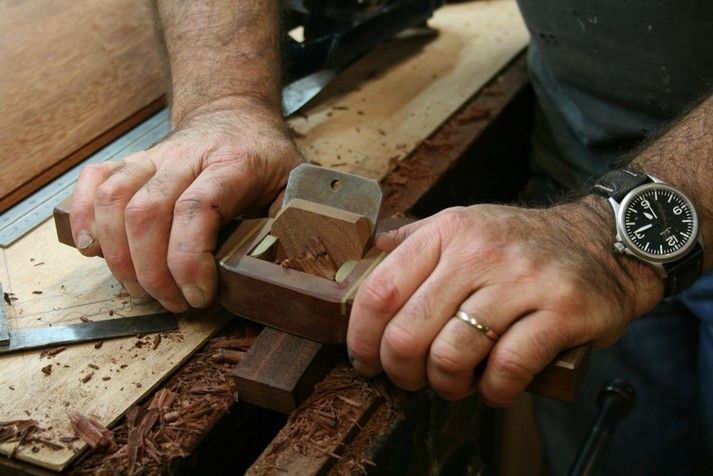
This are superb spokeshaves. They have the ability to plane the hardest and most interlocked woods without any trouble at all. The Round is an amazing spokeshave, being easy to use (can one actually say that about a
round bottomed spokeshave?!). This is due to wide sole - it does not ride on the blade alone as most other round bottomed shaves do.
Having refined the outer edge, I remarked the inner curve on both sides and worked to these lines ...
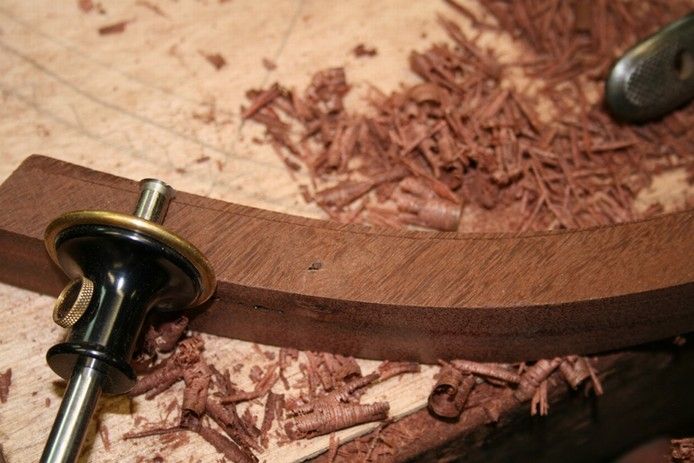
Time to start forming the groove for the panel.
Using a mortice gauge (thanks again Wiley!), deep lines were cut into the side of the frame ..
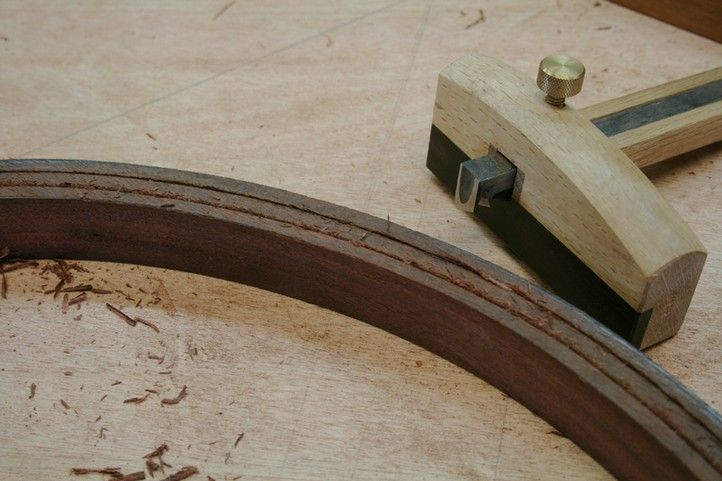
A chisel removed the outer edges ..
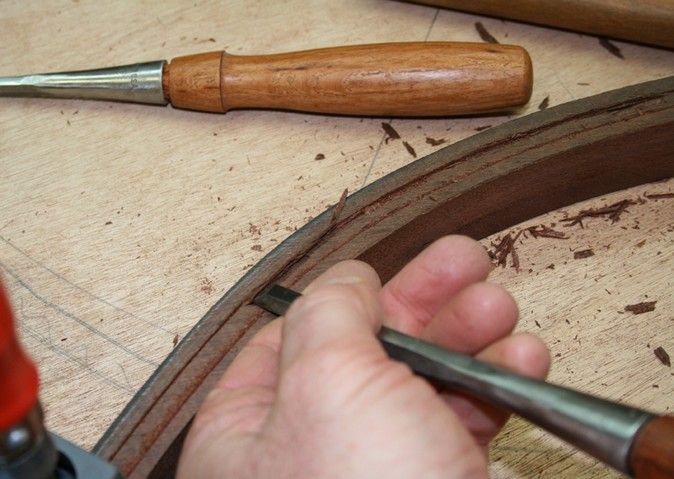
.. and refined the shoulders ..
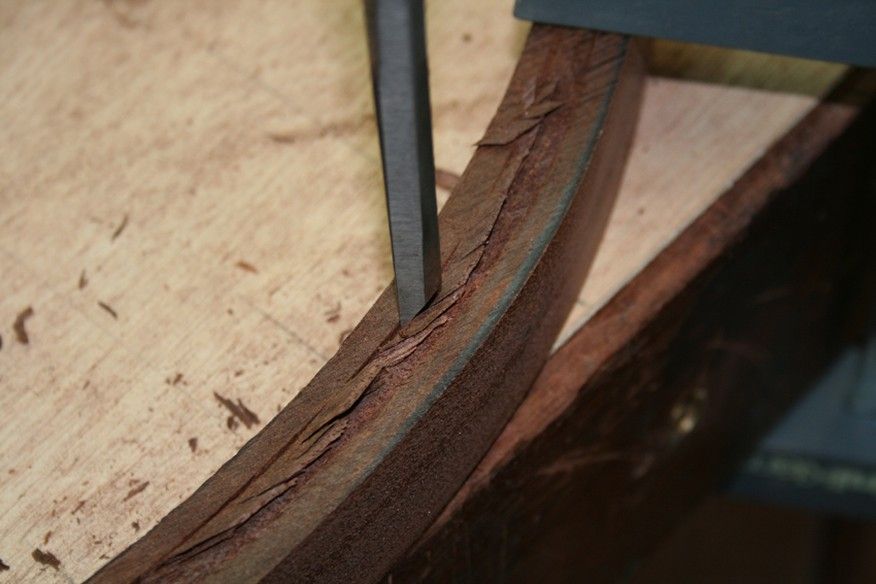
I started out with a mortice chisel to remove the waste ..
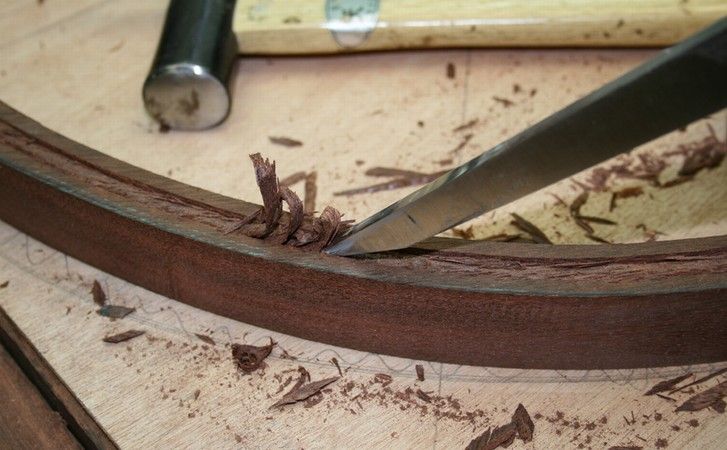
... but switched to a bench chisel as the lower angle sliced away the wood more easily.
I was concerned about the grain direction and the brittle wood. Indeed, a few small pieces had to be glued back ..
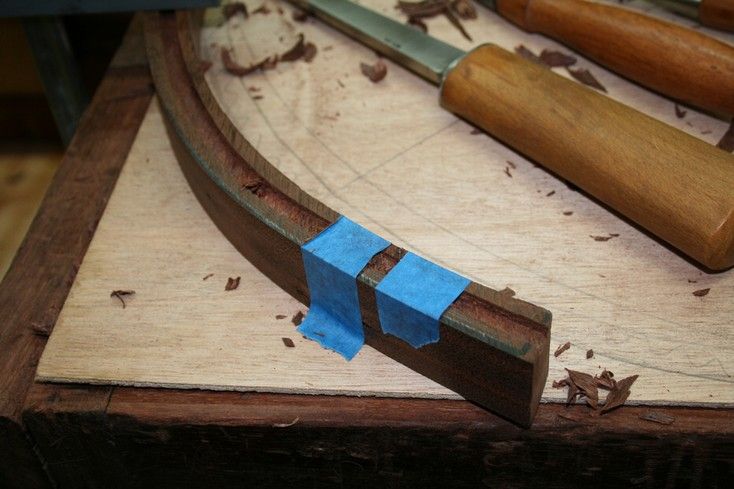
I am thinking that I may glue the upper and lower frames to the panel at the end to increase the strength of the grain at the edges of the frame here. Expansion will take place to the sides of the panel, not the ends. What do the learned members think?
Once the grooves were deep enough I refined the depth with a router plane.
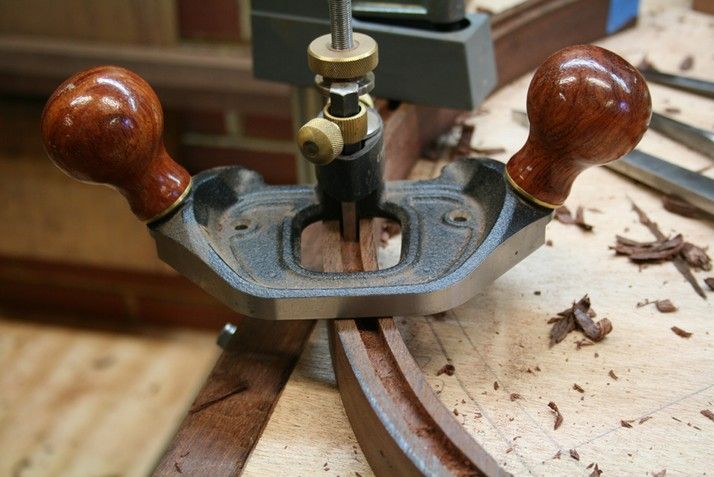
The cutter used here was a scraper blade I made out of a hex key ..
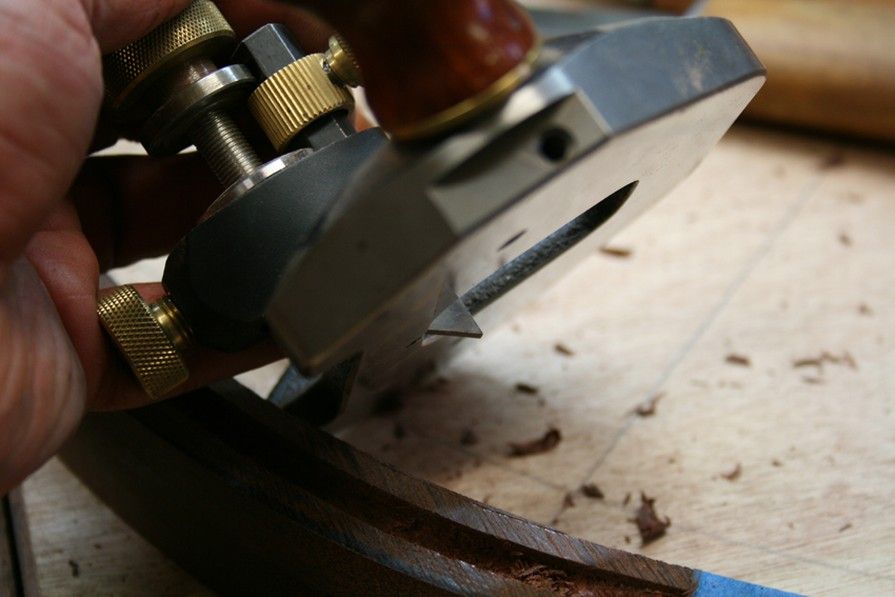
This worked very well. For those interested, details of this cutter are on my website: http://www.inthewoodshop.com/ShopMadeTools/Stringing%20Cutter%20or%20Scraper%20Blade%20for%20Router%20Plane.html
The completed groove ..
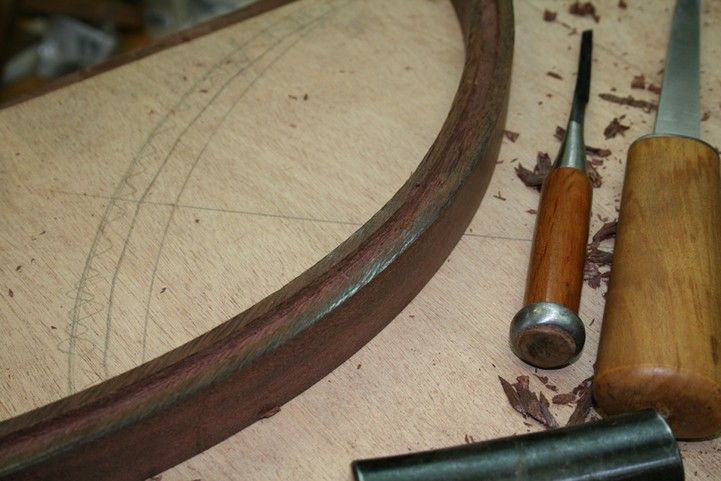
Sooooo ... would it fit the panel now that it was done?
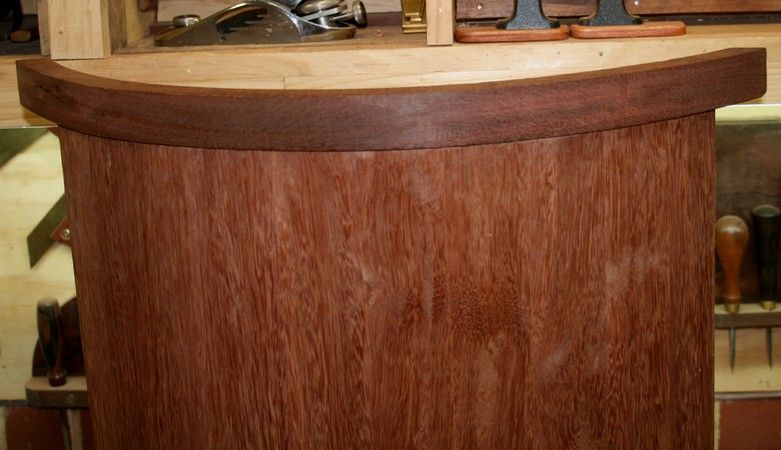
I can exhale now!
The work so far had taken me most of a day-and-a-half of the weekend as I had three visitors to the workshop. With an hour to go to dinner I decided to get stuck into the other frame. I really wanted to complete the upper and lower curved framed for one door before the weekend was over.
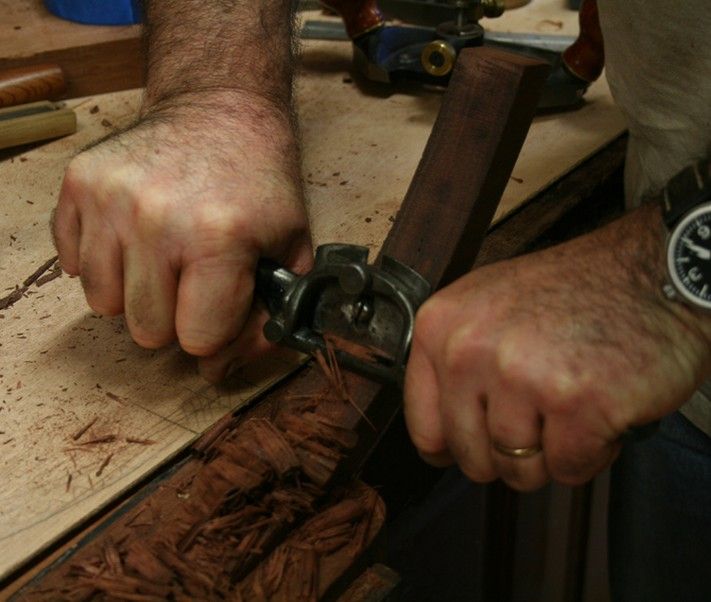
Amazingly it went rapidly. I guess by now I knew what to do and did not have to be as cautious. I ploughed through the roughing out ...
And we were done. Here is the panel with upper and lower curved and grooved frames ...
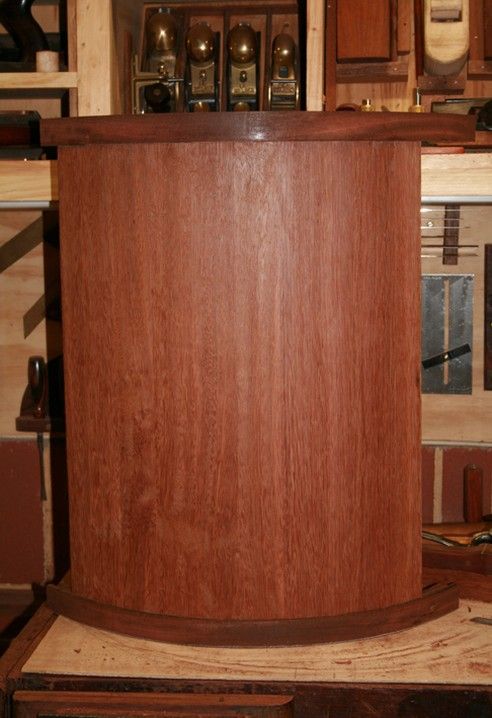
Side pieces to do and mortice-and-tenon. Later ...
Thanks for hanging in with this build.
Regards from Perth
Derek


